# QwenWork International Edition: Product Guide
Source: https://docs.qwenwork.ai/product-introduction
> An overview of QwenWork's positioning, workflow, and core capabilities.
## Product Positioning {#product-positioning}
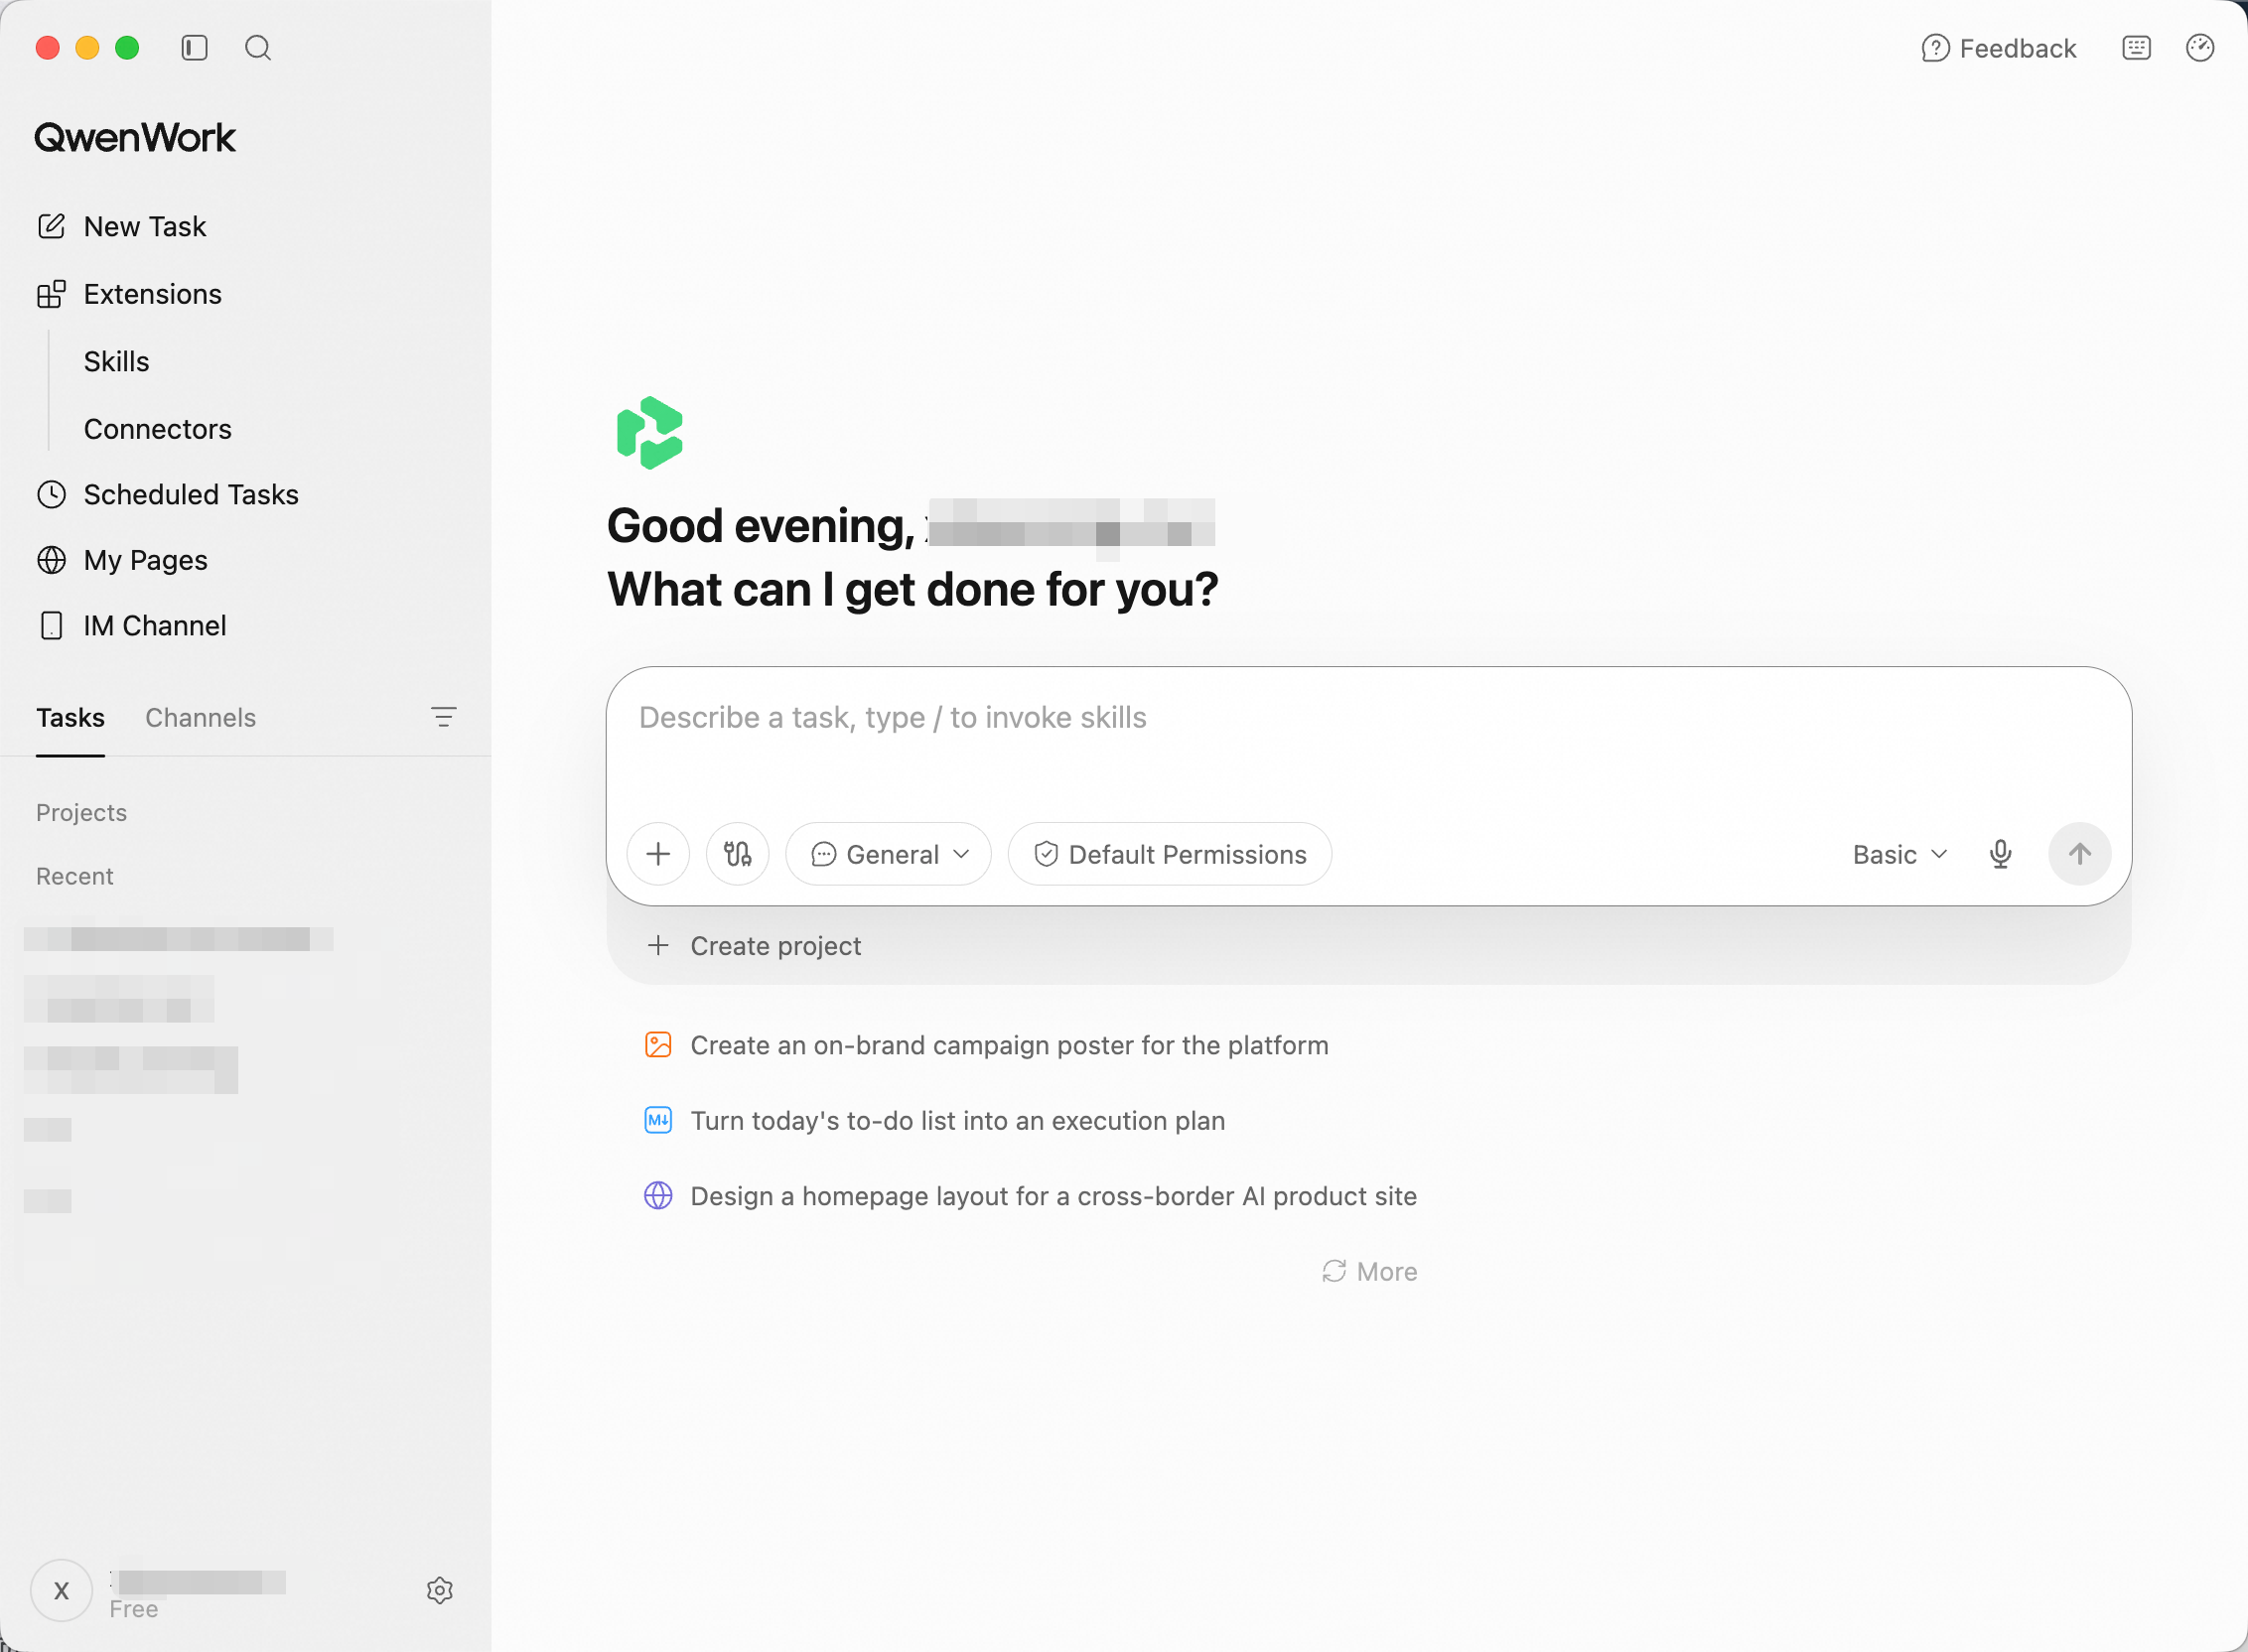
QwenWork is an AI work platform for individuals and organizations. Users describe the outcome they need in natural language, and the Agent interprets the request, selects the appropriate capabilities, works with files and information, and delivers results that can be reviewed, refined, and reused.
The international edition supports an end-to-end workflow: create an account, enter a personal or organization workspace, start an Agent session, use files, Skills, connectors, scheduled tasks, and Pages, and manage assets, usage, subscriptions, and members.
## How QwenWork Works {#how-qwenwork-works}
1. Sign up or sign in with Google or email.
2. Link your account to your Alibaba Cloud Account
3. Enter a personal or organization workspace.
4. Describe a task and, when needed, select a model, attach files, or enable Skills and connectors.
5. Follow the Agent's progress and review intermediate results.
6. Preview, download, or refine the final deliverables.
7. Save repeatable work as a scheduled task.
## Capability Map {#capability-map}
| Module | Purpose |
| ----------------------------------------- | --------------------------------------------------------- |
| Account, Sign-in, and Workspaces | Establish identity and enter the correct workspace |
| Workspace and Agent Sessions | Describe work, follow execution, and receive deliverables |
| Files, Drive, and Deliverables | Provide source material and manage generated outputs |
| Skills | Add reusable methods for specialized tasks |
| Connectors | Let the Agent work with authorized external services |
| Scheduled Tasks | Run recurring work automatically |
| Pages | Create, publish, and manage websites |
| Profile, Usage, and Subscription | Manage account details, language, credits, and plans |
| Organization Workspace and Administration | Manage members, assets, usage, and organization plans |
## How the Modules Work Together {#how-the-modules-work-together}
Agent sessions are the primary work surface. Files provide source material, Skills provide repeatable methods, and connectors provide access to external services. Scheduled tasks turn a one-time workflow into recurring work. Pages and generated files hold the deliverables. Personal and organization settings determine identity, permissions, ownership, and available usage.
## Language and Support {#language-and-support}
The international edition supports English and Simplified Chinese as interface languages. For help, users can open the feedback entry in QwenWork and contact support at [contact@qwenwork.ai](mailto:contact@qwenwork.ai).
# Quick Start
Source: https://docs.qwenwork.ai/getting-started/quick-start
> Get started with QwenWork and complete your first task.
## **Overview** {#overview}
QwenWork currently offers two ways to use the product, covering everyday office work, mobile access, and advanced editing. Choose the option that best fits your needs.
## **How to Get Started** {#how-to-get-started}
### **Web** {#web}
Visit [qwenwork.ai/signin](https://qwenwork.ai/signin) in your browser and sign in with your email account. No download or installation is required.
Whether you are traveling, temporarily using another device, or handling an urgent task, the web app lets you get to work immediately. All data is synchronized in real time through the cloud.
### **Desktop App** {#desktop-app}
Download and install the desktop client from the official website [qwenwork.ai](https://qwenwork.ai), then sign in for the complete QwenWork experience.
The desktop app connects directly to your local file system and can analyze and process local documents, spreadsheets, images, and videos. Its workflow is consistent with native desktop software, making it ideal for intensive file processing and content creation.
# General Setting
Source: https://docs.qwenwork.ai/getting-started/general-settings
> Configure your profile, preferences, language, and other general settings.
General Settings lets you manage your profile, language, appearance, subscription, and credit usage. To open it in QwenWork, click your profile picture or the Settings icon in the sidebar.
## 1. Profile {#1-profile}
### 1.1 Viewing and Editing Your Profile {#1-1-viewing-and-editing-your-profile}
This section displays your profile picture, nickname and linked email.
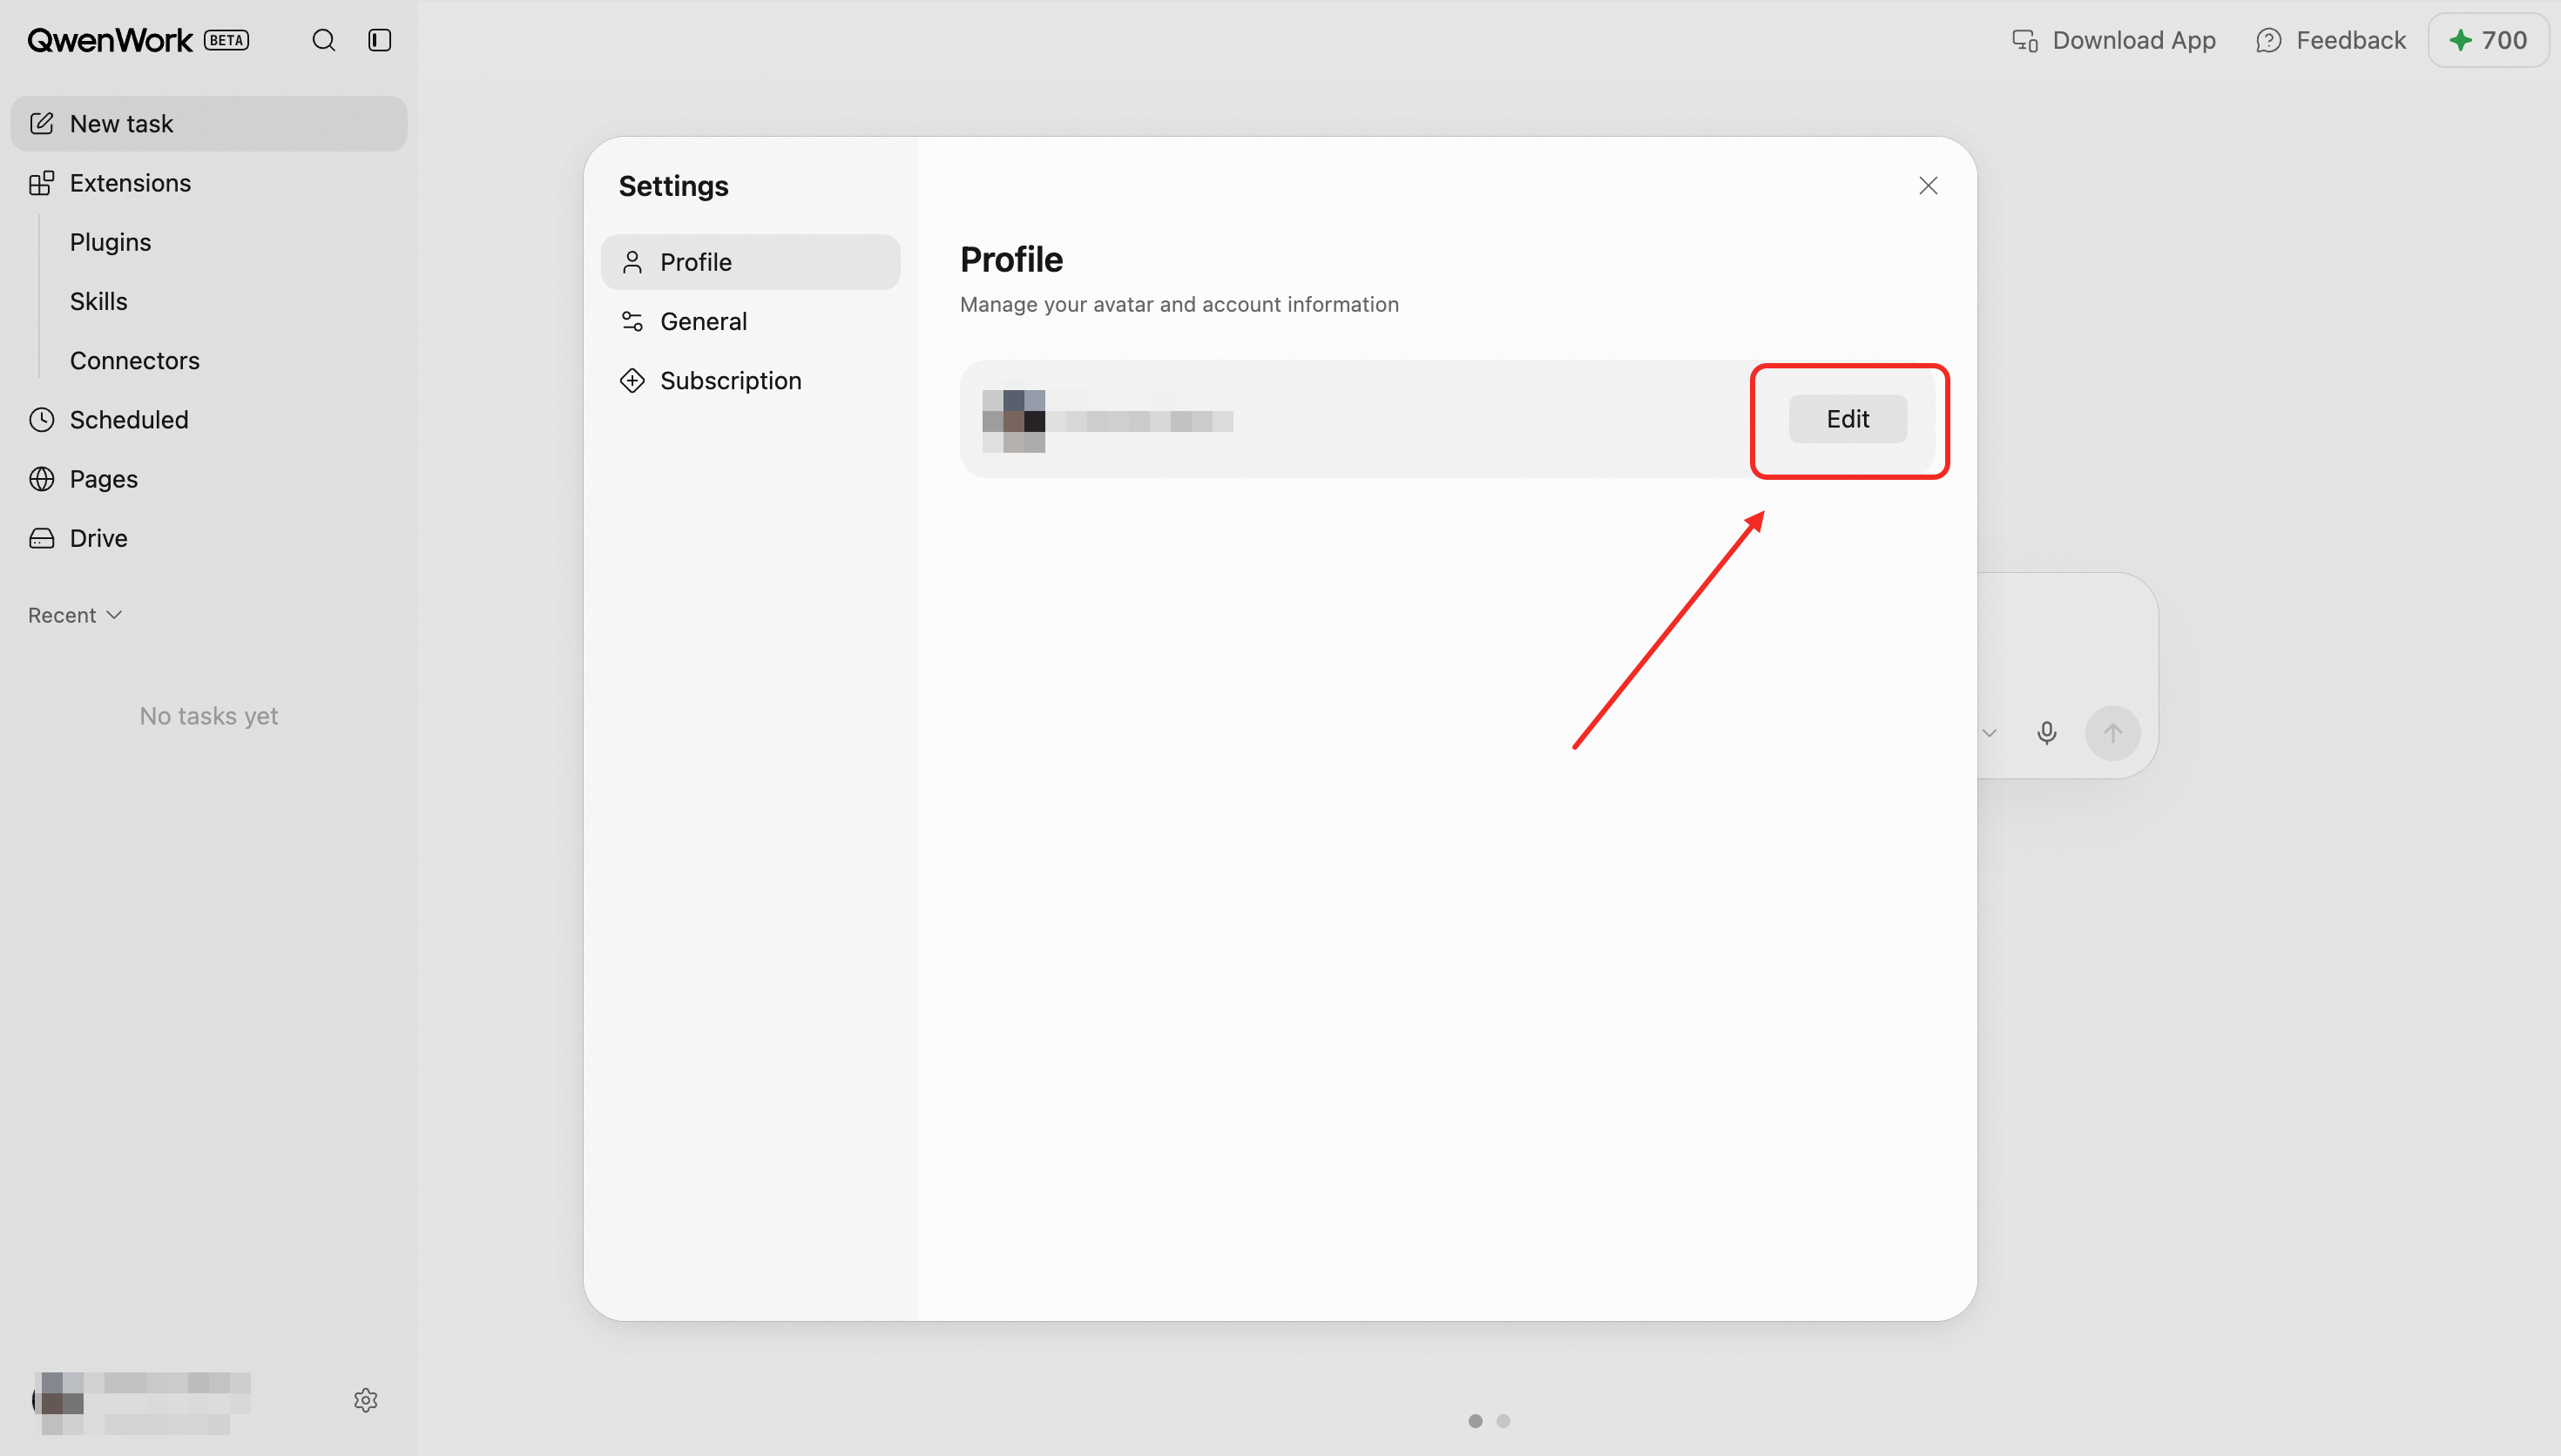
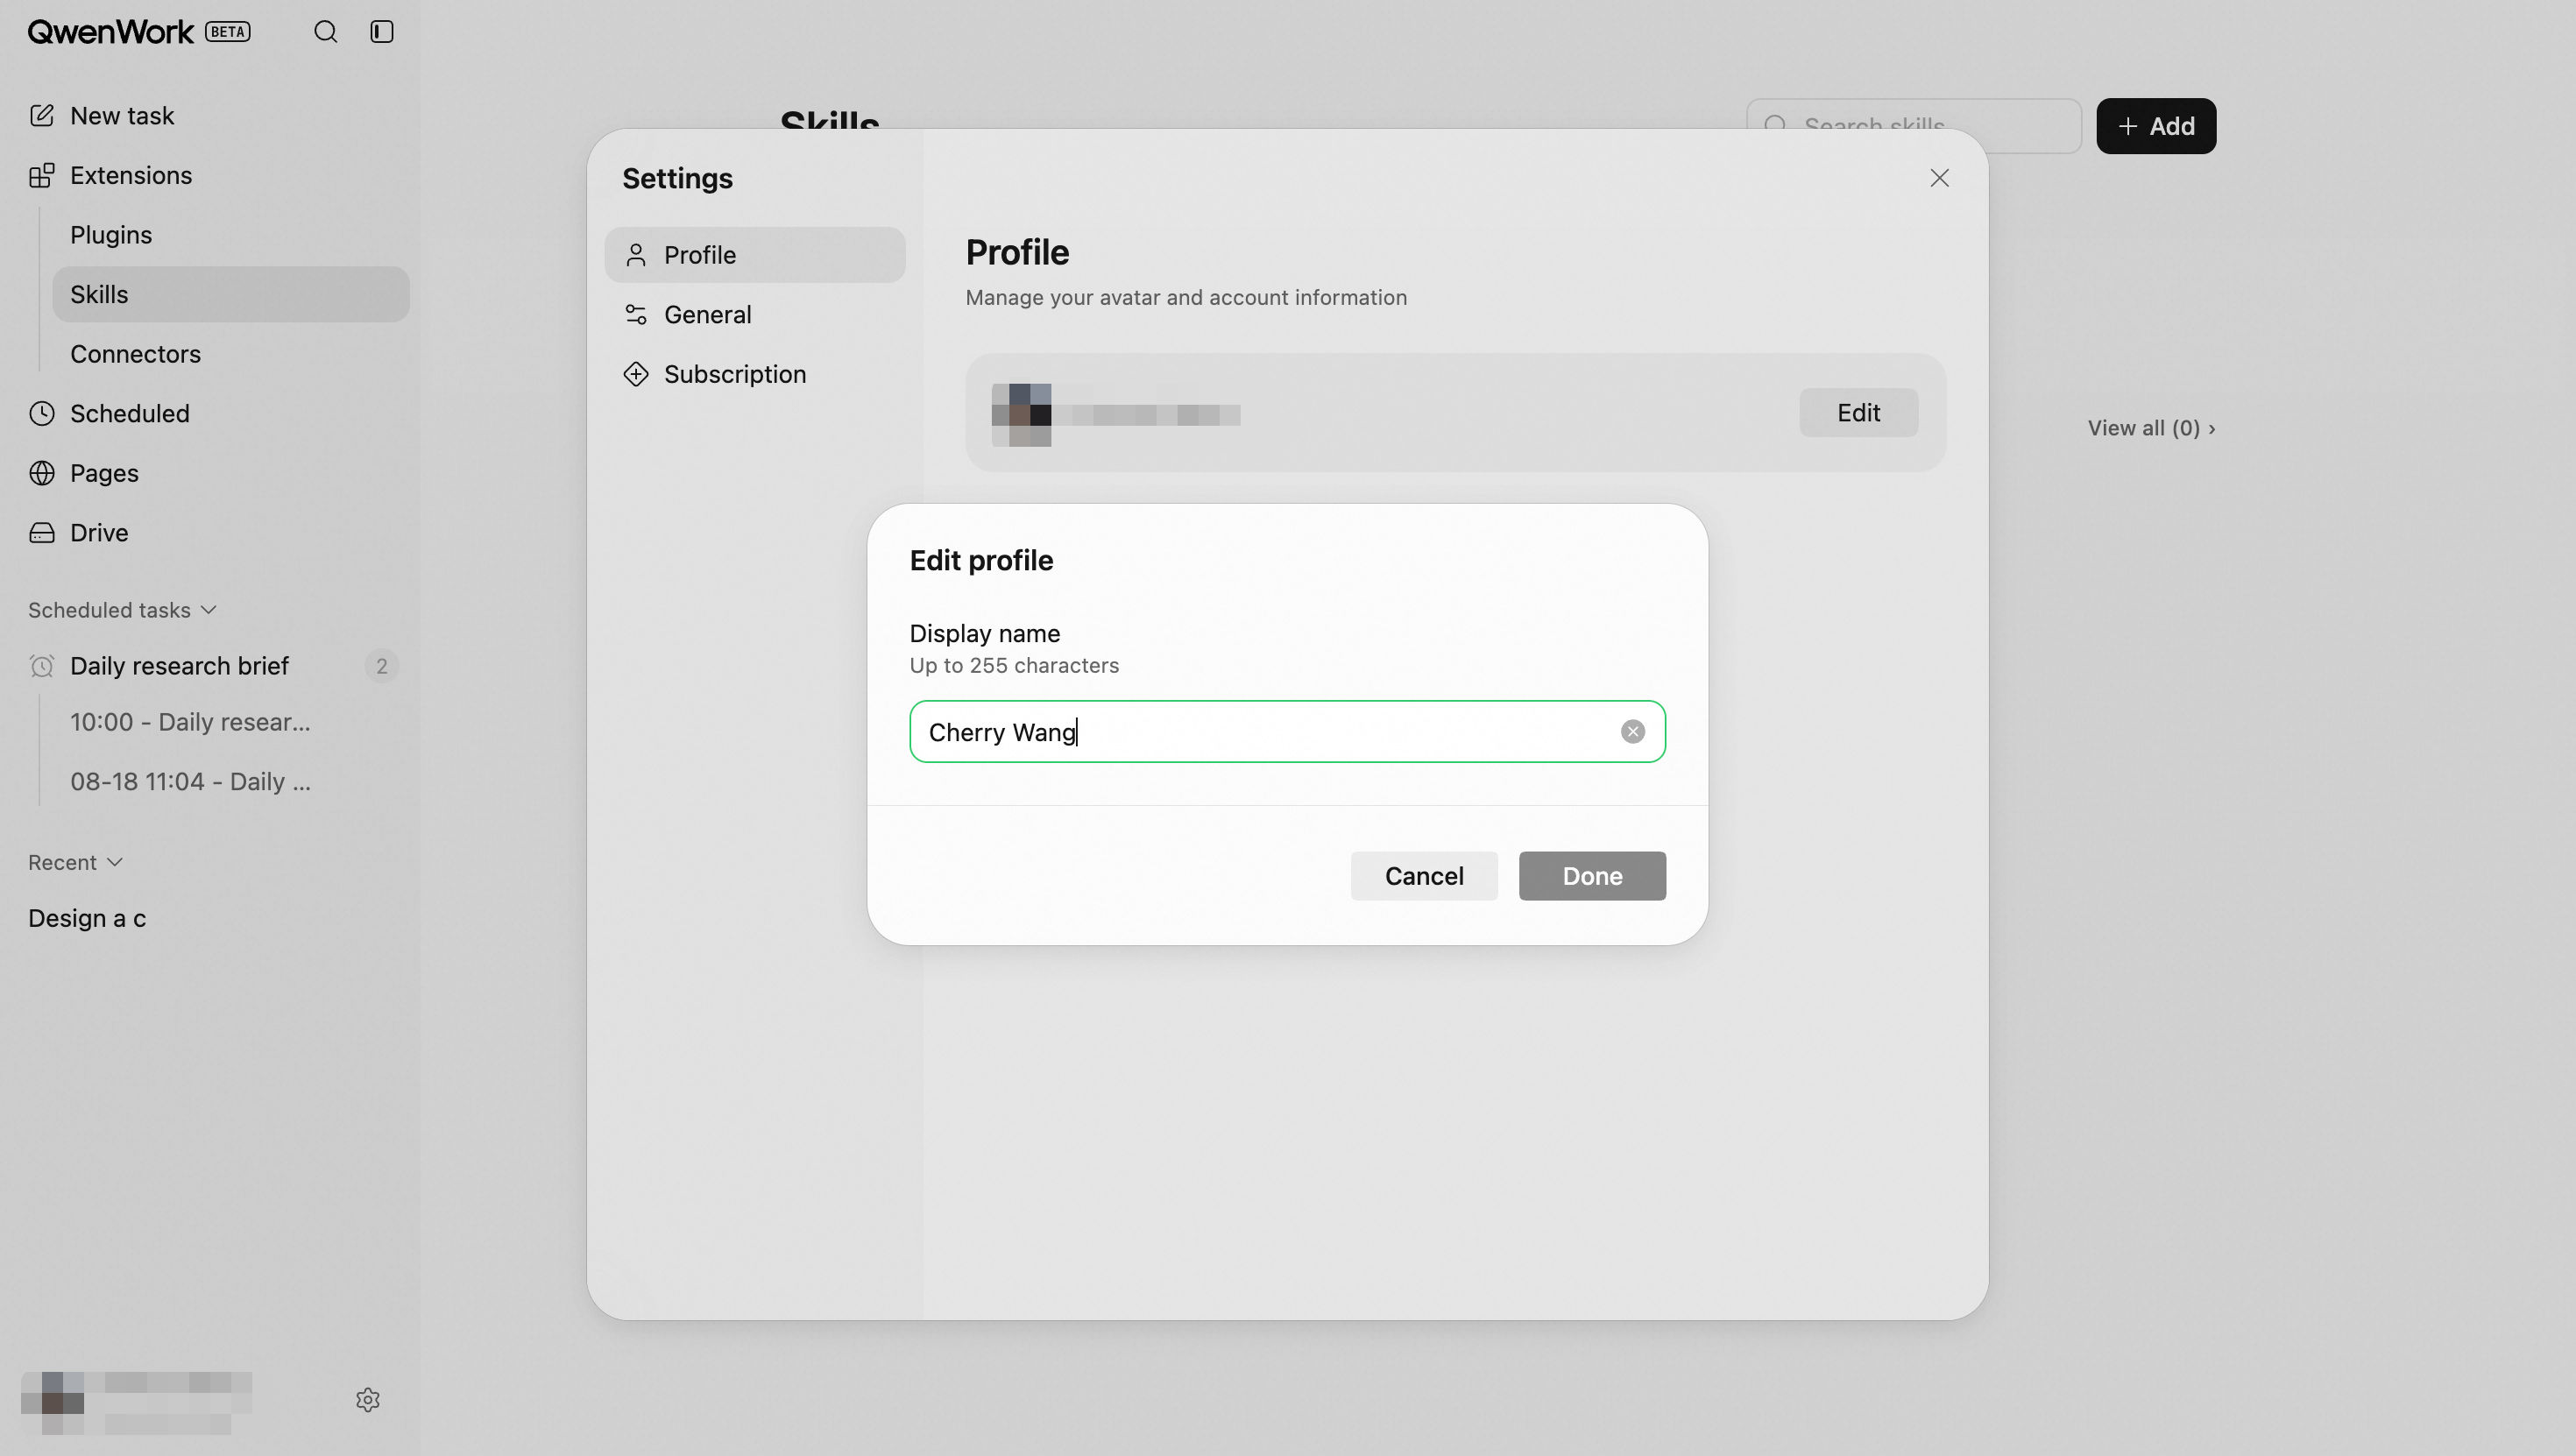
Click Edit to change your nickname. Nicknames must contain 3–20 characters and may include only letters, numbers, and underscores. Click Done to save your changes.
### 1.2 Subscription {#1-2-subscription}
This section displays: Your current subscription plan; Subscription expiration date; Current credit balance; Credit breakdown, including daily refreshed credits, monthly subscription credits, and long-term credits.
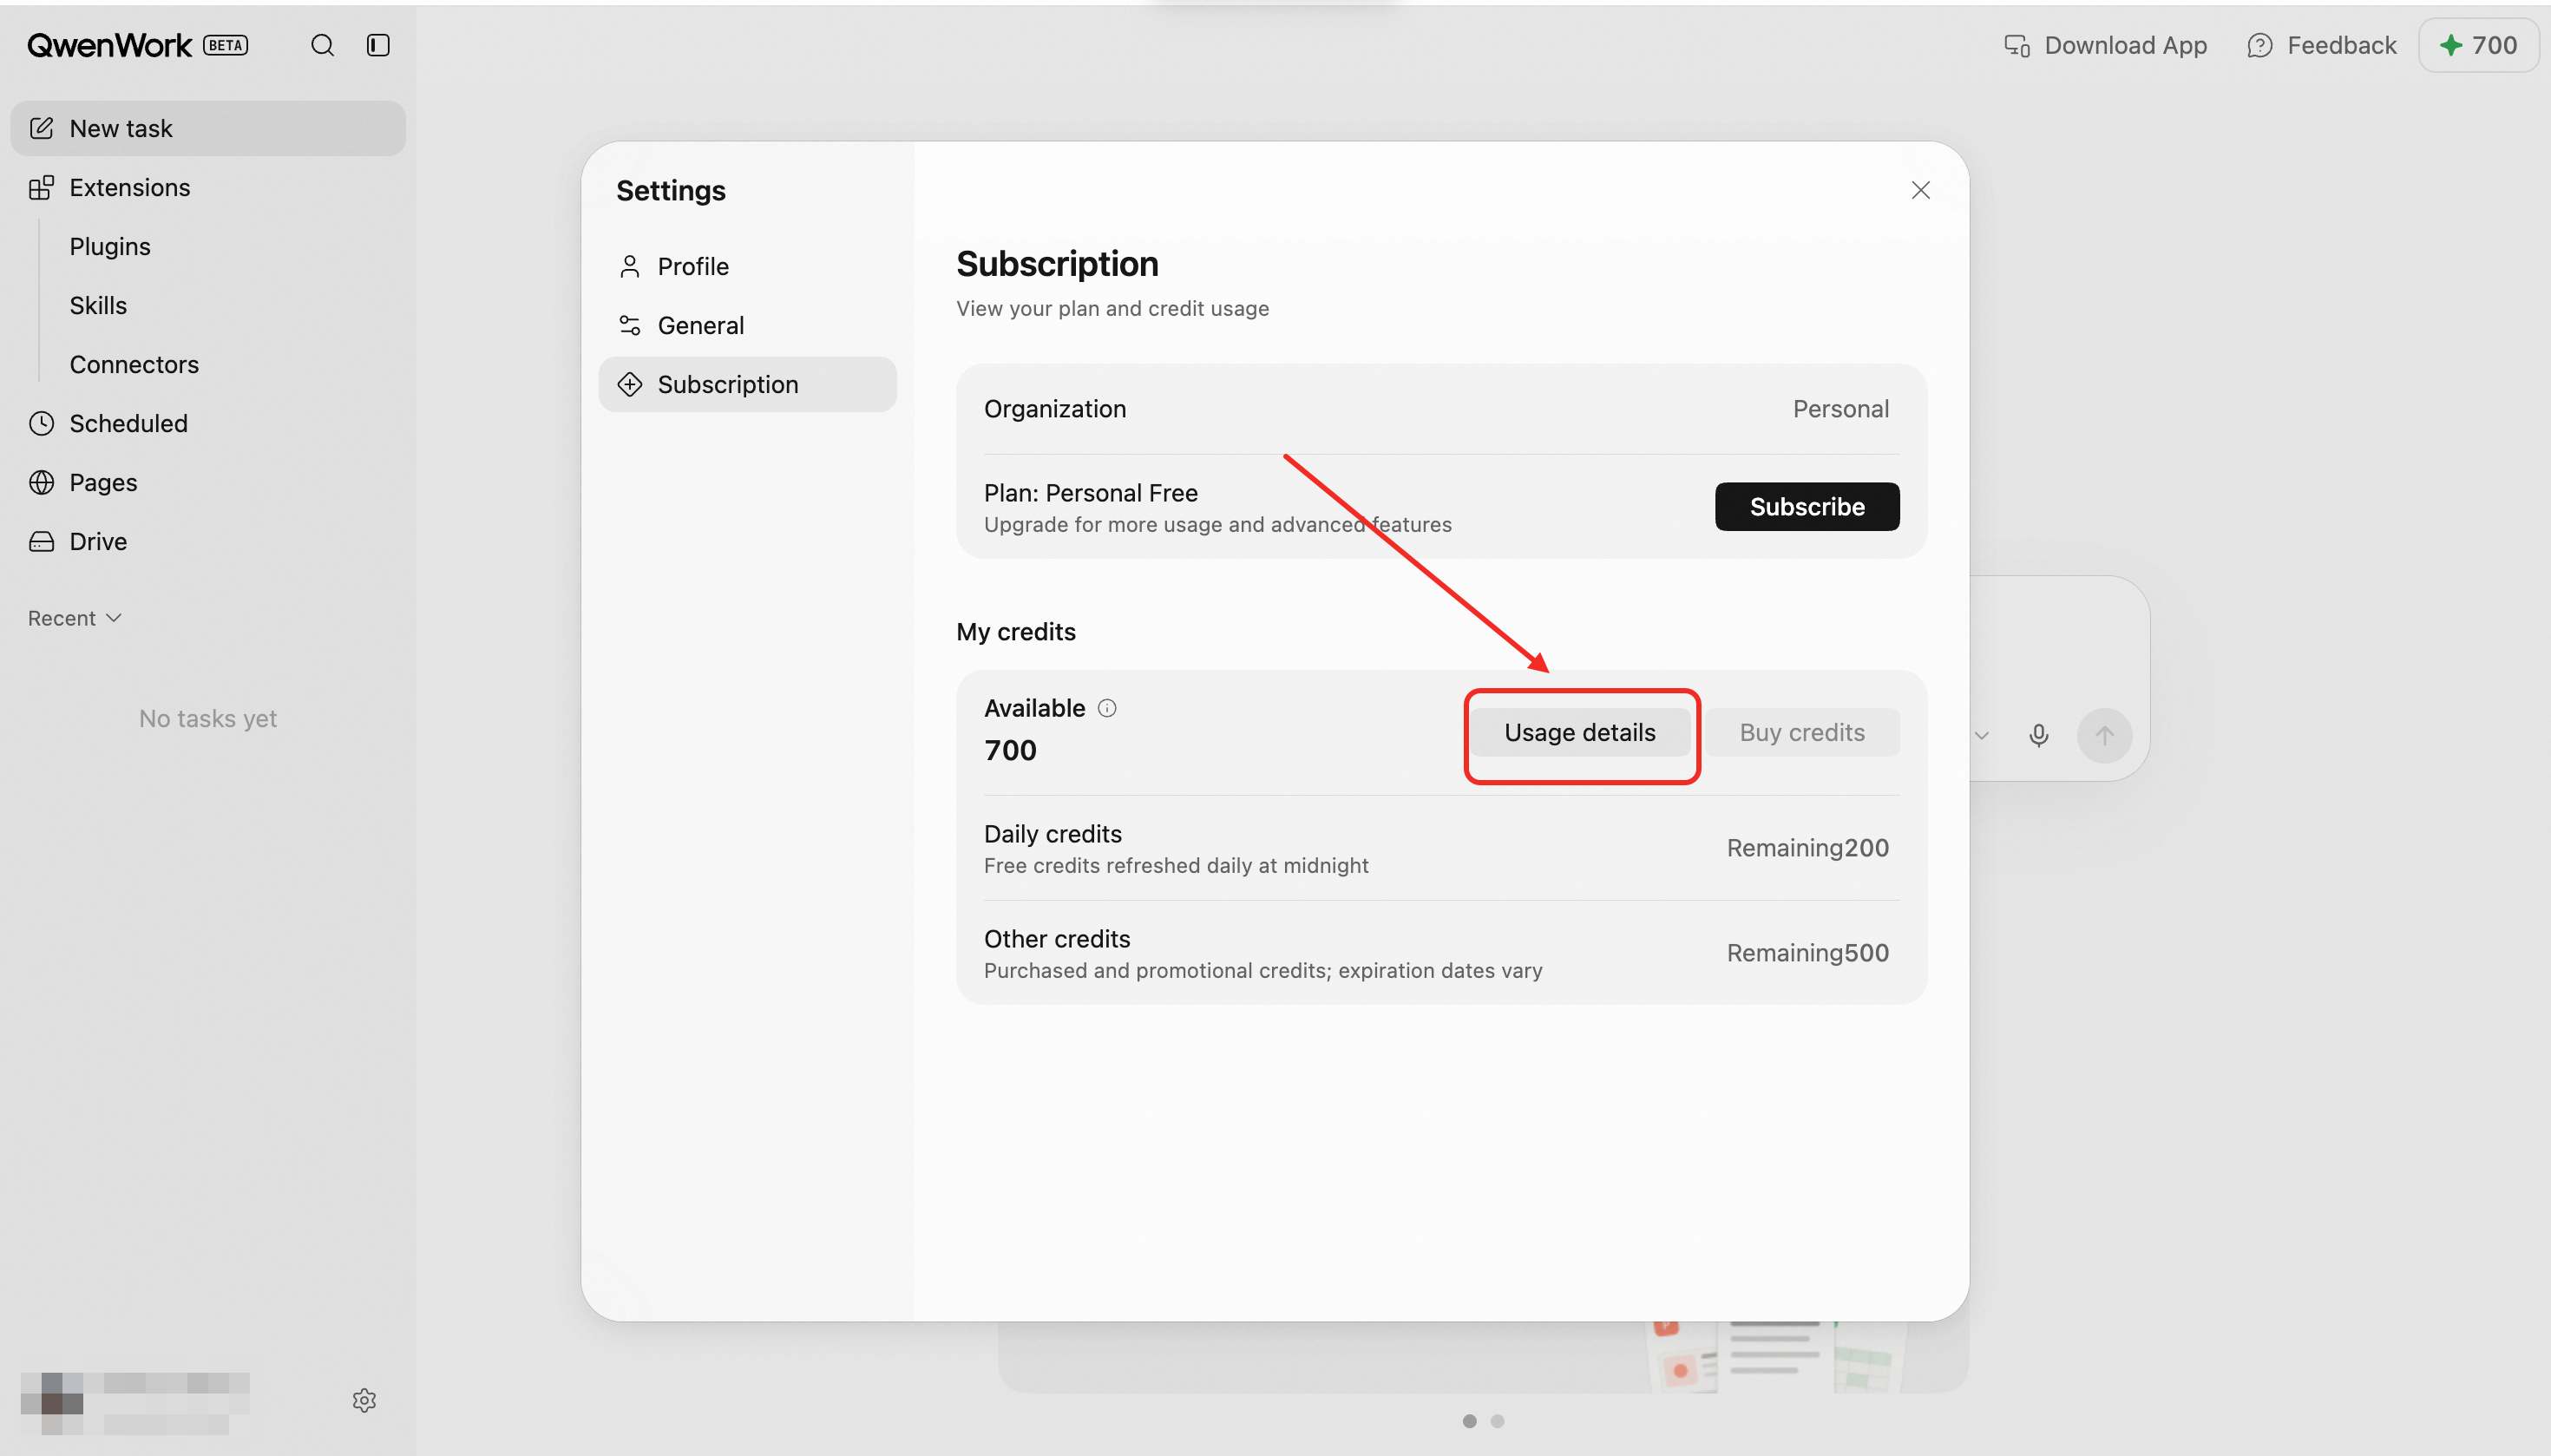
Click Subscribe or Manage to manage your subscription, Upgrade to change to a higher-tier plan, or Top Up to purchase credits.
## 2. General {#2-general}
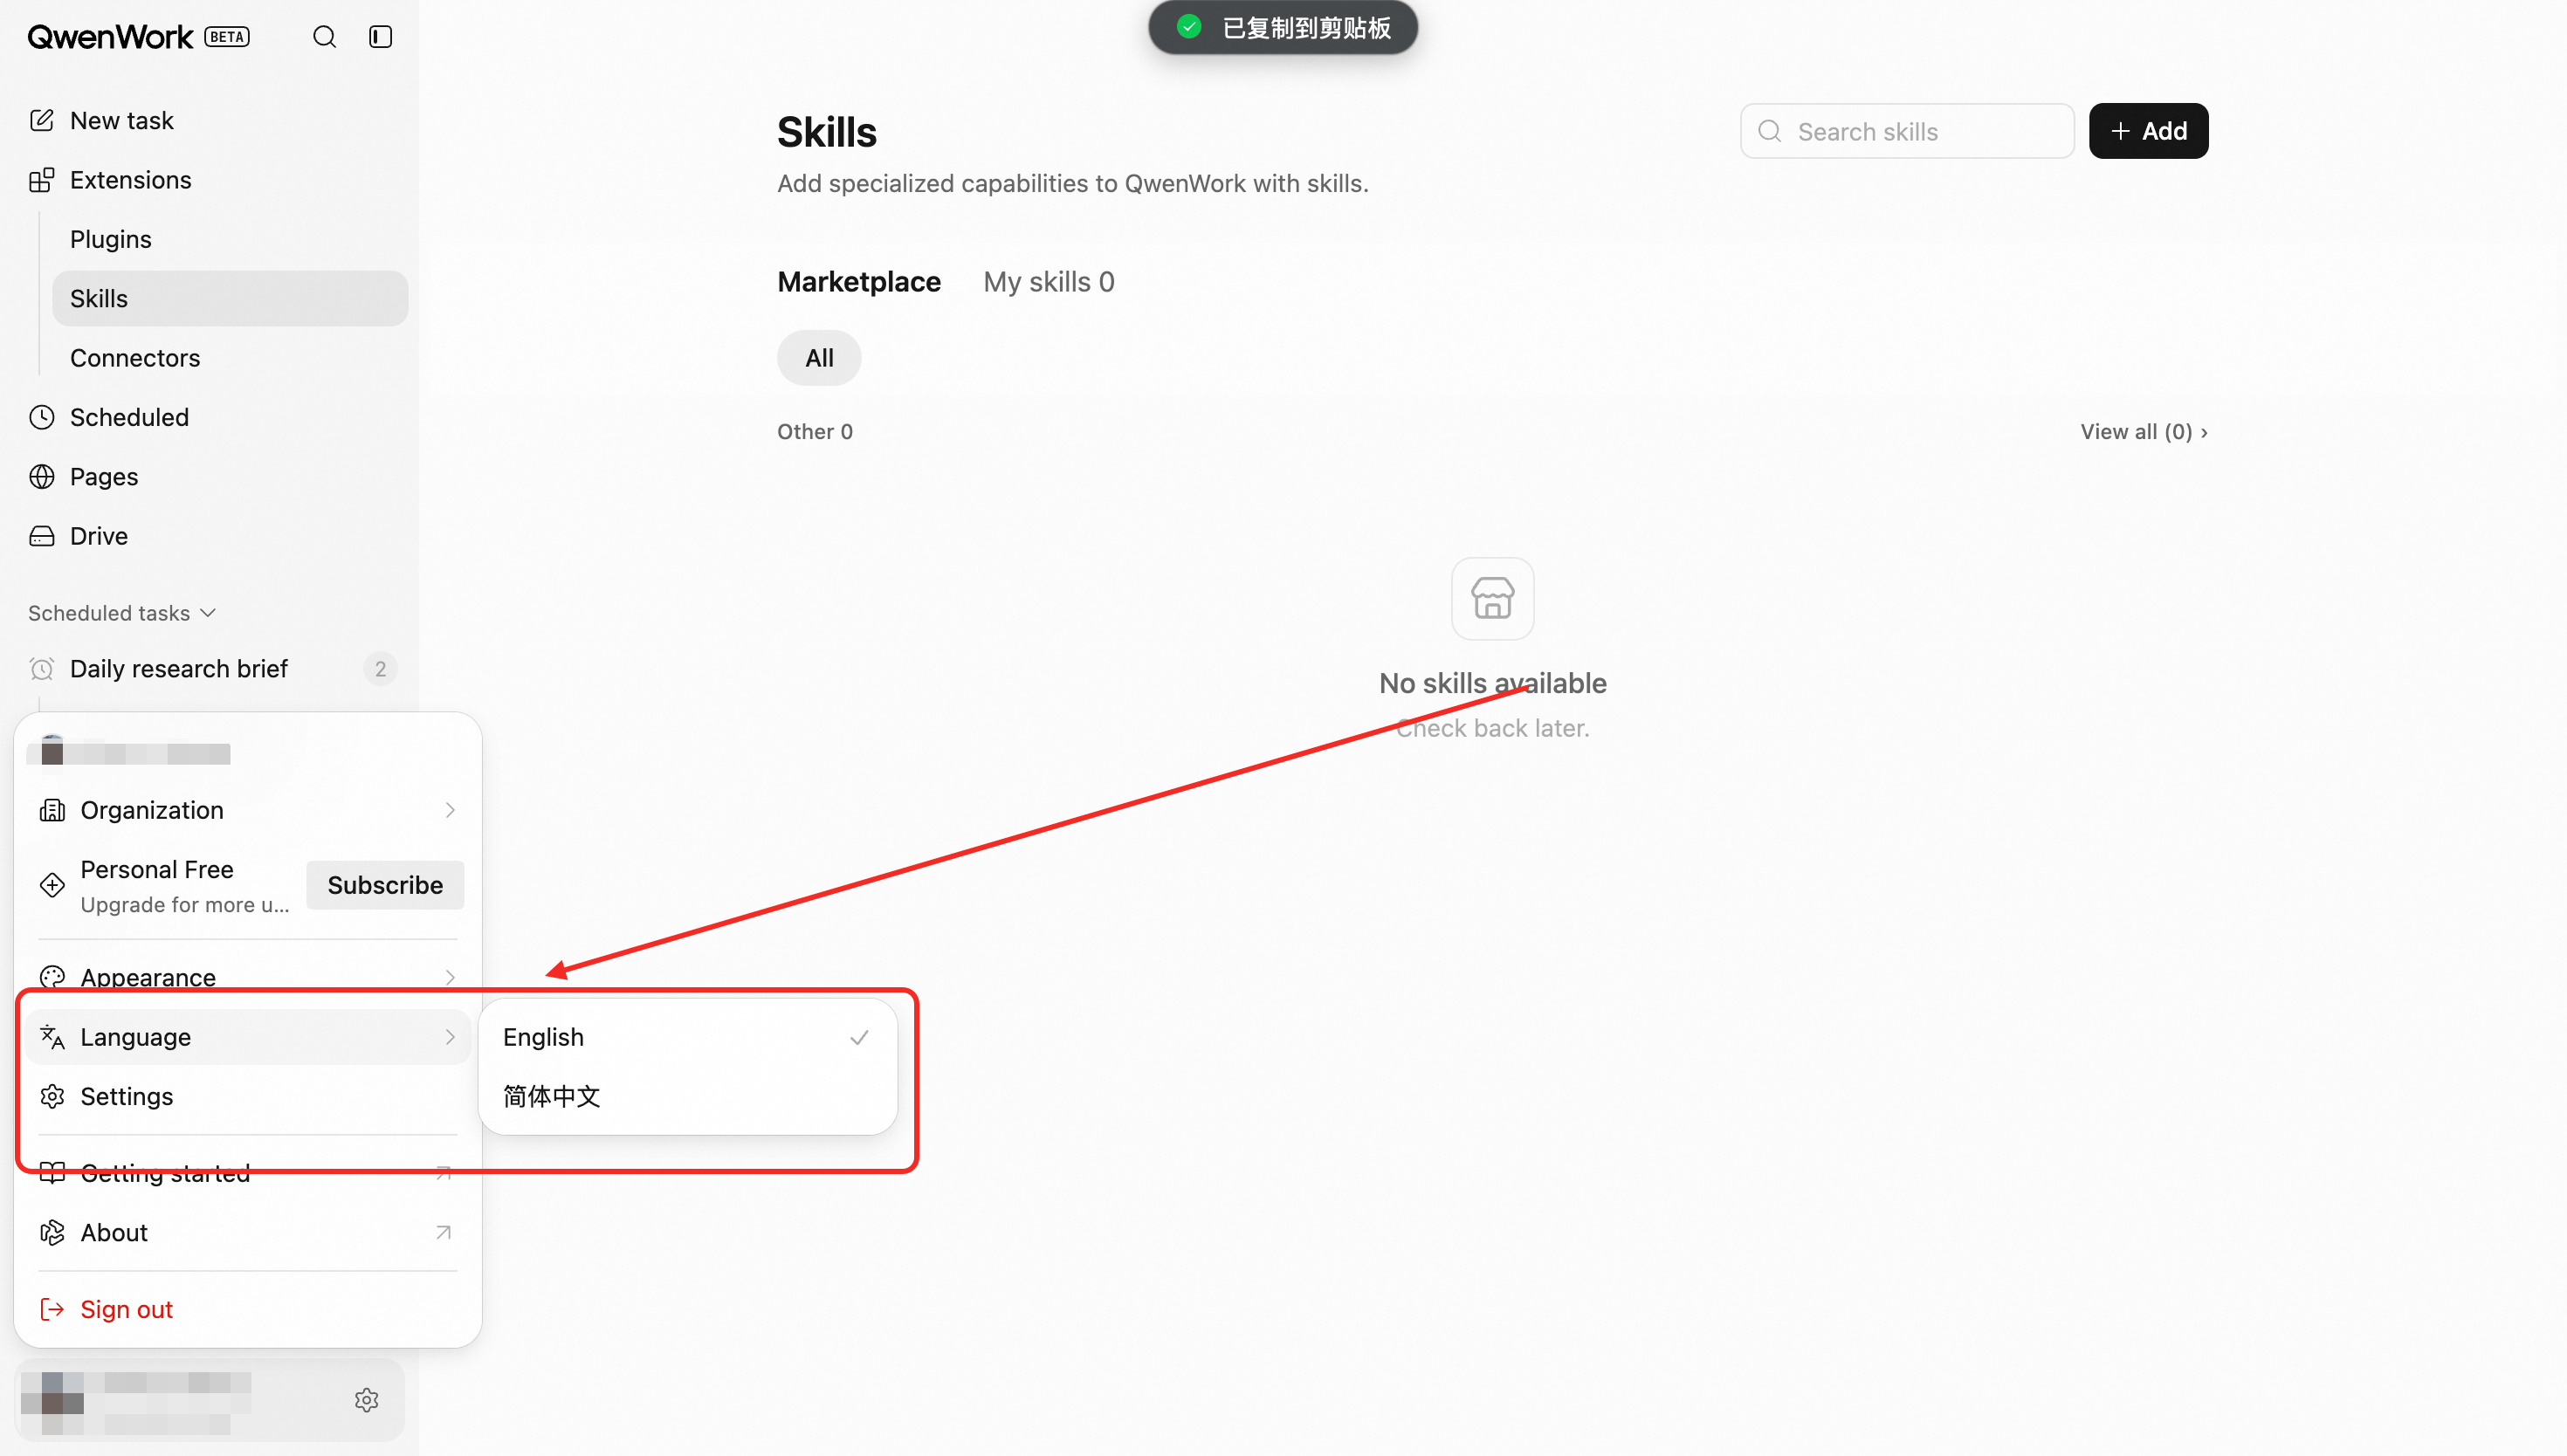
### 2.1 Language {#2-1-language}
English and Simplified Chinese are currently supported. Traditional Chinese, Korean, Japanese, Spanish, and other languages will be supported in the future.
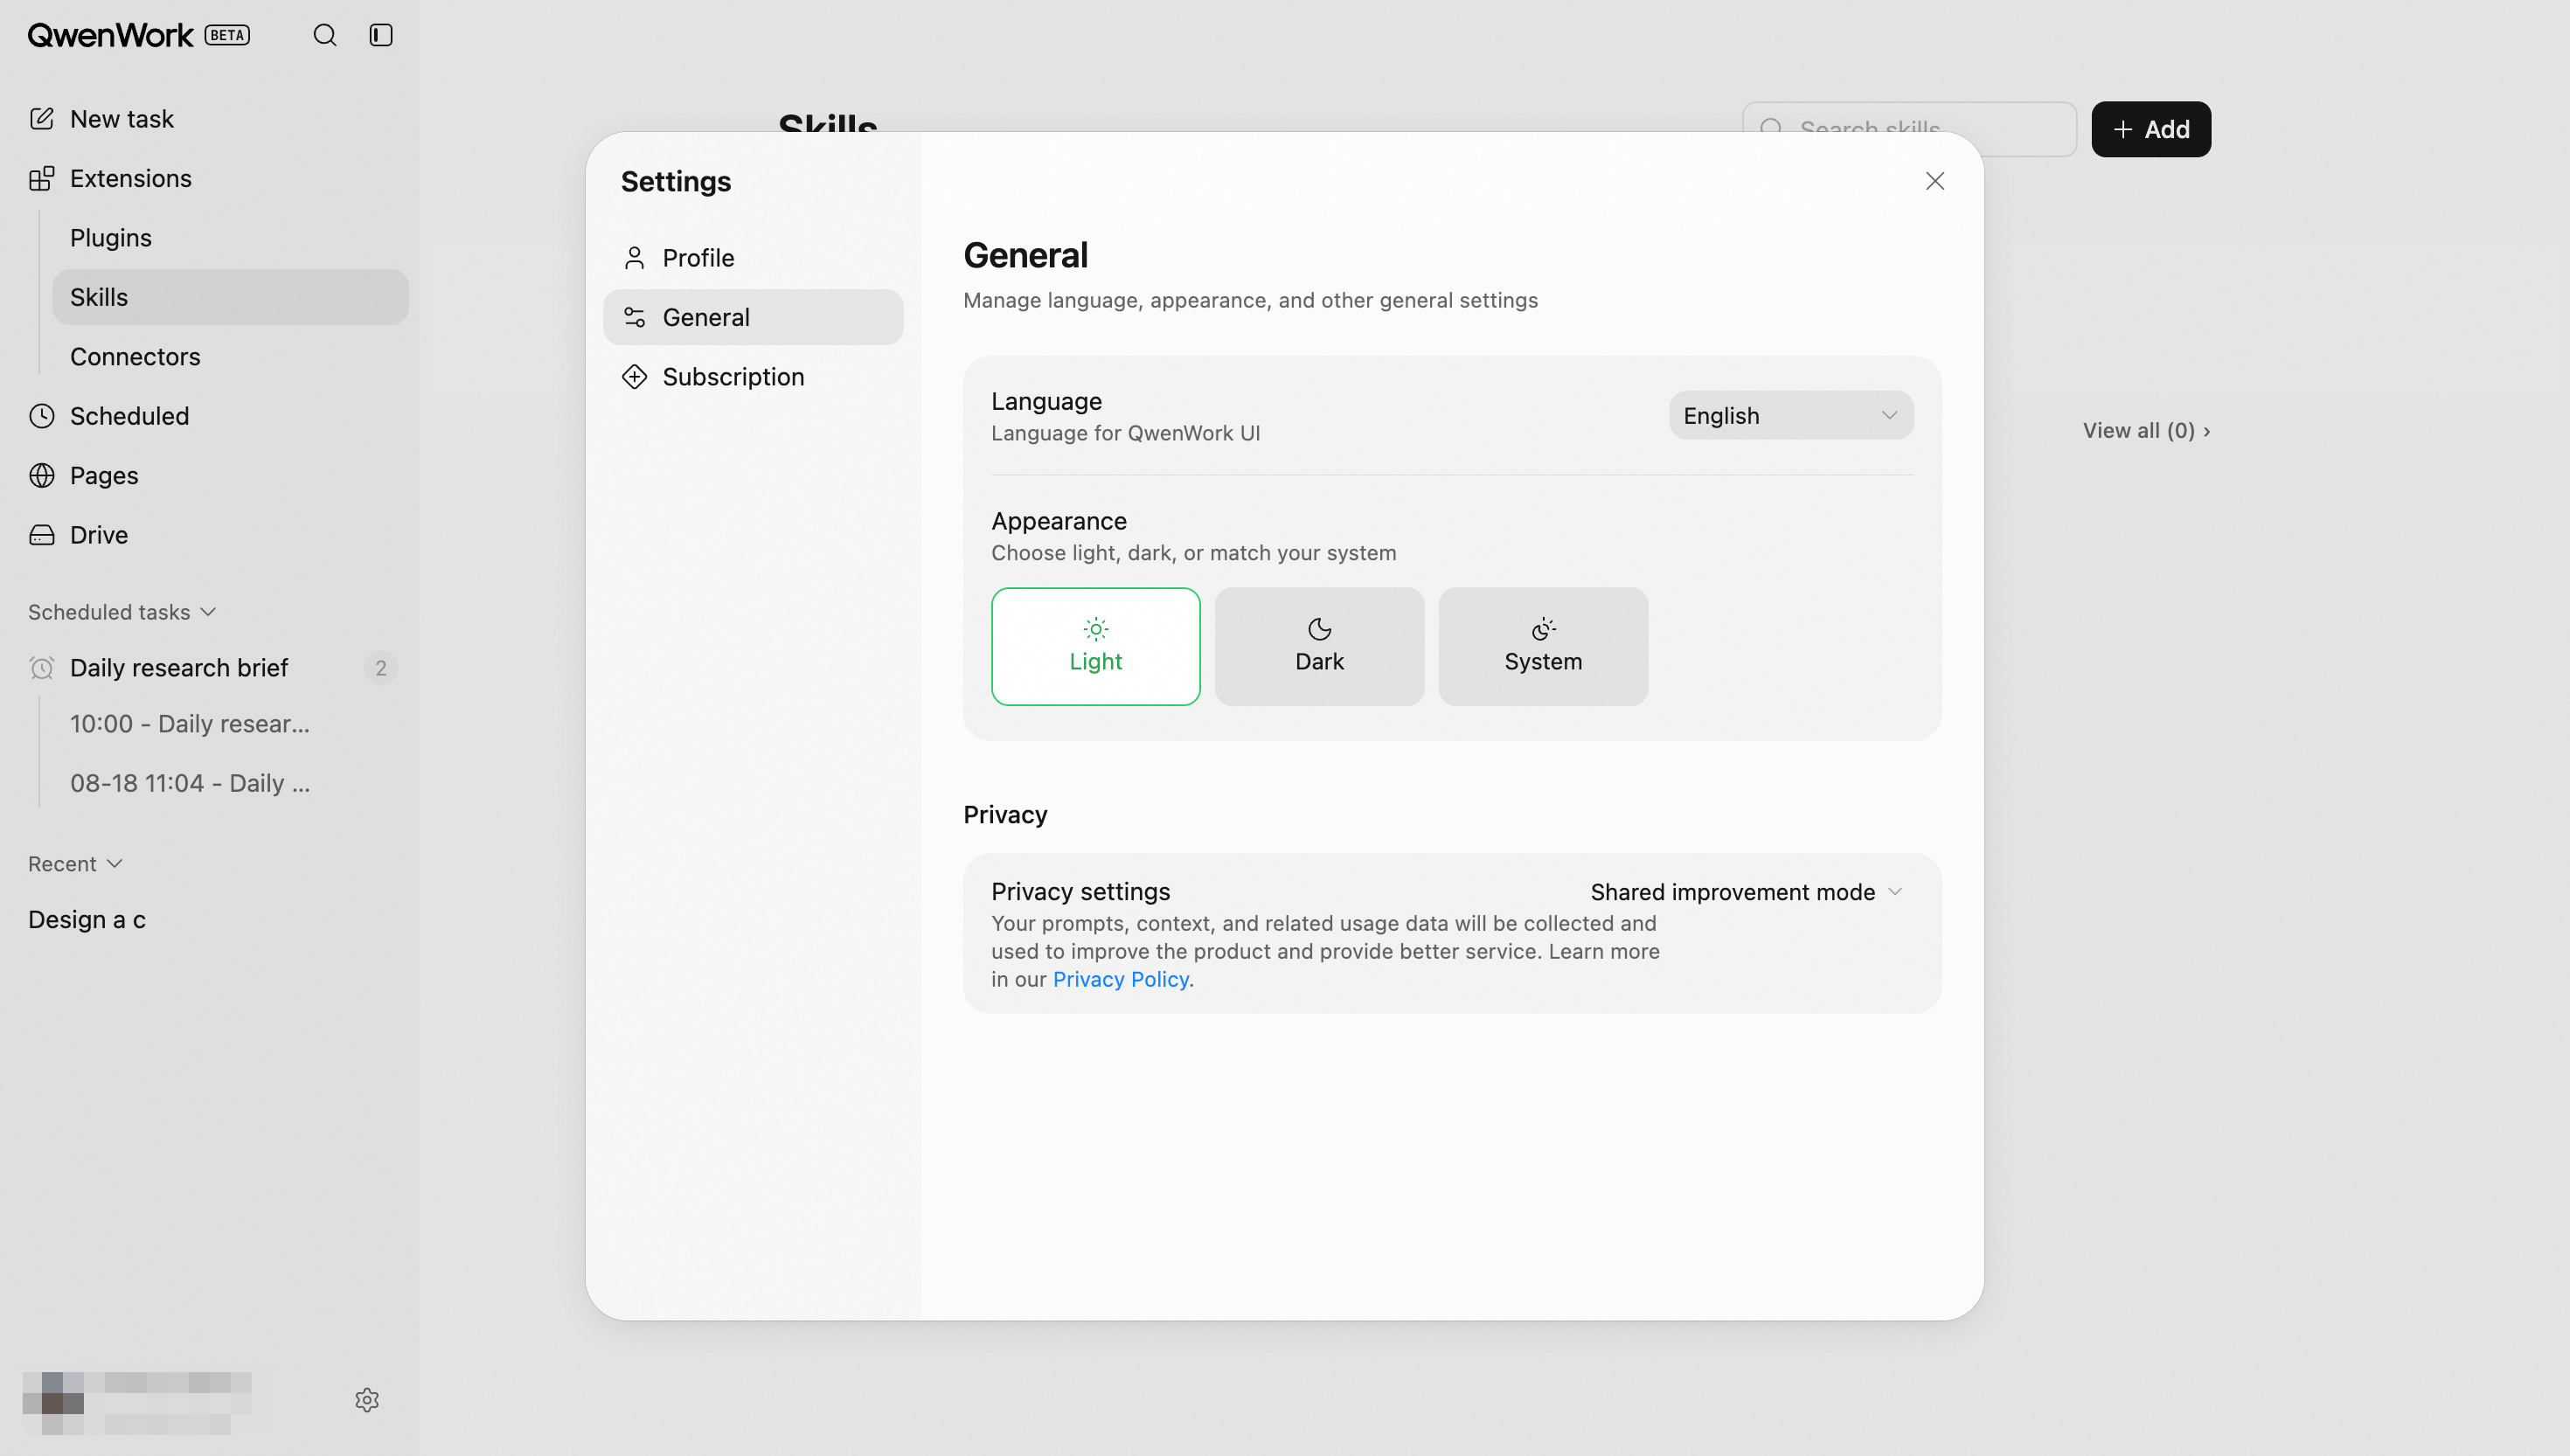
### 2.2 Appearance {#2-2-appearance}
QwenWork supports three appearance modes: Light, Dark, and Use system settings. When Use system settings is selected, QwenWork automatically follows your device’s appearance settings.
## 3. Usage {#3-usage}
Enterprise subscriptions and credit purchases are currently available on PC and the web.
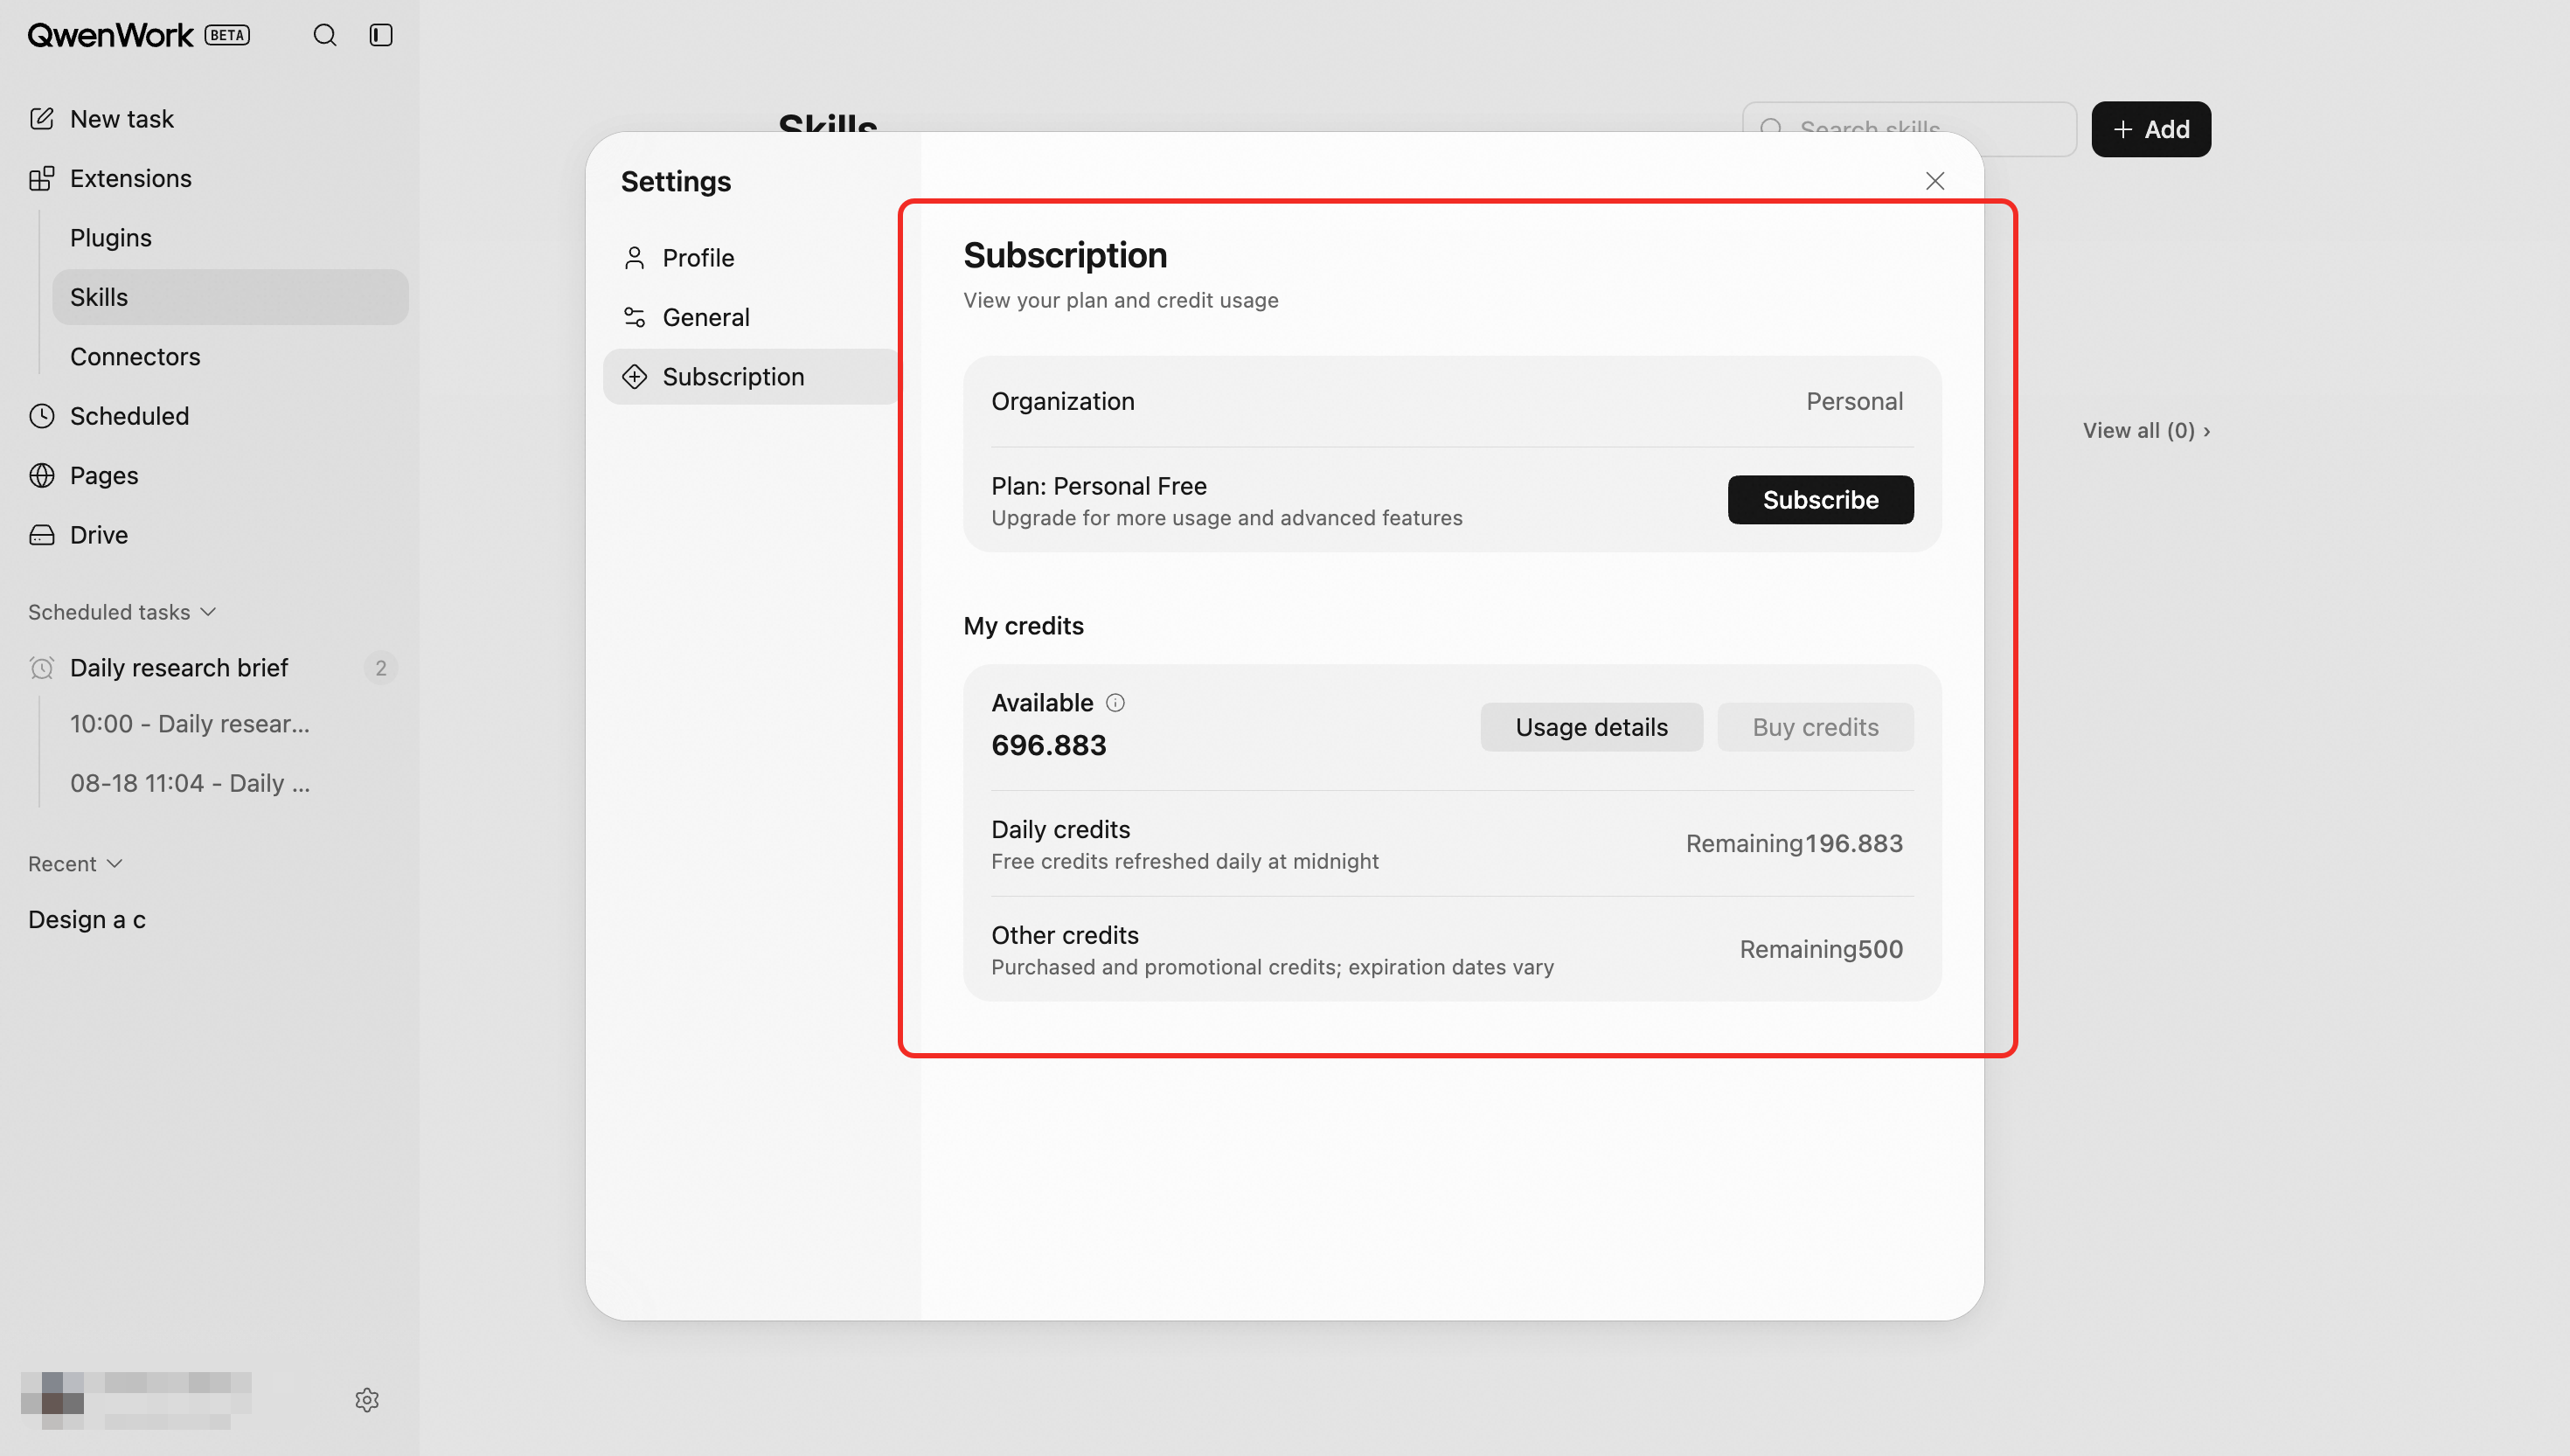
### 3.1 Individual Users {#3-1-individual-users}
Individual users can view their current plan, remaining credits, and credit expiration dates. They can also review usage details and purchase additional credits. Free-plan users can click Upgrade Subscription to upgrade their individual plan.
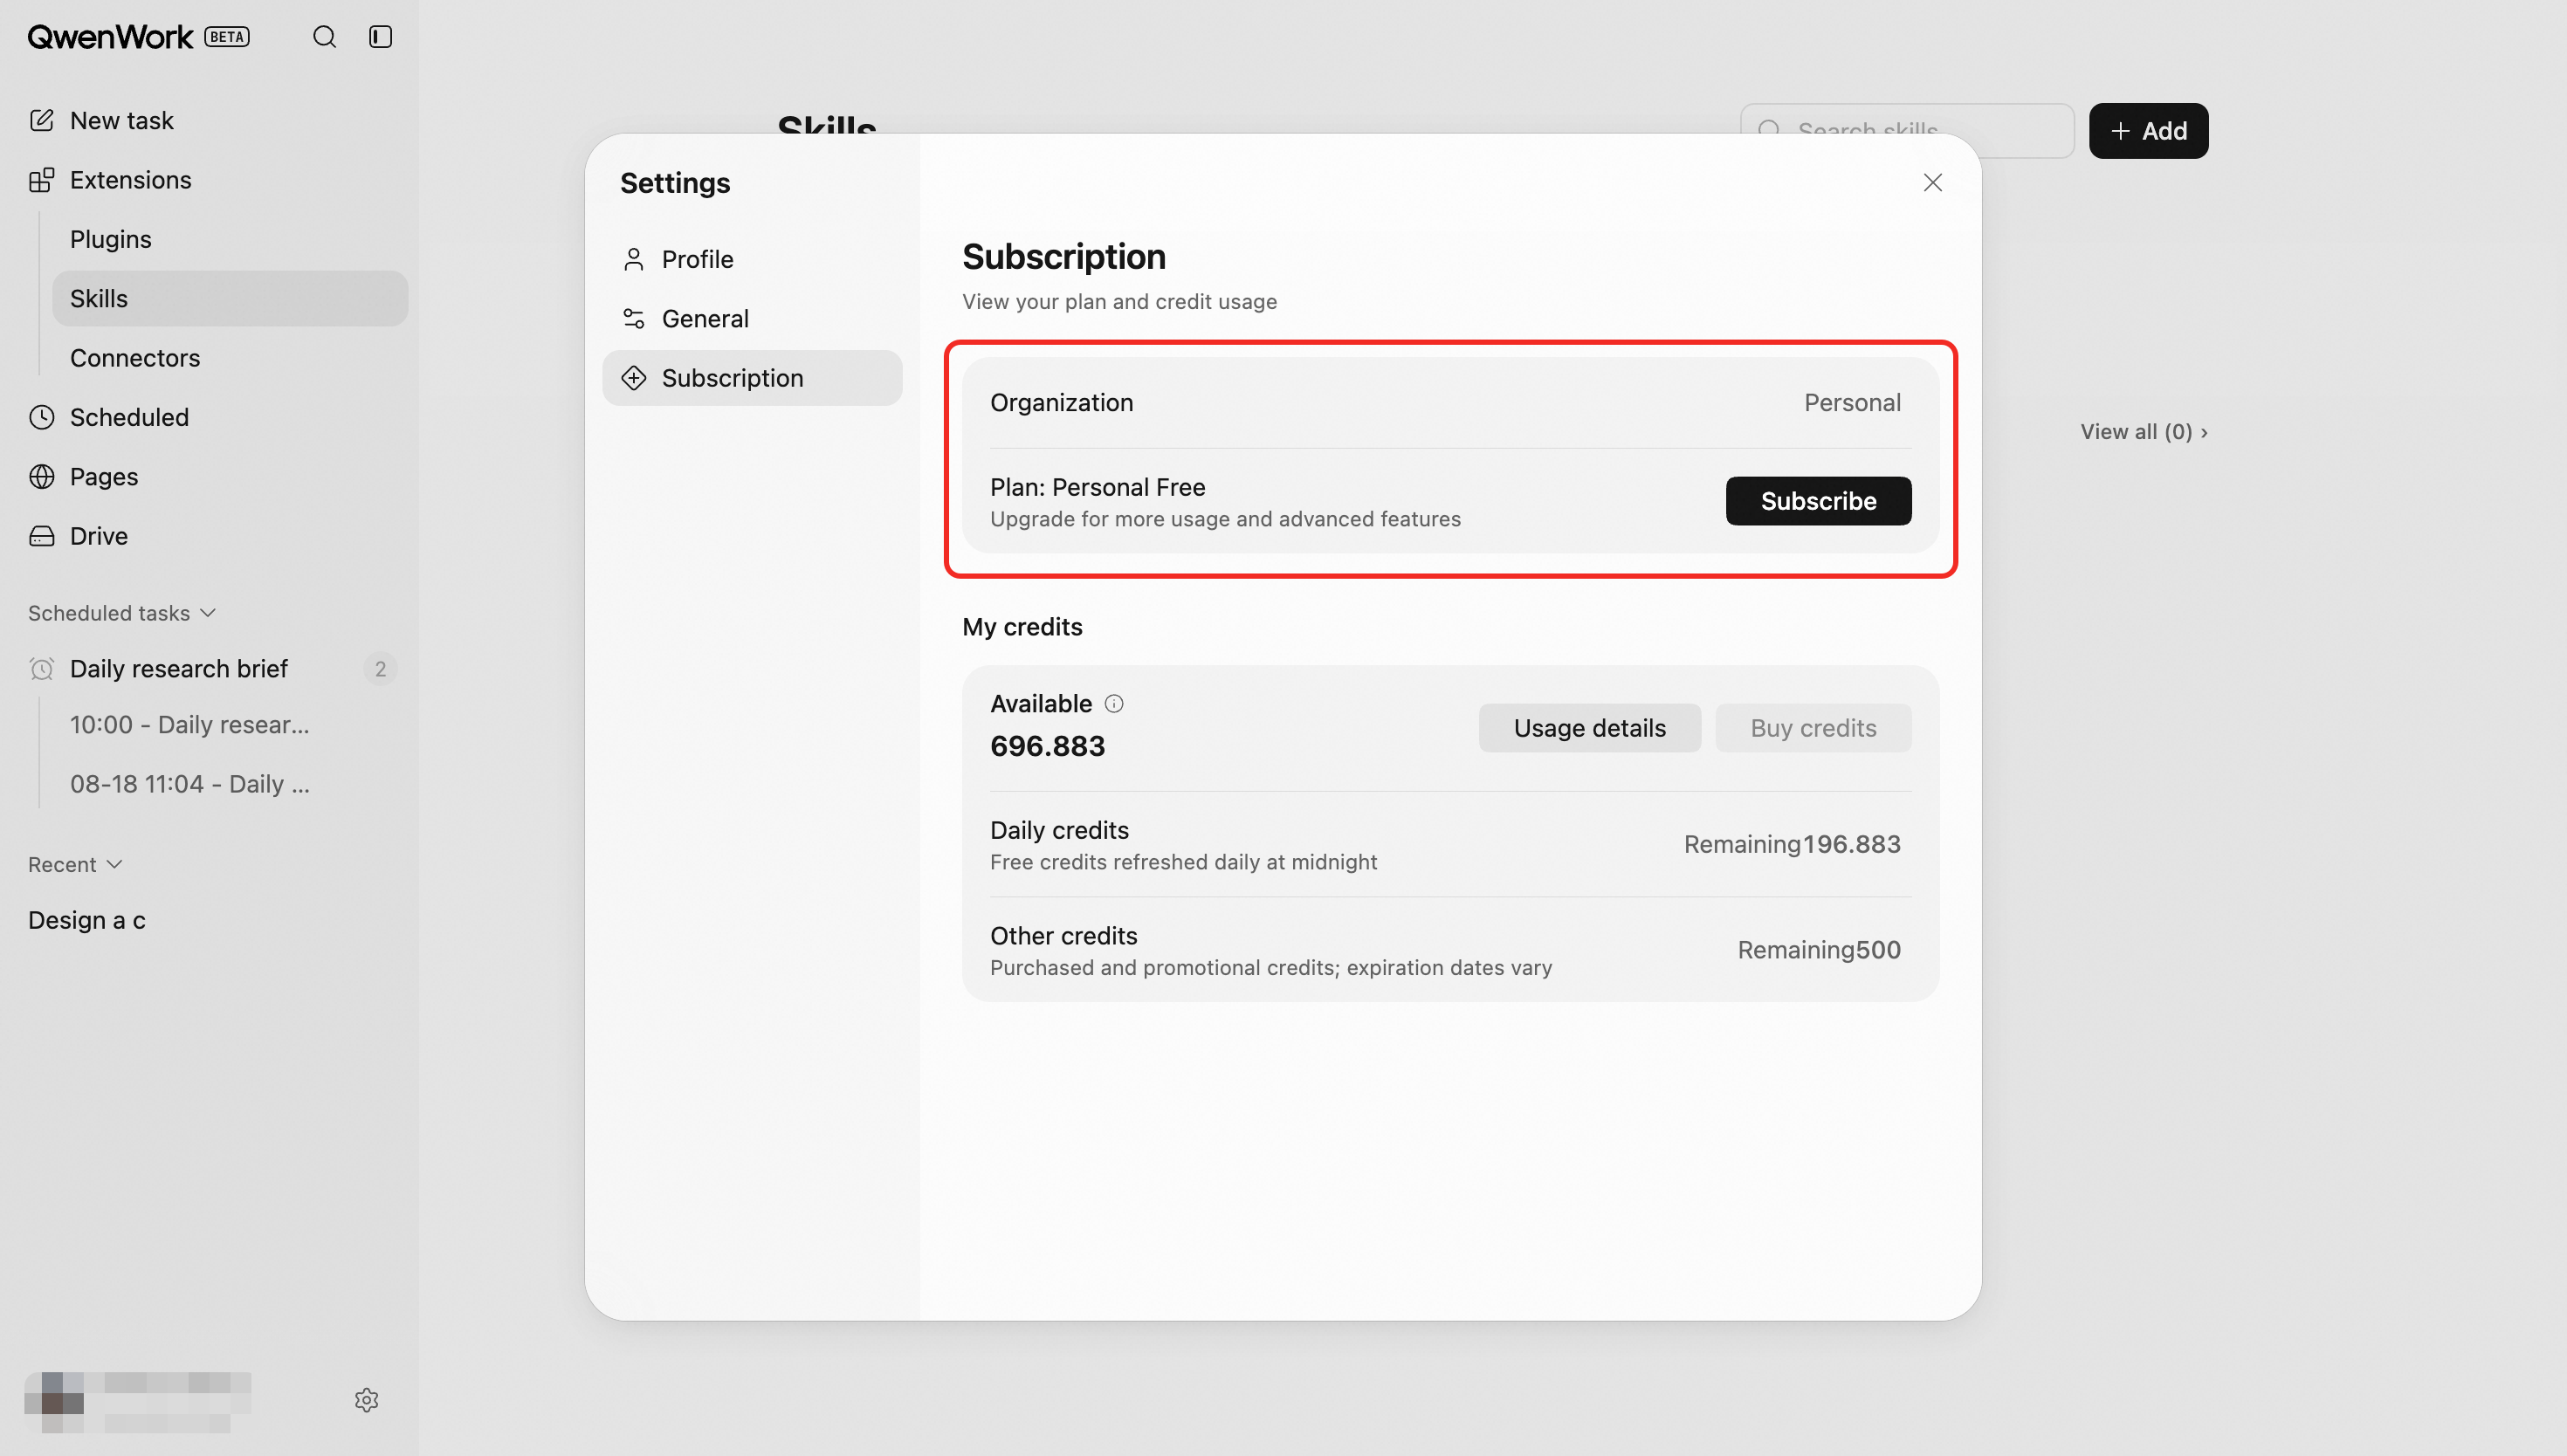
### 3.2 Enterprise Members {#3-2-enterprise-members}
Enterprise members can view their remaining credits and credit usage. When credits are insufficient, they can request additional credits from their organization.
### 3.3 Enterprise Administrators {#3-3-enterprise-administrators}
Enterprise administrators can open the enterprise admin console from Settings to review organization-wide credit usage and manage the enterprise subscription.
In the admin console, enterprise administrators can assign seats, manage subscription plans, and purchase additional credit allocations.
# MacOS
Source: https://docs.qwenwork.ai/install/macos
> Install and set up QwenWork on macOS.
A complete guide to installing, signing in to, and maintaining QwenWork on macOS.
QwenWork for macOS is a native desktop application installed at `/Applications/QwenWork.app`. All tasks run locally. This guide covers the entire process, from preparing a new Mac to completing your first task, including system requirements, installation, account sign-in, automatic updates, and uninstallation.
## System Requirements {#system-requirements}
Before you begin, make sure your Mac meets the minimum requirements. QwenWork runs intensive AI workflows locally, so it has specific operating-system and storage requirements.
| Requirement | Minimum |
| ---------------- | ------------------------------------------------------------------------------------- |
| Operating system | macOS 14 or later |
| Architecture | Apple Silicon or Intel |
| Storage | Approximately 700 MB for the application, plus additional space for task outputs |
| Network | A stable internet connection for signing in, accessing models, and downloading skills |
If you are using an older version of macOS, update it from **System Settings → General → Software Update**. QwenWork cannot run on versions earlier than macOS 14.
## Installation {#installation}
### Download the Installer {#download-the-installer}
Visit [qwenwork.ai](https://qwenwork.ai) and click **macOS** to download the latest `.dmg` installer.
The macOS installer differs by processor architecture, but both versions provide identical functionality. Select the version that matches your Mac:
- **ARM64 — Apple Silicon:** For Macs with M-series chips.
- **X64 — Intel:** For Macs with Intel processors.
The download page automatically detects your Mac and marks the matching version as **Recommended**. If you are unsure which processor your Mac uses, open the Apple menu in the upper-left corner and select **About This Mac**.
### Install the Application {#install-the-application}
1. Double-click the downloaded `.dmg` file.
2. Drag the QwenWork icon onto the **Applications** folder shortcut.
3. Wait for copying to complete.
4. Eject the disk image from the Finder sidebar to prevent it from mounting again after startup.
After installation, the application is located at `/Applications/QwenWork.app`. Consider pinning it to the Dock for convenient access.
### Launch QwenWork for the First Time {#launch-qwenwork-for-the-first-time}
Open QwenWork from Launchpad, the Applications folder, or Spotlight by pressing `⌘ + Space` and entering `QwenWork`.
When you launch it for the first time, Gatekeeper may display the following message:
> “QwenWork.app cannot be opened because Apple cannot check it for malicious software.”
Open **System Settings → Privacy & Security**, scroll to the QwenWork warning, and click **Open Anyway**. This step is required only once.
## Signing In {#signing-in}
After a new installation, QwenWork guides you through the sign-in process. You can sign in with an existing account or register a new one using an email address or a supported third-party account.
Returning users will not see this page. QwenWork preserves your sign-in session, restores previous tasks, and opens the main workspace directly.
The account area is always located in the lower-left corner of the window. Click your profile picture to open a menu containing:
- Plan expiration information;
- Settings;
- Preferences;
- Help documentation;
- Release notes;
- About us;
- Sign out.
## Entering the QwenWork Workspace {#entering-the-qwenwork-workspace}
QwenWork is a standalone application. There is no need to switch to a QwenWork tab inside another product. After signing in, you are taken directly to the main workspace, with the navigation sidebar on the left.
The sidebar provides access to commonly used features:
- **New Task:** Start a new task.
- **Expert Kits / Skills / Connectors:** Install additional AI capabilities.
- **Scheduled Tasks:** Run tasks on a recurring schedule.
- **IM Channels:** Collaborate through chat-based channels.
- **Tasks / Channels:** View and return to previous work.
## Updating QwenWork {#updating-qwenwork}
QwenWork checks for new versions in the background by default. When an update is available, a notification appears in the lower-right corner or menu bar.
The update is downloaded and installed only after you confirm. QwenWork will not replace the current version without your approval.
To check immediately, select **QwenWork → Check for Updates** from the macOS menu bar.
## Uninstalling QwenWork {#uninstalling-qwenwork}
To uninstall QwenWork completely:
1. Quit the application by right-clicking its Dock icon and selecting **Quit**.
2. Open **Finder → Applications** and drag QwenWork to the Trash.
3. Empty the Trash.
To also remove local settings and cached task data, delete the application support directory:
```sh
rm -rf ~/.qwenwork
```
This removes local task history that has not yet been synchronized to the cloud. If you are concerned about account information remaining on the device, sign out from the account menu before uninstalling.
# Windows
Source: https://docs.qwenwork.ai/install/windows
> Install and set up QwenWork on Windows.
A complete guide to installing and configuring QwenWork on Windows.
## System Requirements {#system-requirements}
| Requirement | Minimum |
| ---------------- | ---------------------------- |
| Operating system | Windows 10 (64-bit) or later |
| Architecture | x86\_64 (AMD64) |
| Storage | 500 MB of available space |
| Network | A stable internet connection |
## Installation {#installation}
### Download the Installer {#download-the-installer}
Visit [qwenwork.ai](https://qwenwork.ai) and click **Windows** to download the latest `.exe` installer.
### Run the Installer {#run-the-installer}
1. Double-click the downloaded `.exe` file to launch the installation wizard.
2. Follow the prompts to select an installation location. The default location is usually suitable.
3. Click **Install** and wait for the installation to finish.
If Windows Defender SmartScreen displays **“Windows protected your PC,”** click **More info → Run anyway** to continue.
### Launch the Application {#launch-the-application}
After installation, search for **QwenWork** in the Start menu and open it, or double-click the desktop shortcut.
## Signing In {#signing-in}
After a new installation, QwenWork guides you through the sign-in process. You can use an existing account or register a new one using an email address or a supported third-party account.
Returning users will not see this page. QwenWork preserves your sign-in session, restores previous tasks, and opens the main workspace directly.
The account area is always located in the lower-left corner of the window. Click your profile picture to open the account menu.
## Entering the QwenWork Workspace {#entering-the-qwenwork-workspace}
QwenWork is a standalone application. There is no need to switch to a QwenWork tab inside another product. After signing in, you are taken directly to the main workspace, with the navigation sidebar on the left.
The sidebar provides access to commonly used features:
- **New Task:** Start a new task.
- **Expert Kits / Skills / Connectors:** Install additional AI capabilities.
- **Scheduled Tasks:** Run tasks on a recurring schedule.
- **IM Channels:** Collaborate through chat-based channels.
- **Tasks / Channels:** View and return to previous work.
## Updating QwenWork {#updating-qwenwork}
QwenWork checks for new versions in the background by default. When an update is available, a notification appears in the lower-right corner or menu bar.
The update is downloaded and installed only after you confirm. QwenWork will not replace the current version without your approval.
To check immediately, select **Help → Check for Updates** from the menu bar.
## Uninstalling QwenWork {#uninstalling-qwenwork}
1. Open **Settings → Apps → Installed apps**.
2. Search for **QwenWork**.
3. Click the three-dot menu on the right and select **Uninstall**.
4. Follow the uninstallation wizard.
To also remove configuration data, delete the following directory:
```text
%USERPROFILE%\.qwenwork
```
# Privacy and Security
Source: https://docs.qwenwork.ai/getting-started/privacy-security
> Learn how QwenWork handles data, privacy, and security.
## Scope {#scope}
This document explains how QwenWork (“the Product” or “QwenWork”) collects, uses, stores, and protects user data on the web and desktop. It applies to individual users and organization administrators who grant access to enterprise members.
## Data We Collect {#data-we-collect}
To provide the services, the Product processes the following types of information:
- **Account and identity information:** Username, email address, profile photo, and authentication details such as single sign-on identifiers and enterprise identity information.
- **Conversation and task content:** Prompts, uploaded files, and generated outputs, such as presentations, documents, webpages, and data-analysis reports.
- **Usage data:** Feature activity, usage statistics, seat utilization, and operation logs.
- **Cloud Drive and Skill Center content:** Files, knowledge bases, and workflow configurations that users actively save to their workspace.
- **Admin-console data:** Usage policies, connector configurations, member permissions, and team knowledge-base rules configured by enterprise administrators.
The Product does not proactively access data that users have not authorized. Separate user consent or organization-administrator authorization will be obtained before collecting information beyond the scope described above.
## How We Use Data {#how-we-use-data}
We are committed to protecting user data and privacy. Collected data is used only to:
- Process conversations, generate content, execute tasks, and return results.
- Calculate organizational usage and manage seats and quotas.
- Support permission governance, security audits, and compliance management by organization administrators.
- Troubleshoot service issues, improve the product experience, and fulfill legal obligations.
- Understand user needs and optimize the product experience.
Usage, task history, and content assets are not shared between organizations. Each organization has an independent workspace, and enterprise administrators can centrally manage members within their organization.
## Data Storage and Protection {#data-storage-and-protection}
### Storage Location {#storage-location}
User content and related data are stored in cloud-service environments located in Singapore.
### Security Measures {#security-measures}
- **Encryption in transit:** Communications between clients and servers are encrypted using TLS.
- **Encryption at rest:** Stored data is protected using industry-standard encryption algorithms.
- **Access control:** Internal access is restricted according to the principle of least privilege. Critical operations require multifactor authentication and approval.
- **Audit logging:** Administrator actions and system-access logs are recorded for security audits and anomaly detection.
- **Vulnerability management:** Security scans, penetration testing, and patch updates are performed regularly.
### Data Retention and Deletion {#data-retention-and-deletion}
- Content deleted by users is removed from their visible workspace after the deletion is completed.
- When an organization closes its account or stops using the service, related data is handled according to applicable laws, regulations, and contractual agreements.
- Some data may be retained for the necessary period to meet compliance, auditing, or dispute-resolution obligations.
## Organization Administrators’ Rights and Responsibilities {#organization-administrators-rights-and-responsibilities}
After subscribing to an Enterprise plan, enterprise administrators can:
- View, configure, and manage members’ usage, seats, and connectors.
- Configure access rules for team knowledge bases.
- Set organization-wide usage policies and permission isolation.
When exercising these permissions, organization administrators must comply with their organization’s internal policies and applicable laws and regulations. They are responsible for data-processing activities involving members of their organization.
## AI-Generated Content {#ai-generated-content}
QwenWork uses AI models to assist in generating text, data, charts, code, multimedia, and other content to improve work efficiency. Because AI-generated content may be inaccurate, incomplete, or inconsistent with actual circumstances, generated results are provided for reference only. Users should apply their own professional judgment and independently verify the accuracy, legality, and suitability of all outputs.
To protect information security and ensure compliant use, users should follow these principles:
1. **Data input requirements:** Do not submit highly sensitive personal information, such as ID numbers or bank-account details; core corporate trade secrets, such as unpublished financial data, strategic plans, or source code; unsanitized customer information; access keys; or credentials. The quality and security of input data directly affect the security of generated outputs.
2. **Content review:** AI-generated content should not be used directly in formal contexts. Before submitting reports, publishing externally, uploading to systems, or entering approval processes, users should manually review the factual basis, data accuracy, formatting, and compliance of AI outputs to ensure that the content is accurate, reliable, and consistent with business standards.
3. **Compliance with internal policies:** Before using AI tools, review and follow your enterprise’s or organization’s policies on AI-assisted tools, data security, and information disclosure. Certain industries—including finance, government, and healthcare—have additional data-processing requirements. Users must ensure that their usage complies with applicable regulations and internal policies.
QwenWork is committed to continuously improving model capabilities and content quality. However, users must carefully evaluate generated content and remain responsible for its accuracy and practical use.
## Third-Party Services and Connectors {#third-party-services-and-connectors}
The Product may interact with other applications or services through connectors. When using a connector, users must confirm the scope and purpose of the data exchange and comply with the connector provider’s terms of service.
> Learn More
>
> This document is a summary. For the full description of our privacy practices — including your rights, data disclosure, international transfers, cookie practices, and contact information — please refer to the complete [QwenWork Privacy Policy](https://terms.alicdn.com/legal-agreement/terms/privacy_policy_full/20260811165222571/20260811165222571.html). In the event of any inconsistency, the full Privacy Policy shall prevail.
# Alibaba Cloud Purchasing Guide
Source: https://docs.qwenwork.ai/getting-started/source-intro
> Purchase QwenWork through Alibaba Cloud and configure your organization.
## \[Important] DingTalk Organization Binding {#important-dingtalk-organization-binding}
Confirm whether your QwenWork organization is bound to a DingTalk organization. If binding is required, switch to the target DingTalk organization in DingTalk, access QwenWork from within DingTalk, and obtain your Organization ID via the free signup entry inside DingTalk. Entering through this entry will automatically bind the DingTalk organization (requires the DingTalk organization primary administrator role or above). The remaining steps are the same.
## QwenWork Enterprise Edition {#qwenwork-enterprise-edition}
The Enterprise Edition consists of seats and add-on credit packs. Add-on credit packs cannot be used on their own — you must have seats with a valid subscription period to use them.
### Purchasing Seats {#purchasing-seats}
Select the number of seats and the subscription duration. If you do not need to bind a DingTalk organization, click the free signup link to obtain your Organization ID.
To purchase from the Alibaba Cloud website, choose "Create for free".
Fill in the organization name (changeable later), the mobile number of the initial super administrator (the super administrator is not required to be unique), and the enterprise notification email (used for Enterprise Edition account notifications).
Complete the signup.
Copy the Organization ID, return to the Alibaba Cloud website, enter the ID, and place the order to complete payment.
### Purchasing Add-on Credit Packs {#purchasing-add-on-credit-packs}
Select the number of add-on credit packs to purchase (packs are stackable) and enter the corresponding Organization ID. The credit packs will be recharged to the corresponding organization. Add-on credit packs are valid for one year.
Go to the QwenWork admin console — Credits Management page, where you can view changes in available credits and adjust the monthly usage limit for both the organization and individuals.
# Personal Edition Subscription
Source: https://docs.qwenwork.ai/benefits/personal
> Understand QwenWork Personal Edition plans and subscription options.
## 1. How to Use QwenWork Personal Edition {#1-how-to-use-qwenwork-personal-edition}
Using QwenWork requires binding to an organization. For Personal Edition, switch your organization to "My AI Team" to enter the Personal Edition.
## 2. Subscription & Top-up {#2-subscription-top-up}
### 2.1 Personal Plans {#2-1-personal-plans}
#### 1. Plan Overview {#1-plan-overview}
Supported payment methods: monthly / auto-renewing monthly / annual
Available plans: Free / Plus / Pro
| | Free | Plus | Pro |
| ---------------------------------------- | -------------------------- | ---------------------------------------------------------------------------------------------- | ---------------------------------------------------------------------------------------------- |
| Subscription price | \$0 | \$20/month; Auto-renewing monthly \$20/month; Annual \$192/year (Save 20% with annual billing) | \$40/month; Auto-renewing monthly \$40/month; Annual \$384/year (Save 20% with annual billing) |
| Monthly credits | — | 2,000 credits | 4,500 credits |
| Daily bonus | 200 credits (limited time) | 200 credits (limited time) | 200 credits (limited time) |
| Add-on credit packs | Not available | \$1 = 100 credits | \$1 = 100 credits |
| Signup bonus credits (granted once only) | 500 | 500 | 500 |
#### 2. How to Subscribe to a Personal Plan {#2-how-to-subscribe-to-a-personal-plan}
Entry 1: Settings → Usage → Upgrade Subscription
Entry 2: New Task page / chat stream → usage details panel → Upgrade Subscription
### 2.2 Add-on Credit Packs {#2-2-add-on-credit-packs}
#### 1. Personal credit packs (only paid Personal Edition users can purchase credit packs) {#1-personal-credit-packs-only-paid-personal-edition-users-can-purchase-credit-packs}
| Pack | Credits included | Price (USD), \$1 = 100 credits |
| ------------------ | ---------------- | ------------------------------ |
| Top-up credit pack | 1,500 | 15 |
| Top-up credit pack | 5,000 | 50 |
| Top-up credit pack | 10,000 | 100 |
#### 2. How to Top up Credit Packs {#2-how-to-top-up-credit-packs}
Entry 1: Settings → Usage → Top up Credits
Entry 2: New Task page / chat stream → usage details panel → Top up Credits
QwenWork credit packs can only be used within QwenWork and are NOT interchangeable with DingTalk AI compute packs.
### 2.3 Enterprise Members: Requesting a Seat from the Admin or Switching to Personal Edition {#2-3-enterprise-members-requesting-a-seat-from-the-admin-or-switching-to-personal-edition}
Enterprise users who have not been assigned a seat by their organization will be unable to use Enterprise Edition QwenWork. In this case, they can either switch to the Personal Edition or contact their enterprise administrator to request a seat.
### 2.4 Credits Usage History & Bonus Credits Lookup {#2-4-credits-usage-history-bonus-credits-lookup}
Entry 1: New Task page / chat stream → usage details panel → View Usage Details
Entry 2: Settings → Usage → View Usage Details
## 3. FAQ {#3-faq}
**Q1: Can I downgrade my plan?**
A1: No, downgrades are not supported.
**Q2: Can I upgrade my plan?**
A2: Yes. Your remaining credits in the current plan will be calculated, and you can upgrade to a higher plan by paying the price difference (the total cost equals the full price of the higher plan under the corresponding billing method). The upgrade takes effect immediately, the plan expiration date remains unchanged, and the fixed monthly credits are topped up to the full amount of the higher plan.
**Q3: Are credits and plans shared between Personal Edition and an organization's Enterprise Edition?**
A3: No. Credits and plans are isolated between different organizations' Enterprise Editions, and between Personal Edition and any organization's Enterprise Edition.
# Enterprise Edition Subscription
Source: https://docs.qwenwork.ai/benefits/enterprise
> Understand QwenWork Enterprise Edition plans and subscription options.
## Overview {#overview}
QwenWork Enterprise Edition is a paid subscription product for enterprise customers. Customers purchase and manage their subscription at the **organization** level. The Enterprise Edition consists of two parts:
- **Enterprise seats**: per-person subscription entitlements. Each seat includes 2,000 credits per month.
- **Enterprise add-on credit packs**: one-time purchased credit packs, valid for one year.
All credits (seat credits + credit pack credits) flow into a unified **shared credits pool**, which all members of the organization draw from.
## Key Concepts {#key-concepts}
| Term | Definition |
| ------------------- | ----------------------------------------------------------------------------------------------------------------------------------------- |
| Organization | The enterprise customer's entity in QwenWork; each purchase corresponds to one organization. |
| Seat | The paid subscription unit of Enterprise Edition, purchased by quantity; currently one spec only, "Enterprise Standard". |
| Seat credits | The 2,000 credits included with each seat per month; refreshed with each subscription month, unused credits expire and do not accumulate. |
| Credit pack | A one-time purchased credit pack, valid for one year, available in multiple tiers. |
| Credit pack credits | Credits granted by credit packs; they enter the shared credits pool. |
| Shared credits pool | The unified balance of seat credits and credit pack credits within an organization, shared and consumed by all members. |
| Subscription period | The full duration of one subscription, in either annual or monthly billing. |
| Subscription month | The monthly billing boundary used for seat credit refresh (aligned to calendar months from the purchase date). |
| Next refresh time | The point in time when seat credits are next refreshed. |
| Expiration time | The point when the current subscription period ends and renewal is due. |
## Product Structure & Credits Pool Model {#product-structure-credits-pool-model}
### Structure Overview {#structure-overview}
```
QwenWork Enterprise Edition (Organization)
├── Enterprise seats (N × Enterprise Standard)
│ └── 2,000 credits per seat per subscription month ┐
│ ├──> Shared credits pool (organization-wide balance)
└── Enterprise add-on credit packs (multiple tiers, one-year validity) ┘
```
### Credit Attribute Comparison {#credit-attribute-comparison}
| Attribute | Seat credits | Credit pack credits |
| ------------------ | -------------------------------------------------------------------- | ----------------------------------- |
| Source | Included with seats (2,000/seat/month) | Separately purchased credit packs |
| Validity | Valid within the current subscription month | One year from purchase |
| Refresh | Refreshed uniformly every subscription month | No refresh |
| Expiry handling | Reset to zero at the end of each subscription month; no accumulation | Reset to zero at expiry |
| Shared | Yes, enters the shared credits pool | Yes, enters the shared credits pool |
| Deduction priority | Credits expiring sooner are consumed first | |
### Core Rules of the Credits Pool {#core-rules-of-the-credits-pool}
1. **Unified pool**: Seat credits and credit pack credits merge into a single organization-level balance; members' consumption does not distinguish the source.
2. **Deduction priority**: Credits expiring sooner are consumed first.
3. **Seat credits do not accumulate**: Seat credits unused in the current subscription month are reset to zero when the month ends; they do not carry over.
4. **Credit packs are managed per batch**: Each credit pack has its own validity period; when deducting credit pack credits, the "first to expire, first to deduct" rule applies.
## Enterprise Edition Subscription {#enterprise-edition-subscription}
### New Purchase of QwenWork Enterprise Edition {#new-purchase-of-qwenwork-enterprise-edition}
Flow:
1. Register the enterprise.
2. Select a billing period: 1 month / 2 months / 3 months / 6 months / 1 year / 2 years / 3 years.
3. Select the number of seats (default to the minimum); the price is calculated in real time.
4. Enter the organization name.
5. Enter the enterprise notification email (for renewal, payment, and credits reminders).
6. Confirm the order, which displays: number of seats, unit price, period, and total amount.
7. Place the order and pay via Alipay.
8. On successful payment → the organization is created automatically, the purchasing account becomes the super administrator → enter the admin console.
### Adding Seats & Renewal {#adding-seats-renewal}
#### Adding seats (takes effect immediately within the subscription period) {#adding-seats-takes-effect-immediately-within-the-subscription-period}
**Billing — prorated top-up for the remaining period**
- Newly added seats only pay for the remaining duration of the current subscription period.
- Proration formula: price and granted credits are prorated by time.
- The expiration of new seats is aligned with the main subscription (unified expiration and unified renewal).
**Credit granting — prorated grant + unified refresh from the next period**
- New seats immediately receive a prorated grant of the current month's seat credits based on "remaining days / days in the current month", which enters the credits pool.
- From the next subscription month onward, new seats are refreshed together with existing seats at 2,000 credits.
**Interaction**
- Enter the number of seats to add → the top-up price and the prorated first-period credits are displayed → confirm → pay via Alipay → seat count and credits pool update in real time.
Example: a monthly period of 30 days with 10 days elapsed; adding 2 seats:
#### Seat renewal {#seat-renewal}
**Renewal methods**
- Manual renewal (default): the administrator initiates renewal manually before or after expiration.
- Auto-renewal (optional): users can opt in; the payment is charged automatically before expiration per the agreed method, and can be turned off at any time.
**Renewal rules**
- Renewal is billed by the current number of seats and the selected period.
- Upon successful renewal, the expiration time is extended by one full period, and the seat credit refresh cycle continues accordingly.
- If auto-renewal payment fails: the subscription switches to a pending-renewal state, a reminder is triggered, and expiration rules apply.
### Purchasing Add-on Credit Packs {#purchasing-add-on-credit-packs}
**Tiers**
- Credit packs are available in multiple tiers: 1,500 / 5,000 / 10,000 / custom.
- Tier and quantity can be selected at each purchase.
**Rules**
- Validity: one year from successful purchase.
- Credits enter the shared credits pool immediately upon successful purchase.
- Credit packs purchased at different times each have independent validity; "first to expire, first to deduct" applies when consuming.
## Credits Pool & Credits Mechanics {#credits-pool-credits-mechanics}
### Credits inflow {#credits-inflow}
- Seat credits: enter the pool on new purchase, seat addition, and each subscription-month refresh.
- Credit pack credits: enter the pool immediately upon purchase.
### Credits refresh (seat credits) {#credits-refresh-seat-credits}
- **Unified refresh**: the whole organization's seat credits are refreshed together at the subscription-month boundary; all seats refresh to 2,000 × number of seats at the same point in time.
- **Seats added mid-period**: prorated grant for the first period, then merged into the unified refresh from the next subscription month.
- **Unused seat credits from the previous month are reset to zero at refresh** (no accumulation).
### Credits deduction {#credits-deduction}
- Consumption order: seat credits (current month) → credit pack credits (in ascending order of expiry).
- Deduction occurs in real time whenever members use features that consume credits.
### Low balance & depletion {#low-balance-depletion}
- **Low balance alert**: when the balance falls below a threshold (TBD, e.g., 10%), an in-app reminder is sent to the enterprise notification email and administrators, guiding them to purchase add-on credit packs.
- **Zero-balance blocking**: when the pool balance reaches 0, credit-consuming features are blocked, and a dialog guides the administrator to purchase credit packs or add seats; overdraft is not supported.
### Credits inquiry {#credits-inquiry}
- Credits pool balance and composition (seat credits / credit pack credits).
- Credit consumption details (time, member, amount consumed, remaining balance).
- Seat credit refresh records, credit pack purchase and expiry records.
## FAQ {#faq}
- QwenWork Enterprise Edition is activated and managed at the organization level.
- Administrators can purchase seats based on the actual number of users, and manage seats, subscription status, and credits balance centrally in the admin console.
- Each seat includes a fixed amount of credits per month; all seat credits and additionally purchased credit packs flow into the organization's shared credits pool, which is shared by members who have been granted Enterprise Edition access in the organization.
- During use, administrators can add seats or credit packs as needed, and keep an eye on the credits balance, refresh times, and subscription expiration.
- Seat credits refresh per subscription month and do not carry over; credit packs have their own validity. Actual prices, benefits, and validity are subject to the purchase page and the relevant service agreements.
# Upgrade/Downgrade Strategy
Source: https://docs.qwenwork.ai/benefits/plan-upgrade-downgrade
> Learn how QwenWork subscription upgrades and downgrades take effect.
## Basic rules {#basic-rules}
- **Auto-renewing monthly subscription**: The plan renews automatically after expiration. You can cancel future renewals at any time.
- **One-time purchase**: Only the current plan period is purchased. It does not renew automatically.
- **Plan upgrade**: The upgrade takes effect immediately, while the original plan expiration date remains unchanged unless stated otherwise below.
- **Plan downgrade**: Downgrades are not currently supported.
The final payment amount and plan validity period are shown on the order confirmation page.
## New purchases and cancellations {#new-purchases-and-cancellations}
| Action | When it takes effect | Payment |
| ------------------- | --------------------------------------------------------------------------------------------- | ---------------- |
| New purchase | Immediately after the purchase succeeds | The listed price |
| Cancel subscription | Benefits remain available through the current paid period; only future renewals are cancelled | — |
## Same-tier plan changes {#same-tier-plan-changes}
### Monthly or annual to auto-renewing monthly {#monthly-or-annual-to-auto-renewing-monthly}
- **Supported**: Yes
- **Plan expiration**: Extended by 31 days
- **Subscription status**: Changes to subscribed; the plan renews according to the subscription type one day before the current plan expires
- **Payment**: Auto-renewing monthly price
### Auto-renewing monthly to monthly or annual {#auto-renewing-monthly-to-monthly-or-annual}
This change is not currently supported.
## Plan upgrades {#plan-upgrades}
### Monthly Standard to Monthly Pro {#monthly-standard-to-monthly-pro}
- **Effective time**: Immediately
- **Plan expiration**: Original expiration date is maintained
- **Subscription status**: No active auto-renewal
- **Payment**: Price difference
- **Credits**: Topped up to the Pro plan amount, with the original expiration date maintained
### Annual Standard to Annual Pro {#annual-standard-to-annual-pro}
- **Effective time**: Immediately
- **Plan expiration**: Original expiration date is maintained
- **Subscription status**: No active auto-renewal
- **Payment**: Price difference
### Auto-renewing Monthly Standard to Auto-renewing Monthly Pro {#auto-renewing-monthly-standard-to-auto-renewing-monthly-pro}
- **Effective time**: Immediately
- **Plan expiration**: Extended by 31 days upon renewal
- **Subscription status**: Changes to auto-renewing monthly
- **Payment**: One month of the Pro auto-renewing monthly fee + price difference
### Monthly Standard to Annual Pro {#monthly-standard-to-annual-pro}
- **Effective time**: Immediately
- **Plan expiration**: Extended by 365 days upon renewal
- **Subscription status**: No active auto-renewal
- **Payment**: Pro annual fee + price difference
### Unsupported upgrades {#unsupported-upgrades}
- Annual Standard to Monthly Pro
- Annual Standard to Auto-renewing Monthly Pro
## Plan downgrades {#plan-downgrades}
Plan downgrades are not currently supported. Purchase buttons for lower-tier plans are disabled and show the message “You are already on a higher tier — no purchase needed.”
# Redemption Guide
Source: https://docs.qwenwork.ai/benefits/untitled-page
> How to redeem QwenWork credit and subscription codes, the redemption rules, and how to verify your redemption.
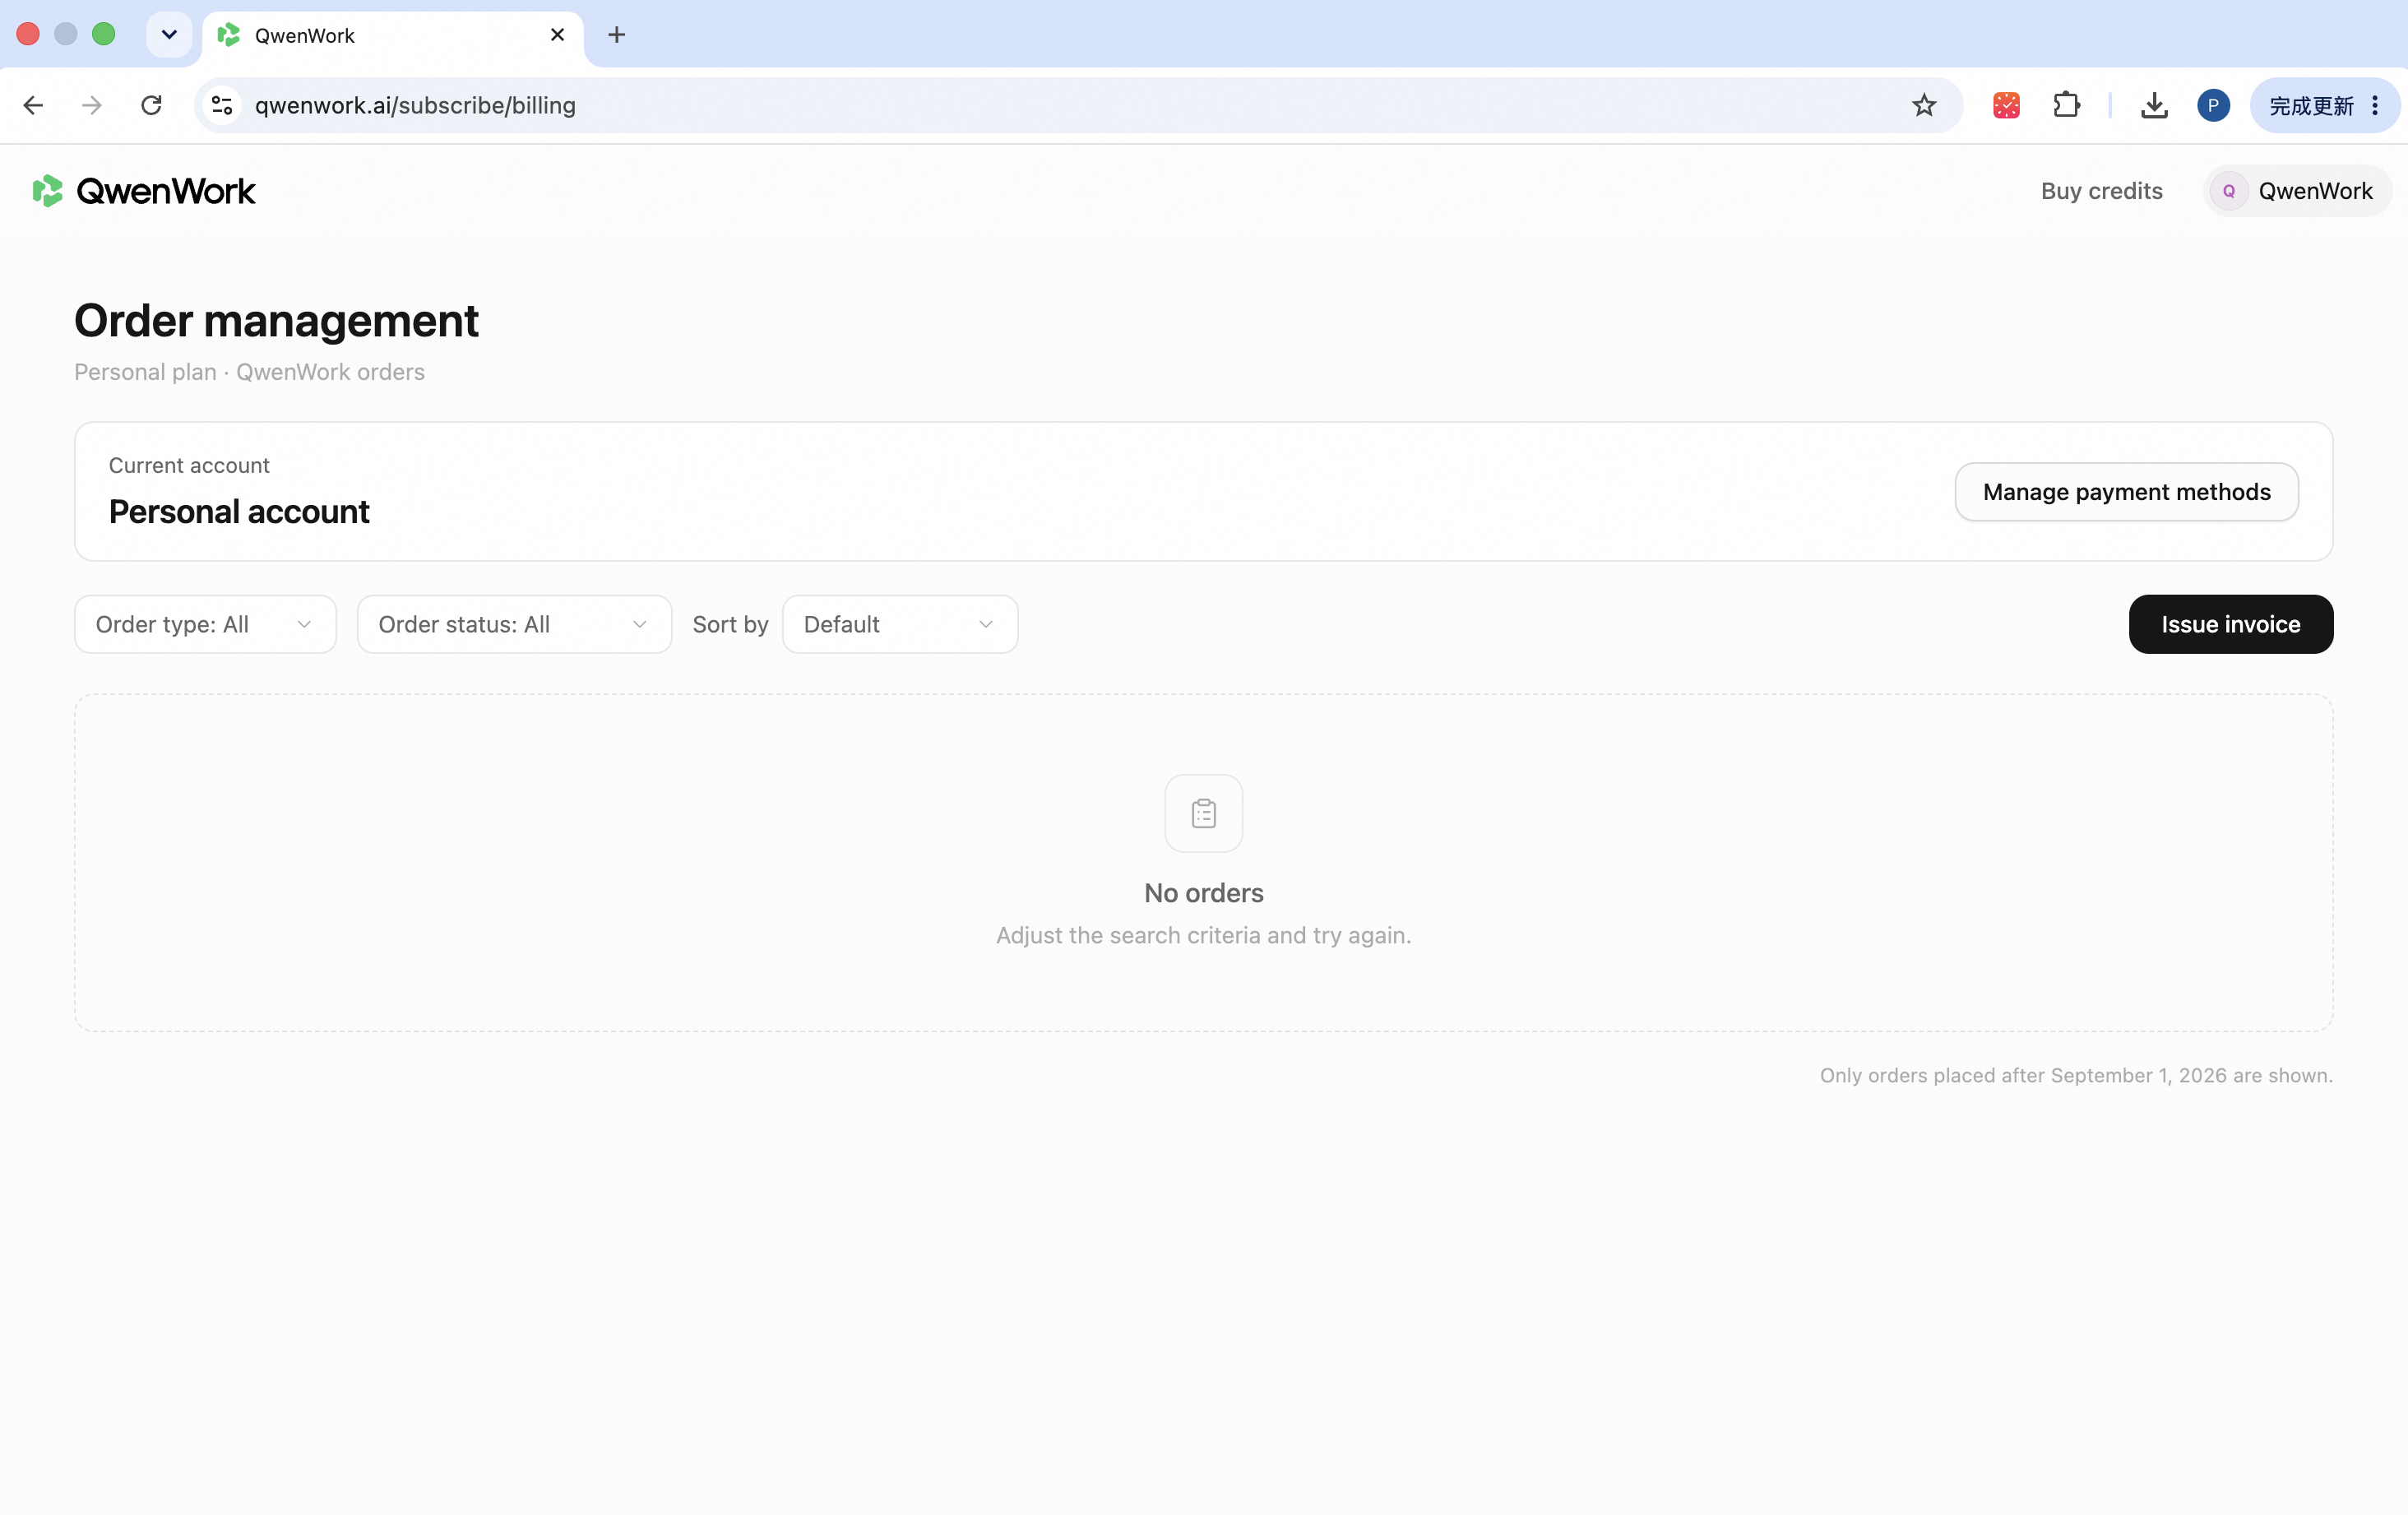
**Credit redemption** and **subscription redemption** share the same entry point. The redemption steps are below.
## Website {#website}
| Step 1 | Step 2 |
| ---------------------------------------------------------------------------------------------------------------------------------------------------- | ------------------------------------------------------------------------------------------------------------------------------------------------------ |
| Click your **avatar** (bottom-left), select your **personal subscription** under Organization, then open **Settings**. | Open **Subscription**, find the **Redemption code** section, and click **Redeem**. |
| 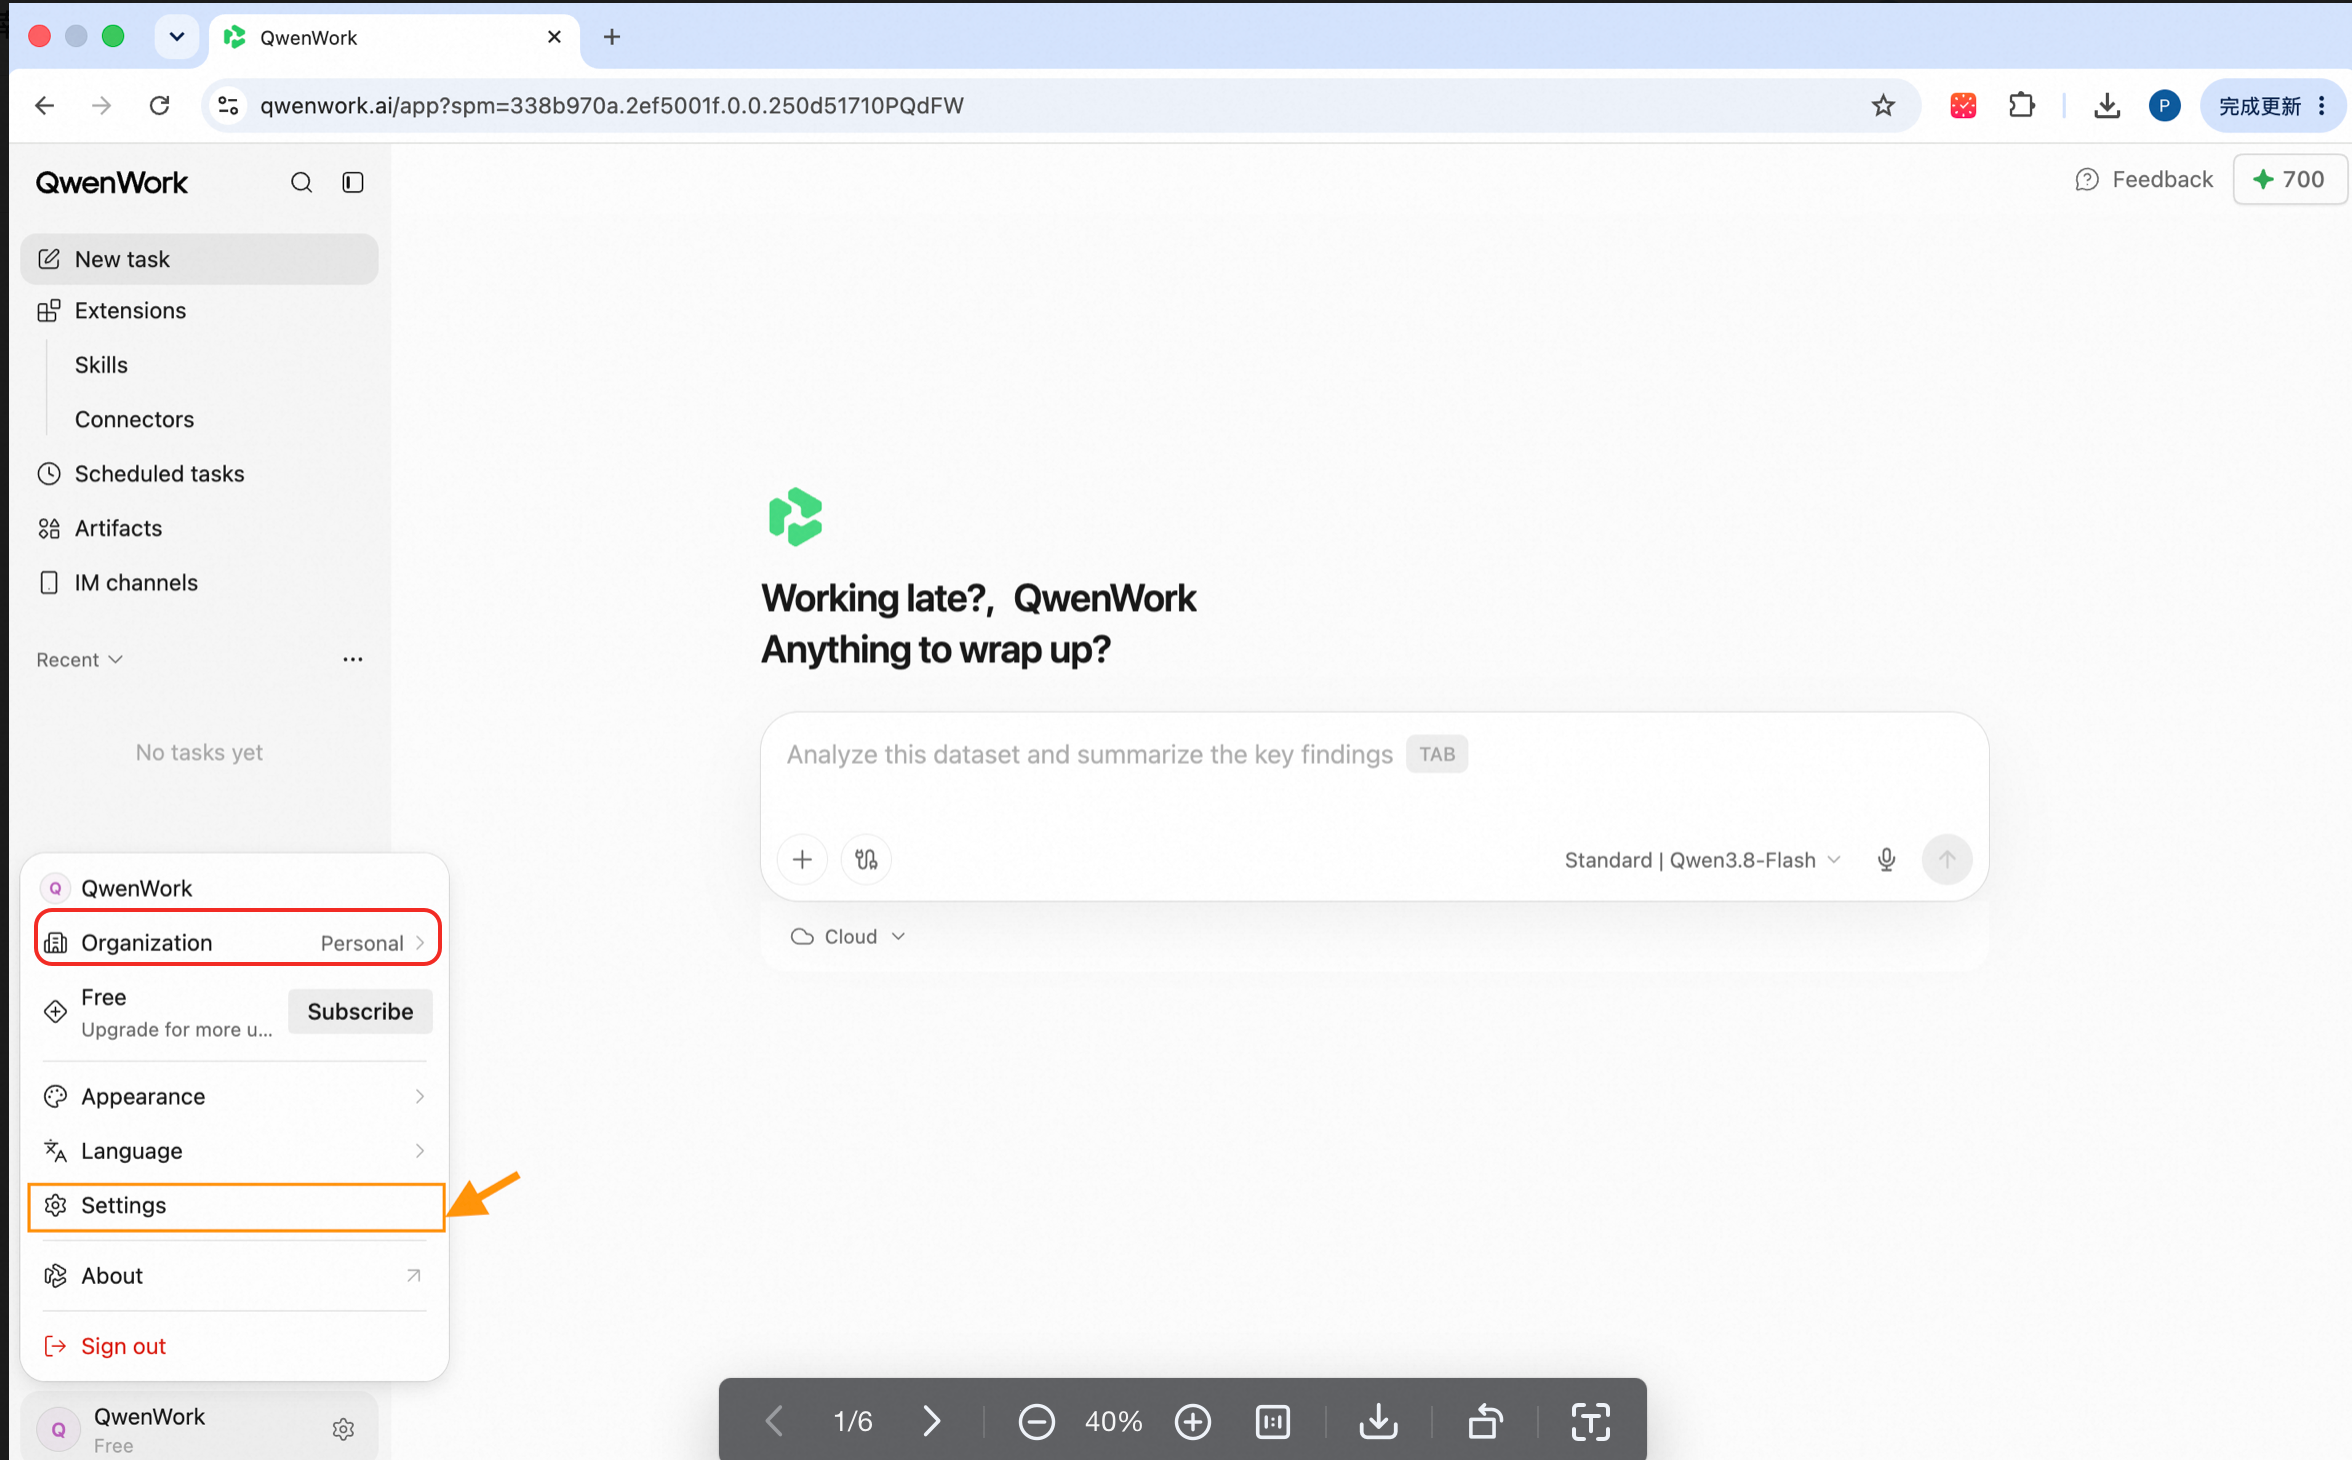 | 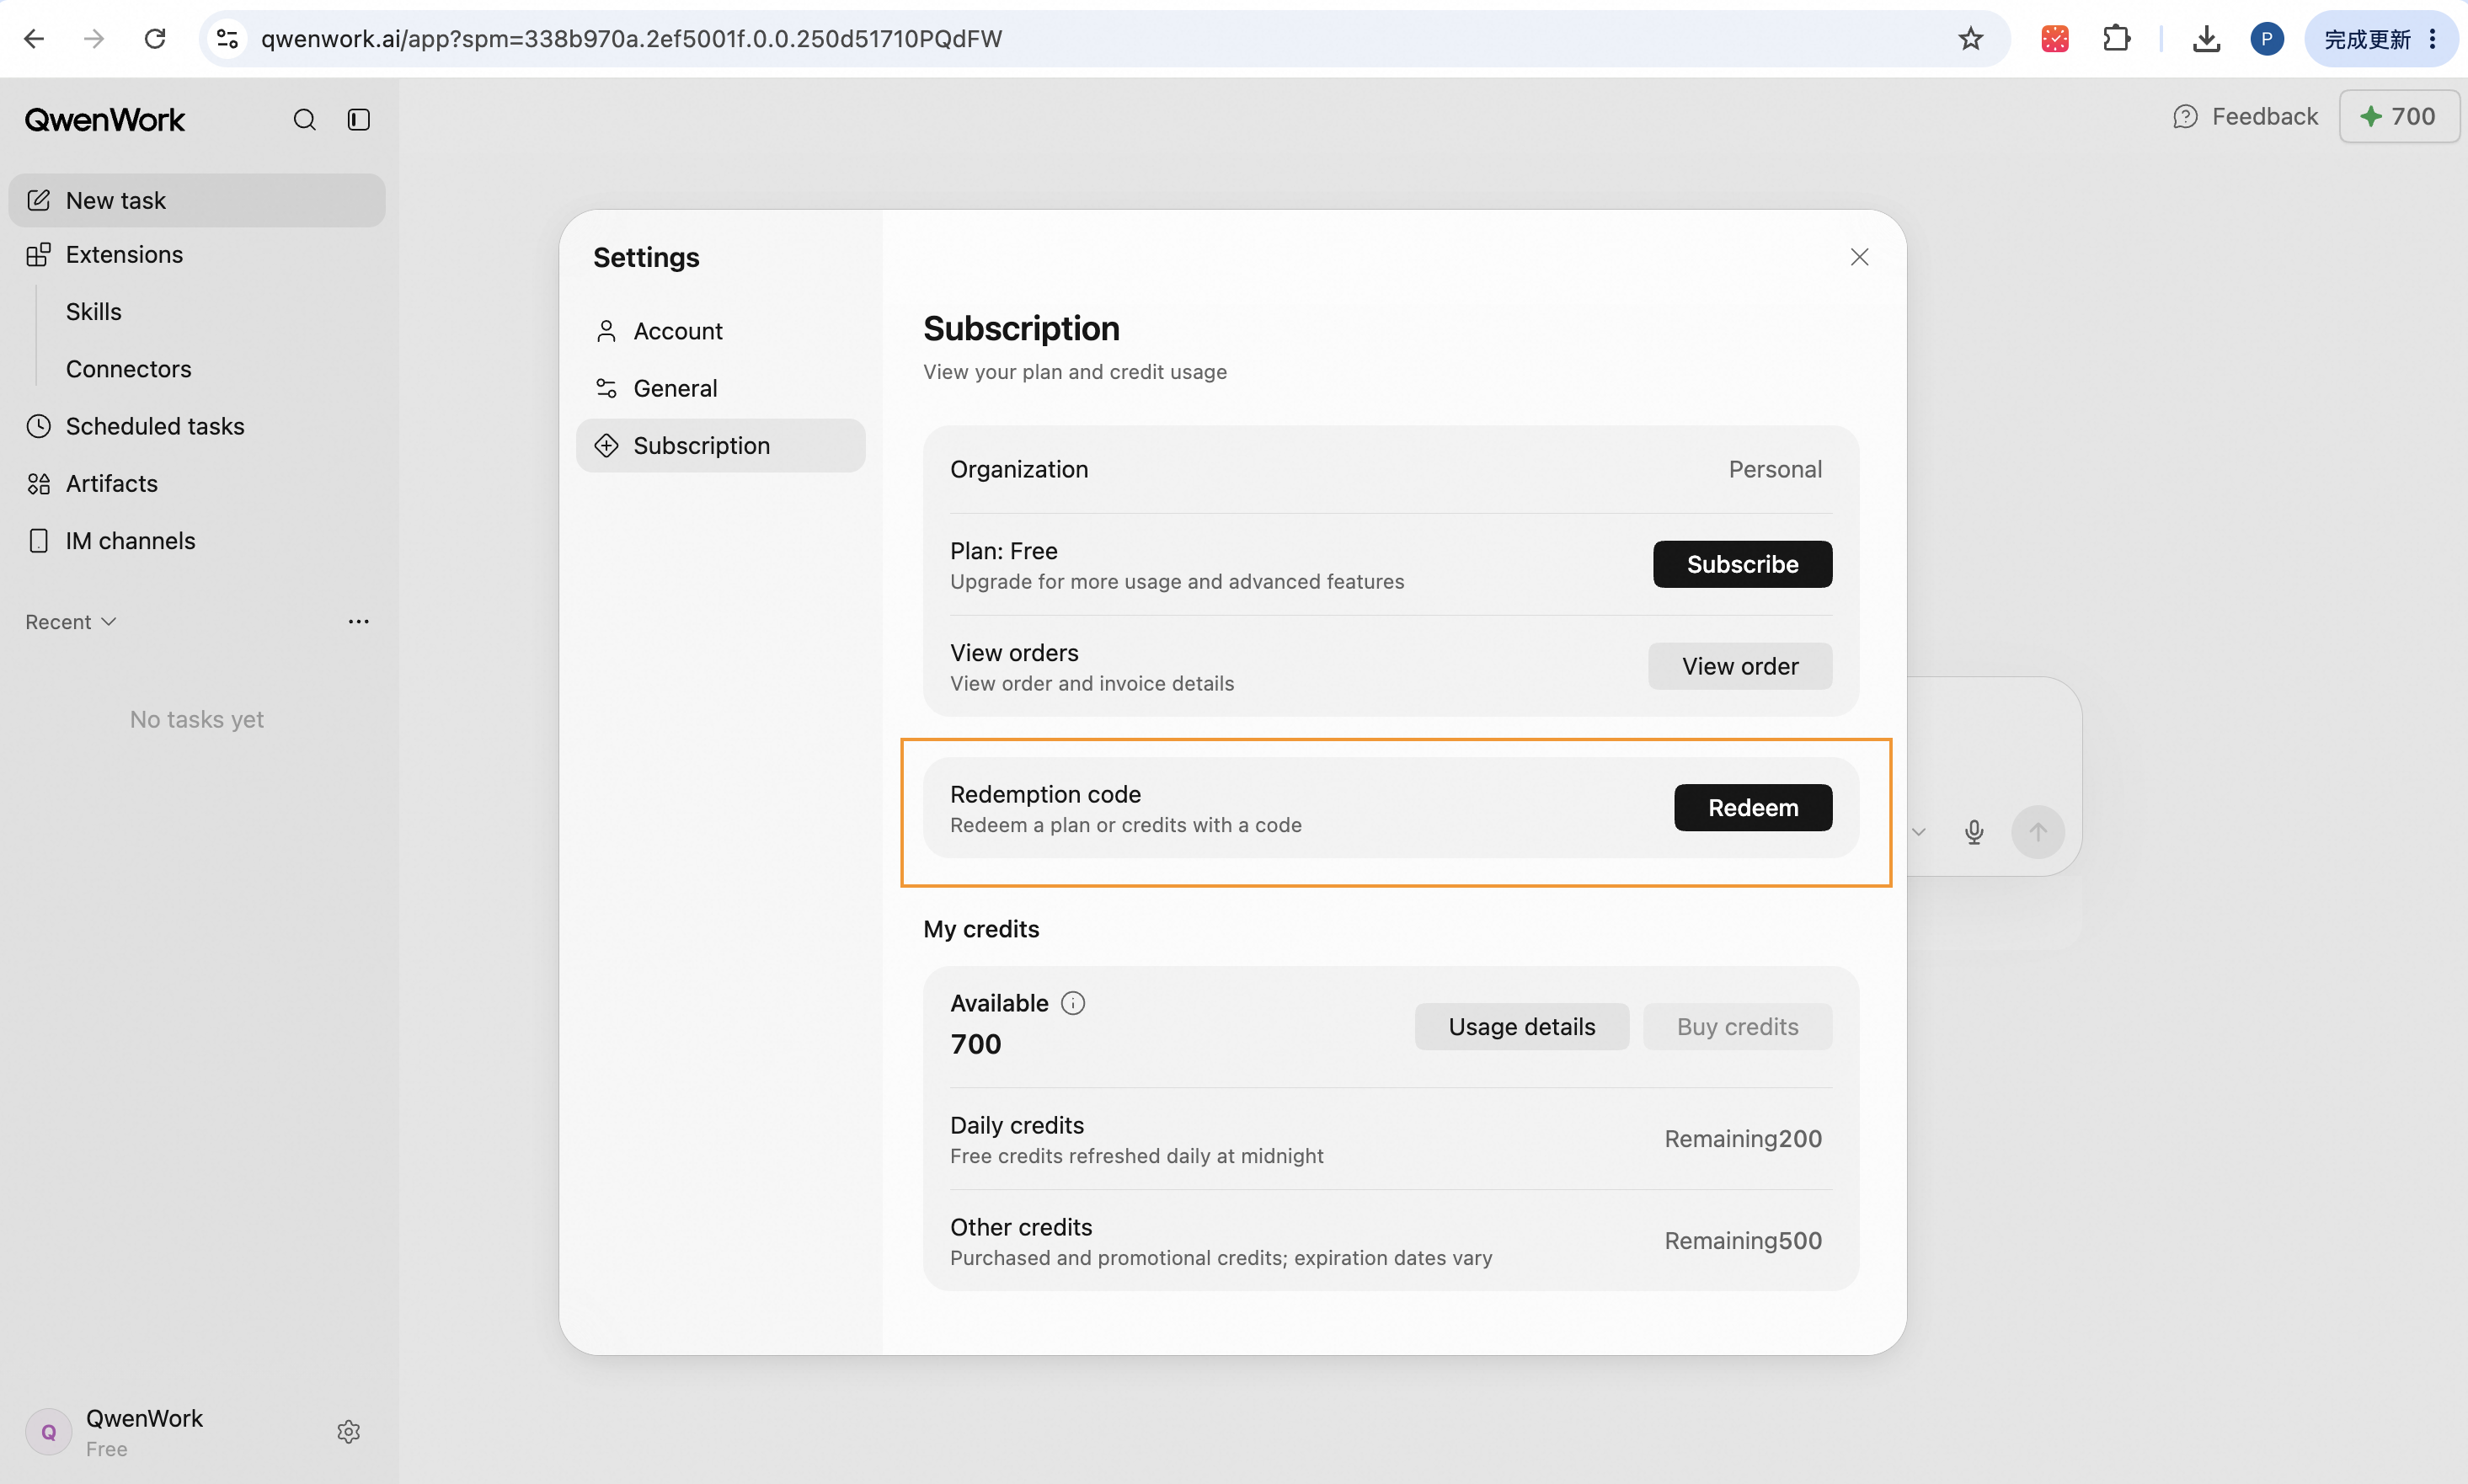 |
This feature isn't available in the desktop app yet. Stay tuned — it's coming soon.
---
## Redemption rules {#redemption-rules}
### Types of redemption codes {#types-of-redemption-codes}
Three types of redemption codes are currently available to personal accounts (collectively, the **Individual Redemption Codes**):
1. Individual credit redemption code
2. Individual Plus redemption code
3. Individual Pro redemption code
### Rules {#rules}
- QwenWork credits require a registered QwenWork account to redeem and can only be used within QwenWork.
- Individual Redemption Codes cannot be applied to enterprise accounts.
- Individual Plus accounts can redeem Individual Plus redemption codes, and the entitlement duration stacks.
- The Individual Plus and Individual Pro redemption codes cannot be redeemed or held at the same time.
- Credits are granted to the account you are signed in to at the time of redemption and cannot be shared across accounts.
- The validity period of credits and subscription benefits is subject to the official campaign terms.
- This is a virtual entitlement product. Once redeemed, it is non-refundable and non-exchangeable. Please verify the receiving account before redeeming.
---
## How to verify your redemption {#how-to-verify-your-redemption}
Benefits may take a short while to activate after redemption. Thank you for your patience.
### My credits {#my-credits}
| Step 1 | Step 2 |
| ------------------------------------------------------------------------------------------------------------------------------------------------ | --------------------------------------------------------------------------------------------------------------------------------------------------- |
| Open **Subscription** and find **My Credits** to check whether the benefit is active. | Click **Usage details** to view a full breakdown of how your credits were used. |
| 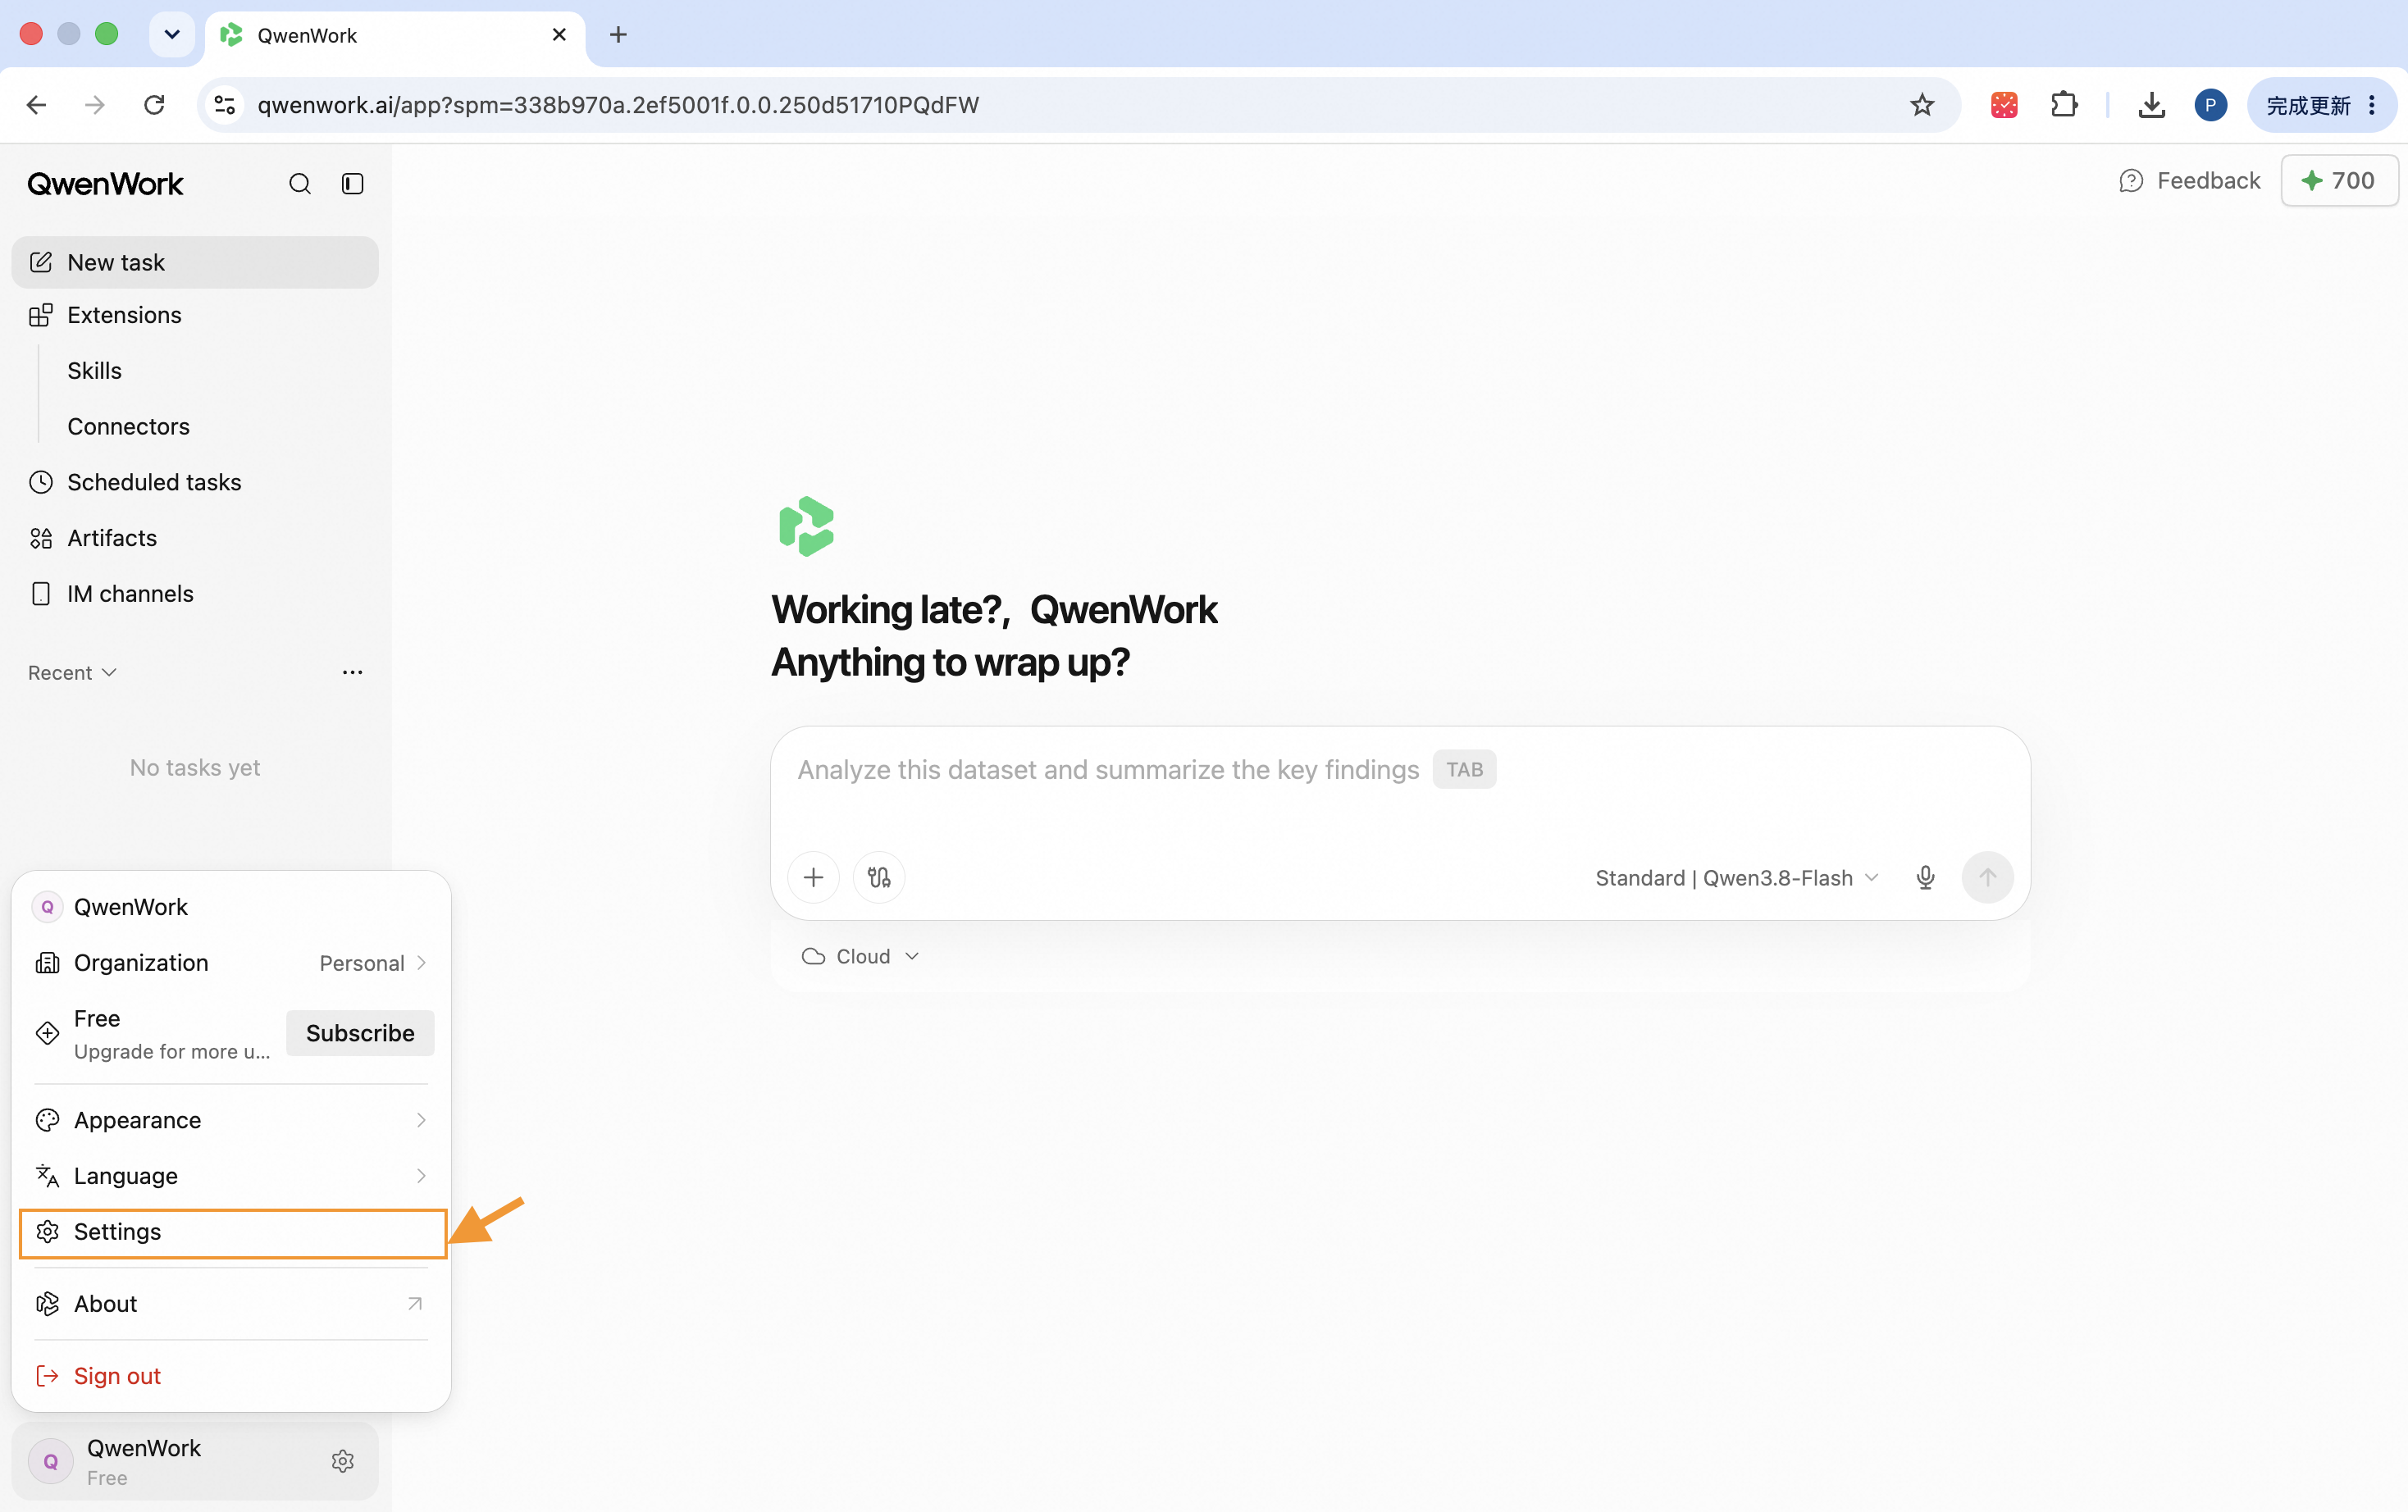 |  |
### My subscription {#my-subscription}
| Step 1 | Step 2 |
| --------------------------------------------------------------------------------------------------------------------------------------------------------- | --------------------------------------------------------------------------------------------------------------------------------------------------------- |
| Open **Subscription** to check whether the redeemed benefit is active. | Click **Subscribe** to view the full breakdown of your plan. |
| 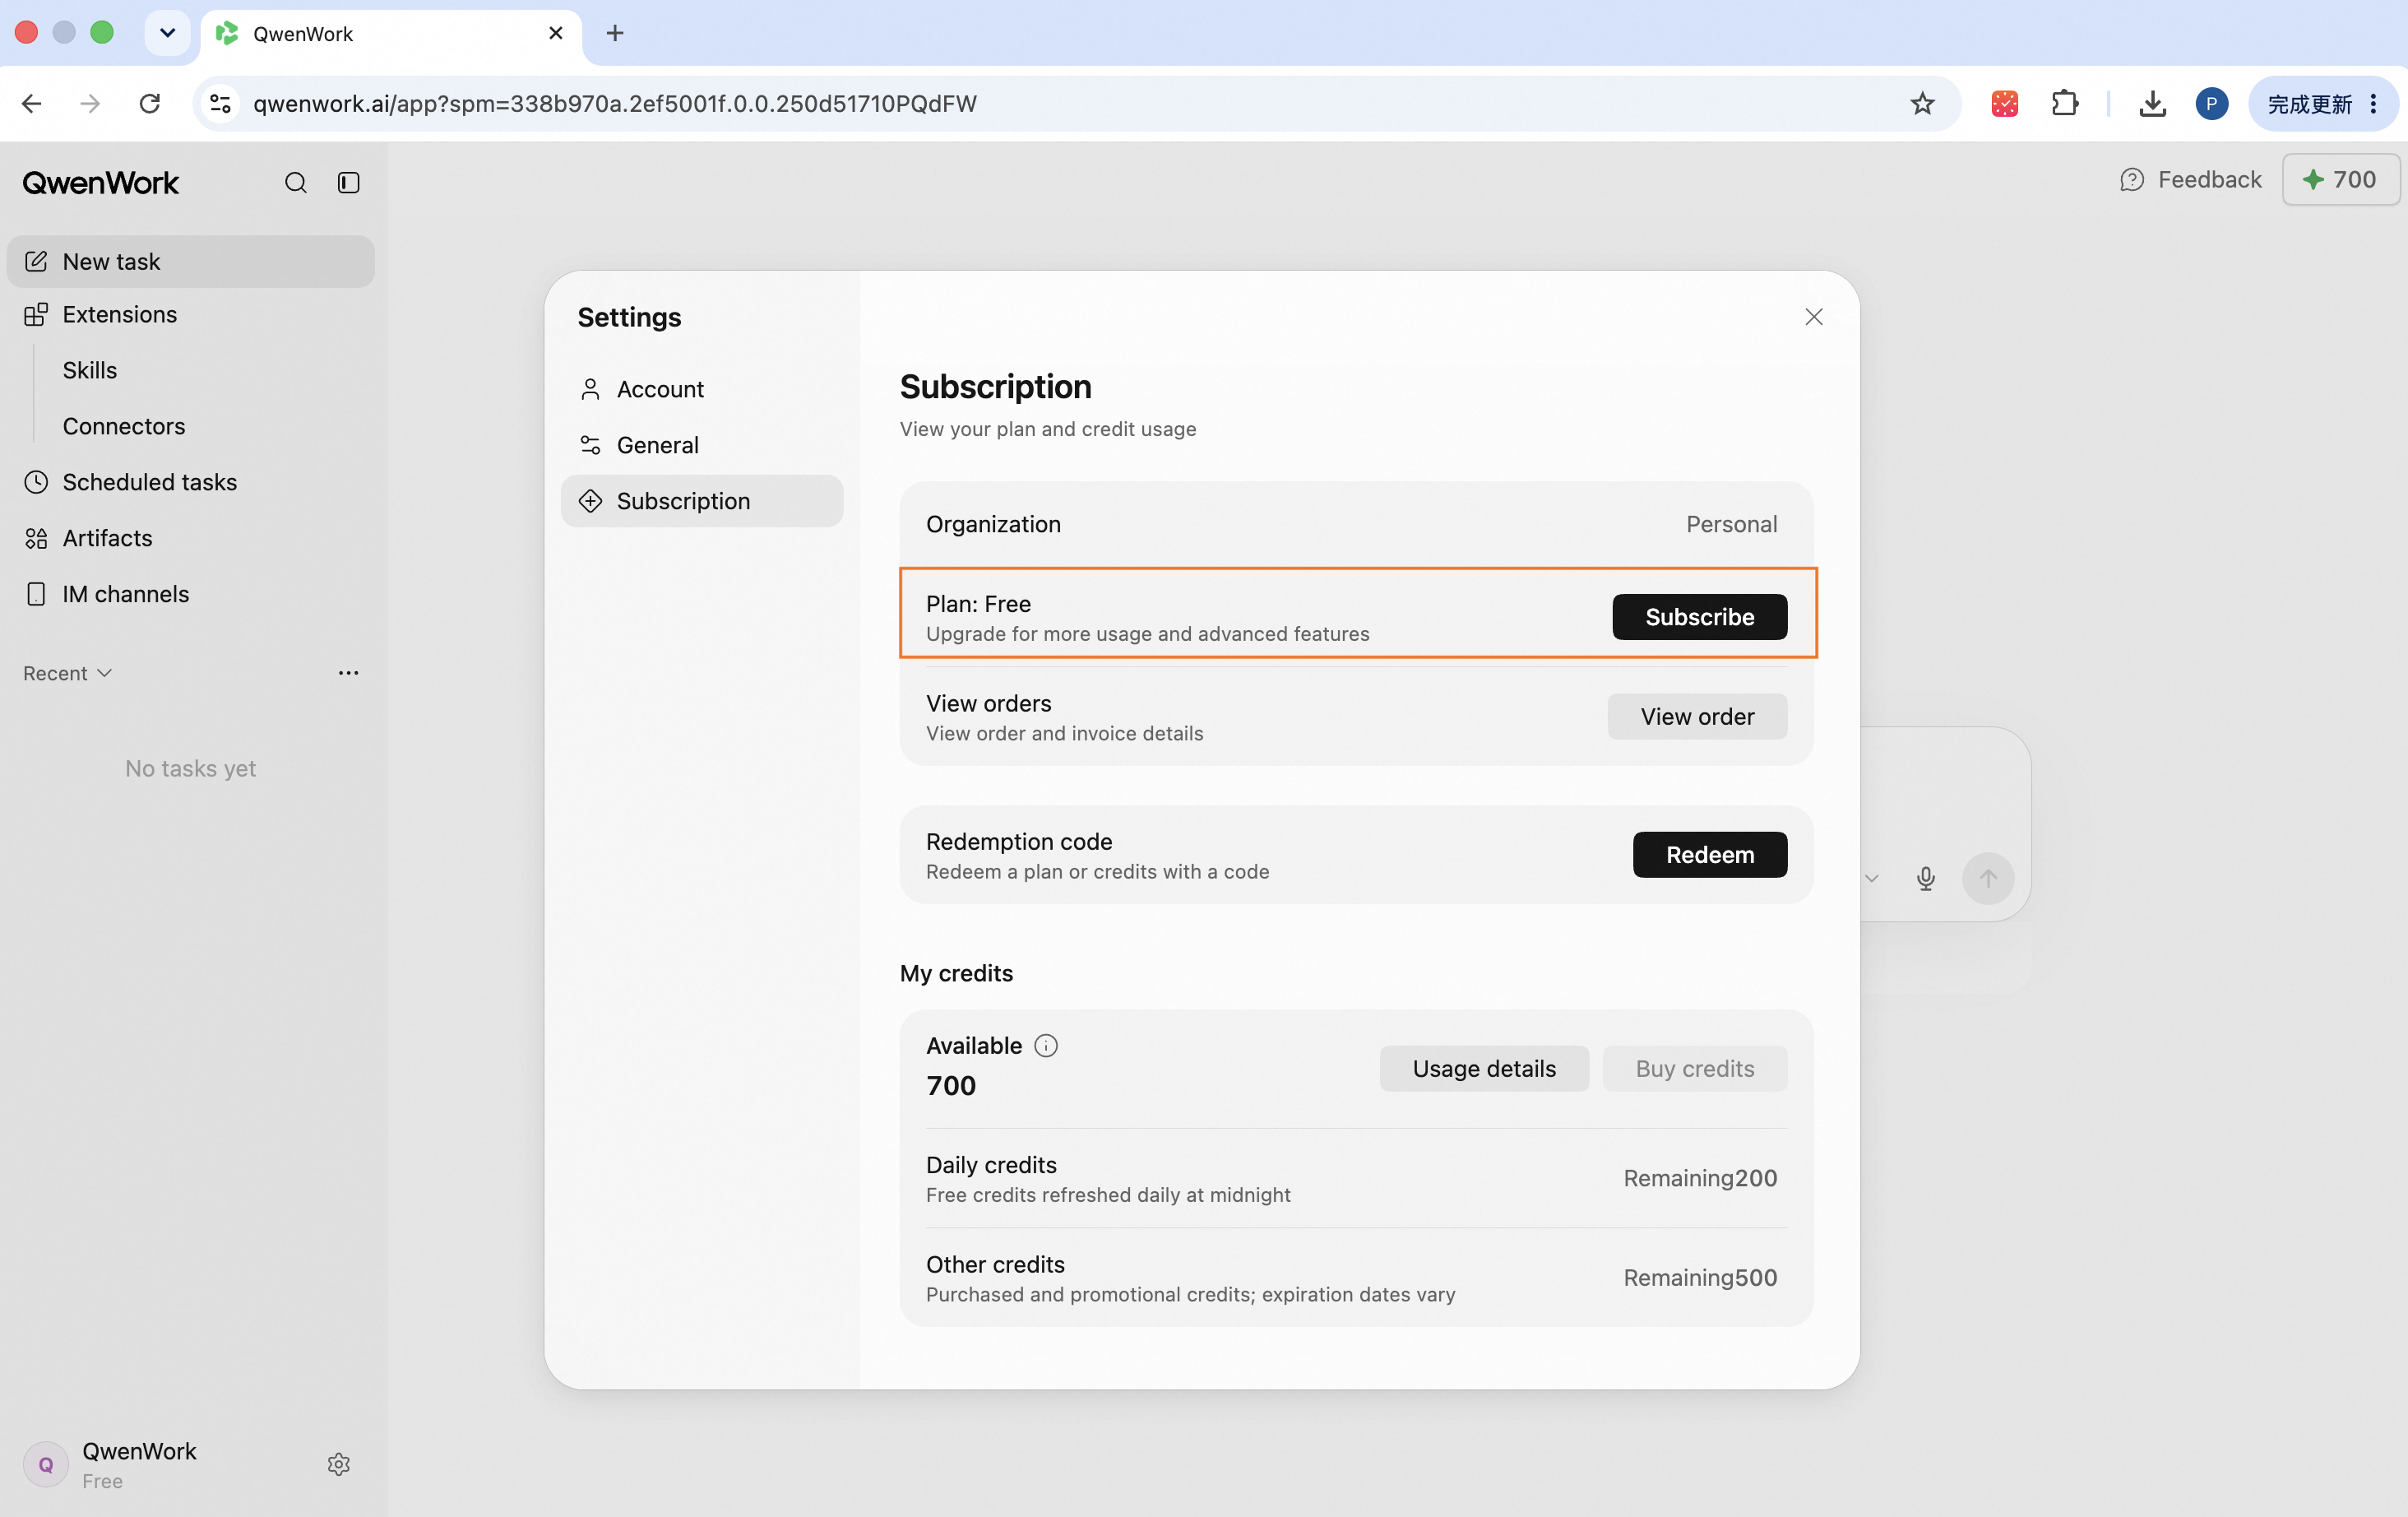 |  |
# Pages
Source: https://docs.qwenwork.ai/web/platform
> Create, organize, and use pages in QwenWork.
## Overview {#overview}
Pages is where users create and manage websites produced by the Agent. A user can start from a natural-language request, preview the generated site, refine it through conversation, and manage how it is published and accessed.
## Common Use Cases {#common-use-cases}
- Campaign, introduction, or information pages
- Turning research, proposals, or data into a browsable site
- Quickly creating shareable internal or external pages
- Continuing to refine an existing website
## Two Entry Points {#two-entry-points}
| **What** | **Where** | **Purpose** |
| --------------- | ------------------------------------------------------------------------------------------------------------------------------------------------------------------------------------ | --------------------------------------------------------------------------------------------------------------------------------------------------------- |
| Pages Tab | Left Sidebar
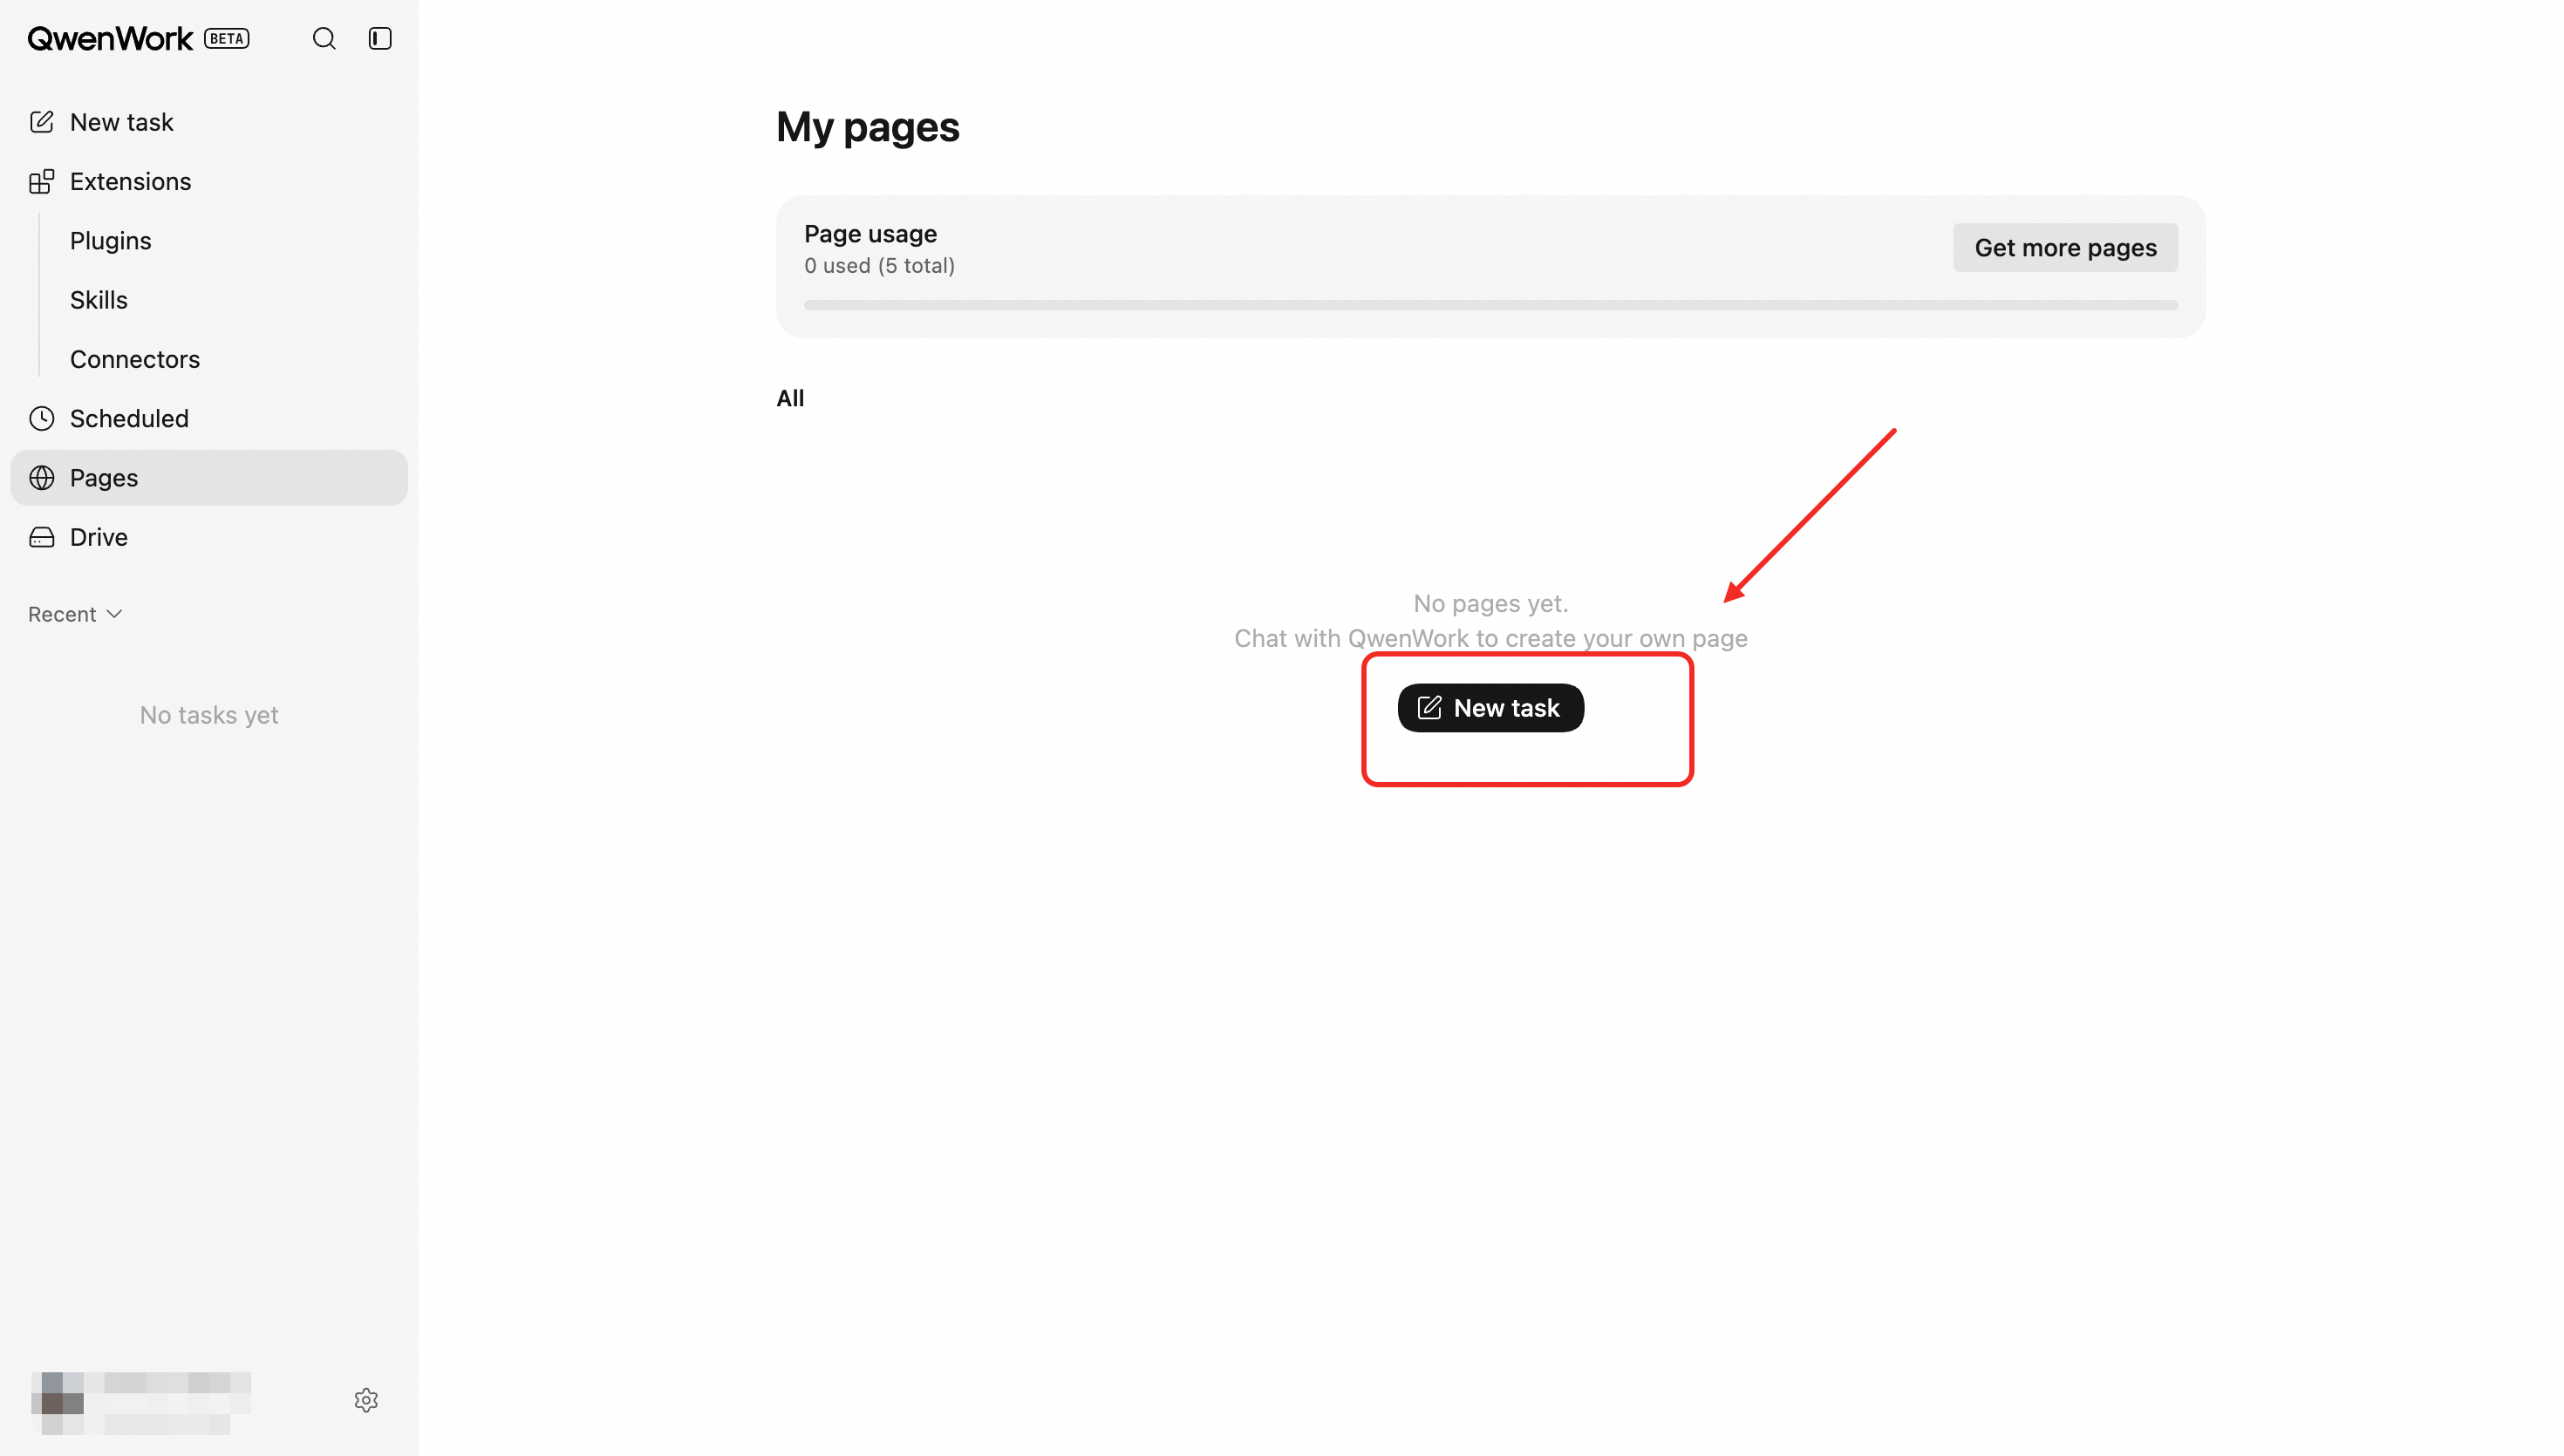 | Laying out all your published and unpublished pages as cards. Each card includes a preview image, status, current version, url link, and management menu. |
| In conversation | Any Session (New Task, Session History)
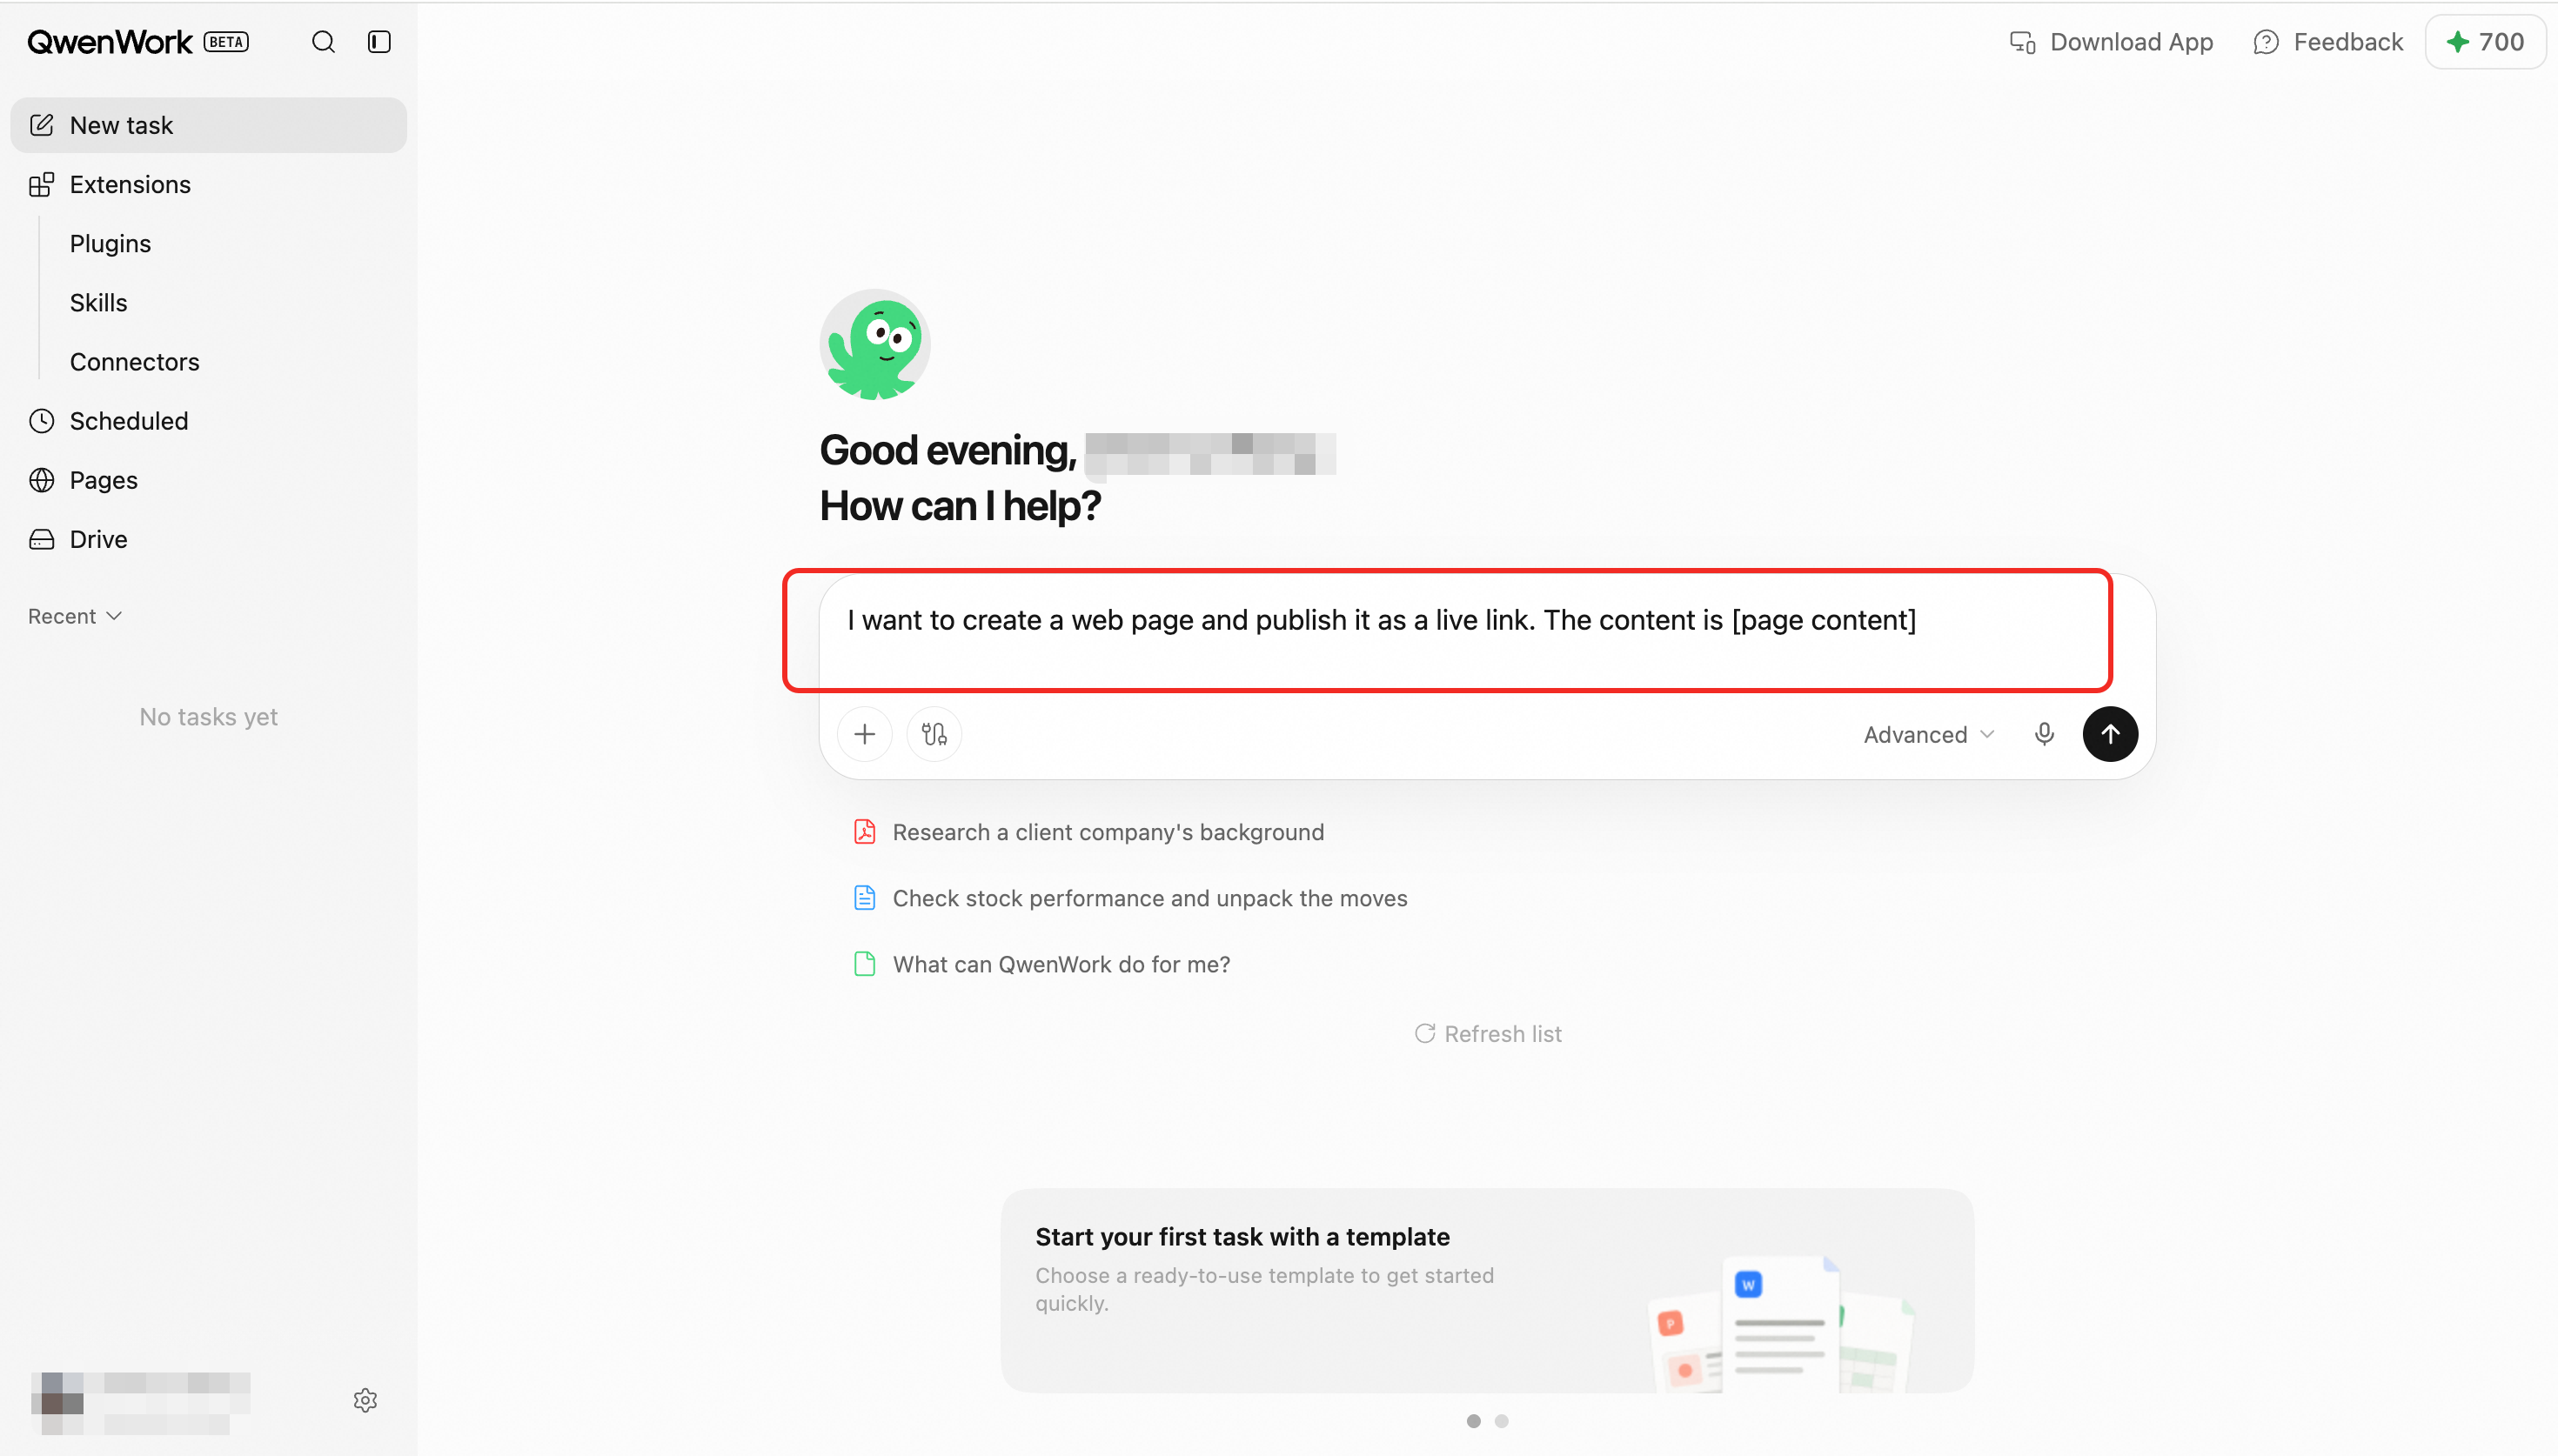 | Describe what you want, and QwenWork will help you get there, from ideating to publishing. |
## Core Capabilities {#core-capabilities}
- **One-click publishing** — Publish static websites or dynamic applications with forms, data storage, and third-party service integrations to the public internet with one click.
- **Versions and rollback** — Each website retains its version history. You can view previous versions, update times, and review statuses, or switch the website to any previous version.
- **Domains and certificates** — Each website automatically receives a default `*.qwenwork.host` domain. After upgrading your subscription, you can bind up to five custom domains to each website and use either a free platform-issued certificate or your own certificate.
- **Built-in database** — Attach an independent database to a dynamic website when needed. The website reads and writes data automatically, with no connection details to manage.
- **Usage management** — Monthly requests and traffic are controlled according to your plan, with current usage displayed on each website card.
- **Basic management** — Rename websites, switch versions, delete websites, and more.
## **Quick Start** {#quick-start}
The following example shows how to publish a static website from a conversation:
1. Describe what you need, such as “Create a personal résumé website for me.”
2. QwenWork prepares the website and displays a preview in the conversation.
3. Once you confirm everything looks correct, click **Publish**. QwenWork automatically creates the website.
4. QwenWork assigns a default domain, such as `a1b2c3d4.qwenwork.host`, and deploys the website.
5. When publishing is complete, a **Website Published** card and an accessible link appear in the conversation.
6. Click the link to open the website in your browser. You can also view and manage it from **Websites** in the left navigation menu.
## **Detailed Instructions** {#detailed-instructions}
## **Publishing a Website** {#publishing-a-website}
### **Creating a Website** {#creating-a-website}
Websites are either static or dynamic. The type is selected when the website is created and cannot be changed afterward. To use another type, create a new website.
| Type | Best for | Description |
| --------------- | ----------------------------------------------------------------------------------------------- | ------------------------------------------------------------------------------------------------------------------ |
| Static website | Personal websites, portfolios, landing pages, documentation sites, and single-page applications | Front-end-only content with more reliable loading |
| Dynamic website | Forms, data storage, and integrations with other services | Currently supports a Node.js backend and an optional database. More backend languages will be supported gradually. |
| Step | Action | Result |
| ---- | -------------------------------------------------------------------------------------------------------------------------------------------------------- | --------------------------------------------------------------------------------------------- |
| 1 | Tell QwenWork in the conversation whether you want a static or dynamic website. For a dynamic website, you can also choose whether to attach a database. | If you have reached your plan’s website limit, you will be prompted to upgrade. |
| 2 | QwenWork assigns a default `*.qwenwork.host` domain and creates the website. | The new website appears in the preview panel beside the conversation and under **Websites**. |
| 3 | If you selected a database, QwenWork begins preparing an independent database. | The website cannot be published until the database is ready. QwenWork will retry later. |
**Restrictions**
- When renaming a website under **Websites**, the name may contain Chinese characters, uppercase and lowercase letters, numbers, and hyphens (`-`), up to 30 characters.
- QwenWork must complete the first publication before the website officially goes live.
### **Publishing New Versions and Rolling Back** {#publishing-new-versions-and-rolling-back}
Each publication is retained as a **version**. Whenever QwenWork publishes changes you request, a new version is created. Select **View Versions** from the website card menu to see previous versions, update times, and review statuses.
- **Publish a new version:** Describe your changes to QwenWork in the conversation. After publication, the card status changes from **Deploying** to **Published**. Visitors remain connected during the switch, although the first visit immediately afterward may be slightly slower. If publishing fails, the card displays **Failed**. Ask QwenWork to correct the issue and publish again.
- **Switch versions — coming soon:** Select **Switch Version** from the card menu, choose a previous version, and confirm. The website switches to that version without being republished.
- **Restriction:** Only the currently published version is publicly displayed. Other versions remain available and can be restored at any time.
## **Custom Domains** {#custom-domains}
Each website receives a default `*.qwenwork.host` domain. After upgrading your subscription, you can bind up to five custom domains to each website, such as `www.mybrand.com`.
| Step | Action | Result |
| ---- | --------------------------------------------------------------------------------------------------------------------------------------------------------------------------------- | -------------------------------------------------------------------------------------------- |
| 1 | Select **Custom Domain** from the card menu, then click **Add** in the domain management window. | The Add Domain window opens. |
| 2 | Enter the domain and choose either a free platform certificate or your own certificate. To use your own certificate, upload the public certificate and private key in PEM format. | The domain and certificate are configured. |
| 3 | Click **Continue**. | The required ownership-verification TXT record and routing CNAME record are displayed. |
| 4 | Add both DNS records through your domain provider. Make sure the domain has completed ICP filing and Public Security Bureau filing. | The domain is ready to be verified. |
| 5 | Return to QwenWork and click **Verify**. | Once verification succeeds, the domain becomes active and can be used to access the website. |
**Restrictions**
- Free platform certificates are automatically issued and renewed by QwenWork. Users are responsible for uploading and maintaining their own certificates.
- The TXT record verifies domain ownership, while the CNAME record routes traffic to the website. Both records must remain in place.
- Custom and default domains point to the same website and share the same access password and quota.
- Custom domains must complete mainland China ICP filing and Public Security Bureau filing before they can be accessed normally. Users are responsible for the filing entity and regulatory compliance.
- Default `*.qwenwork.host` domains assigned by QwenWork can be accessed directly and do not require separate filing by the user.
## **Access Password Protection** {#access-password-protection}
When password protection is enabled, visitors must enter the correct password before accessing the website. They do not need to enter it again while their verification session remains valid. Updating the password requires visitors to verify again; removing the password makes the website public.
| Step | Action | Result |
| ---- | ------------------------------------------------------------------------------- | -------------------------------------------------------------------------------------------------------------- |
| 1 | Select **Access Password** from the card menu, enter a password, and save it. | Protection is enabled immediately. If the password is updated, previously verified visitors must verify again. |
| 2 | A visitor opens the domain. | A password form appears. |
| 3 | The visitor enters the correct password. | No additional password entry is required while the verification session remains valid. |
| 4 | To disable protection, reopen the window, clear the password field, and save. | Protection is disabled and the website becomes publicly accessible. |
**Restrictions**
- Passwords are stored as hashes. QwenWork does not retain plaintext passwords. If you forget the password, you must reset it.
- The password protects the entire website and cannot be applied to only part of it. After successful verification, visitors are redirected to the homepage rather than the specific URL they originally opened.
- Setting or updating the password invalidates all existing verified sessions. Removing the password restores public access.
## **Database** {#database}
Databases are available only for dynamic websites. A dynamic website can have an independent QwenWork-managed database for form submissions, user records, and other data. The website reads and writes data automatically, with no connection details to manage.
QwenWork can attach the database when creating the website or add one to an existing dynamic website. The **Websites** section does not provide controls for attaching, viewing, or managing databases. Once the database is ready, the website can access it automatically starting with the next publication.
There is currently no interface for viewing or editing database contents. To inspect the data, ask QwenWork for assistance in the conversation.
**Restrictions**
- Each website can have only one database. Once attached, it cannot be removed or replaced.
- The database is released together with the website. Deleting the website permanently erases its data. See **Taking a Website Offline**.
## **Managing Websites** {#managing-websites}
| Action | Location | Description |
| ----------------------------- | ---------------------------------------------------------------------------- | ------------------------------------------------------------------------------------------------------------------------------------------------------------------------ |
| View status | Website card | Displays the website’s status and most recent update time |
| Open link | Website card | Opens the domain associated with the website |
| Rename | **Rename** in the card menu | Changes only the displayed name; it does not change the domain or affect access |
| Switch versions — coming soon | **Switch Version** in the card menu | Select and confirm a previous version to switch the website to it |
| Access password | **Access Password** in the card menu; available only for published websites | See **Access Password Protection** |
| Custom domain | **Custom Domain** in the card menu | See **Custom Domains**; this does not affect access through the default domain |
| Delete | **Delete** in the card menu | See **Taking a Website Offline** |
| View usage | Website card or top of the page | Hover over or focus on a card to see requests and traffic for the website’s current 30-day cycle. The top of the page shows the account’s total website count and quota. |
> **Note:** You cannot create a website directly from the **Websites** section. New websites must be created by QwenWork through a conversation.
## **Settings That Cannot Be Changed** {#settings-that-cannot-be-changed}
- A website’s type—static or dynamic—cannot be changed after creation.
- The default domain assigned by QwenWork cannot be changed. You may bind up to five custom domains to each website.
- A published version cannot be edited in place. Even a minor text change is published as a new version.
## **Taking a Website Offline** {#taking-a-website-offline}
There are two ways a website may become unavailable:
- **You delete it:** Permanent and irreversible.
- **QwenWork suspends it:** Access is blocked, but the website itself is retained and becomes accessible again once the recovery conditions are met.
## **Deleting a Website** {#deleting-a-website}
| Action | Trigger | Impact | Recoverable |
| ---------------------------- | ---------------------------------------------------------------- | -------------------------------------------------------------------------------------------------------------------------------- | ----------- |
| Delete an individual website | Select **Delete** from the card menu and confirm a second time | QwenWork removes the domain, custom domains, database, and all other associated resources. The website disappears from the list. | No |
> ⚠️ Deleting a website permanently releases its database, and the data cannot be recovered. If you need to retain the data, ask QwenWork to export it before deleting the website.
## **Automatic Suspension** {#automatic-suspension}
| Trigger | Impact | How to restore access |
| ------------------------------------------------------ | ---------------------------------------------------------------------------------------------------------- | --------------------------------------------------------------------------------------- |
| Monthly request or traffic limit reached | Visitors see a **Quota Exhausted** page. Website content, settings, versions, and database are retained. | Usage resets every 30 days, or you can upgrade your plan to restore access immediately. |
| Website count exceeds the limit after a plan downgrade | Excess websites are suspended and cannot publish or create new versions. Their databases are retained. | Upgrade to the previous plan or delete other websites to free up capacity. |
## **Plans, Quotas, and Limits** {#plans-quotas-and-limits}
Different plans support different numbers of published websites. Upgrade your plan to publish more websites.
| Plan | Number of published websites |
| ---- | ------------------------------ |
| Free | 5 |
| Plus | 10, with custom-domain support |
| Pro | 50, with custom-domain support |
Website services are governed by the website count, monthly request allowance, and traffic allowance included in your plan. Website visits do not consume credits. When a limit is exceeded, the website is automatically suspended rather than billed on a pay-as-you-go basis.
For complete plan benefits—including credits, cloud storage, and pricing—refer to the pricing page.
## End-to-End Flow {#end-to-end-flow}
1. Describe the website goal and content in a session.
2. The Agent generates the site and provides a preview.
3. Review the result and request revisions.
4. Publish the site and obtain its URL.
5. The site appears in My Websites.
6. Return later to review, update, or manage access.
## Key Rules {#key-rules}
- A website belongs to the workspace in which it was created.
- Most content and design revisions continue through the related session.
- Published URLs provide viewing access; editing remains permission-controlled.
- Users are responsible for having the right to use source materials included on a site.
- Organization websites follow organization asset and member permission rules.
## **Frequently Asked Questions** {#frequently-asked-questions}
**Q: Why does the domain show a “Page is being deployed” message (503)?**
The web service is not ready yet. It may be undergoing its first deployment or starting a dynamic web instance. Check the status on the page dashboard. If it shows “Published” but the deployment message remains, please try again later.
**Q: Why does the domain show a “Monthly usage limit reached” message (429)?**
Your monthly request or traffic allowance has reached the plan limit. Usage resets every 30 days, or you can upgrade your plan to restore access immediately.
**Q: Why does the domain show a “Page temporarily unavailable” message (403)?**
The page has been suspended or blocked. Common reasons include:
- After downgrading, the number of pages exceeds the new plan limit. Excess pages are suspended. Upgrade to the previous plan or delete other pages to free up capacity.
- After downgrading, custom-domain access is no longer included. The custom domain is suspended, but the default `*.qwenwork.host` domain remains accessible.
**Q: Do I need to republish a page after its access is restored?**
No. Suspension only blocks the access entry point. The page content, versions, and database remain intact and become accessible immediately after restoration.
If the suspension resulted from a downgrade and the new plan no longer includes the relevant features, the page’s access password will be removed and its custom domain will be suspended. The default `*.qwenwork.host` domain is unaffected.
**Q: Does a custom domain require ICP filing?**
Yes. Under applicable regulations in mainland China, a custom domain must complete ICP filing before it can be publicly accessed. Users are responsible for completing the filing and ensuring compliance. The default `*.qwenwork.host` domain assigned by QwenWork does not require separate filing and can be accessed directly.
**Q: Can I manage multiple pages in bulk, such as changing access passwords for several pages at once?**
Bulk operations are not currently supported. Pages must be managed individually.
# Files, Drive, and Deliverables
Source: https://docs.qwenwork.ai/web/files-drive-deliverables
> Work with files, drive storage, and task deliverables.
## Overview {#overview}
File capabilities bring source material into Agent workflows and provide a consistent place to manage uploaded files and generated deliverables.
## Common Use Cases {#common-use-cases}
- Upload documents, images, or data for analysis
- Reuse the same source material across sessions
- Preview and download Agent-generated files
- Organize personal work assets
- Use shared organization resources
## Entry Points {#entry-points}
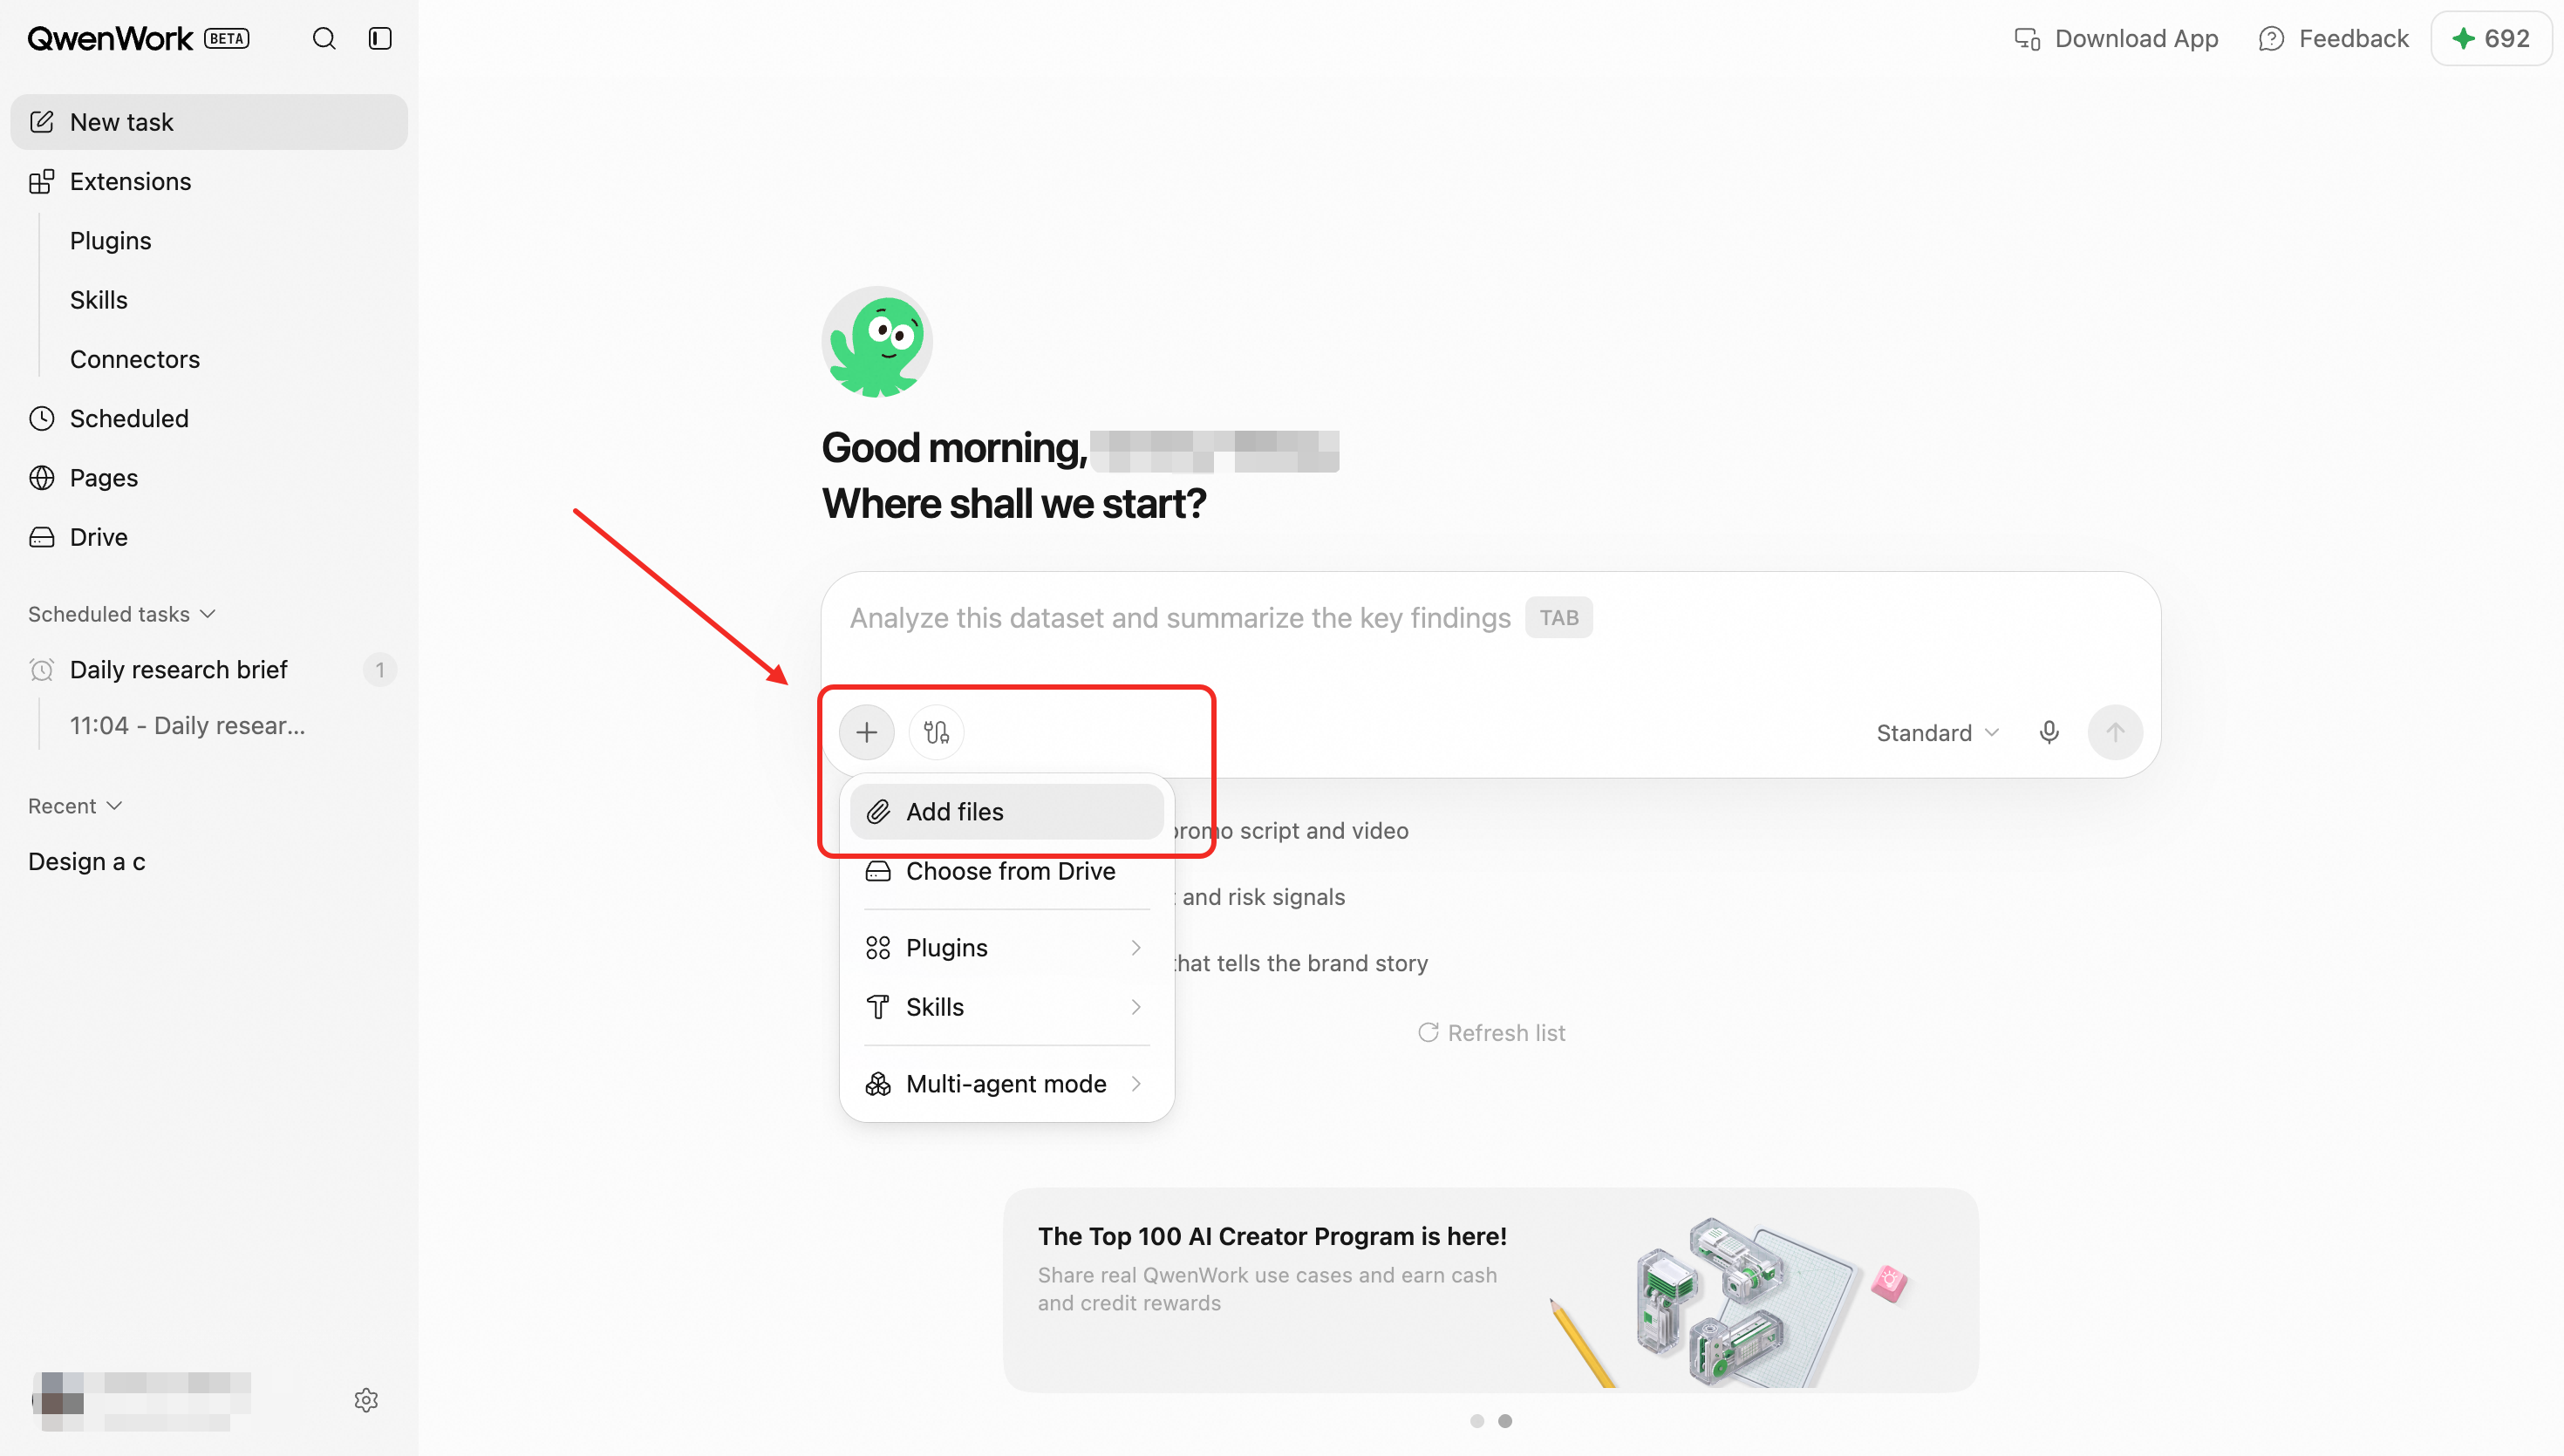
- Attachment controls in the session composer
- File and deliverable cards inside a session
- Personal Drive
- Organization Drive
## Core Capabilities {#core-capabilities}
### Upload Files to a Session {#upload-files-to-a-session}
Upload files before submitting a request or during an active session. Once uploaded, a file becomes available as task context, and the Agent can read, analyze, summarize, or transform it.
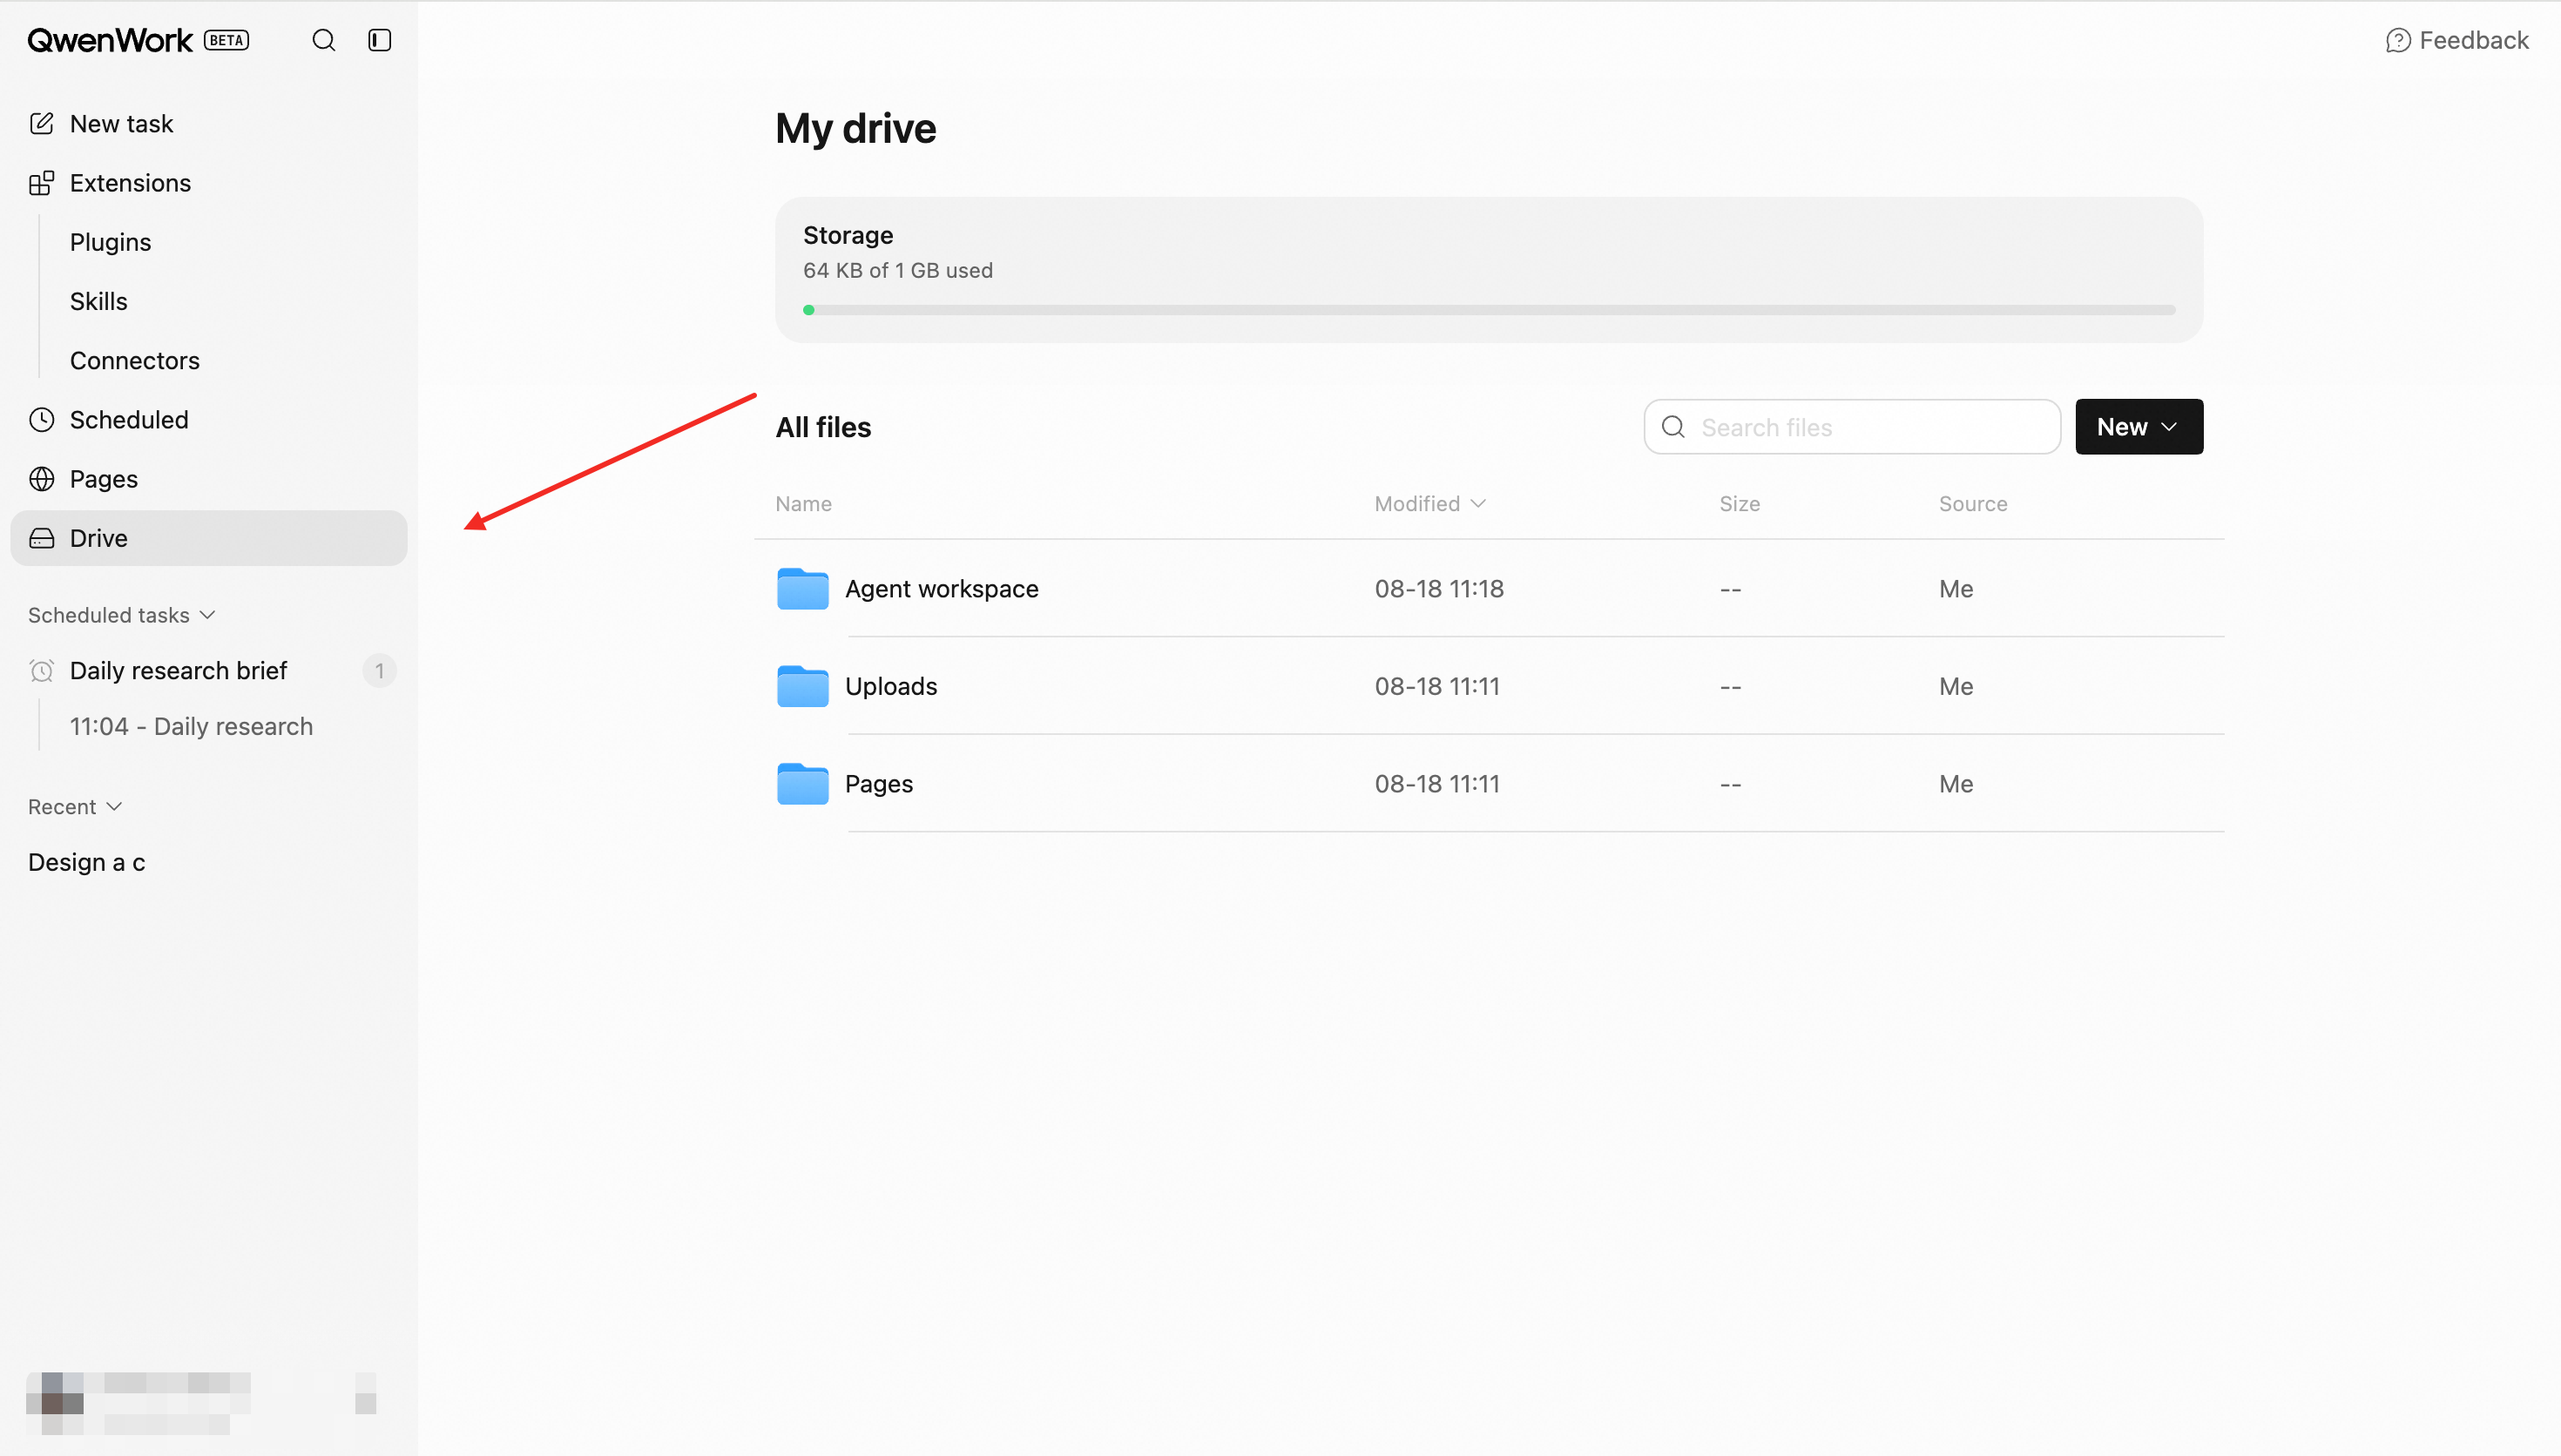
### Personal Drive {#personal-drive}
Personal Drive provides a central view of the user's own files. Uploaded source material and related assets can be found and reused in later work.
### Organization Drive {#organization-drive}
Organization Drive stores shared organizational resources. Members can access and use files according to their permissions, allowing the Agent to work from a consistent source of organizational information.
### Manage Deliverables {#manage-deliverables}
Documents, spreadsheets, images, code packages, and other generated outputs appear as session deliverables. Users can:
- Preview supported formats
- Download files
- Return to the original session for revisions
- Find and reuse the asset later
### File-to-Session Relationships {#file-to-session-relationships}
Files retain their relationship to the session in which they were used or created. This helps users understand why a deliverable exists and which source material contributed to it.
## End-to-End Flow {#end-to-end-flow}
1. Upload a file and assign it to the active workspace.
2. Reference the file in a session.
3. The Agent reads the material and generates intermediate or final outputs.
4. Review, download, or refine the output in the session.
5. Find the source material and deliverables again in the relevant Drive.
## Key Rules {#key-rules}
- Files belong to the workspace in which they were uploaded.
- Access to organization files follows organization permissions.
- Moving, deleting, or changing a file may affect later use.
- When multiple files are attached, explain how each one should be used.
- Preview availability depends on file type; unsupported formats can still be downloaded.
# Extension
Source: https://docs.qwenwork.ai/features/extensions
> Extend QwenWork with skills and connectors.
## Overview {#overview}
Extensions is QwenWork’s capability resource center. Here, you can find and install resources that help QwenWork perform more specialized tasks or connect to external platforms, accounts, data, and tools.
Extensions currently offers two types of resources:
- **Skill:** A predefined, specialized workflow for a particular type of task, such as content creation, data analysis, or information organization. You can think of a skill as a professional tool for QwenWork.
- **Connector:** A resource that connects QwenWork to external platforms, accounts, data, or tools. Some connectors require additional configuration or account authorization after installation.
## Browsing and Finding Resources {#browsing-and-finding-resources}
Click **Extensions** in the sidebar on the application homepage to browse the available resources.
You can find resources in the following ways:
- Switch between the **Skills** and **Connectors** tabs.
- Select an industry or topic category to filter resources.
- Enter a name or keyword in the search box. Search supports partial keyword matching, and results appear in real time.
- Click a resource card to open its details page and review its description and related information.
## Installing and Using Resources {#installing-and-using-resources}
### Installing a Resource {#installing-a-resource}
1. Find the Skill or Connector you need in **Extensions**.
2. Click its resource card to open the details page and review the information.
3. Click the installation or usage option to add the resource to QwenWork.
4. After installation, you can find the resource under **My Installations** or in the **Add Resources** list in the main chat box.
### Using Resources in a Conversation {#using-resources-in-a-conversation}
After installation, you can use a resource in the following ways:
- Select it manually from the **Add Resources** list in the main chat box, then describe your task.
- Describe your requirements directly in the conversation. QwenWork will use an appropriate installed resource when needed.
- Some skills provide predefined task inputs. After clicking **Use**, follow the prompts to provide the required information and quickly start the task.
Usage varies by resource type:
- **Skills:** Usually available for immediate use after installation.
- **Connectors:** You may need to enter required parameters or authorize an external account before using them.
Follow the on-screen instructions during authorization or configuration. Specific requirements depend on the external service being connected.
## Managing Installed Resources {#managing-installed-resources}
Open **My Skills/Connectors** to view and manage your installed Skills and connectors.
### Modifying an Installed Resource {#modifying-an-installed-resource}
If an installed resource’s default capabilities do not fully meet your needs, you can customize it for a specific task:
1. Open **My Installations**, find the resource, and open its details page.
2. Open its editing or configuration section.
3. Modify the task instructions, usage requirements, or other editable content as needed.
4. Save your changes, select the resource from the main chat box, and describe the task you want to complete.
Your changes apply only to your installed copy. They do not modify the original resource in Extensions or automatically share your changes with other users. Editable options vary by resource; refer to the options displayed on the page.
### Sharing a Resource {#sharing-a-resource}
From a resource’s details page, you can copy its link and share it with others. When recipients open the link, QwenWork opens automatically and allows them to install the resource.
> **Note:** The shared link points to the resource’s details page in Extensions. It does not include your personal modifications, account settings, or authorization information.
## Enterprise Space {#enterprise-space}
Enterprise Space is an internal resource collaboration area for enterprise subscribers. Enterprise members can create or upload skills and other resources designed for their organization, then share them internally so team members can find and use them consistently.
Resources in Enterprise Space are shared only within the current enterprise organization. They are not automatically published to the public Extensions marketplace.
Whether members can create, upload, view, or use resources depends on the capabilities enabled for the enterprise and each member’s organizational permissions.
## Frequently Asked Questions {#frequently-asked-questions}
### Why isn’t an installed resource used automatically in conversations? {#why-isnt-an-installed-resource-used-automatically-in-conversations}
Installing a resource adds it to QwenWork’s available resources, but does not automatically enable it in every conversation. Select it manually from the **Add Resources** list or explicitly ask QwenWork to use it for your task.
### Why can’t I use a connector after installing it? {#why-cant-i-use-a-connector-after-installing-it}
Some connectors require additional parameters or authorization for an external account. Follow the on-screen instructions and confirm that the connector is ready before trying again.
### What should I do if I cannot find the resource I need? {#what-should-i-do-if-i-cannot-find-the-resource-i-need}
Try using a shorter keyword, searching with part of the resource name, or selecting the correct resource type and category before searching again.
### Will sharing a resource expose my account or settings? {#will-sharing-a-resource-expose-my-account-or-settings}
No. Sharing provides only a link to the resource’s details page in Extensions. It does not include your personal modifications, account settings, or authorization information.
### Why can’t I see Enterprise Space? {#why-cant-i-see-enterprise-space}
Enterprise Space appears only when the relevant requirements are met. Availability generally depends on whether the enterprise has enabled the feature, the account type, and the user’s organizational permissions. Contact your enterprise administrator for assistance.
### Are resources in Enterprise Space published to the public Extensions marketplace? {#are-resources-in-enterprise-space-published-to-the-public-extensions-marketplace}
No. Resources created or uploaded by enterprise members are shared only within the current enterprise organization. They are not automatically made public or published to the public Extensions marketplace.
### Can individual users upload or publish their own skills? {#can-individual-users-upload-or-publish-their-own-skills}
The current version does not allow individual users to upload or publish custom skills to the public Extensions marketplace. Depending on their organizational permissions, enterprise users can upload and share internal resources through Enterprise Space.
### Why can’t I access DingTalk data through AI conversations after signing in to QwenWork with my DingTalk account? {#why-cant-i-access-dingtalk-data-through-ai-conversations-after-signing-in-to-qwenwork-with-my-dingtalk-account}
Signing in to QwenWork with a DingTalk account does not automatically grant access to DingTalk data. You must first connect DingTalk through a **Connector** before you can retrieve internal DingTalk data through AI conversations.
# Skills
Source: https://docs.qwenwork.ai/features/skills
> Use reusable skills to complete specialized tasks.
## Overview {#overview}
Skills are reusable professional capabilities. A Skill gives the Agent a defined method, workflow, and output expectation for a specific type of work.
## Common Use Cases {#common-use-cases}
- Repeatable, standardized tasks
- Work that must follow a fixed structure or professional process
- Reusing team knowledge and best practices
- Quickly adding a specialized capability to a session
## Entry Points {#entry-points}
Browse Skills in the marketplace, or select an installed Skill from the session composer.
## Core Capabilities {#core-capabilities}
### Browse Skills {#browse-skills}
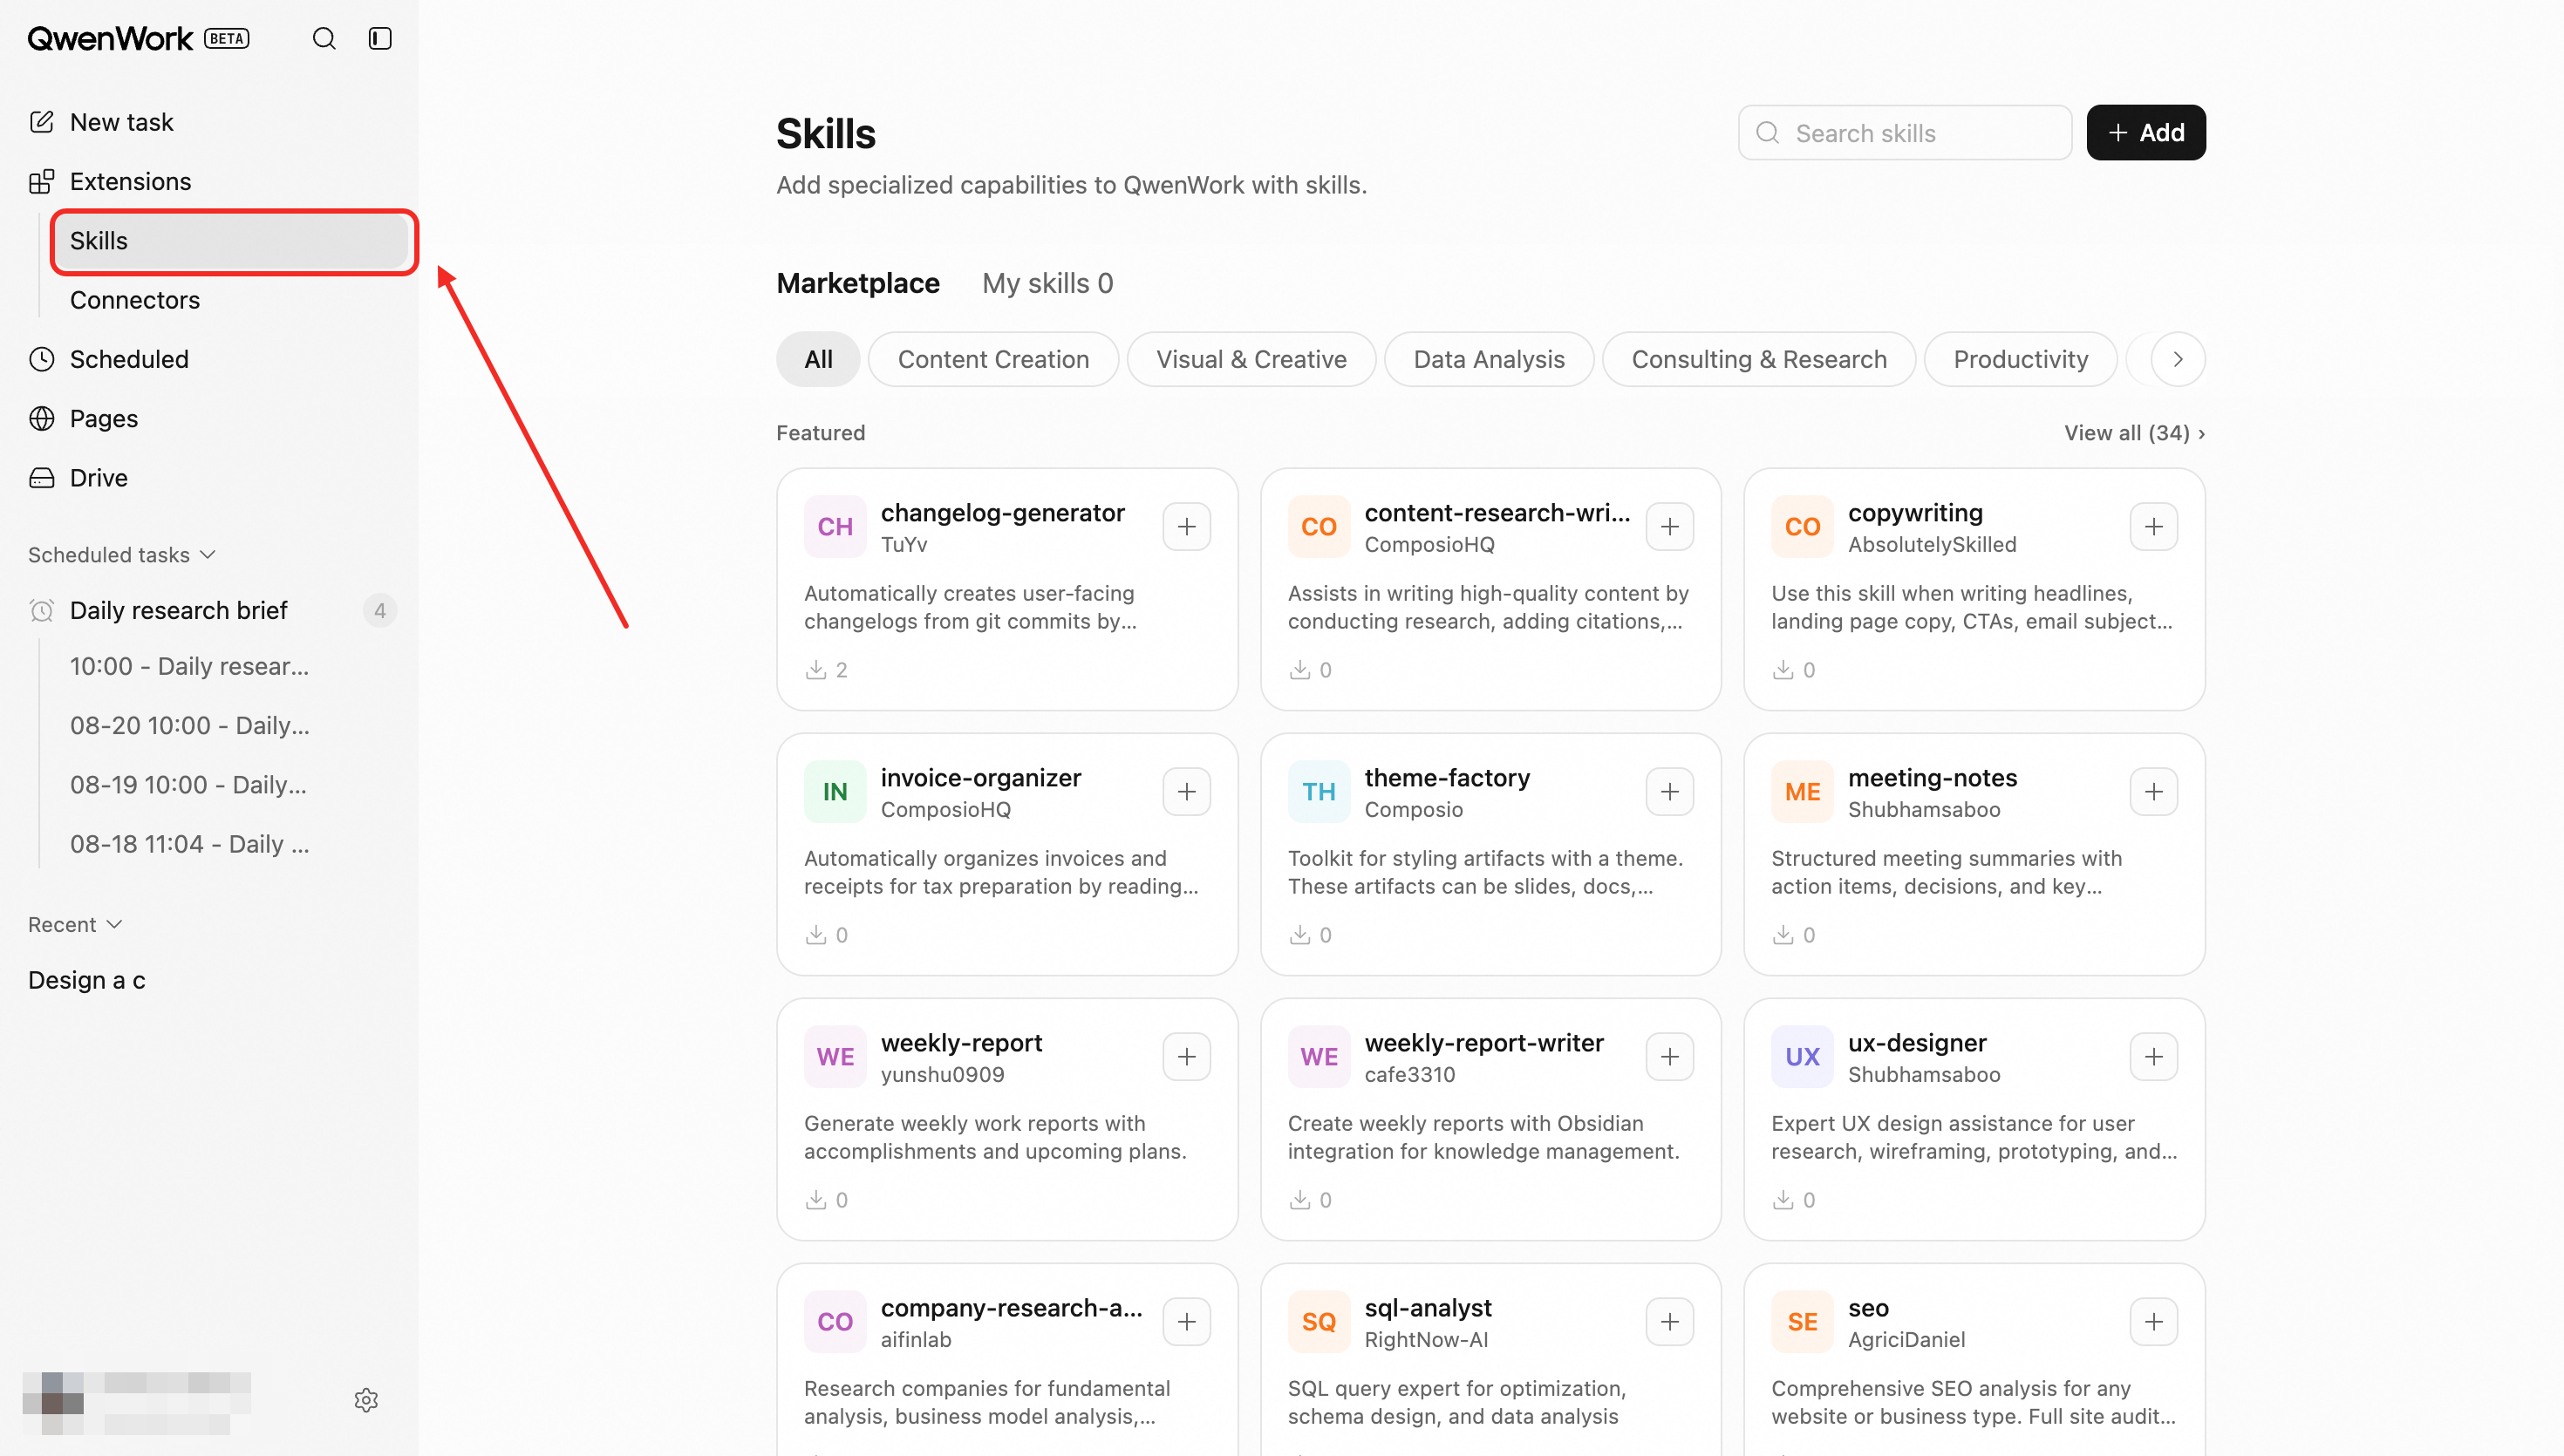
The marketplace organizes Skills by category and highlights capabilities suitable for international use. Each listing explains the Skill's purpose and intended tasks.
### Search and Filter {#search-and-filter}
Search by keyword and narrow the results by category or recommendation.
| Search | 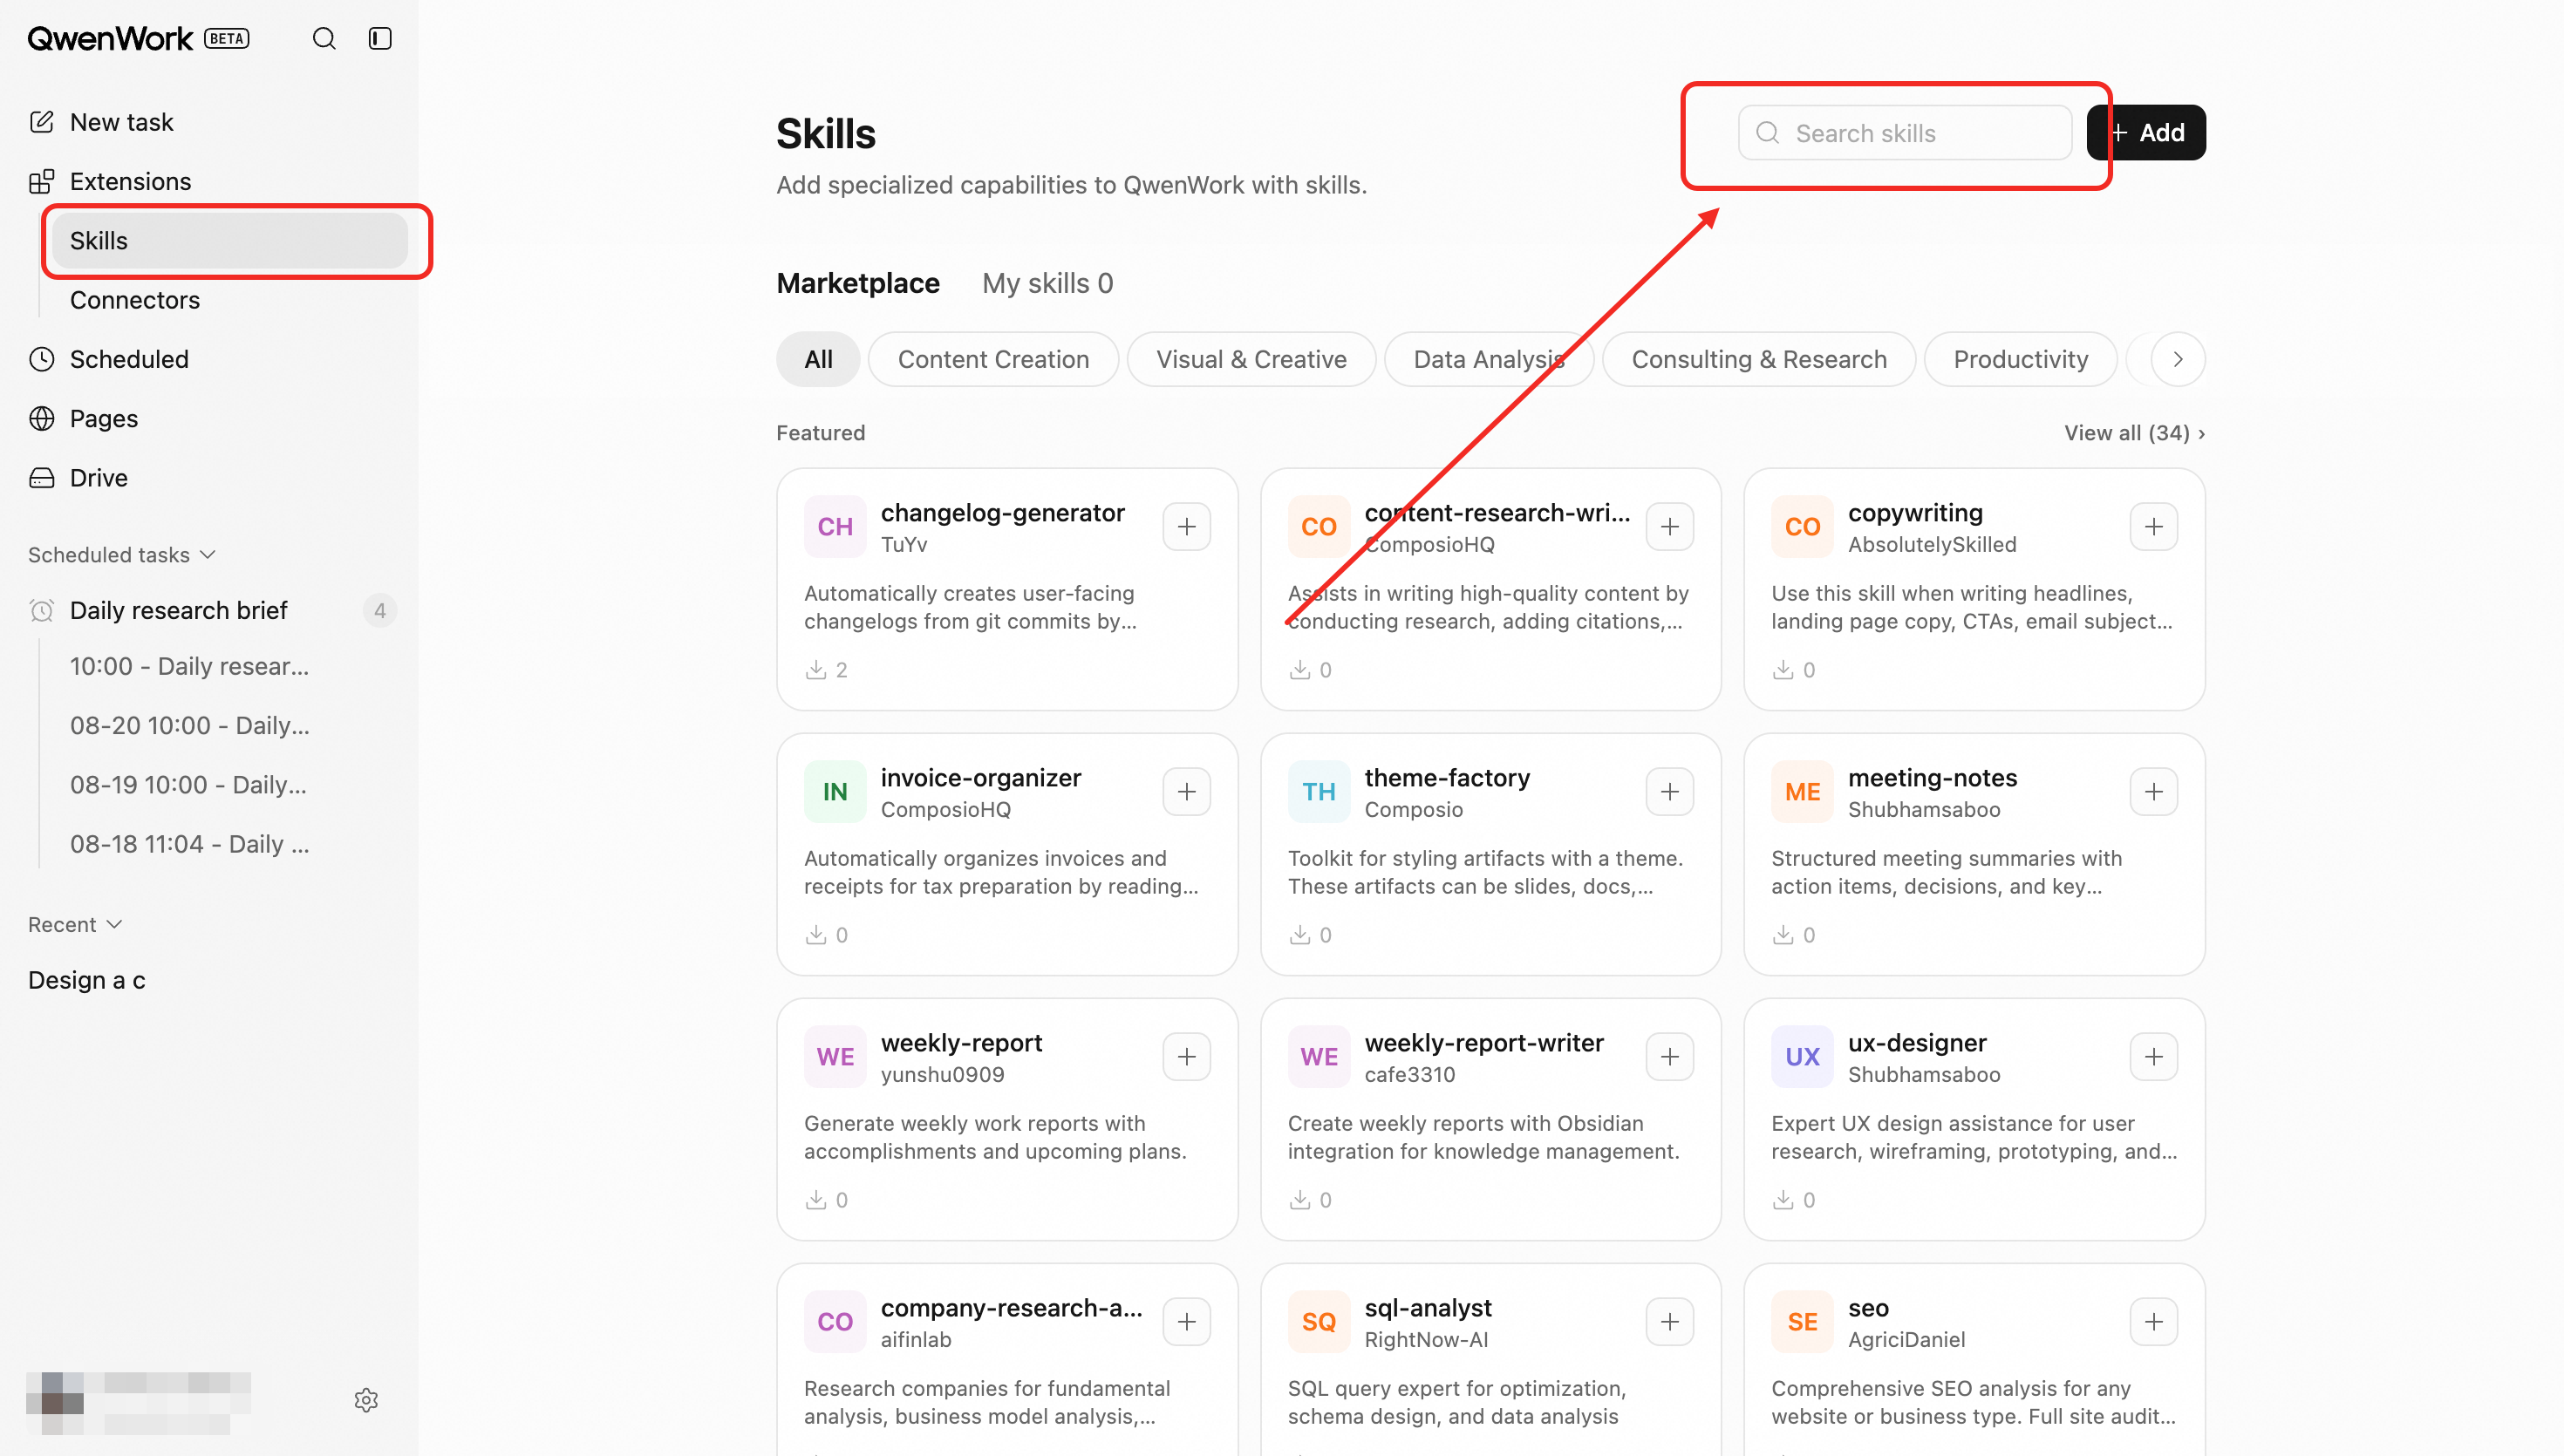 |
| ------ | ------------------------------------------------------------------------------------------------------------------------------------------------ |
| Filter | 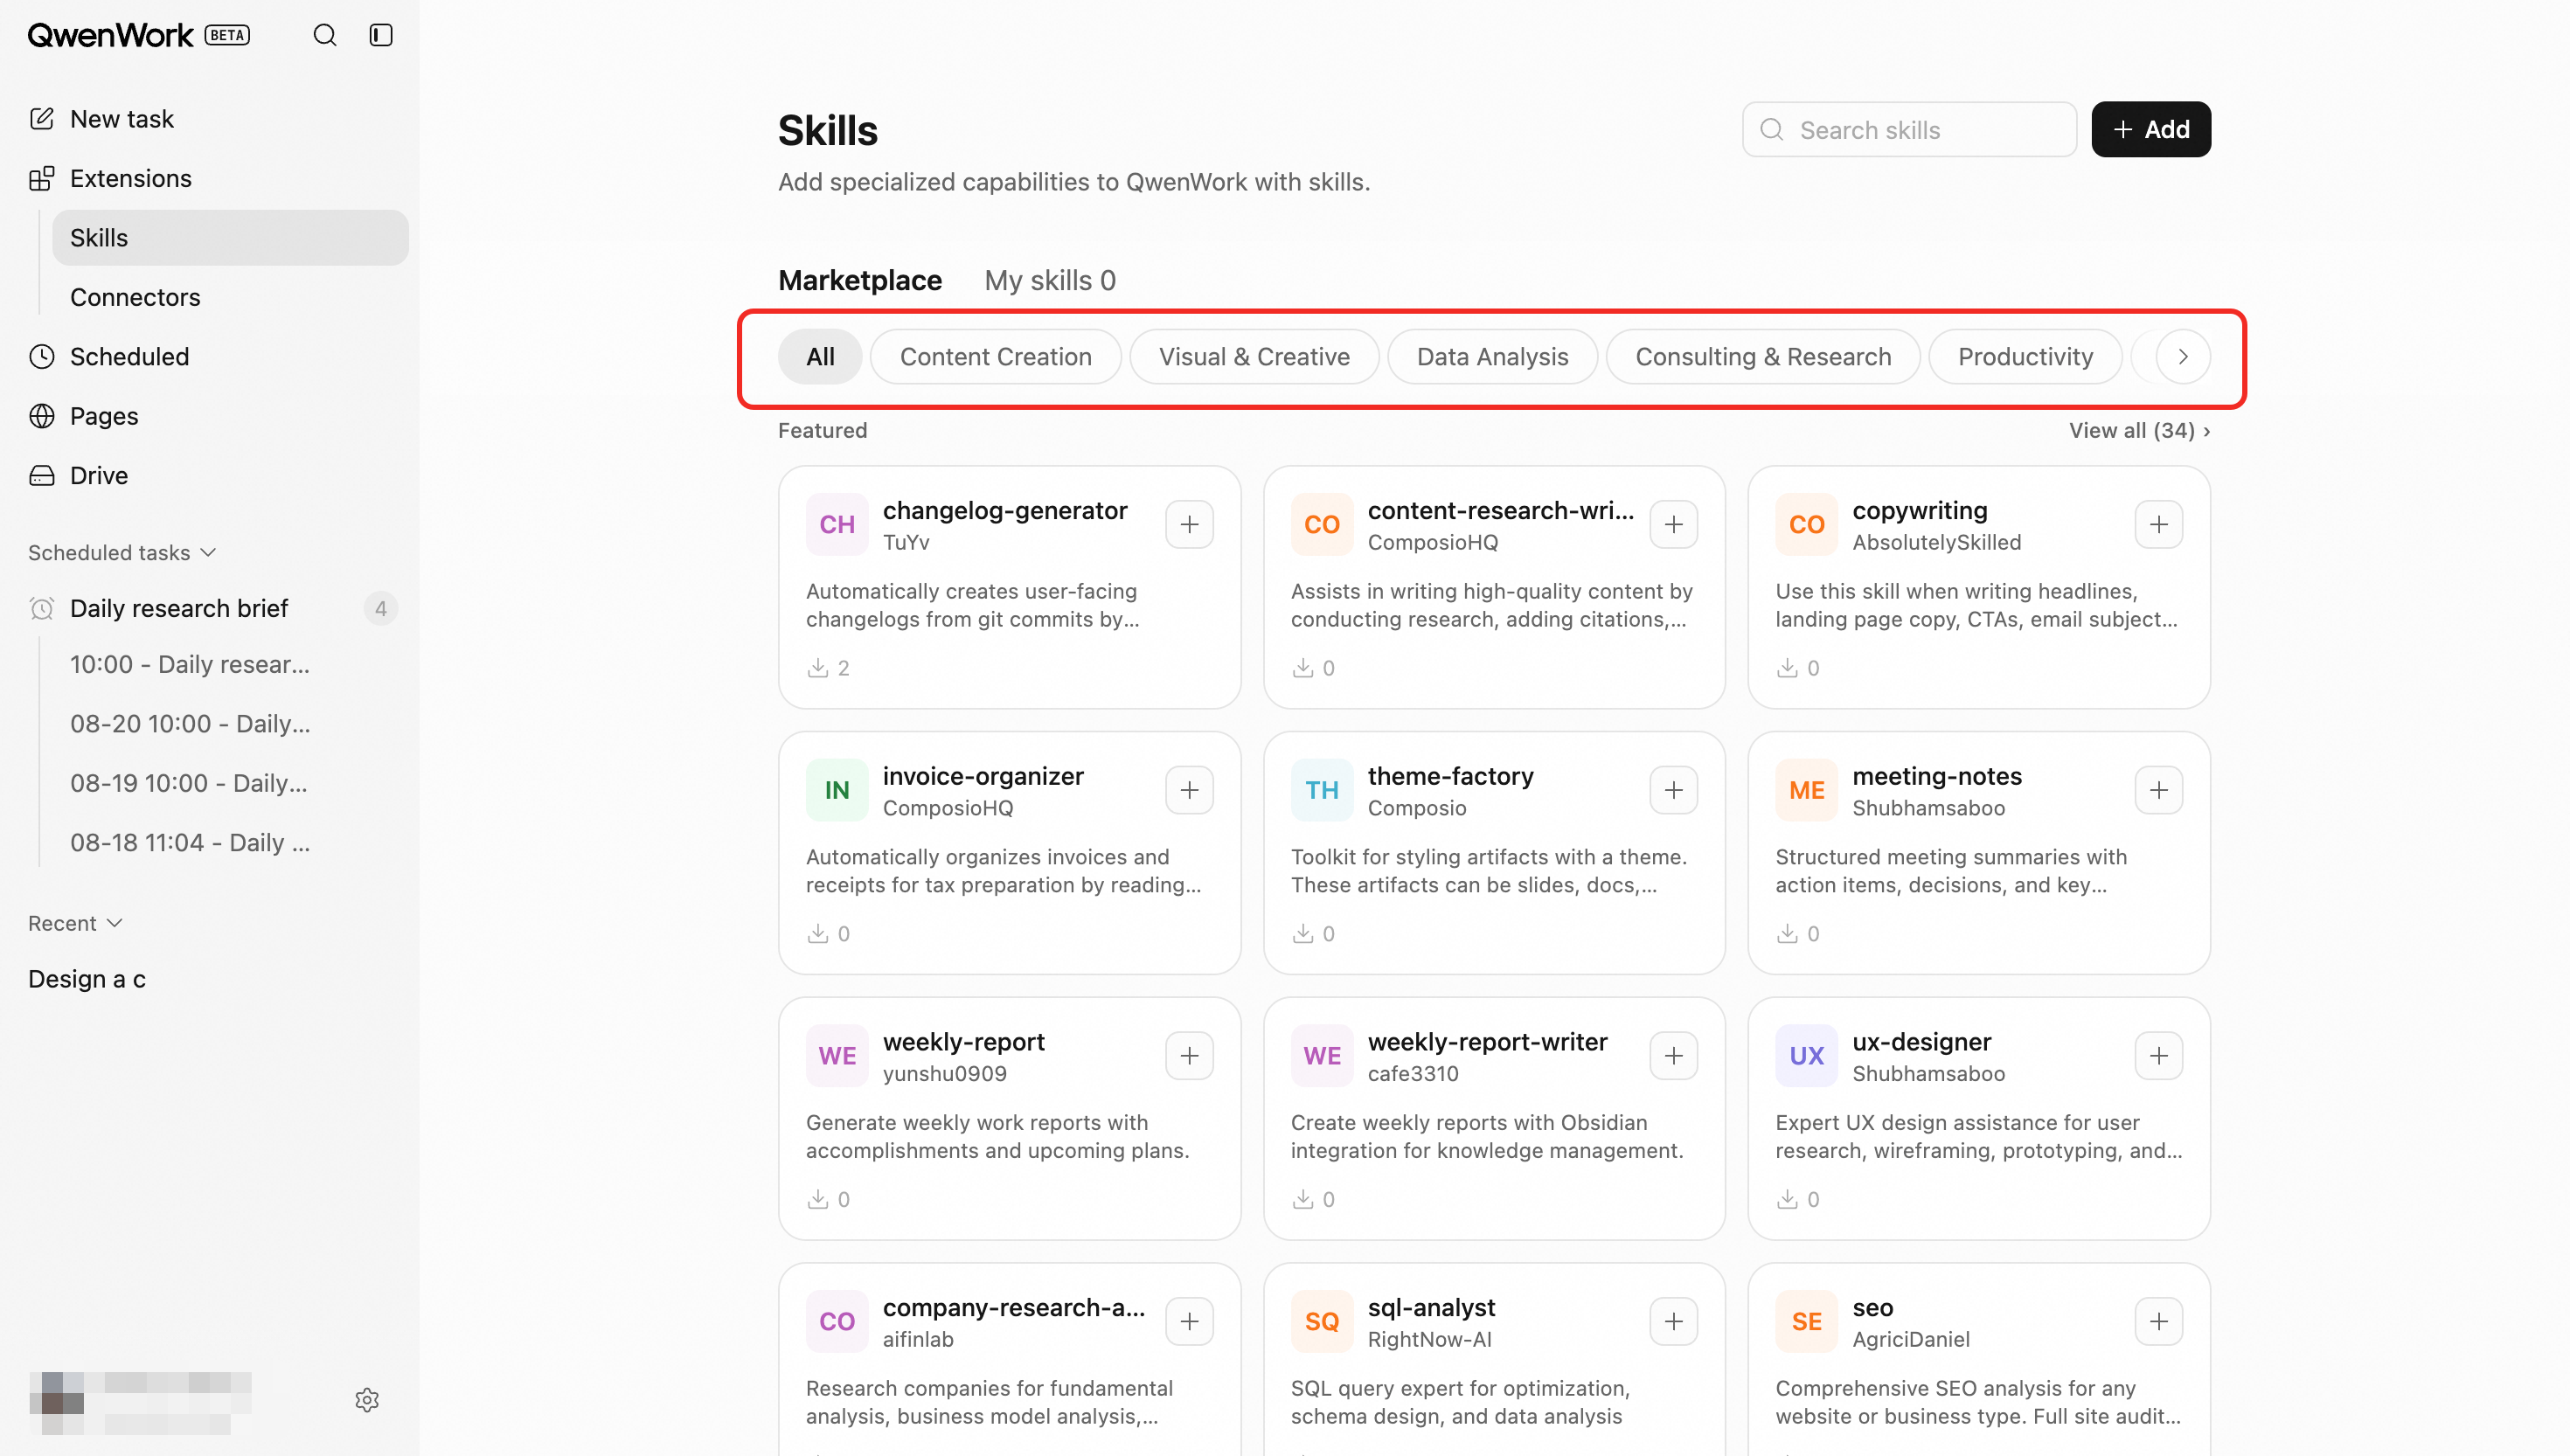 |
### Install New Skill {#install-new-skill}
Installing a Skill adds it to the active workspace. An installed Skill can then be enabled for a new or existing session.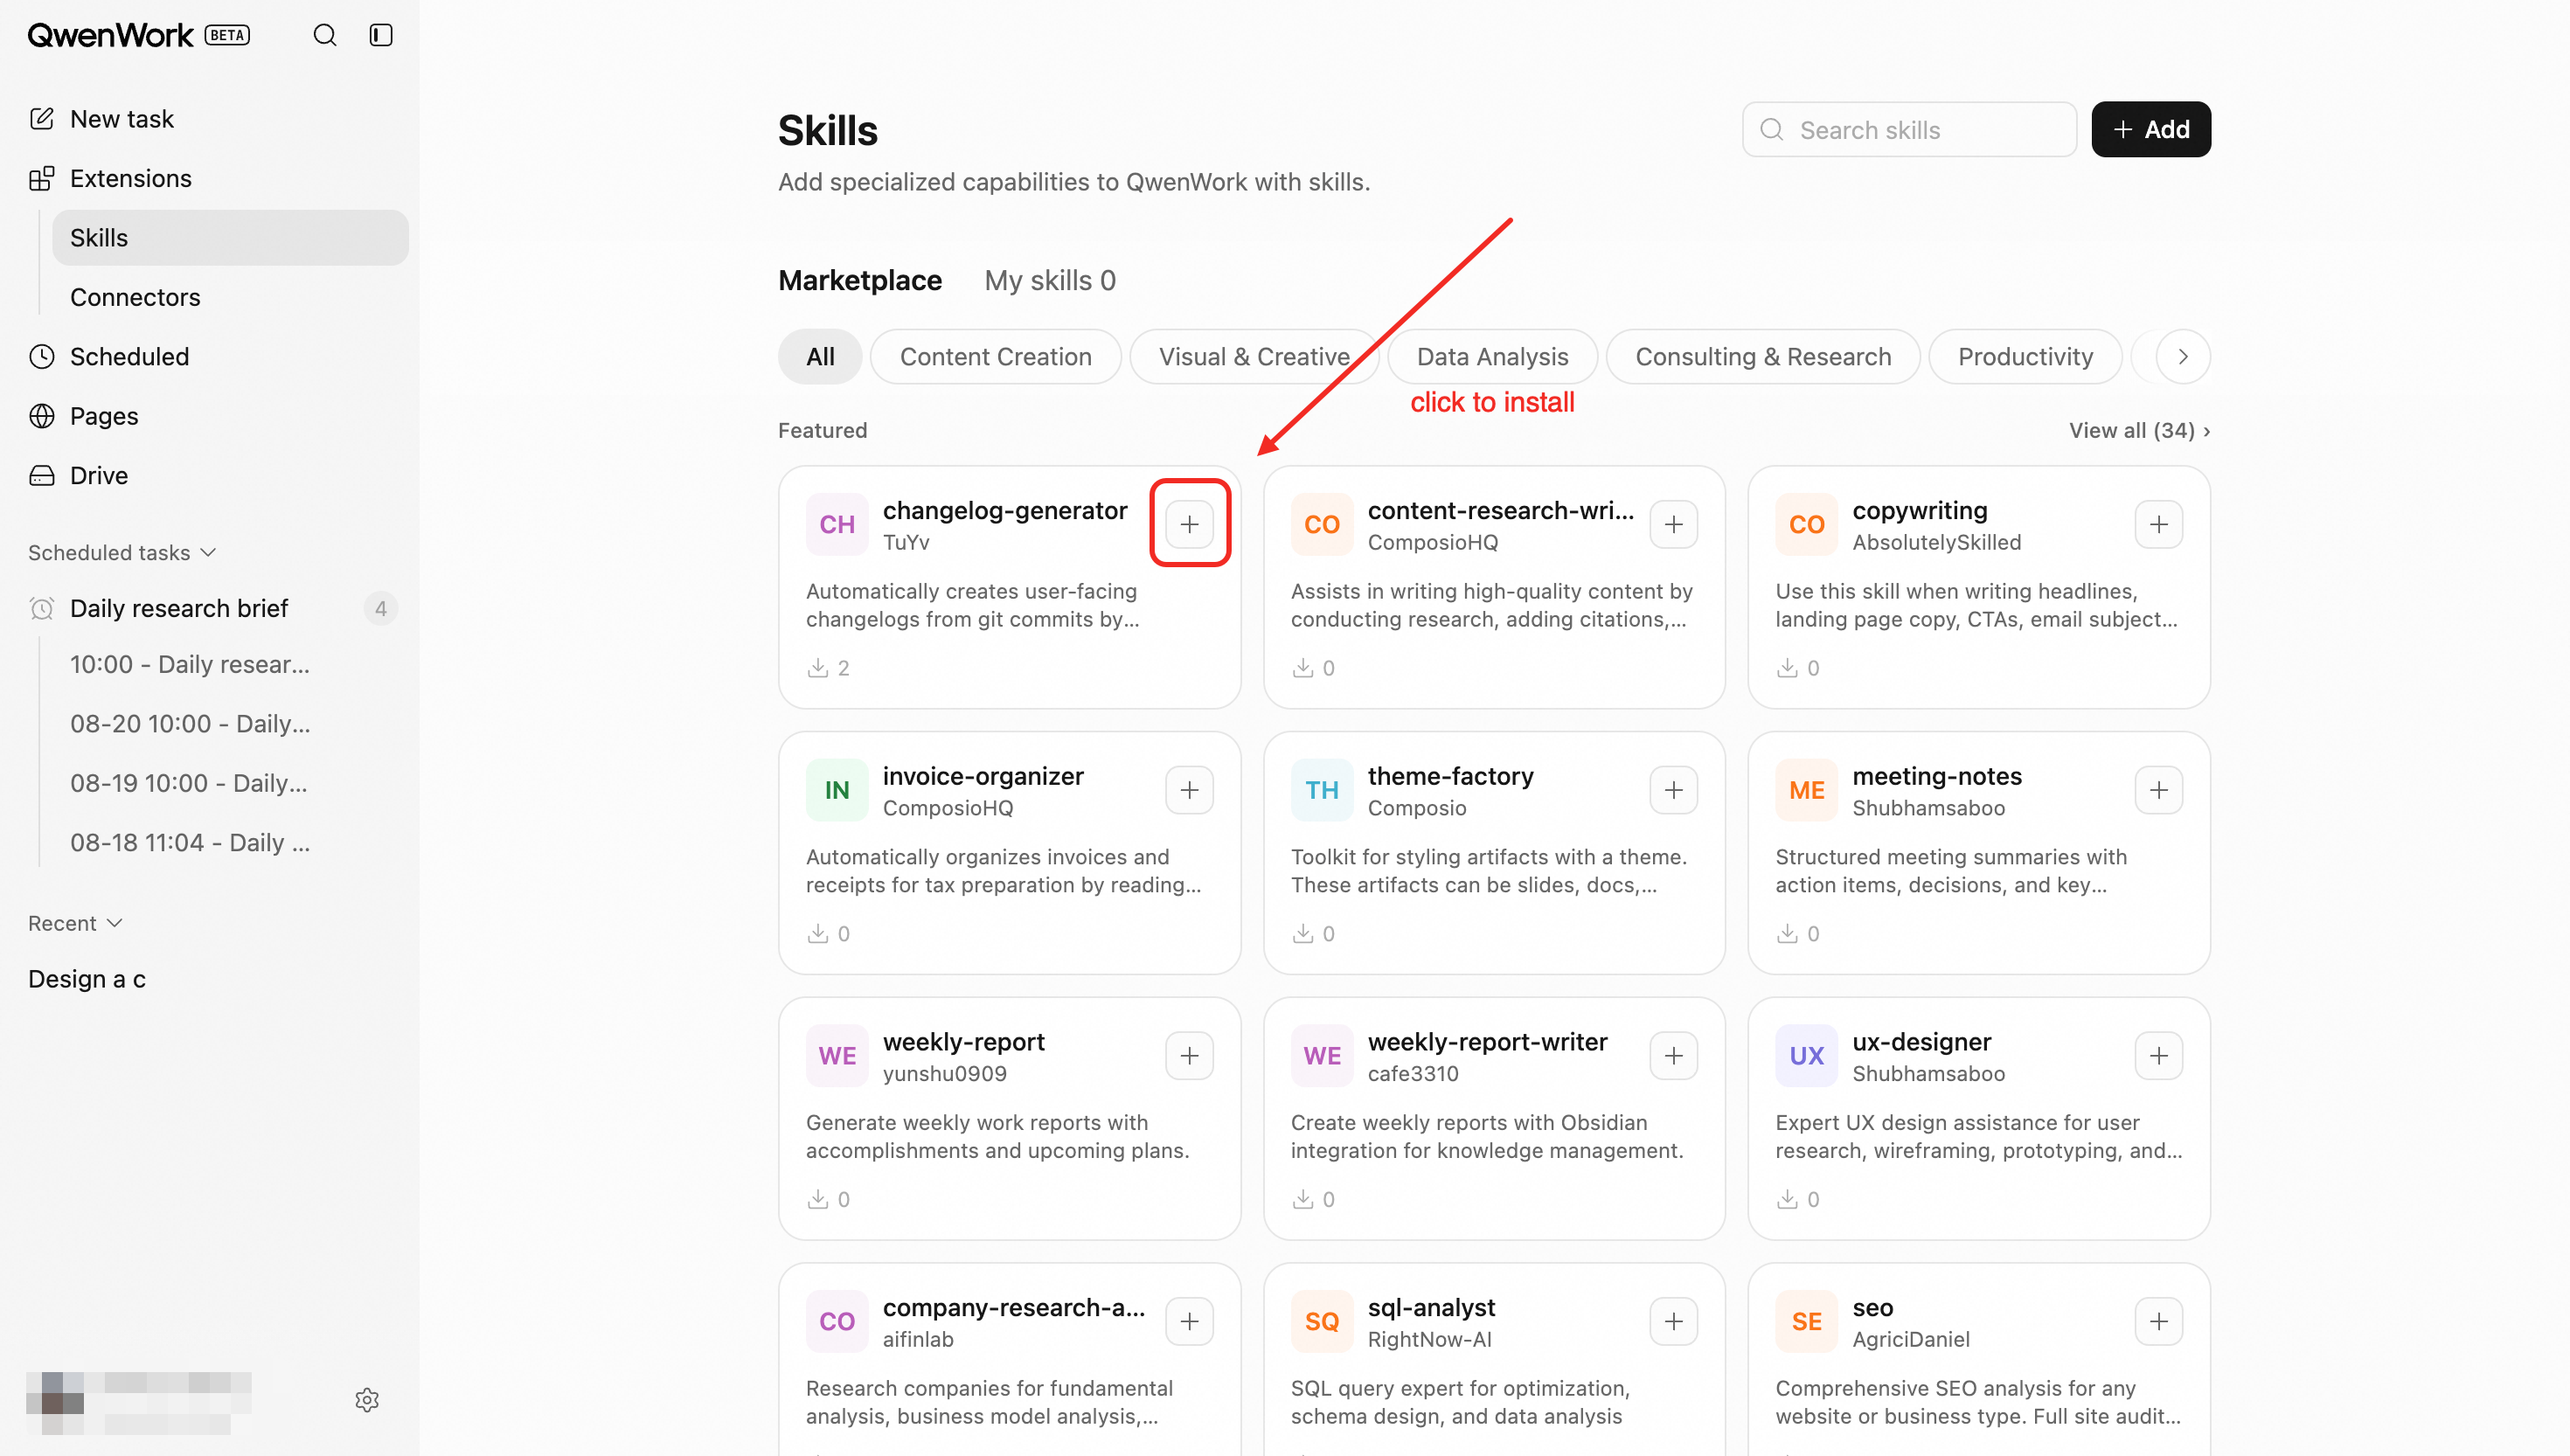
### Use a Skill in a Session {#use-a-skill-in-a-session}
The user still describes the specific desired outcome in natural language. The Skill supplements the request with an appropriate working method; it does not replace the user's task description.
| Initiated by Agent | Based on your prompts in natural language, QwenWork agents automatically calls on and use related skill that the user have installed. |
| ---------------------- | ------------------------------------------------------------------------------------------------------------------------------------------------ |
| Manually from New Task | 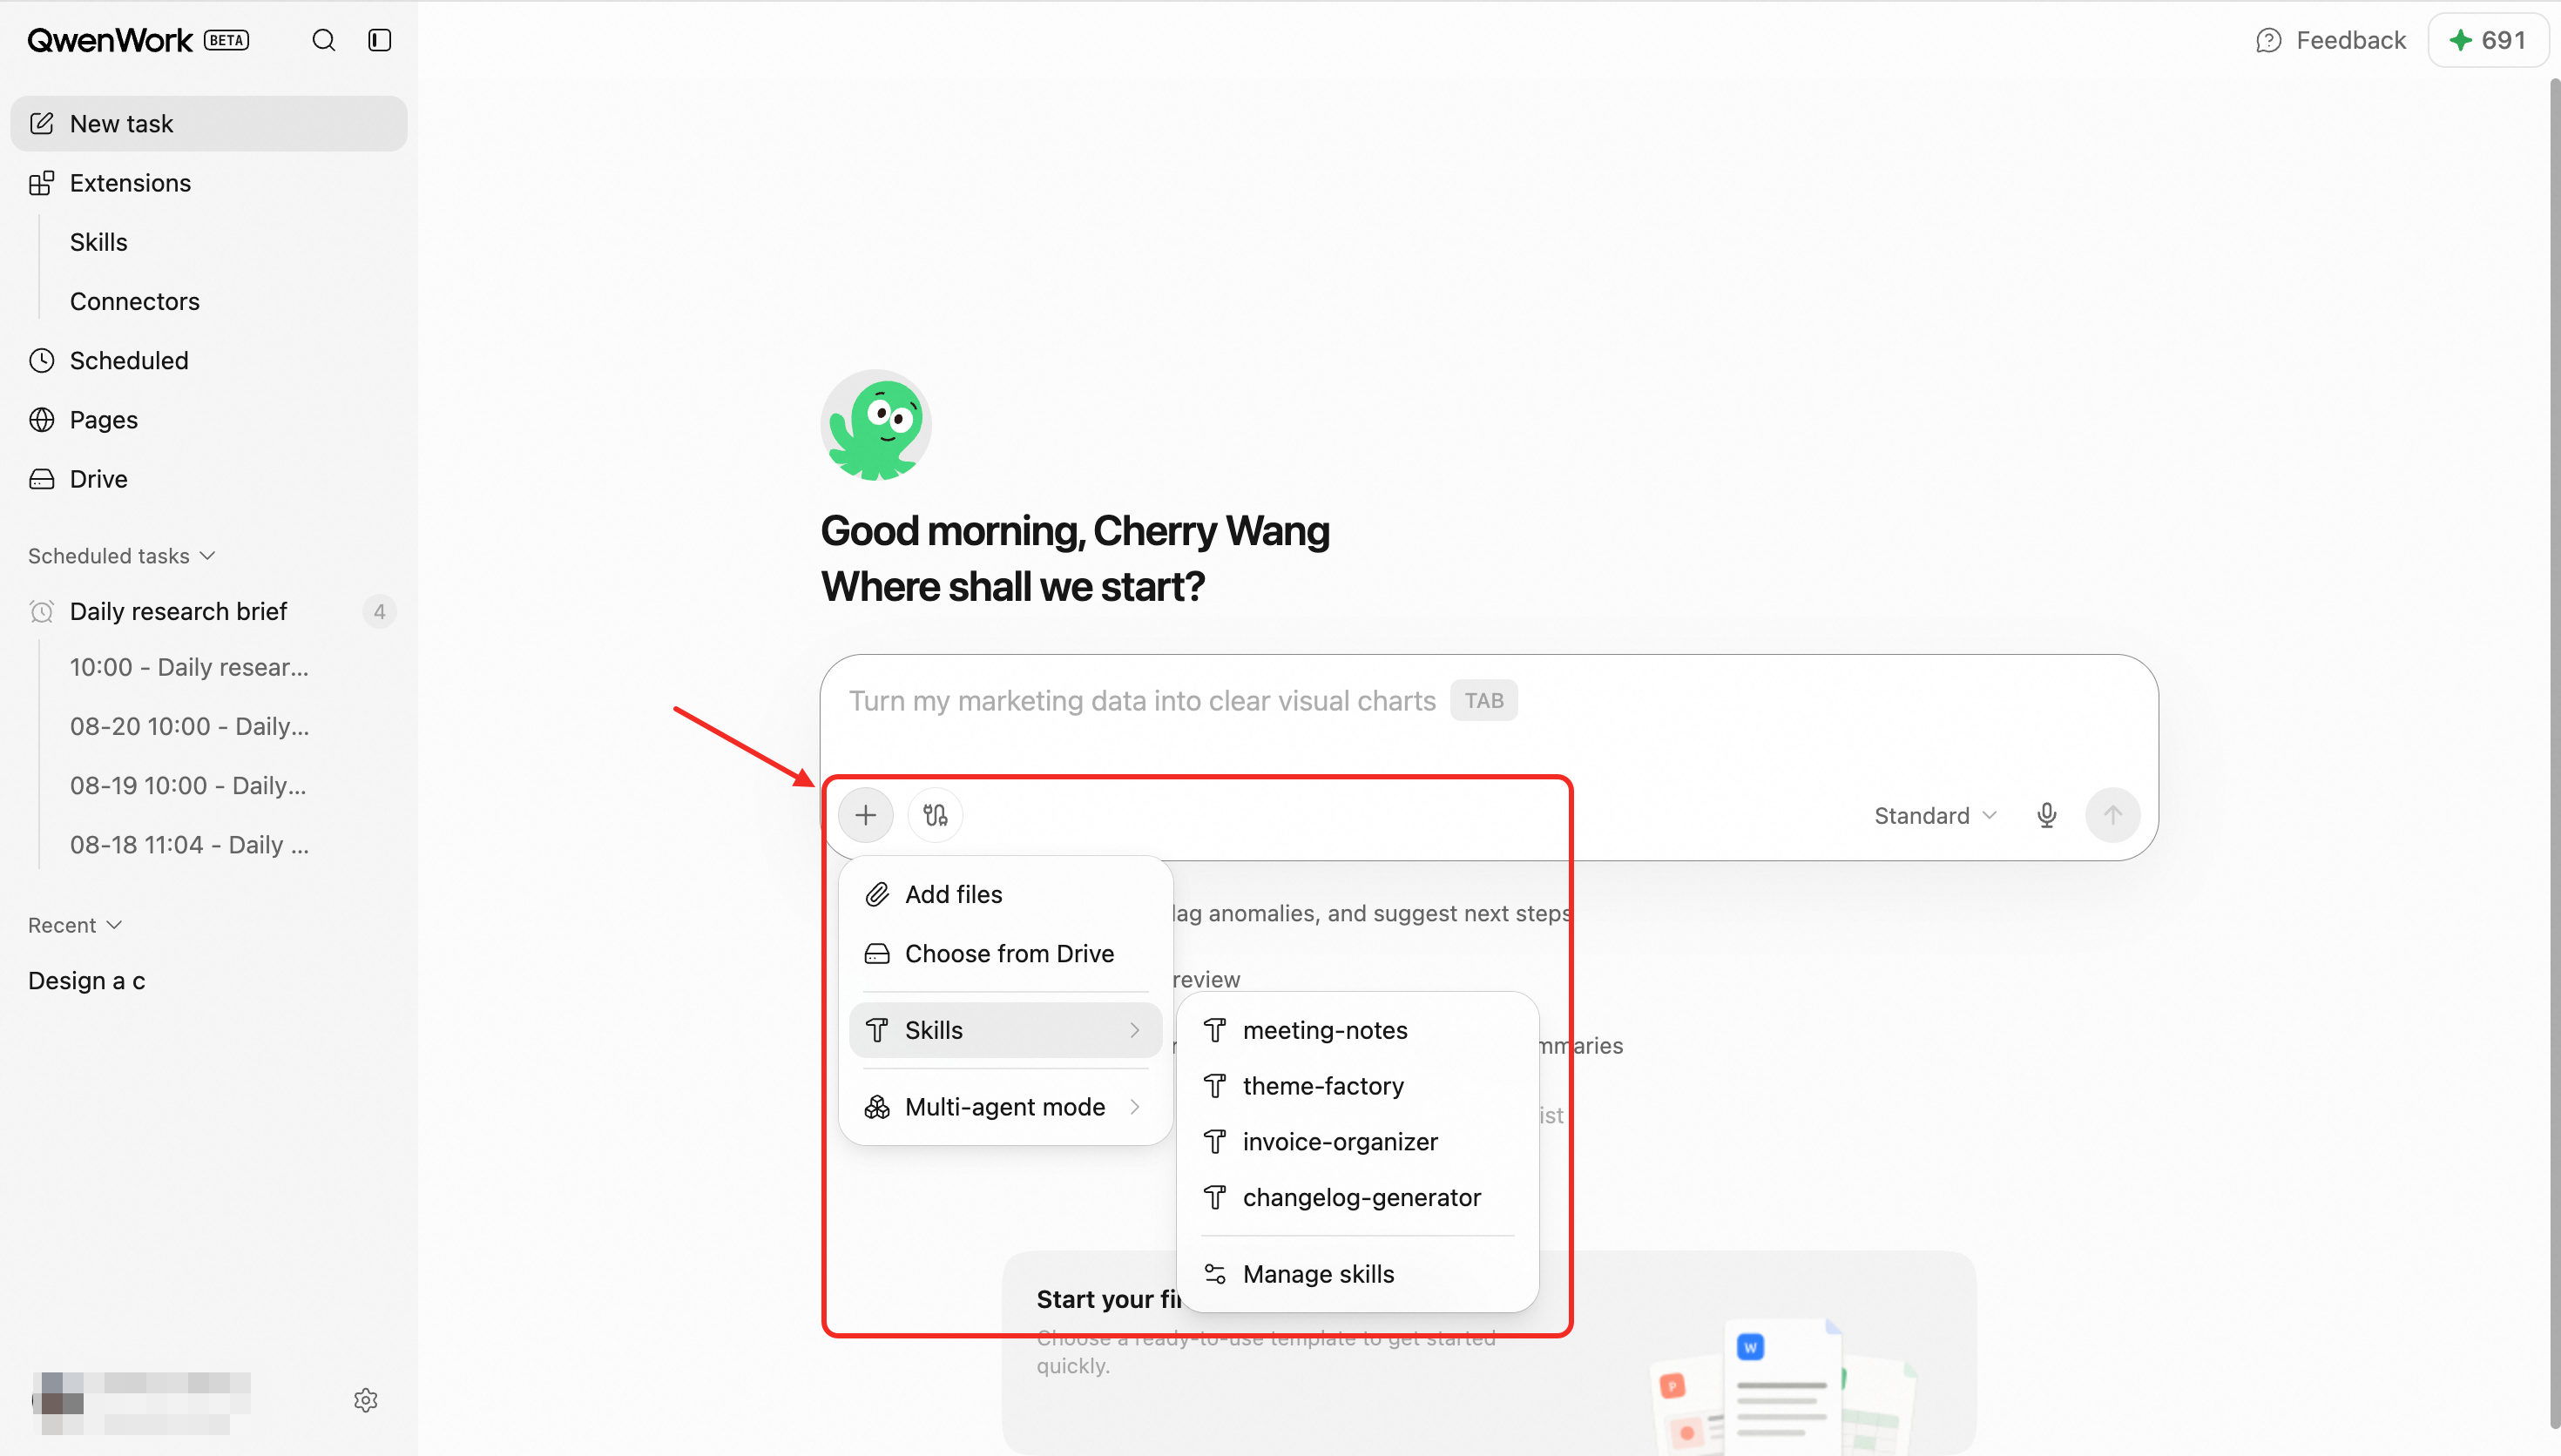 |
| Manually from Market | 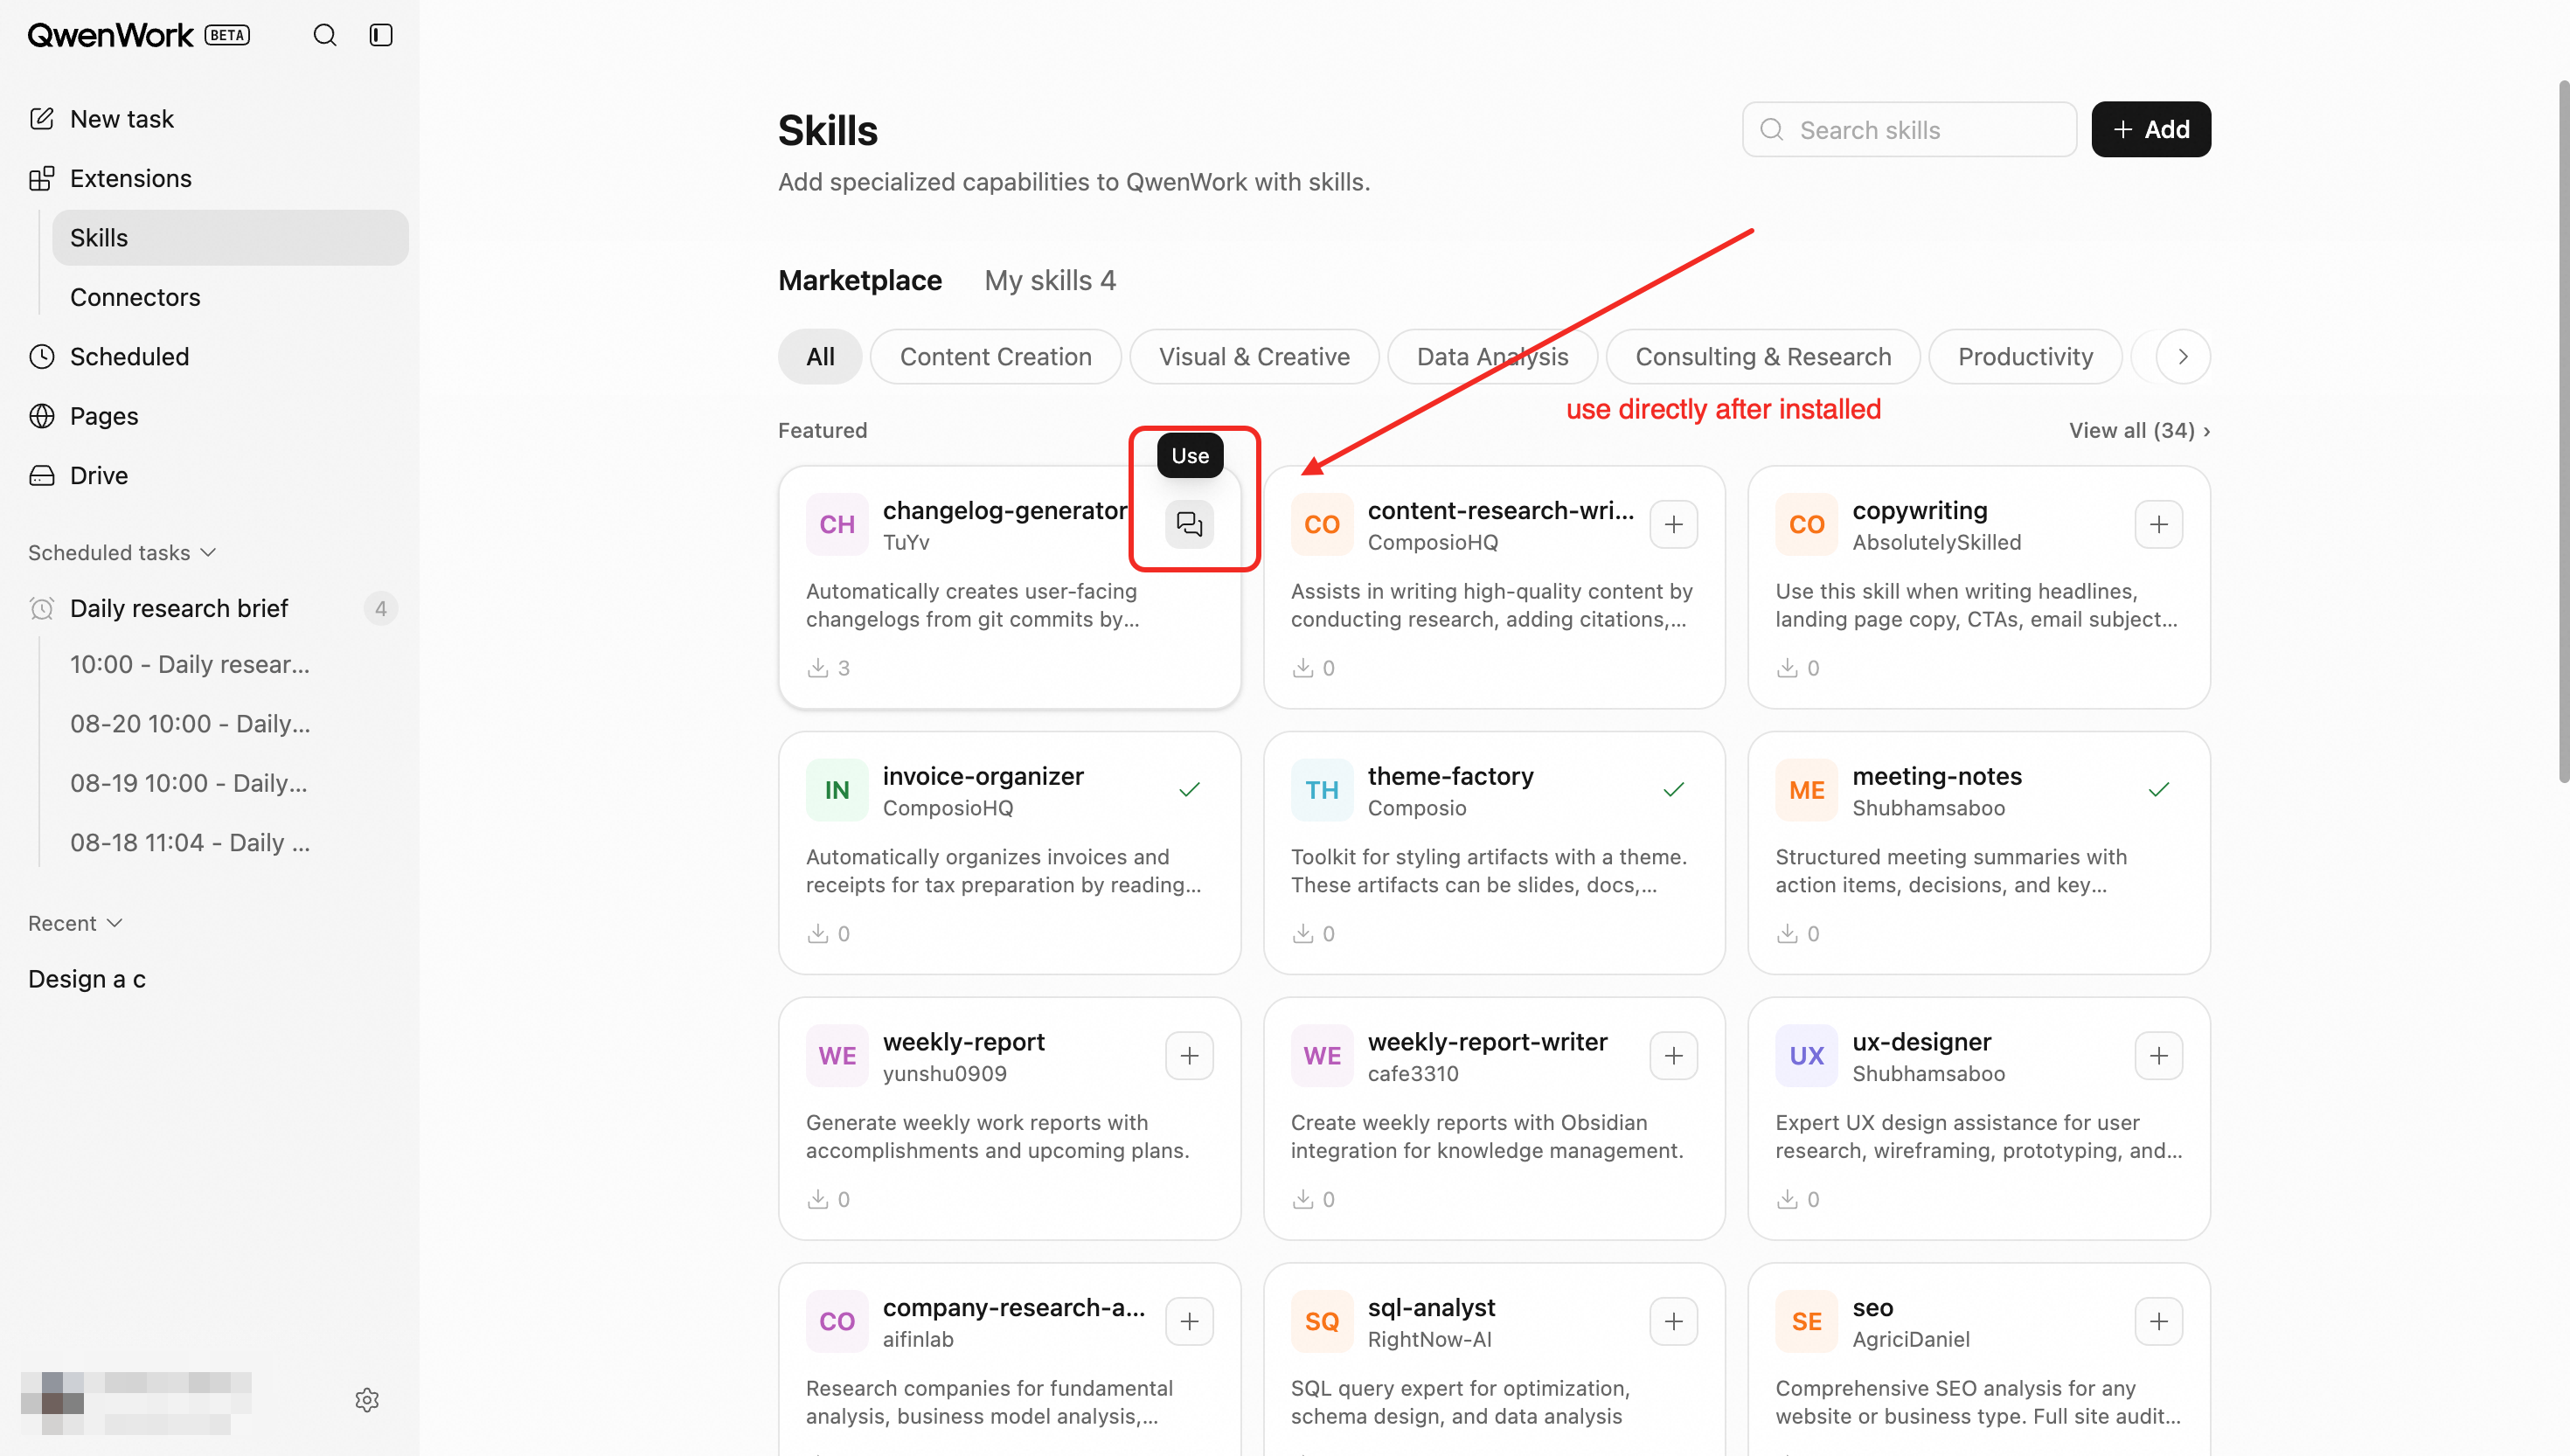 |
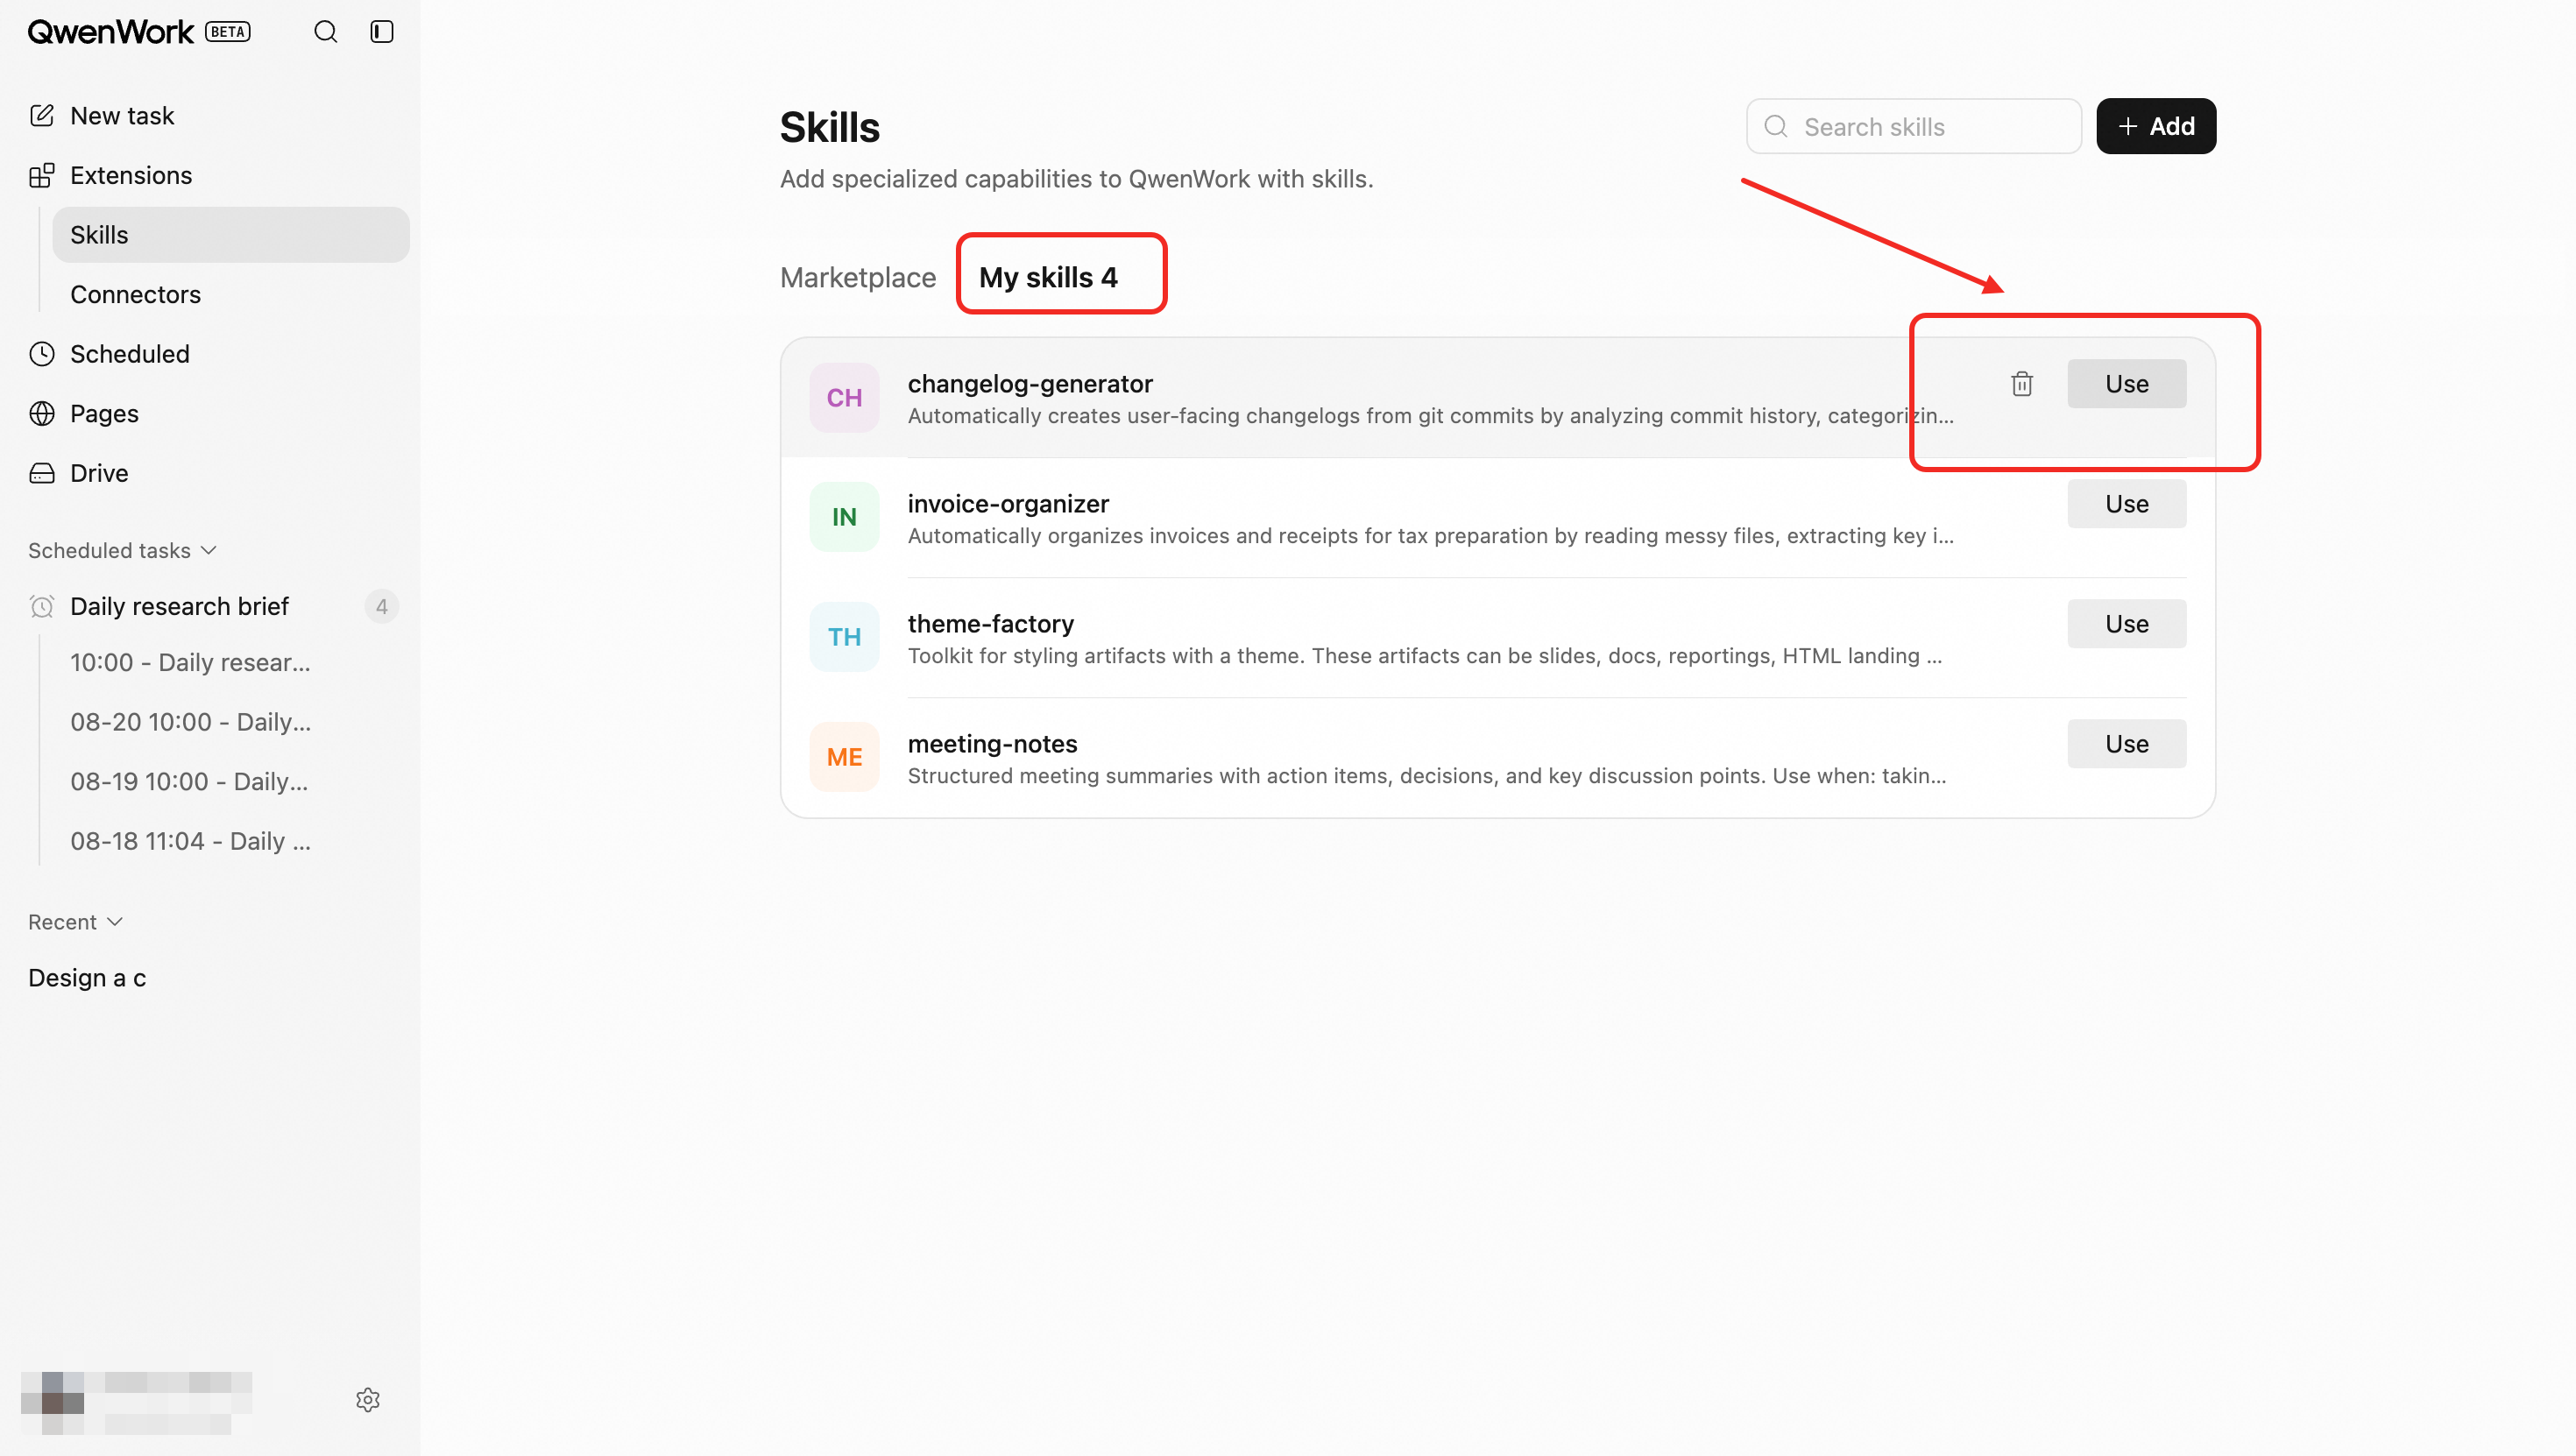
### Manage Installed Skills {#manage-installed-skills}
View installed Skills and enable, disable, or remove them as needed. Skills in organization workspaces follow organization capability and permission rules.
## End-to-End Flow {#end-to-end-flow}
1. Find a Skill that matches the task.
2. Review its description and install it in the active workspace.
3. Enable the Skill in a session.
4. The Agent combines the user's request with the Skill's working method.
5. Results are delivered in the session and can be refined or reused.
## Key Rules {#key-rules}
- The international marketplace shows Skills appropriate for international scenarios.
- A Skill defines a method; it cannot supply missing business context.
- Installation is scoped to the active personal or organization workspace.
- Skills can be used together with files and connectors.
- Avoid enabling multiple Skills that provide conflicting methods for the same task.
# Connectors
Source: https://docs.qwenwork.ai/features/connectors
> Connect QwenWork to external services and data sources.
## Overview {#overview}
Connectors link QwenWork to external services. After authorization, the Agent can read information or perform supported actions within the permissions granted by the user.
## Common Use Cases {#common-use-cases}
- Retrieve information from external business systems
- Work with collaboration, project management, or knowledge services
- Collect and organize information across systems
- Give scheduled tasks access to a consistent external data source
## Entry Points {#entry-points}
Browse available services in the connector marketplace, or open the connector selector from the session composer.
## Core Capabilities {#core-capabilities}
### Browse Connectors {#browse-connectors}
The marketplace shows services suitable for international use, including the service name, purpose, authorization type, and connection state.
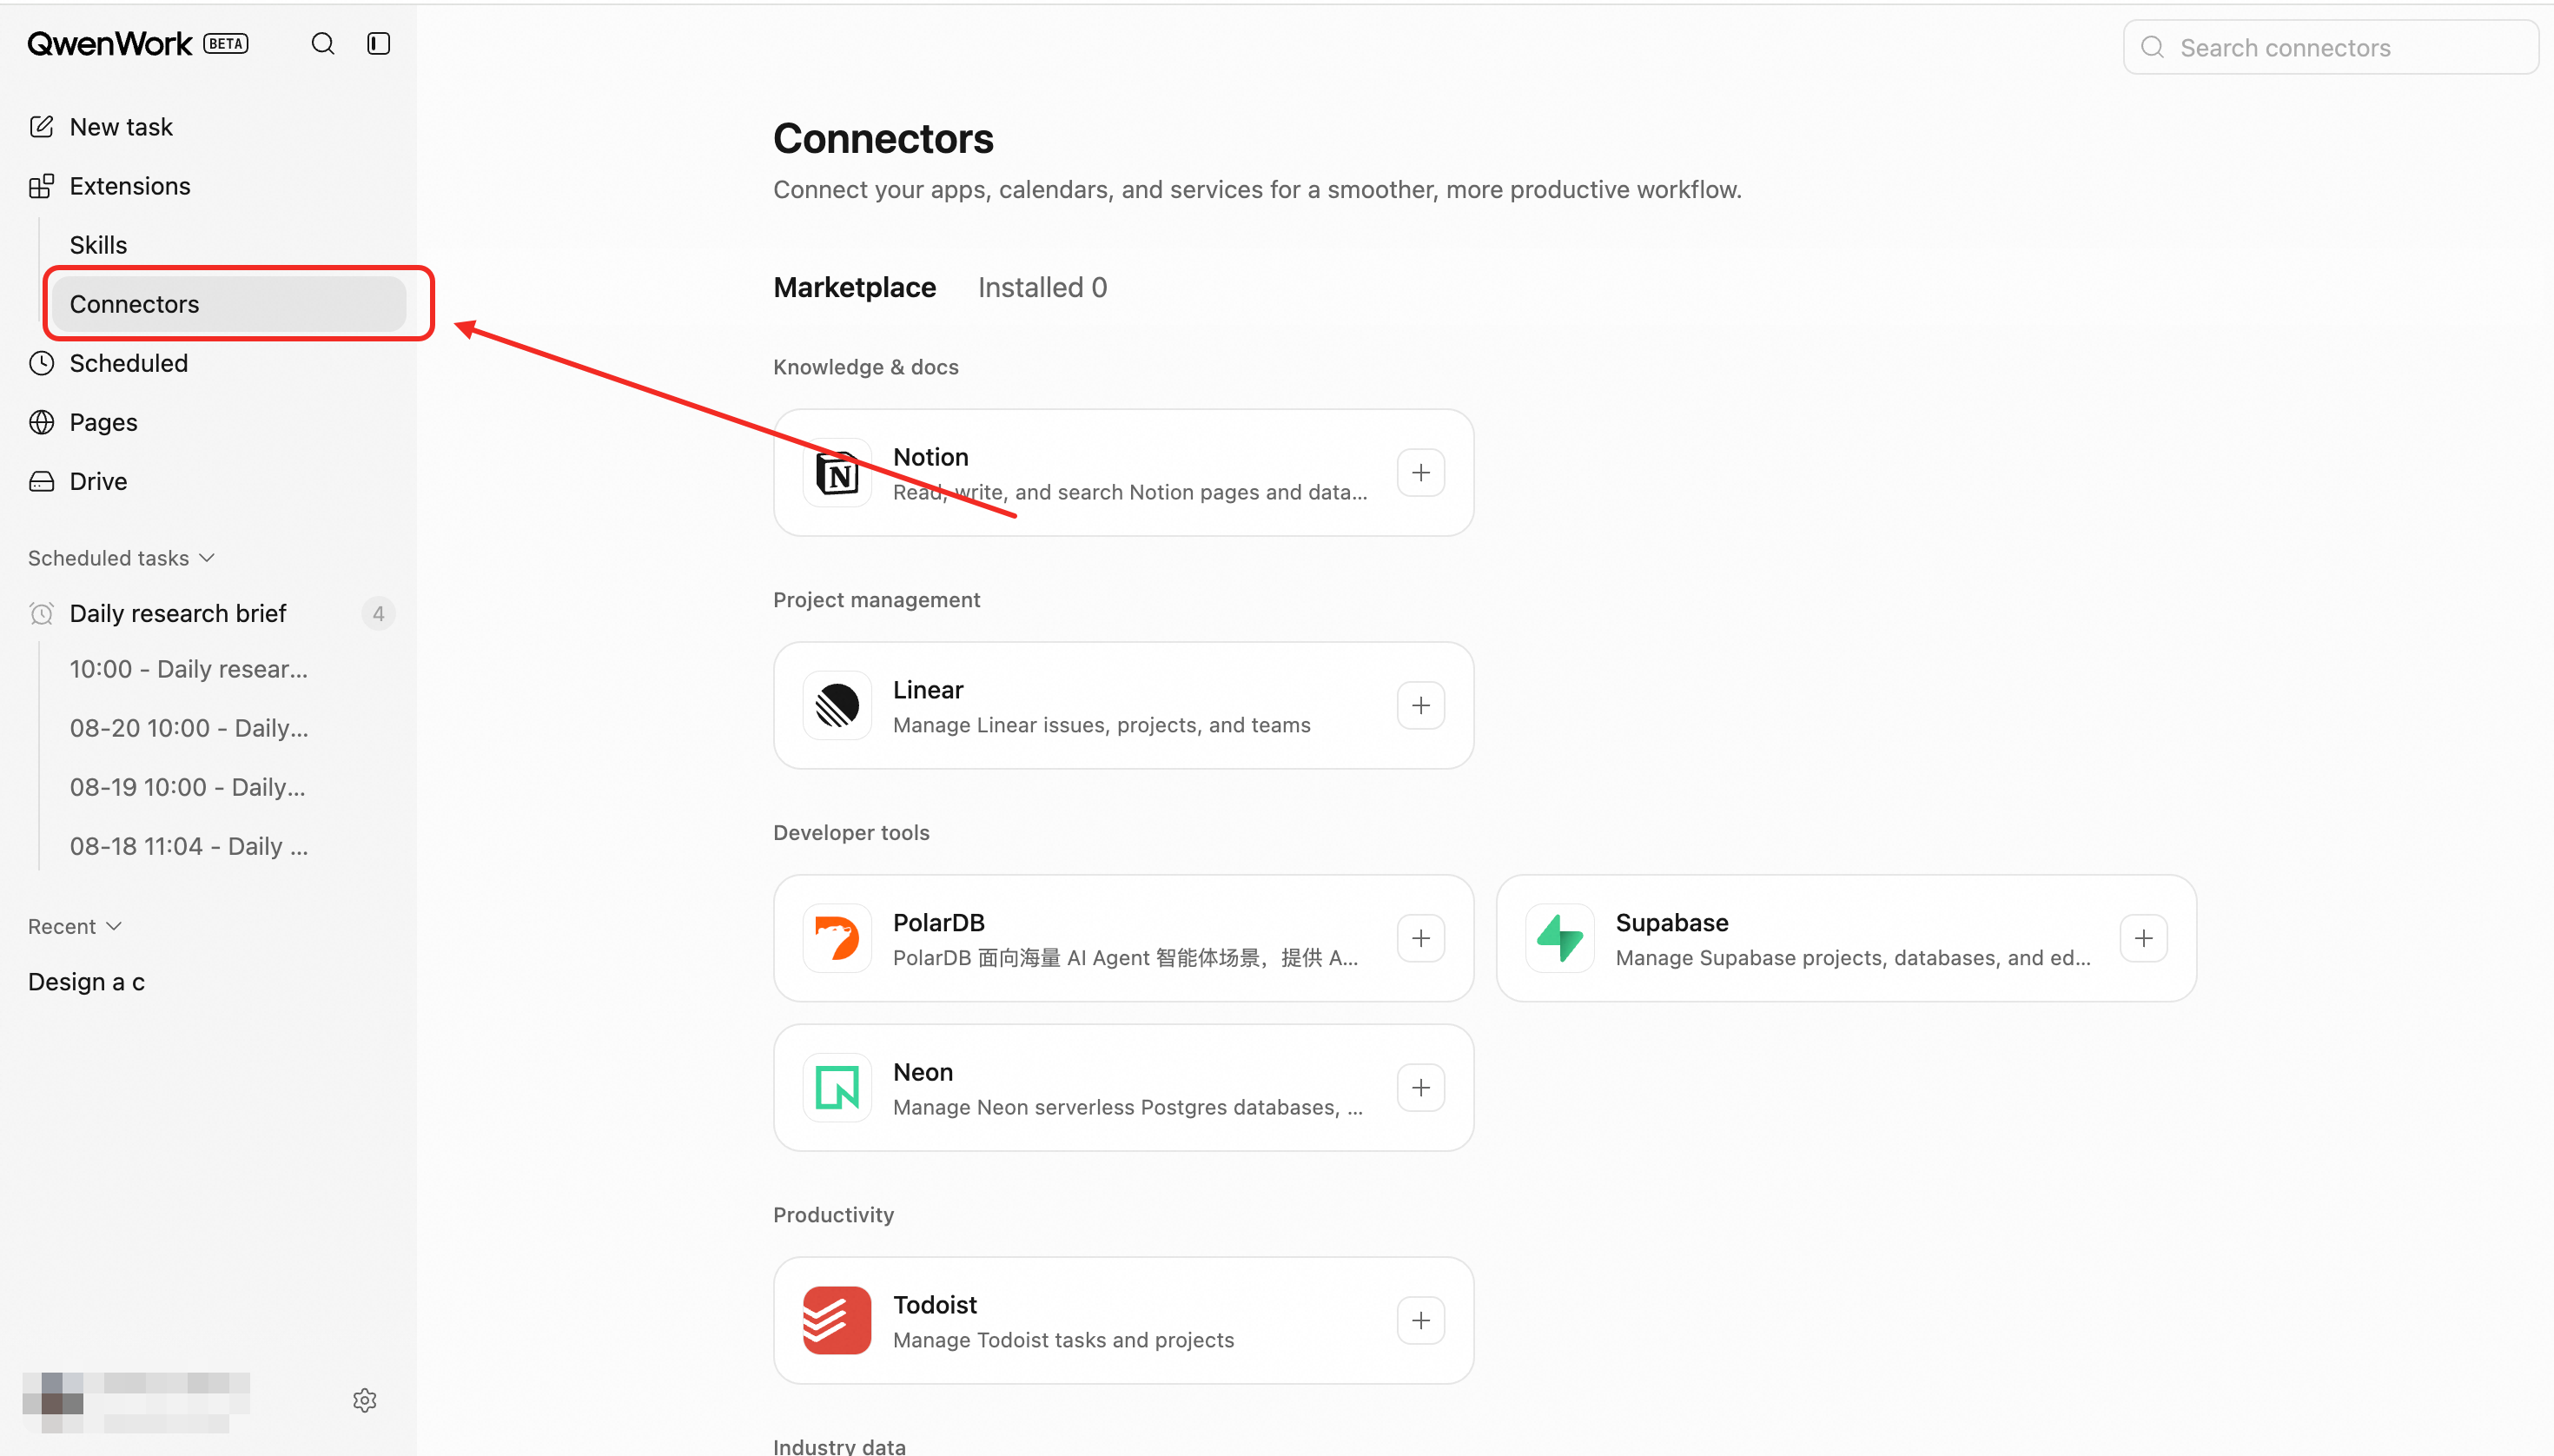
### Install {#install}
Installing a connector adds the capability to the active workspace. Installation alone does not grant access to an external account.
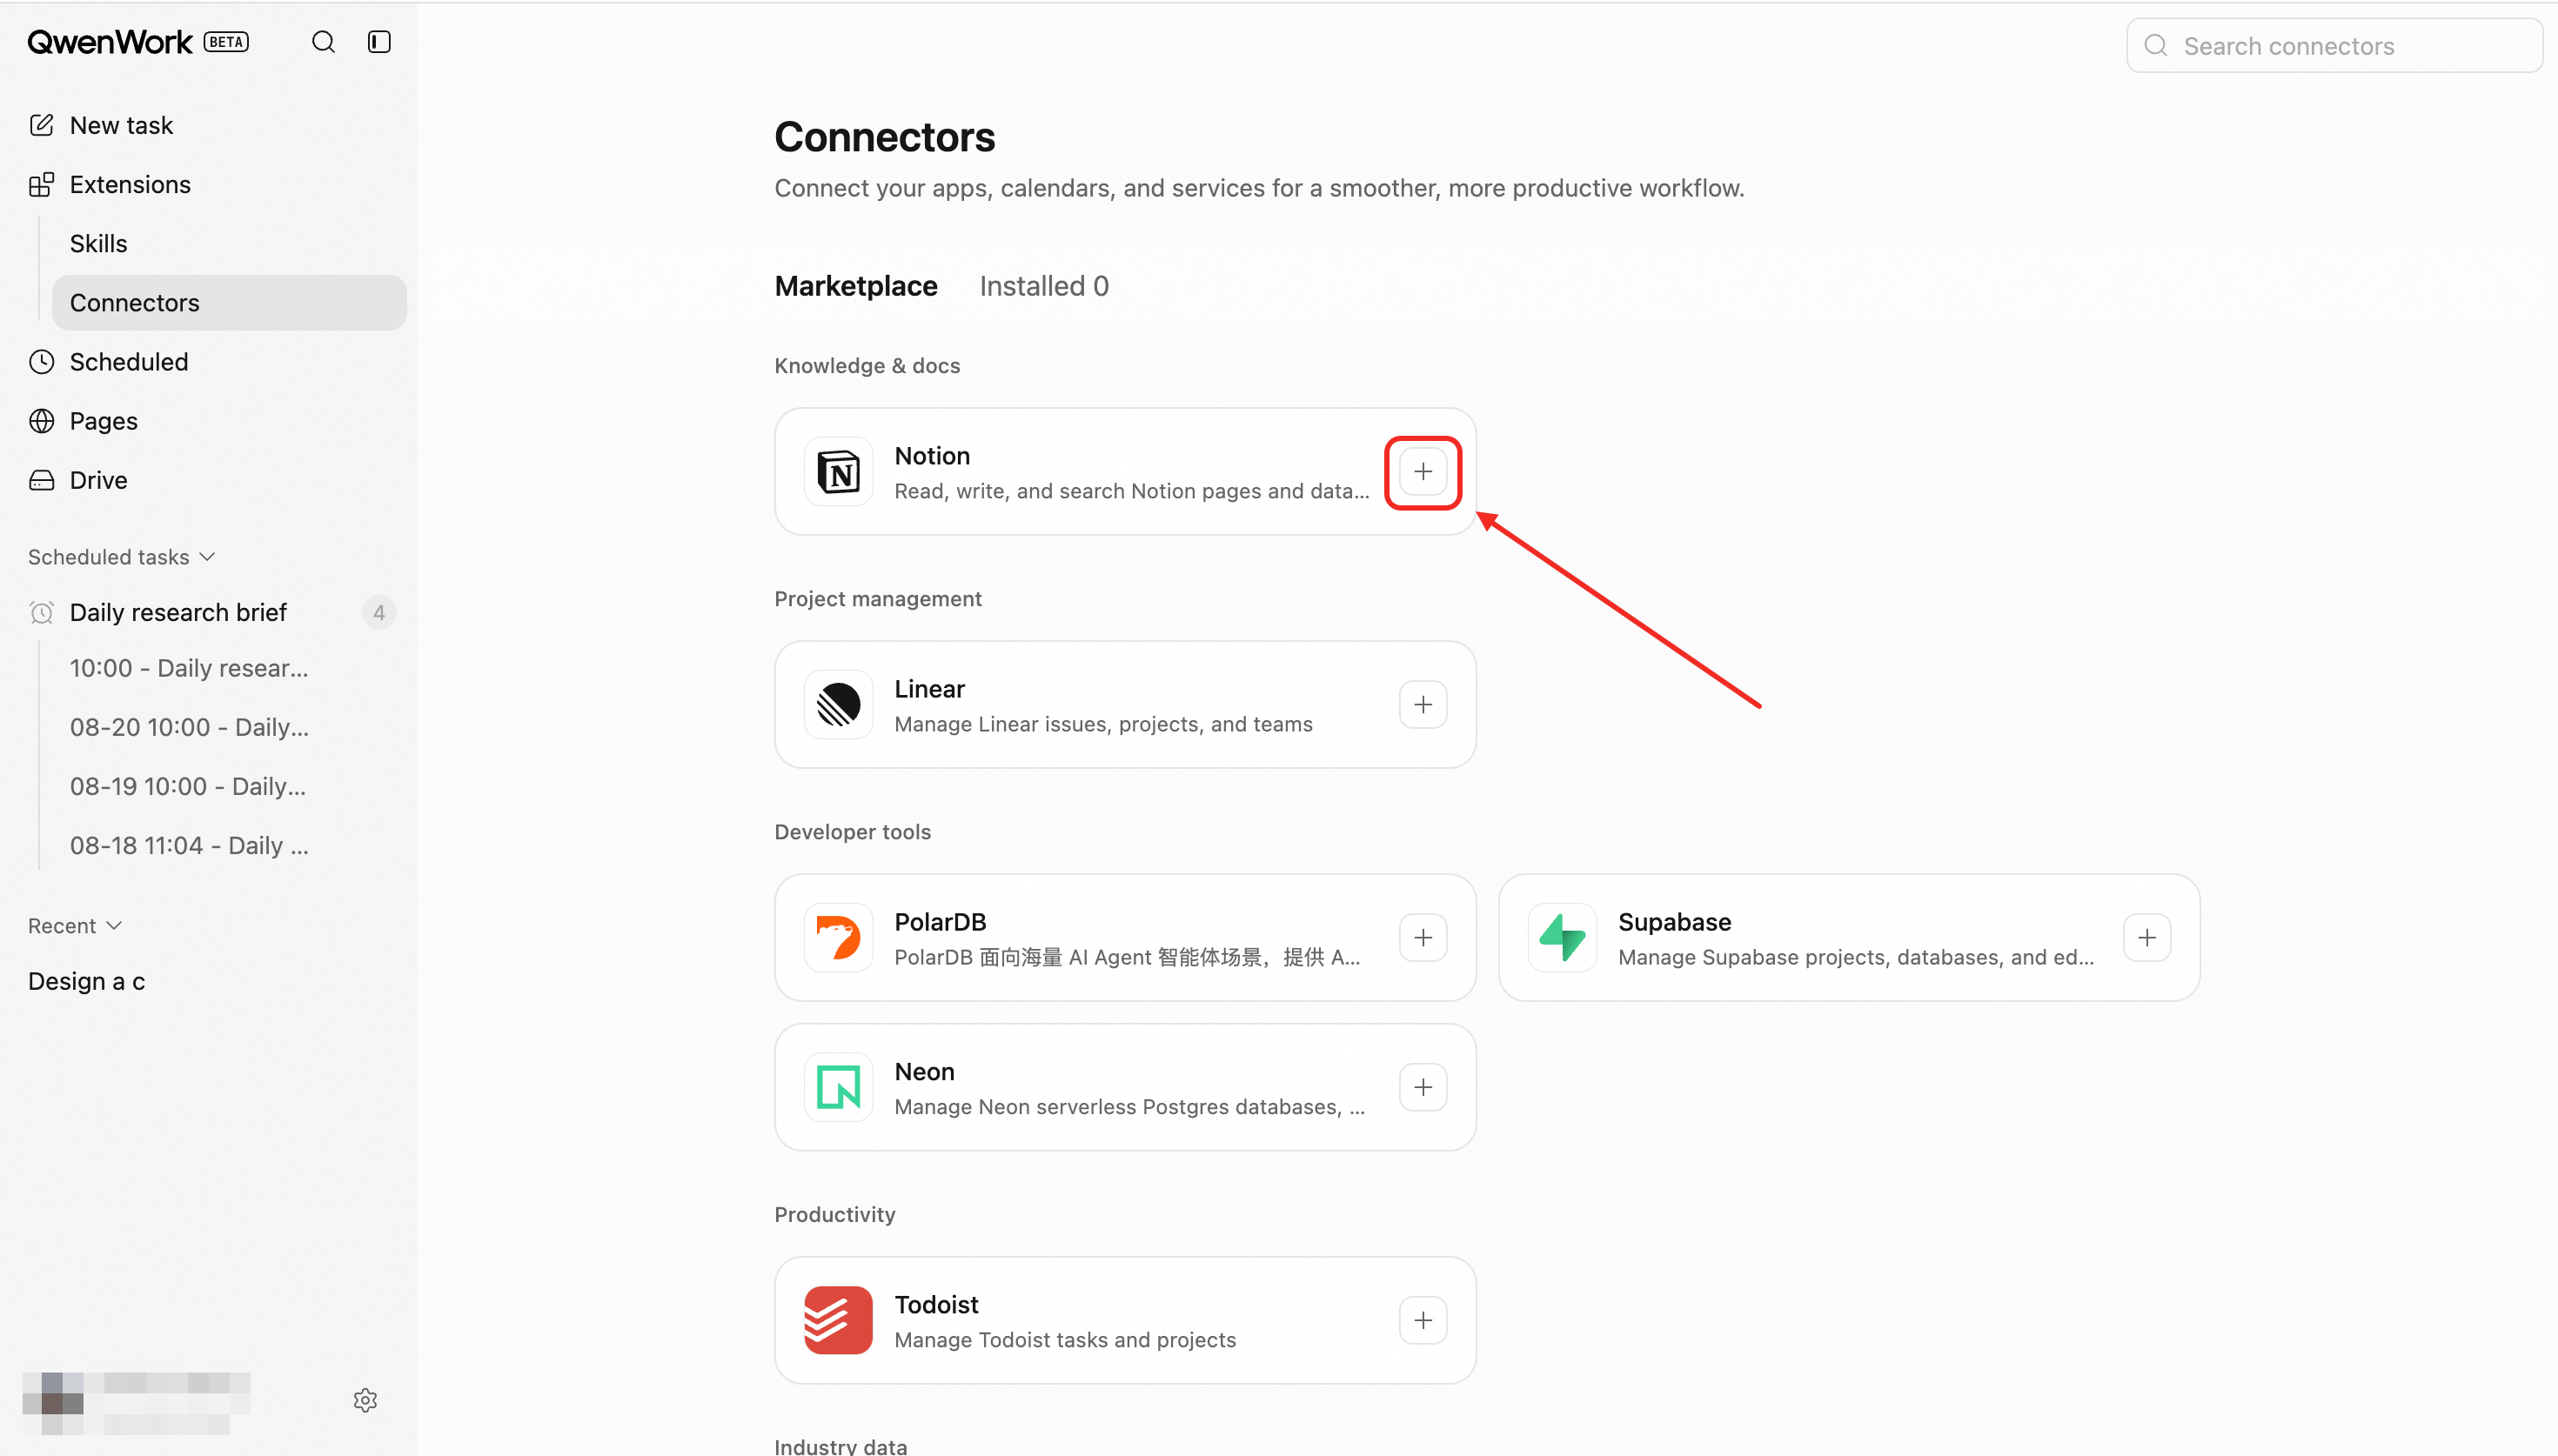
### Authorize an Account {#authorize-an-account}
For services that require identity authorization, the user signs in to the external service and approves the requested access. The connector becomes usable only after successful authorization.
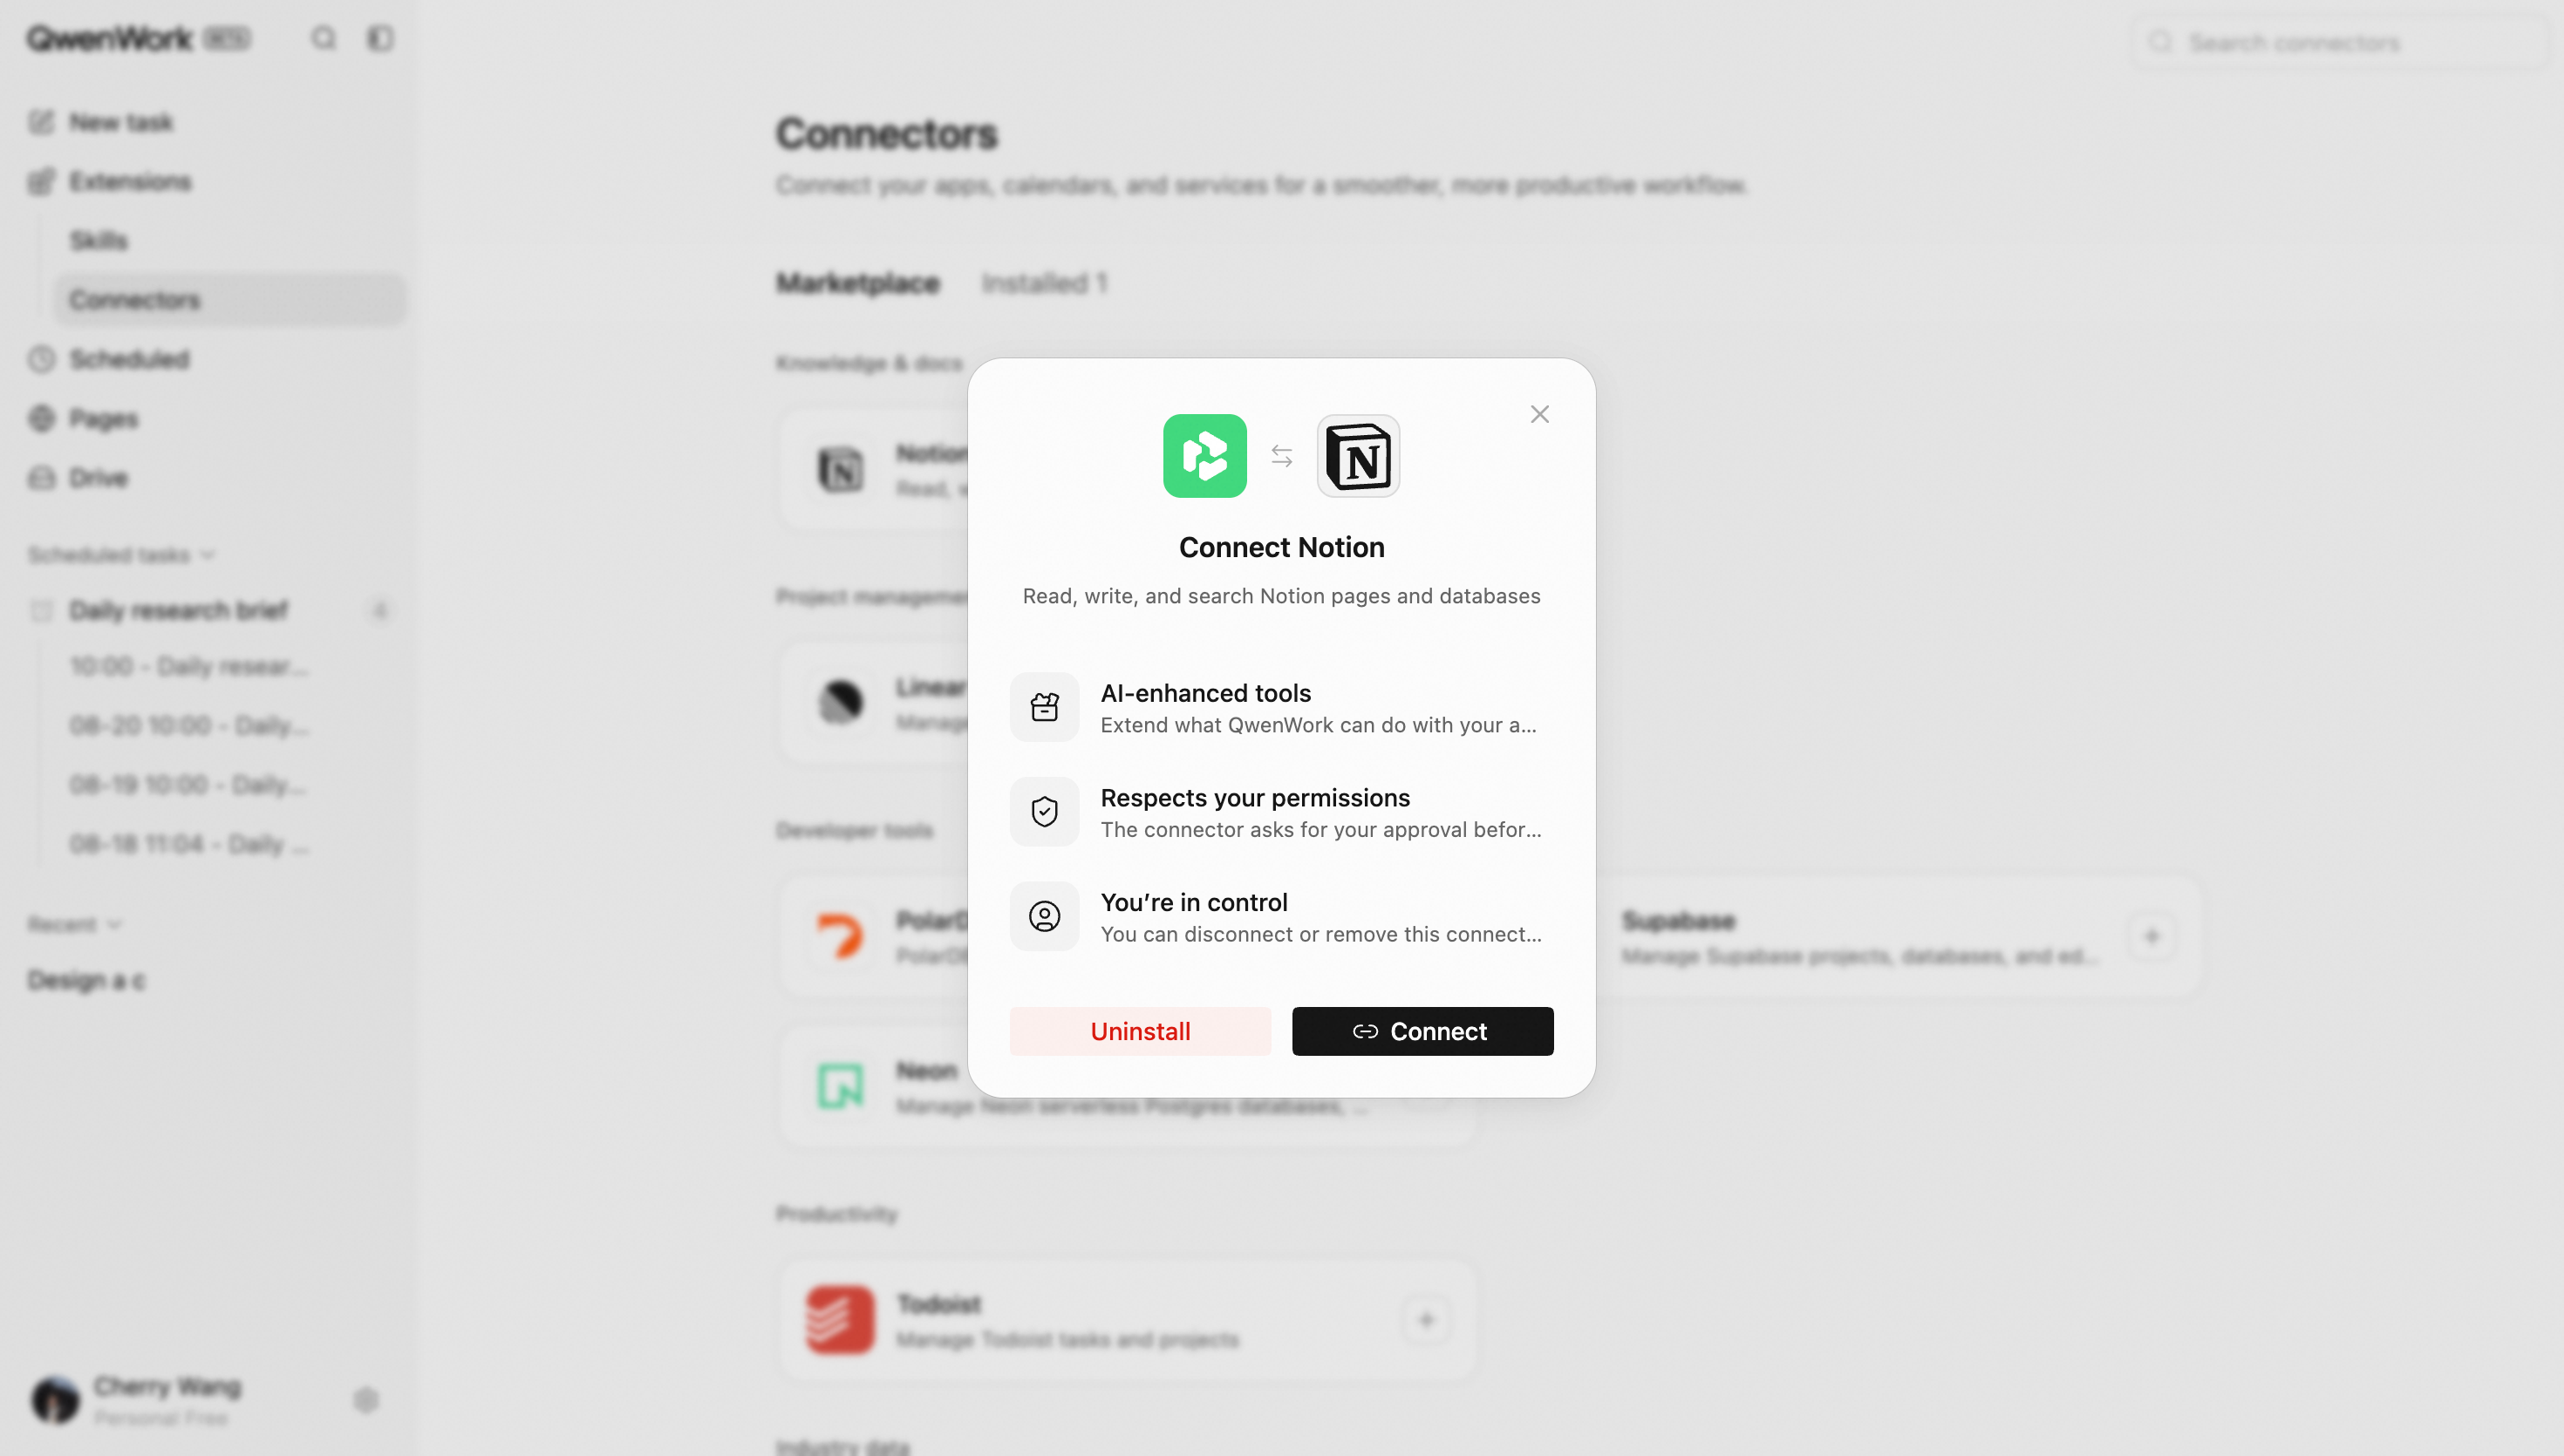
### Enable in a Session {#enable-in-a-session}
Enable a connected service for a specific task. The Agent invokes it when needed and returns the information or operation result to the session.
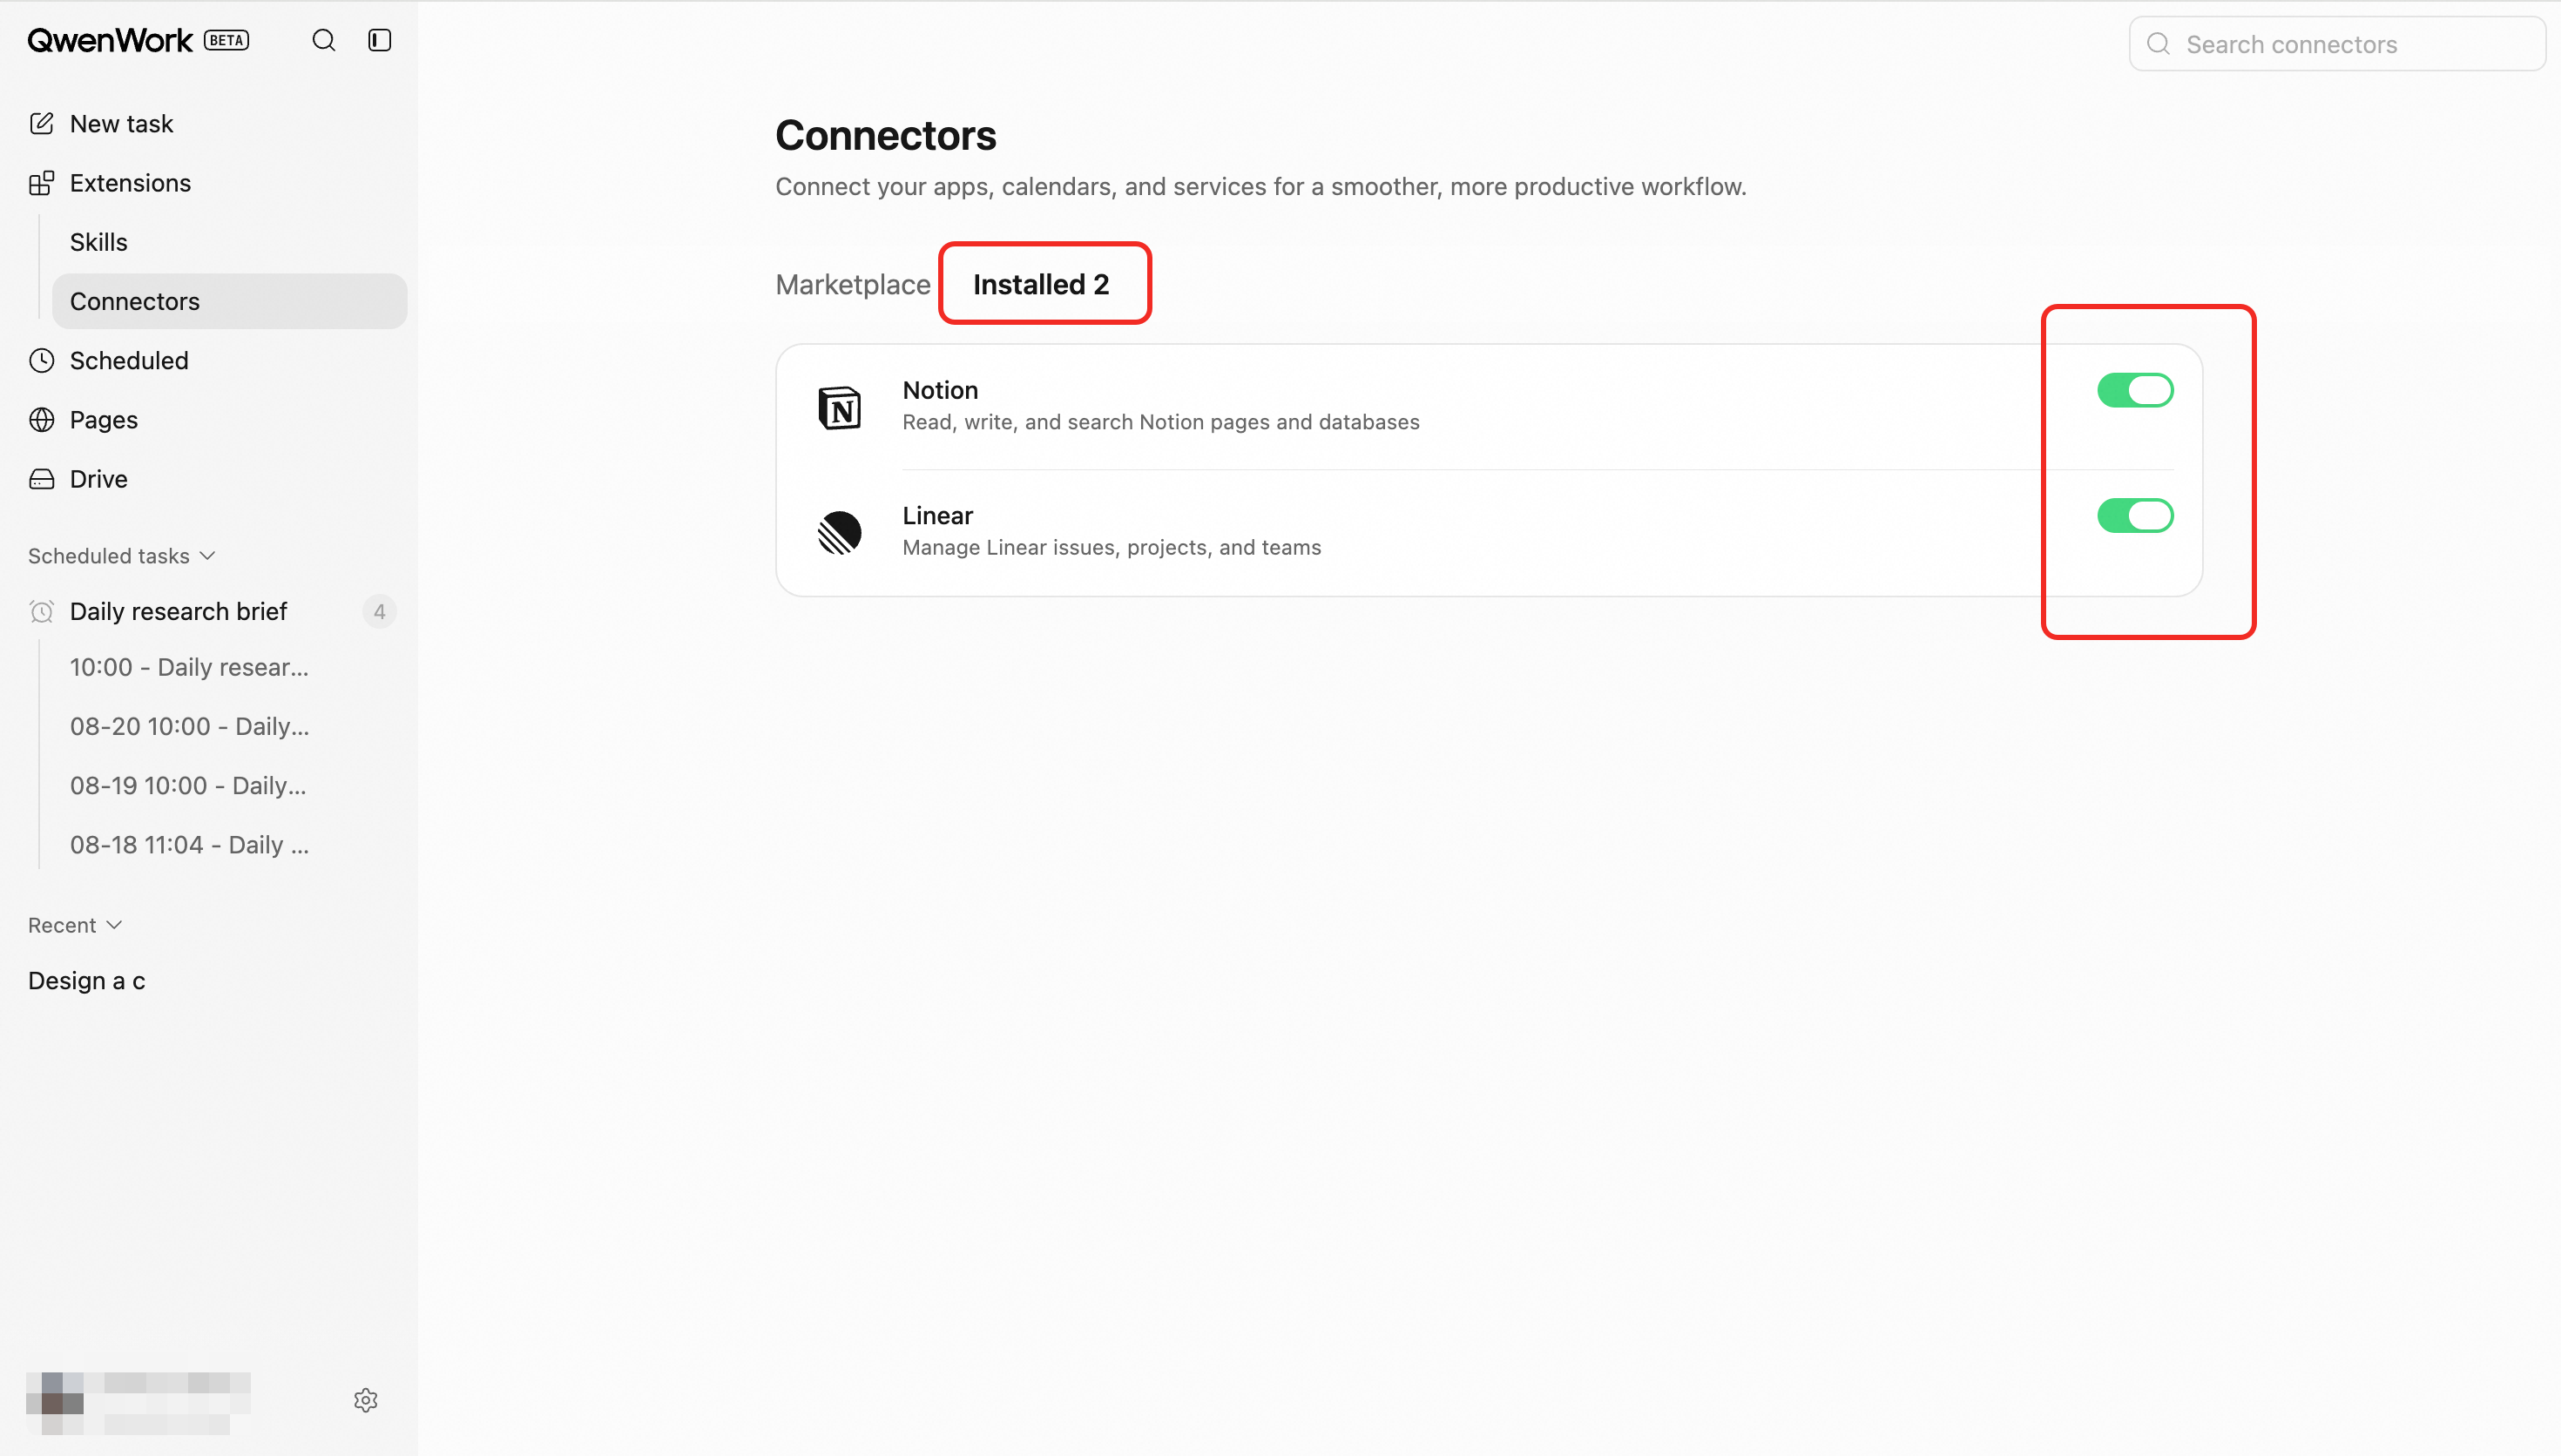
### Manage Connections {#manage-connections}
Review connection status, reauthorize an expired connection, or disconnect an account. Once disconnected, the Agent can no longer use that authorization.
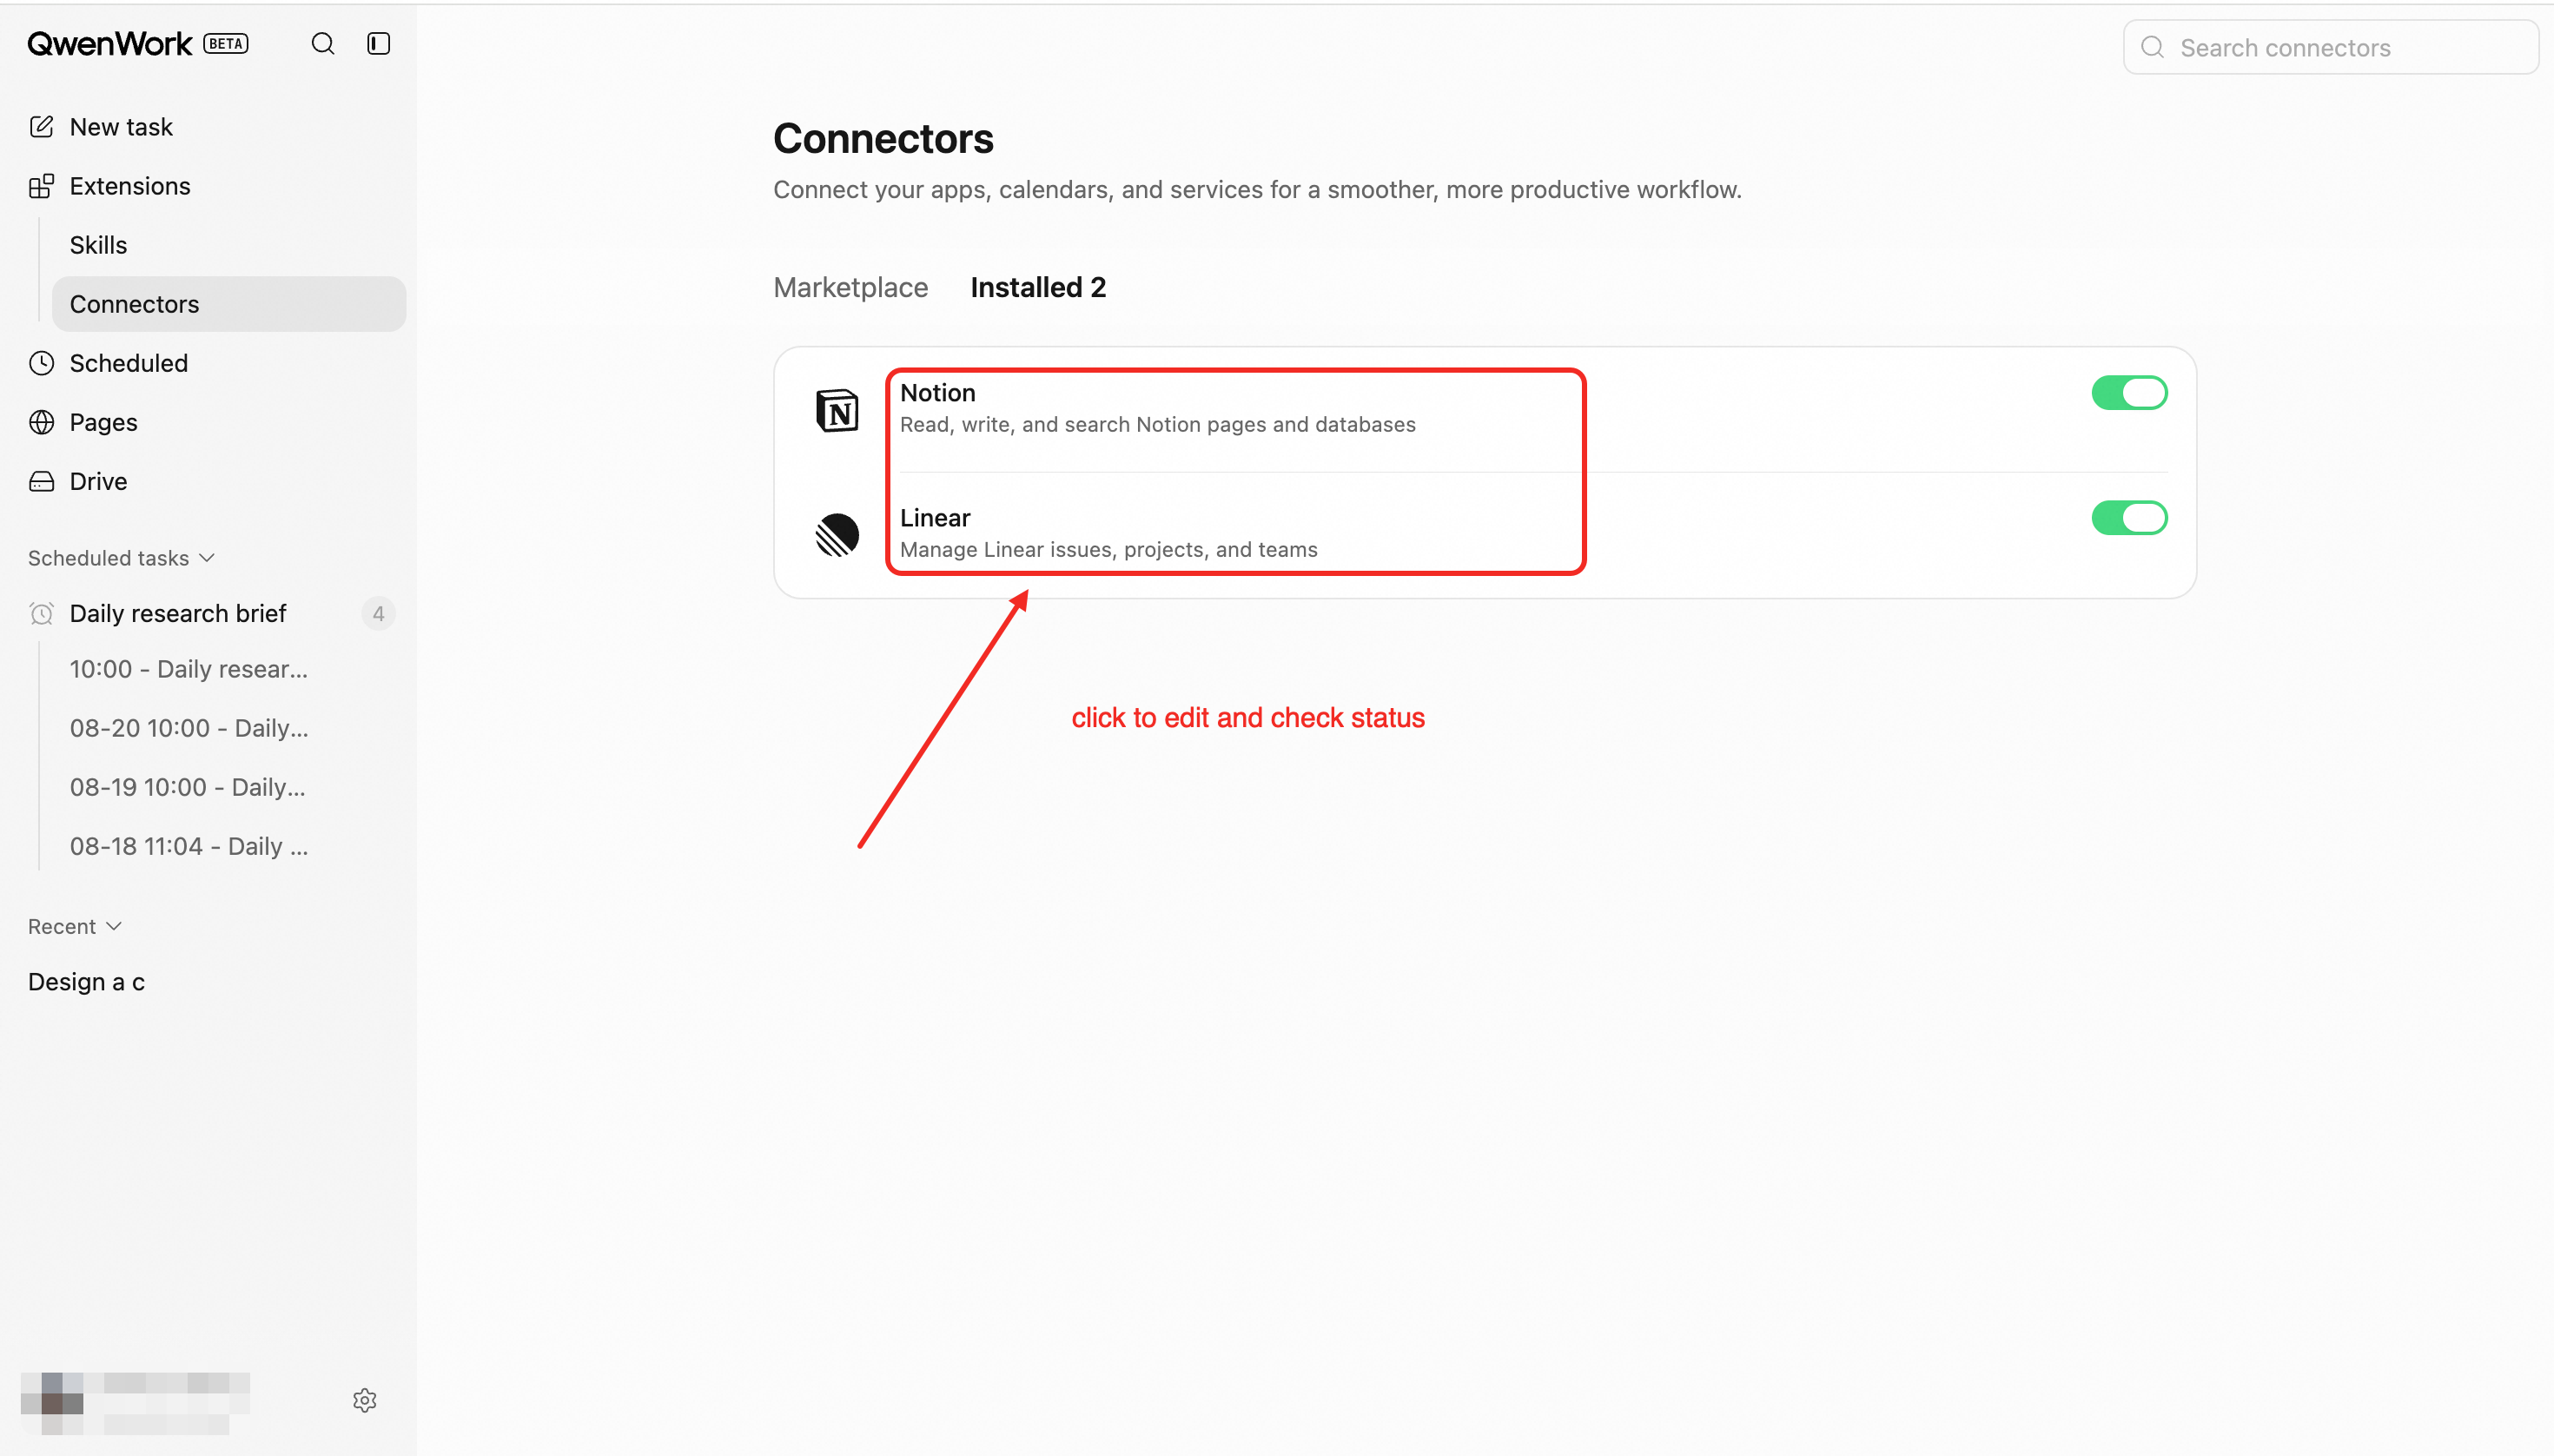
## End-to-End Flow {#end-to-end-flow}
1. Select and install a connector.
2. Complete external account authorization when required.
3. Confirm that the connector is connected.
4. Enable it in a session and describe the goal.
5. The Agent uses the service within the authorized scope.
6. Results are returned to the session.
7. Disconnect the account at any time.
## Key Rules {#key-rules}
- Only connectors appropriate for international use are displayed.
- The DingTalk connector is not shown in the international edition.
- Installation, account authorization, and session enablement are separate actions.
- The Agent can access only the data and actions included in the authorization.
- Expired permissions or external account changes may require reauthorization.
- Connections are scoped to a workspace, so availability may change when switching workspaces.
# Scheduled Tasks
Source: https://docs.qwenwork.ai/web/scheduled-tasks
> Create and manage scheduled tasks on the web.
## Overview {#overview}
Scheduled tasks allow QwenWork to perform work automatically at predefined times. After a task is created, it continues running in the cloud as scheduled—even if you close your browser or sign out—without requiring manual initiation each time.
Each run creates an independent session. Its execution process and results can be viewed and traced.
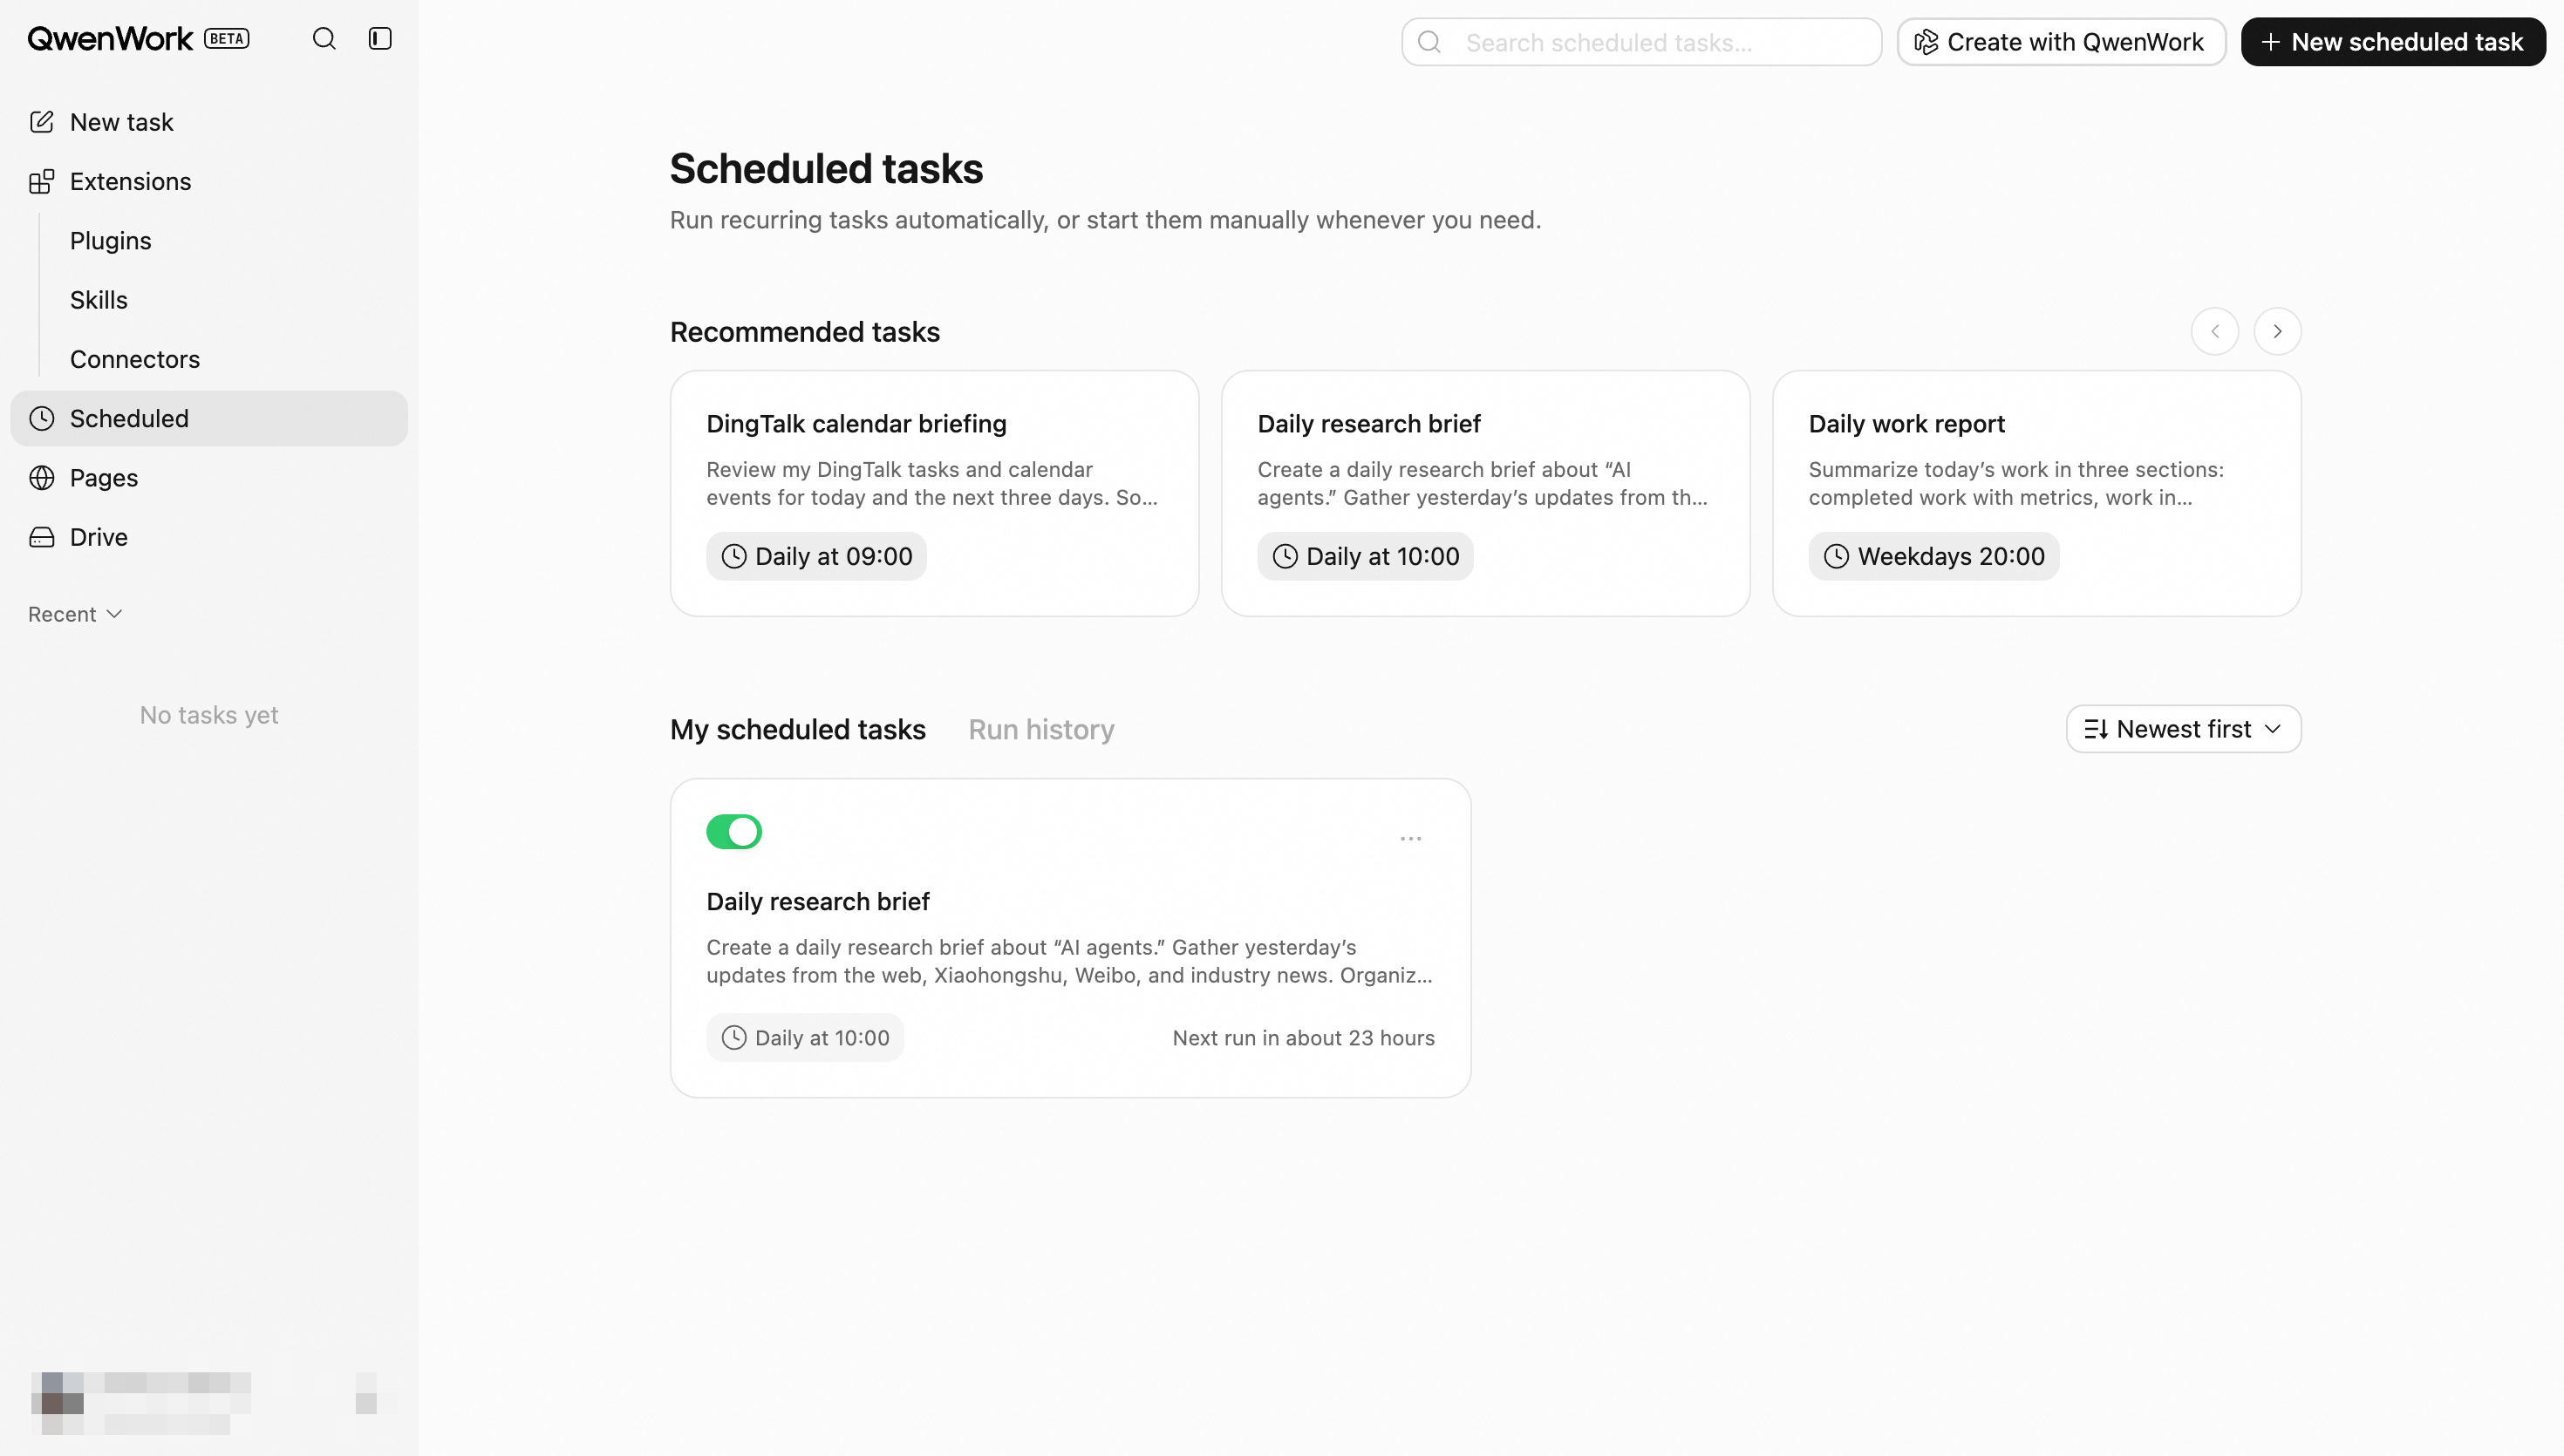
## Common Use Cases {#common-use-cases}
You can use scheduled tasks for work that occurs at fixed times or follows a recurring pattern, such as:
- Generating a daily industry news briefing;
- Summarizing competitor updates every week;
- Updating data reports every business day;
- Checking specified metrics at regular intervals;
- Performing a one-time reminder or information-organizing task on a specified date.
## **Creating a Scheduled Task** {#creating-a-scheduled-task}
QwenWork supports **three ways** to create scheduled tasks: using the page form, natural-language conversations, or task templates.
### **Creating a Task from the Scheduled Tab** {#creating-a-task-from-the-scheduled-tab}
Open the **Scheduled Tasks** page, click **New Scheduled Task**, and complete the following fields:
| Setting | Description |
| ------------ | --------------------------------------------------------------------------------- |
| Task name | Identifies the task for management purposes, such as “Daily AI Industry Briefing” |
| Schedule | Sets the execution date, time, or recurrence pattern |
| Instructions | Describes in natural language what QwenWork should do when the task runs |
After you complete the settings and save them, the task is created immediately. The task list displays its status and next execution time.
Instructions should include as much of the following information as possible:
- What work needs to be completed;
- Which materials or data should be used;
- The desired output format;
- Whether the result should be sent to a specified destination.
**Example**
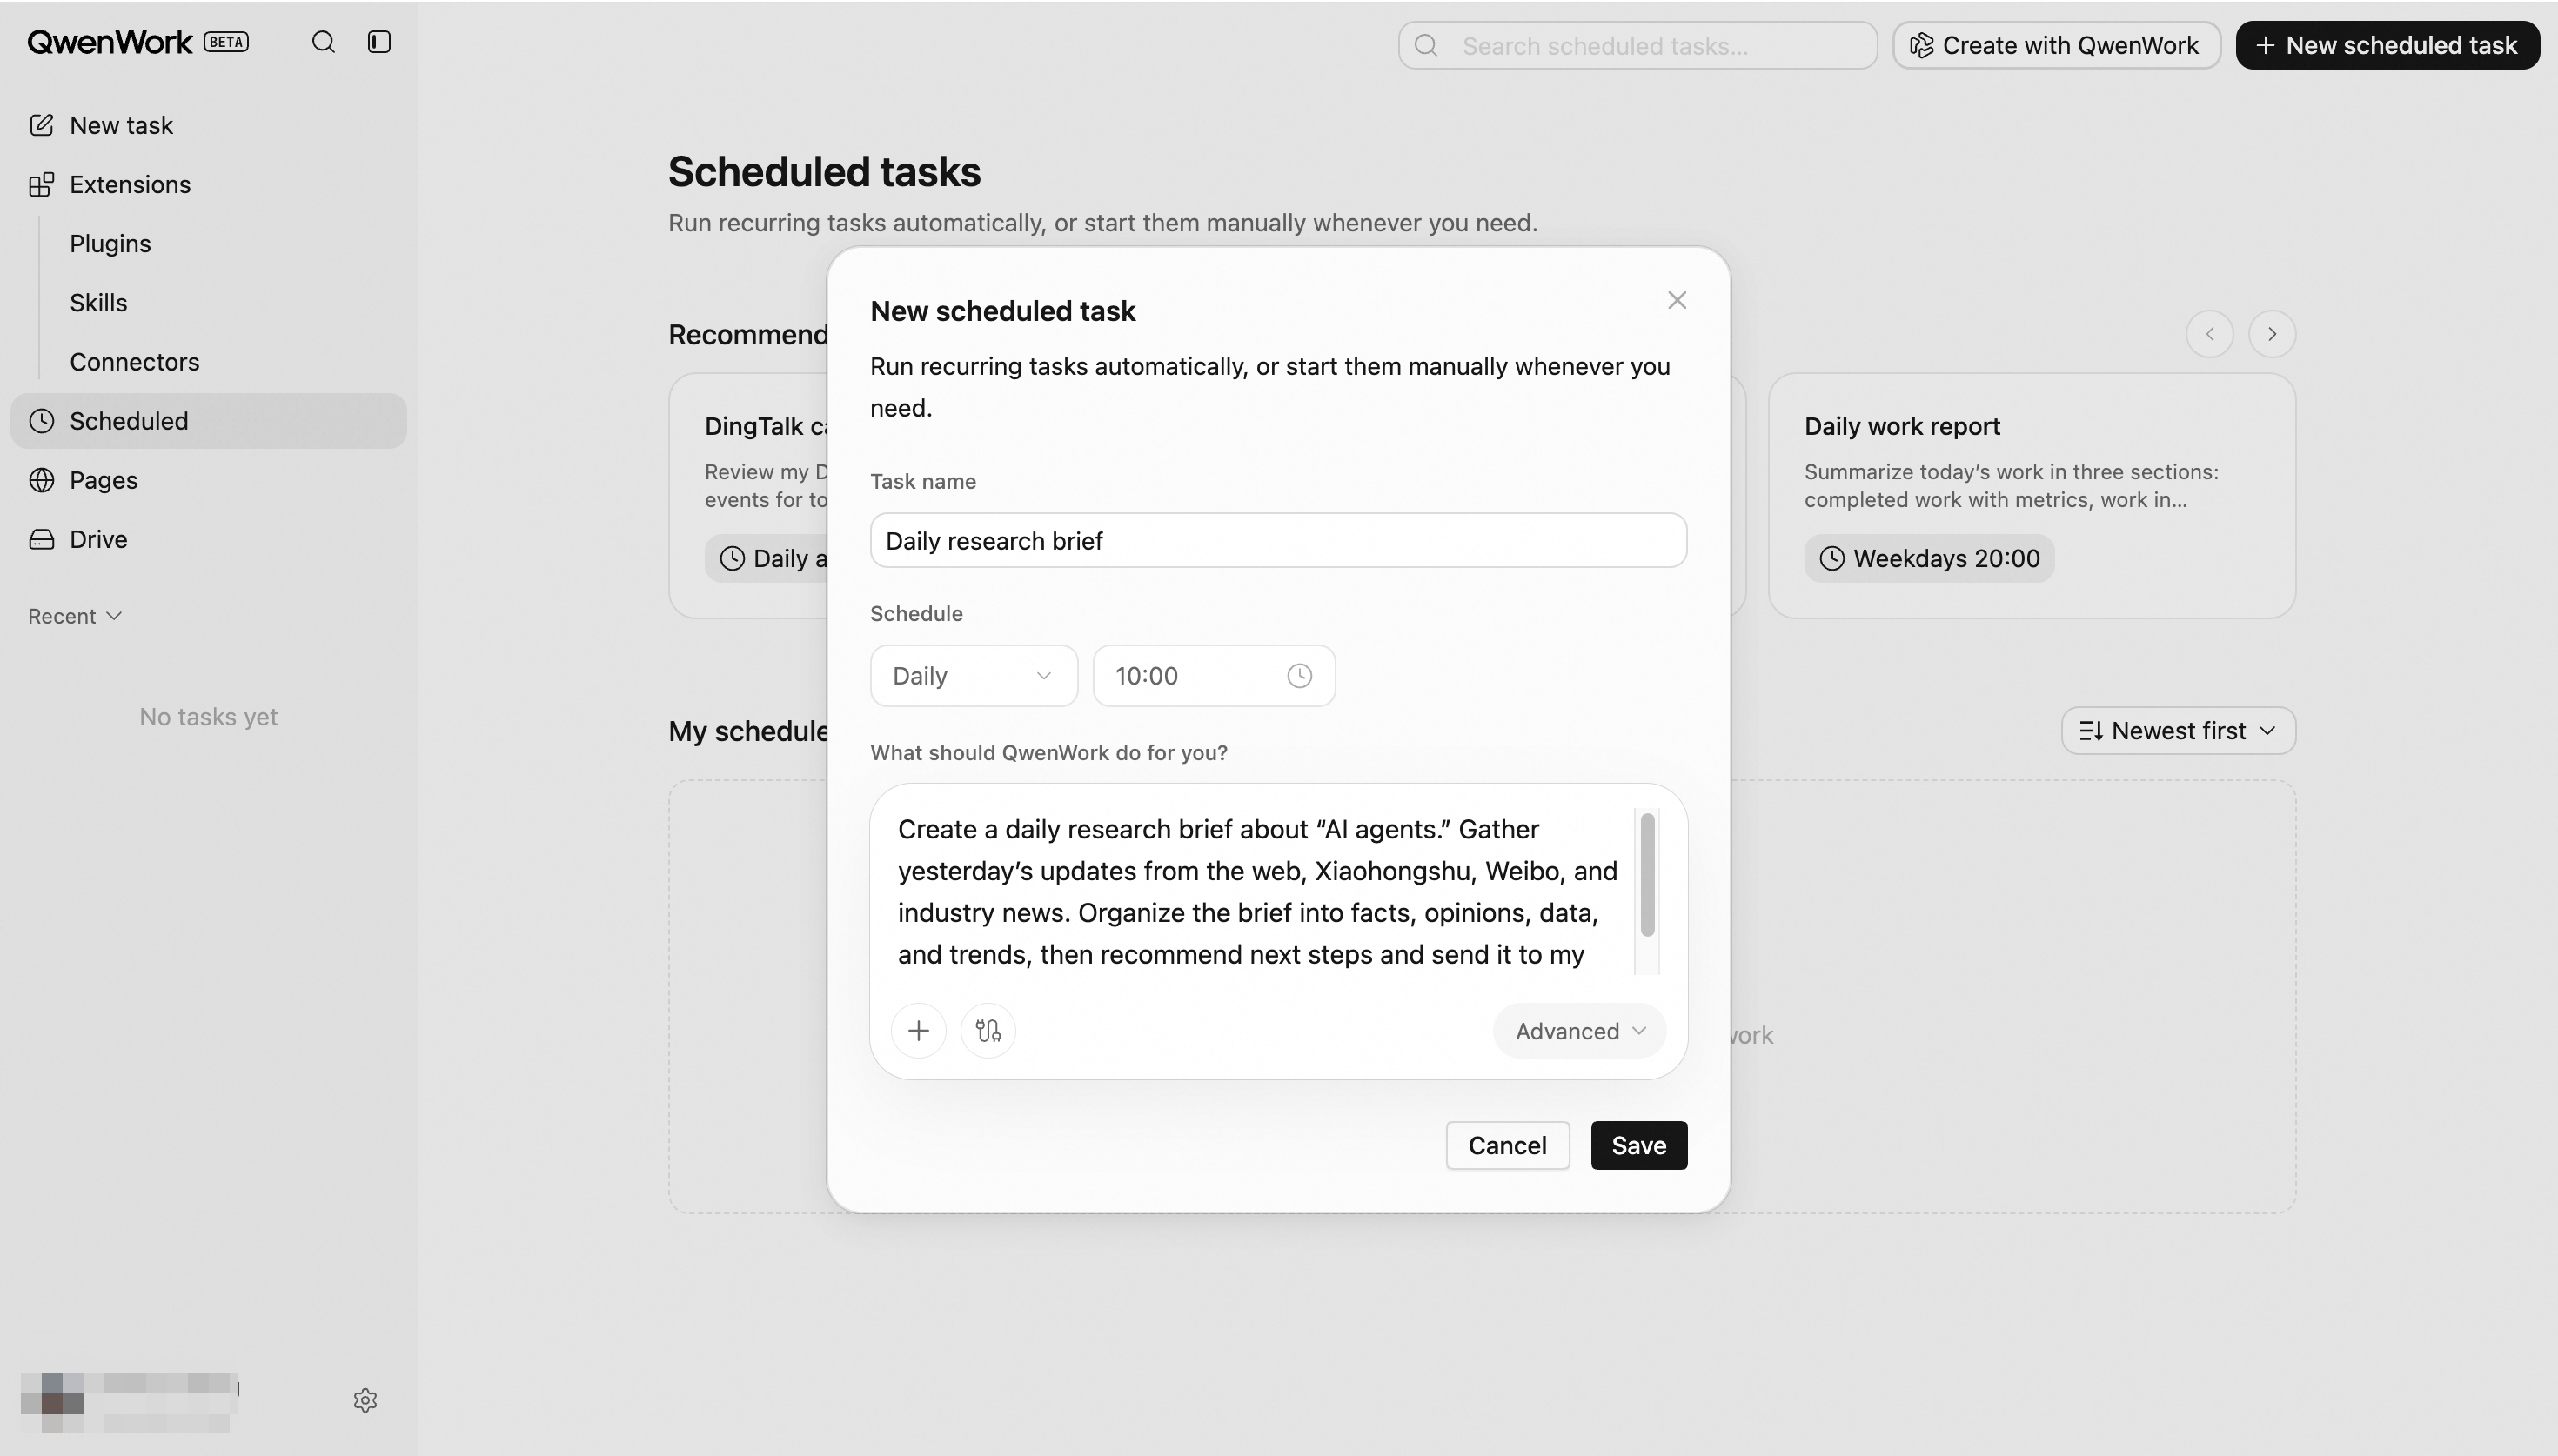
If the current input field supports attachments, model selection, or other capabilities, you can configure them when creating the task. Available capabilities depend on what is shown on the page.
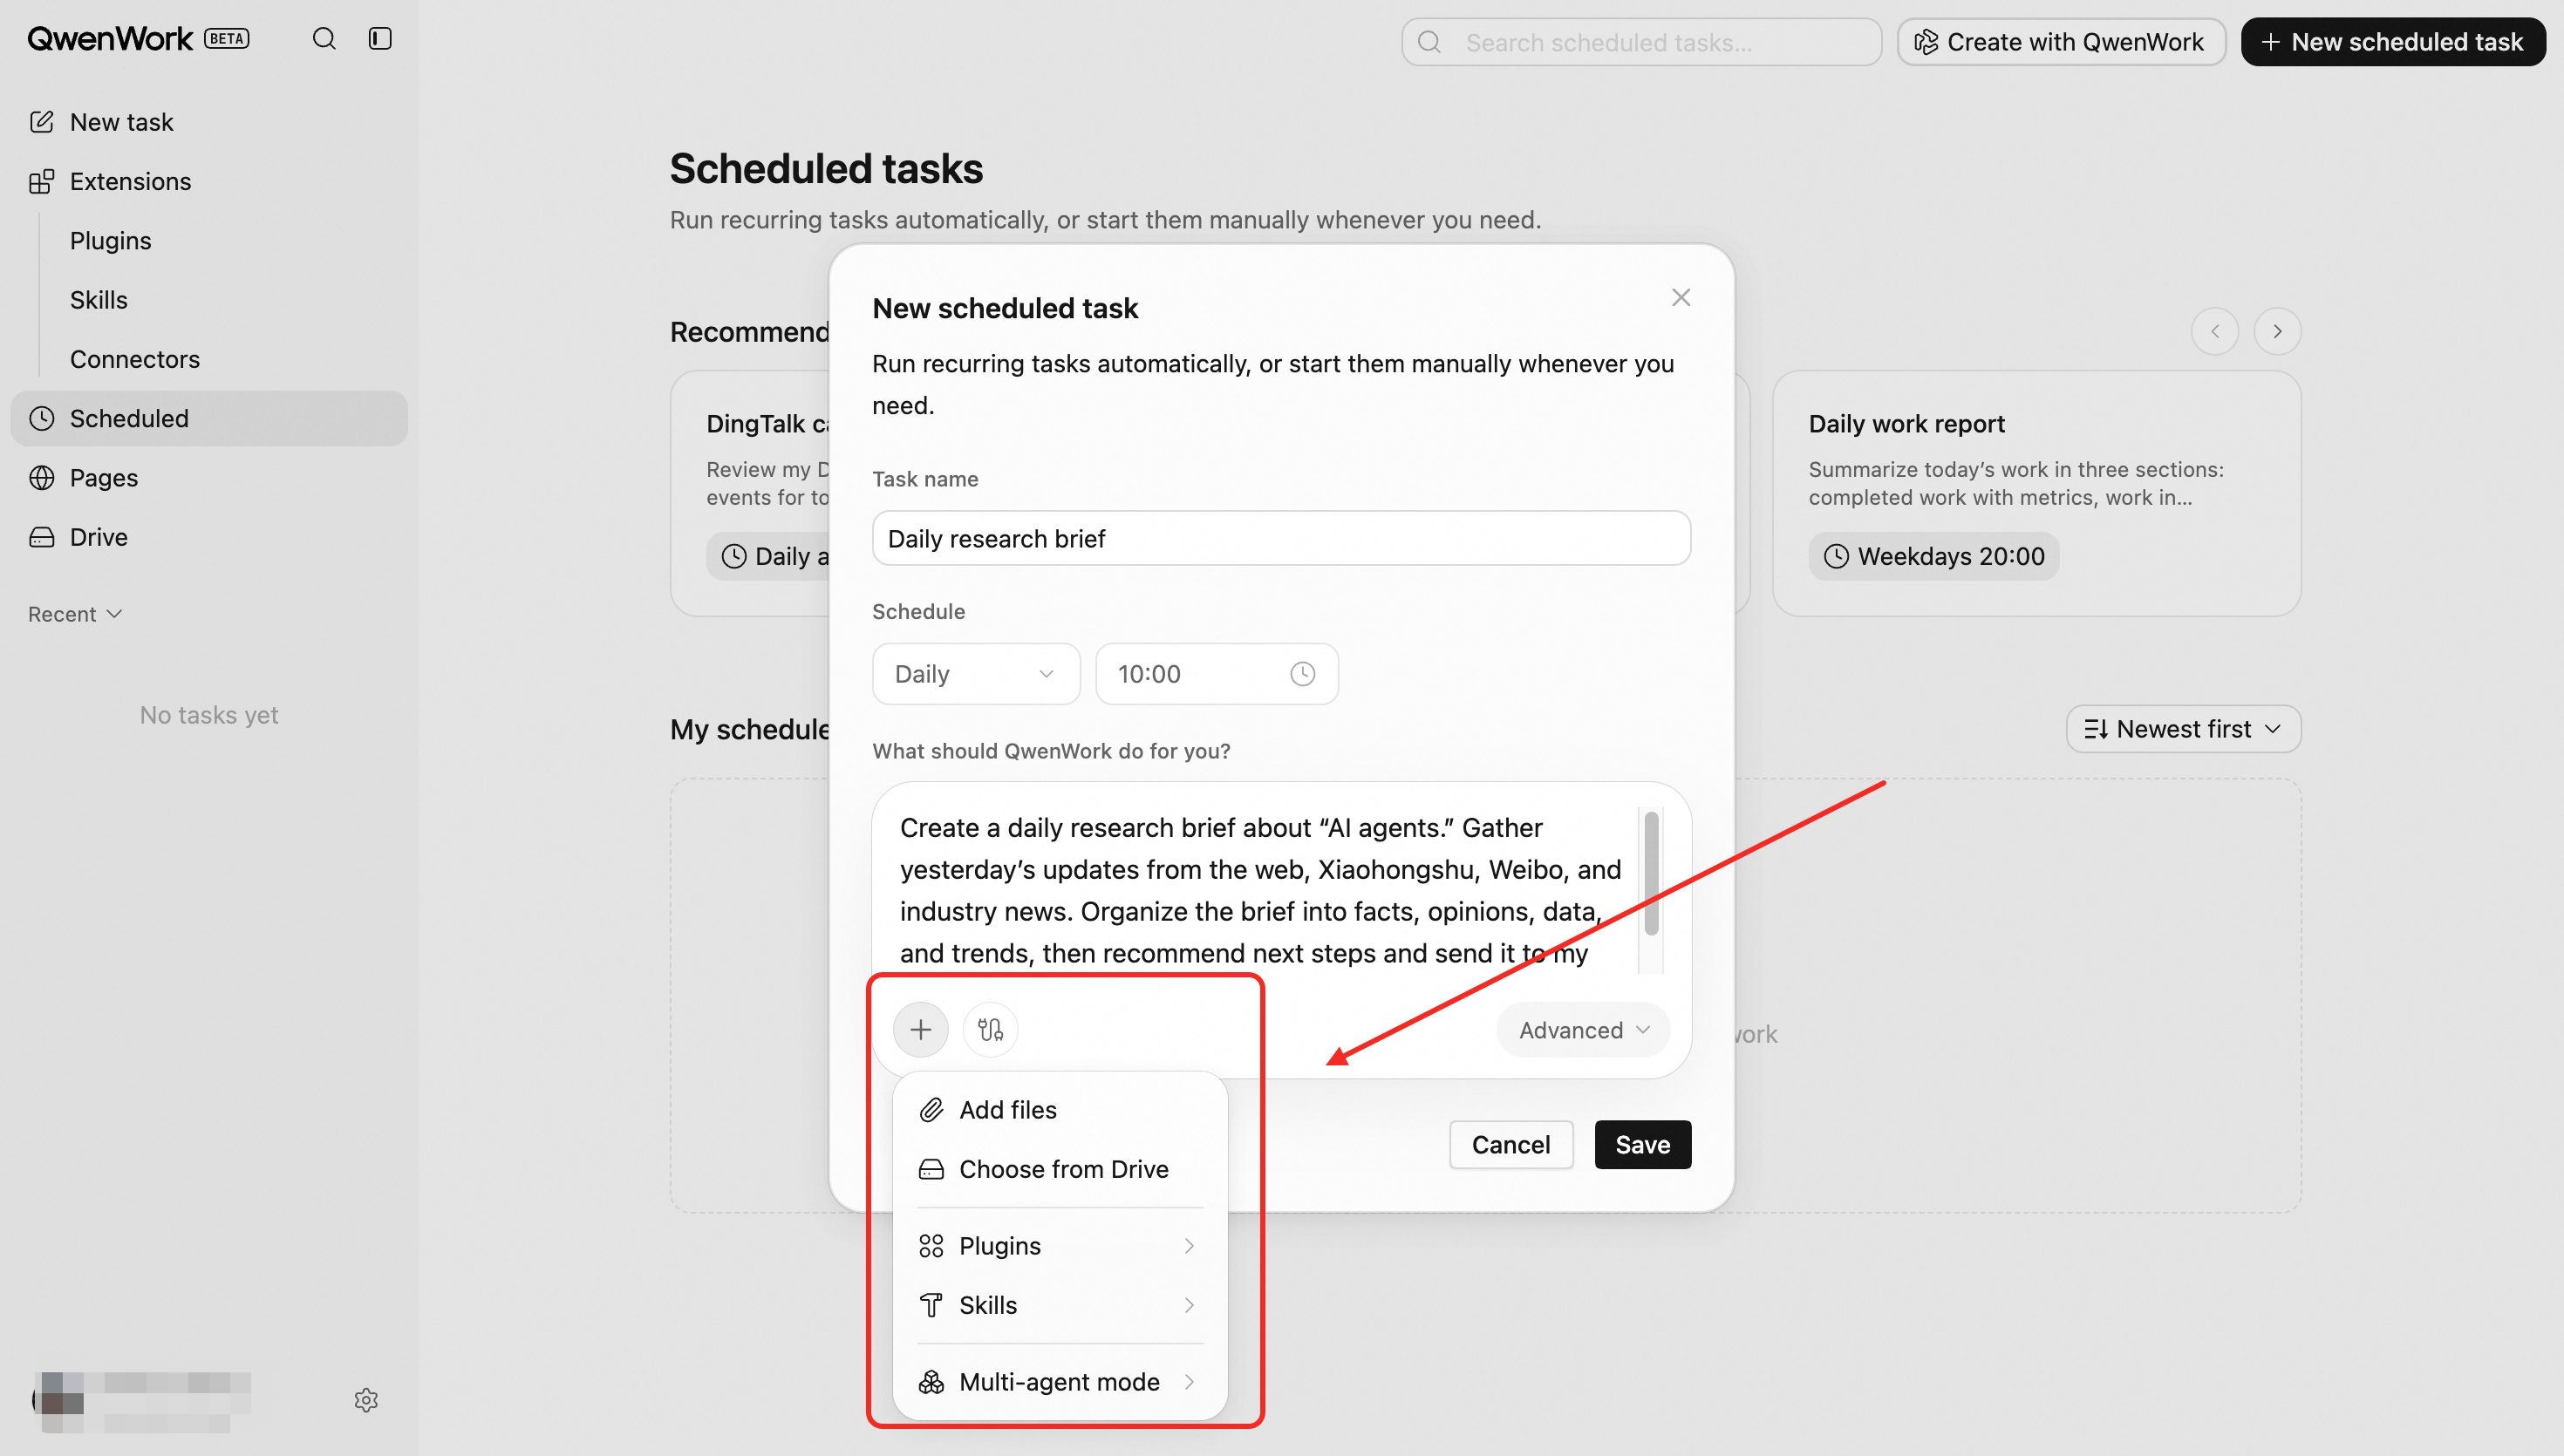
### **Creating a Task through Conversation** {#creating-a-task-through-conversation}
You can also tell QwenWork directly, in natural language, what to do and when to do it.
**Example**
> Track competitor updates every Monday at 10:00 AM and summarize them in a weekly report.
When QwenWork recognizes a scheduling request, it creates a scheduled-task card displaying the task name and next execution time. You can open the card to review or modify the settings.
Tasks created through conversation are the same as tasks created from the page. All tasks can subsequently be managed from the **Scheduled Tasks** page.
### **Creating a Task from a Template** {#creating-a-task-from-a-template}
The **Scheduled Tasks** page provides templates for common office tasks. After you select a template, the system automatically fills in the task name, schedule, and instructions. You can modify them as needed before saving.
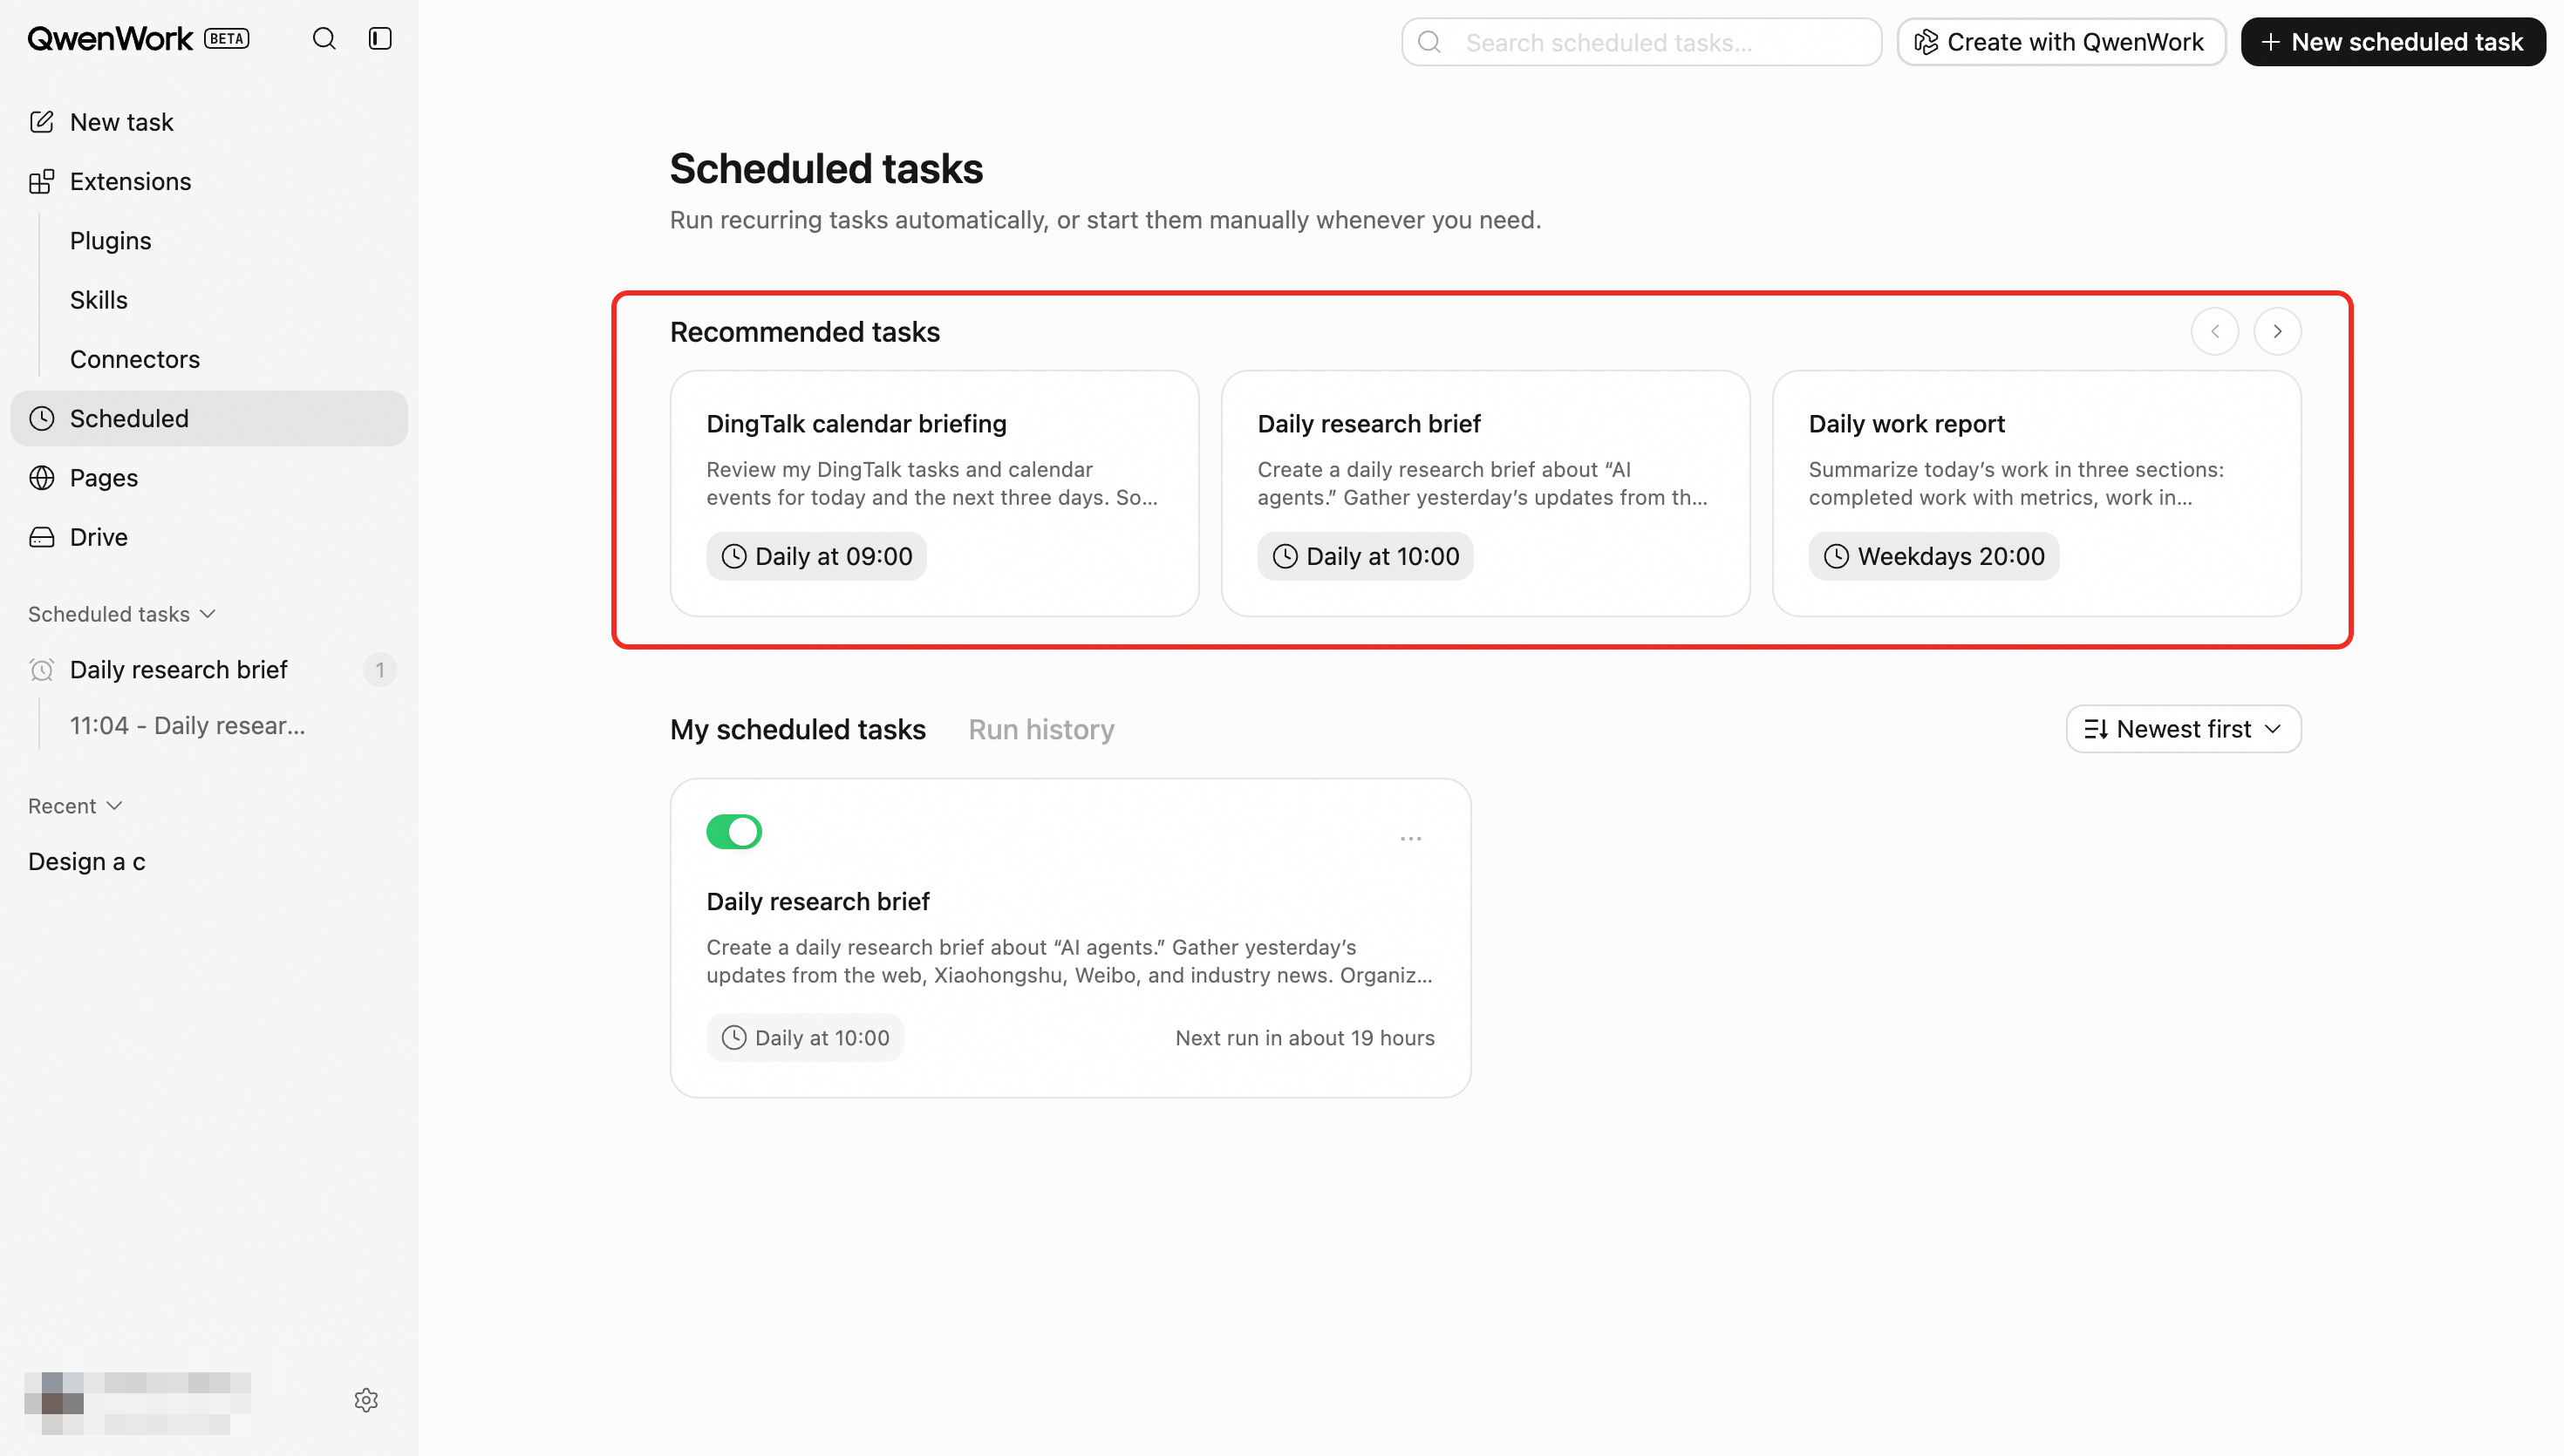
Common templates include:
- Daily AI industry briefing;
- Weekly competitor update tracking;
- Daily data report updates;
- Recurring metric checks.
A template creates a standard scheduled task that can be edited, disabled, or deleted.
## **Scheduling Options** {#scheduling-options}
The schedule determines when a task runs. QwenWork supports one-time execution, fixed intervals, and recurring schedules.
| Schedule type | Configuration | Execution rule | Example |
| ------------- | ----------------------------------------------------------------- | ------------------------------------------------------------------------------- | ----------------------------------------------- |
| One time | Select a future date and time | Runs once at the specified time | Runs at 9:00 AM on July 30, 2026 |
| Interval | Set an interval in minutes | Runs again after the specified amount of time has passed since the previous run | Runs every 30 minutes |
| Hourly | Select the minute of each hour | Runs at the selected minute every hour | Runs at 15 minutes past every hour |
| Daily | Select a time | Runs at the selected time every day | Runs daily at 9:00 AM |
| Weekly | Select weekdays and a time | Runs on the selected days and time each week | Runs Monday through Friday at 9:00 AM |
| Monthly | Select a day and time | Runs on the selected day and time each month | Runs on the first day of every month at 9:00 AM |
| Custom | Enter a schedule expression and configure the time zone if needed | Runs according to the custom rules | Runs daily at 9:00 AM and 6:00 PM |
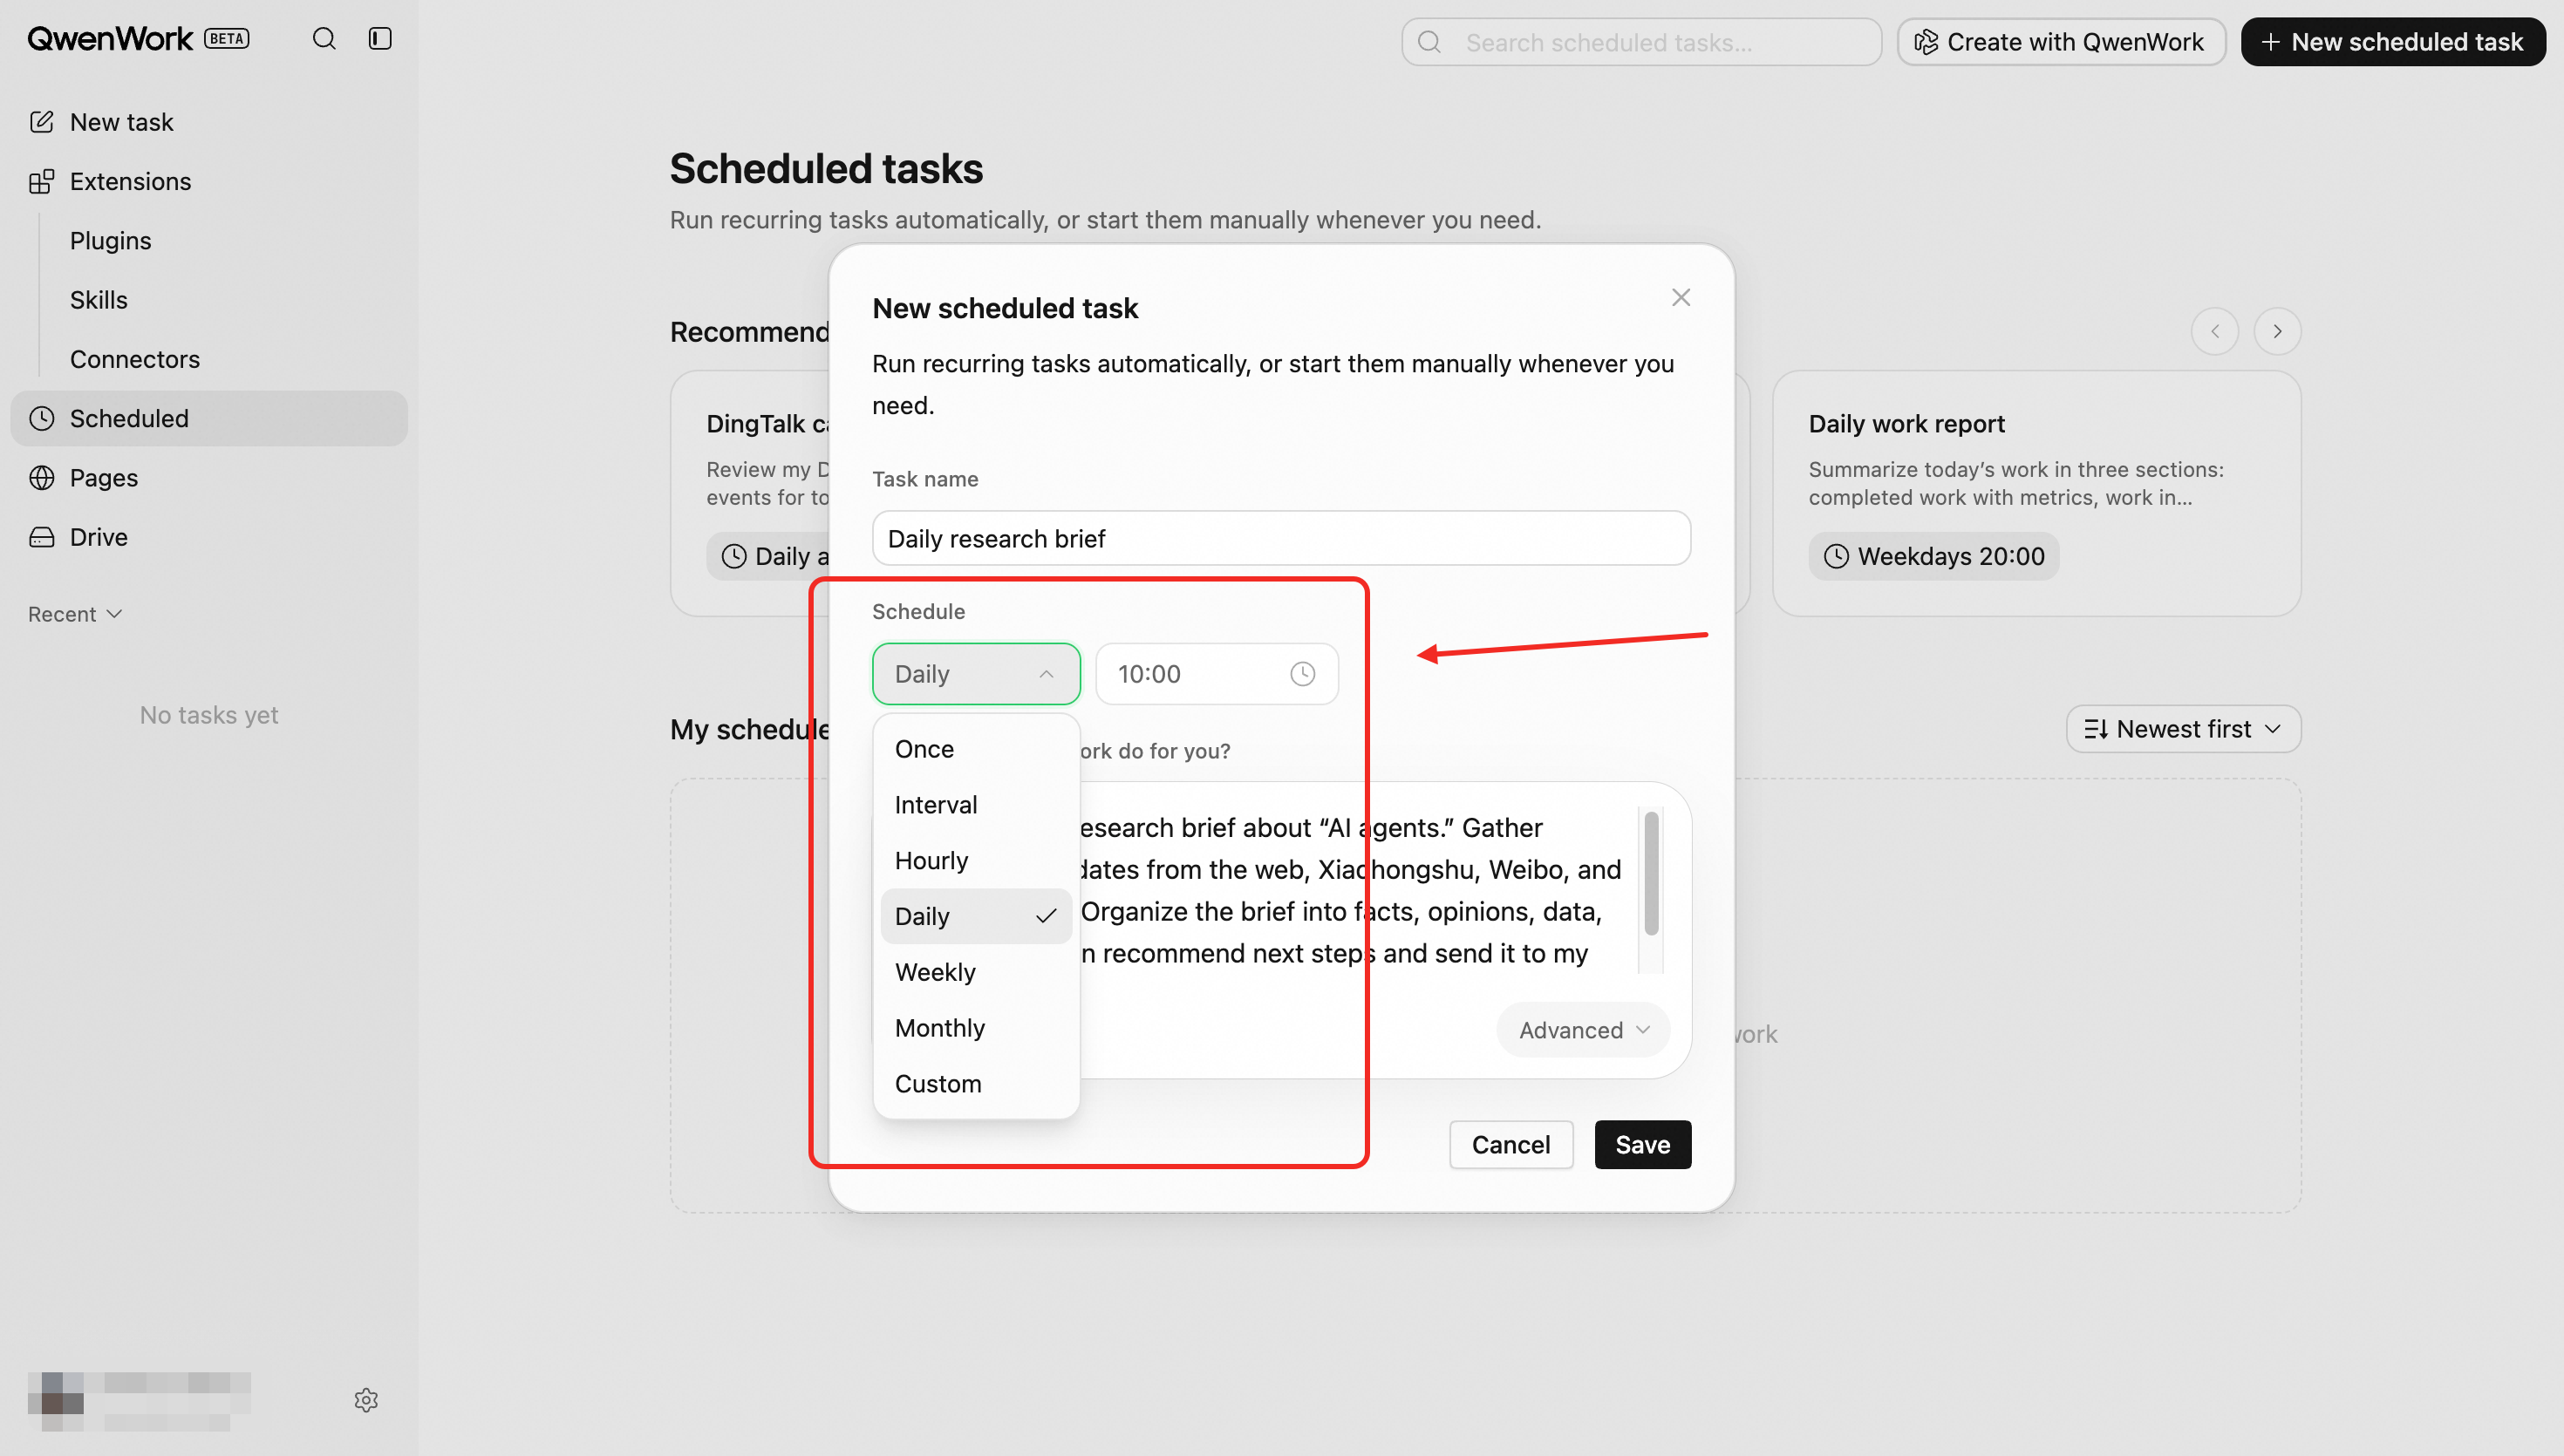
## **Managing Scheduled Tasks** {#managing-scheduled-tasks}
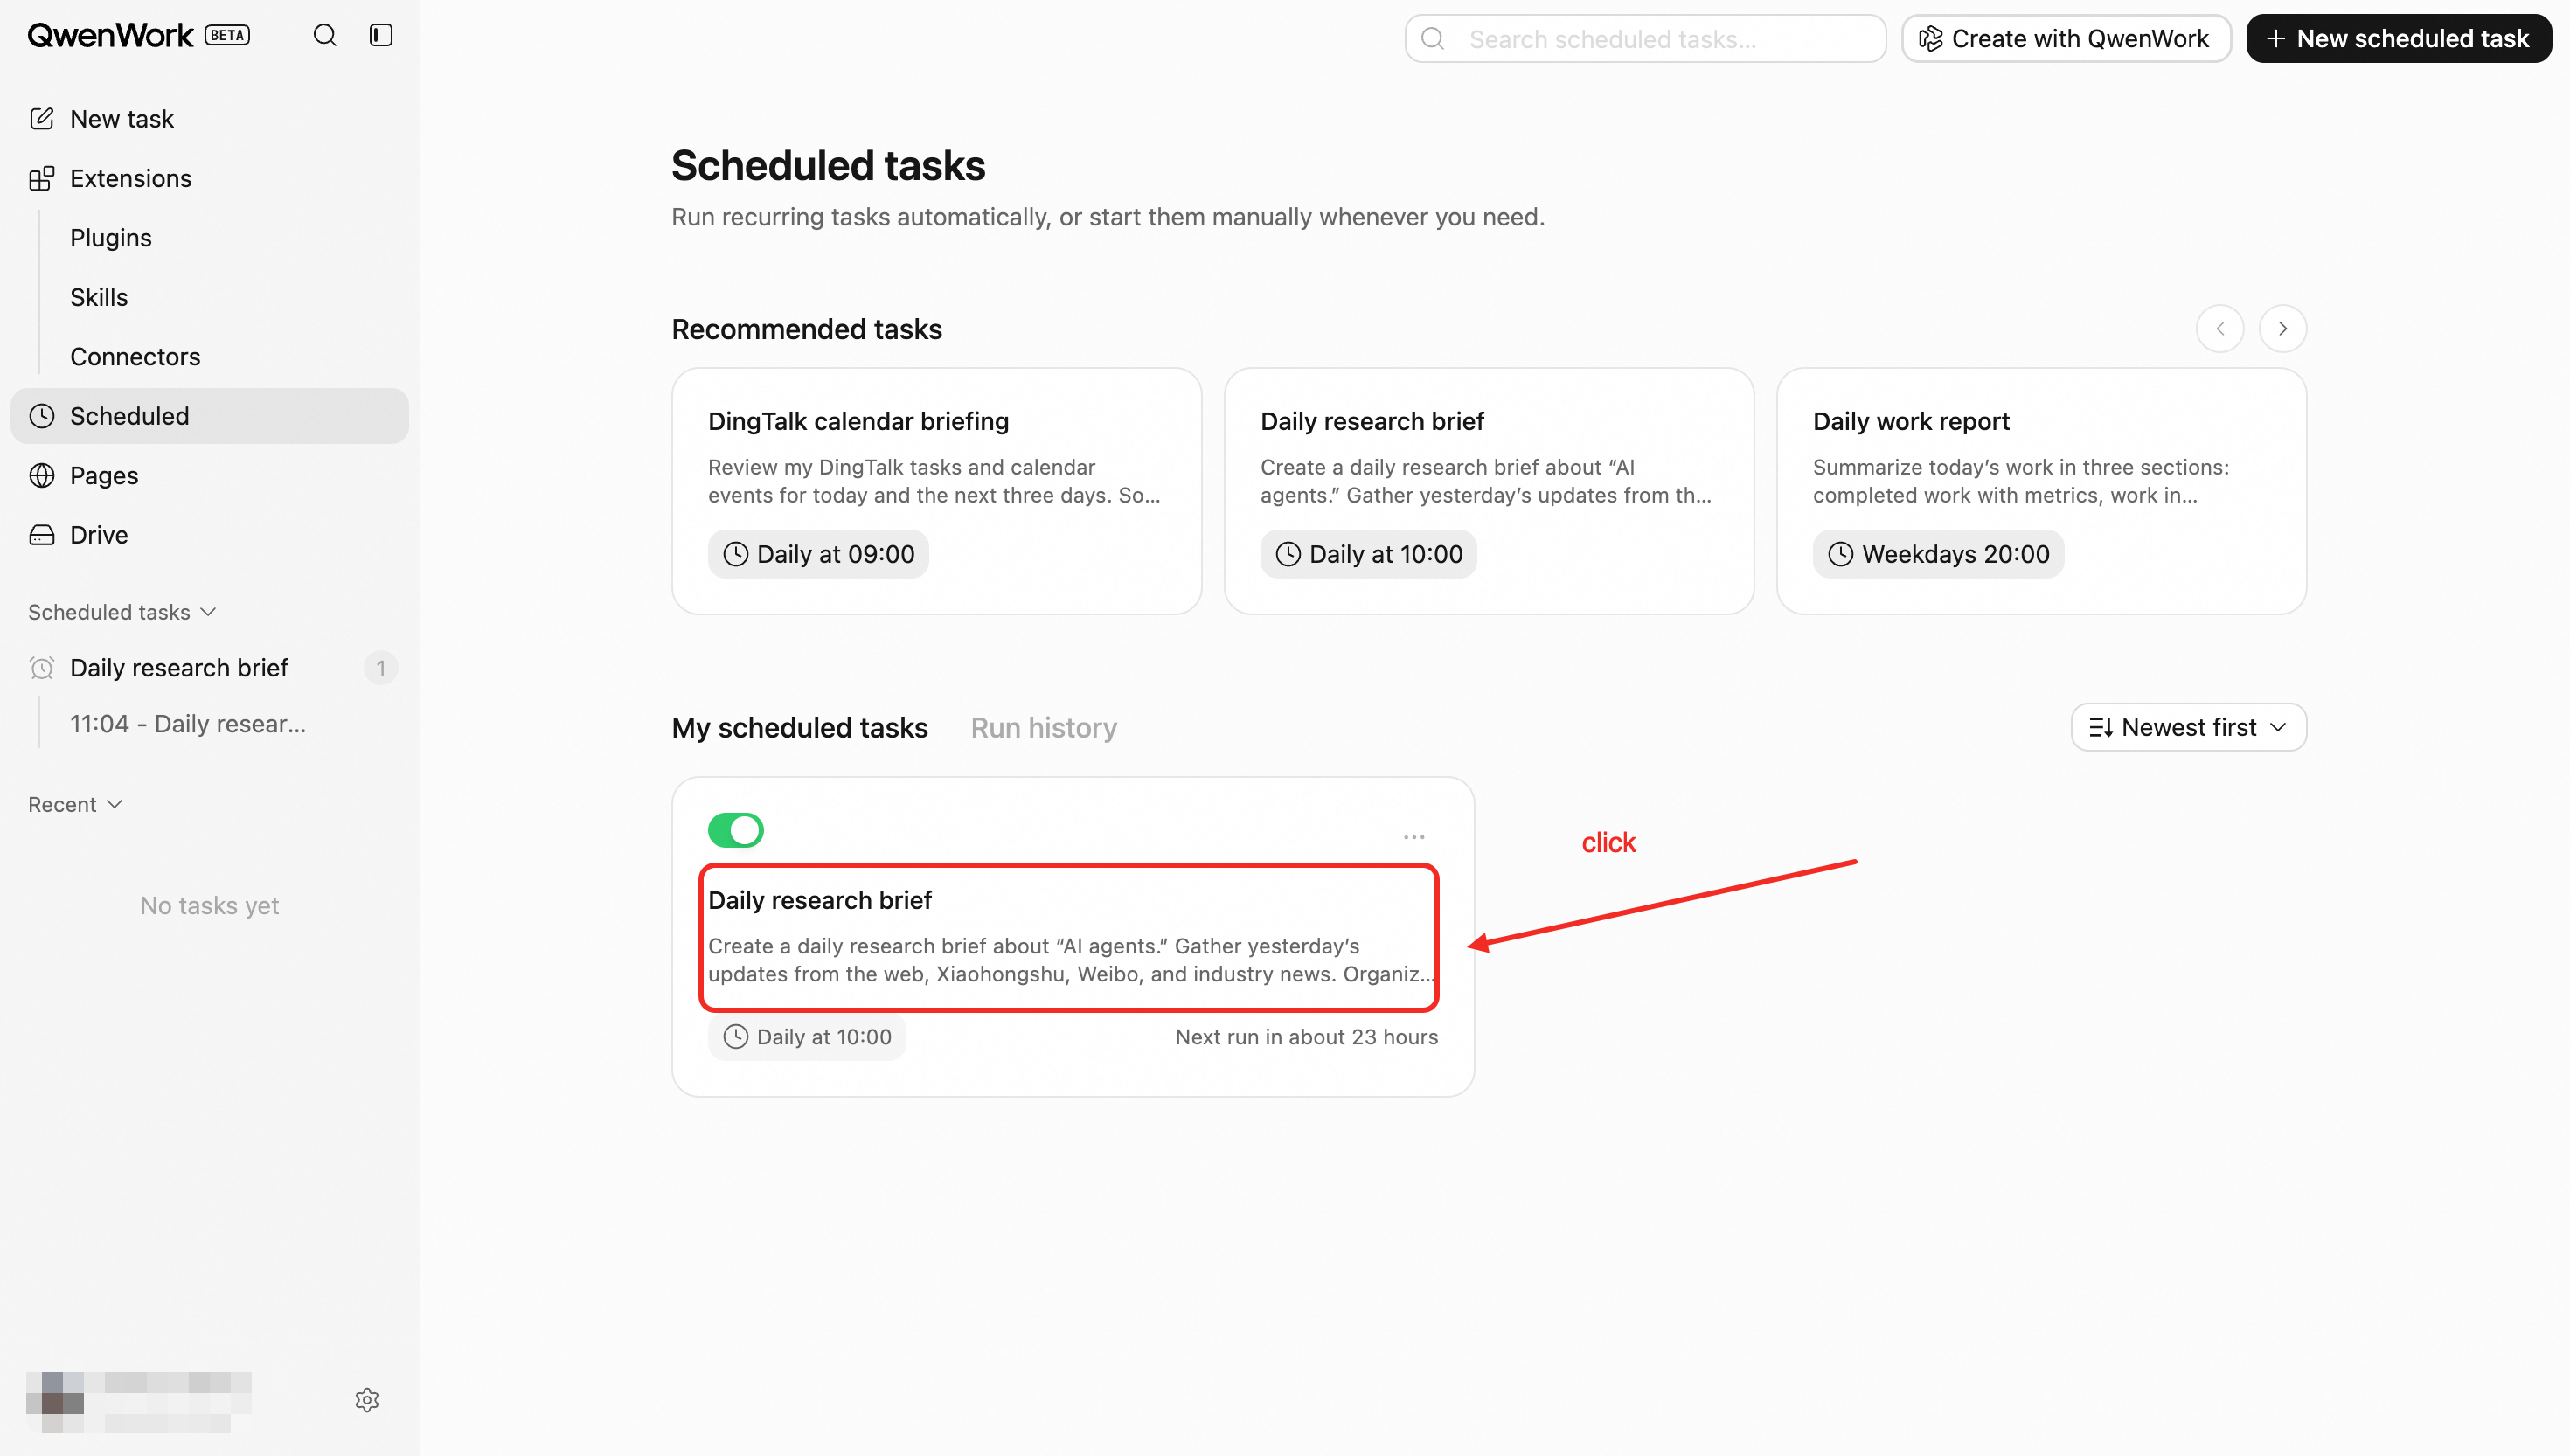
Open the **Scheduled Tasks** page to view all created tasks and perform the following actions:
| Action | Description |
| ----------------- | -------------------------------------------------------------------------------------------------------------- |
| Enable or disable | A disabled task no longer runs automatically. When re-enabled, it resumes at the next normally scheduled time. |
| Edit | Changes the task name, schedule, or instructions |
| Run now | Runs the task manually to test its configuration and output without changing its original schedule |
| Delete | Deletes the task and stops future runs. Existing execution records and sessions remain available. |
| Sort | Sorts tasks by creation time in ascending or descending order |
Each task card displays:
- Task name;
- Summary of the instructions;
- Schedule;
- Next execution time;
- Current enabled or disabled status;
- Most recent execution result.
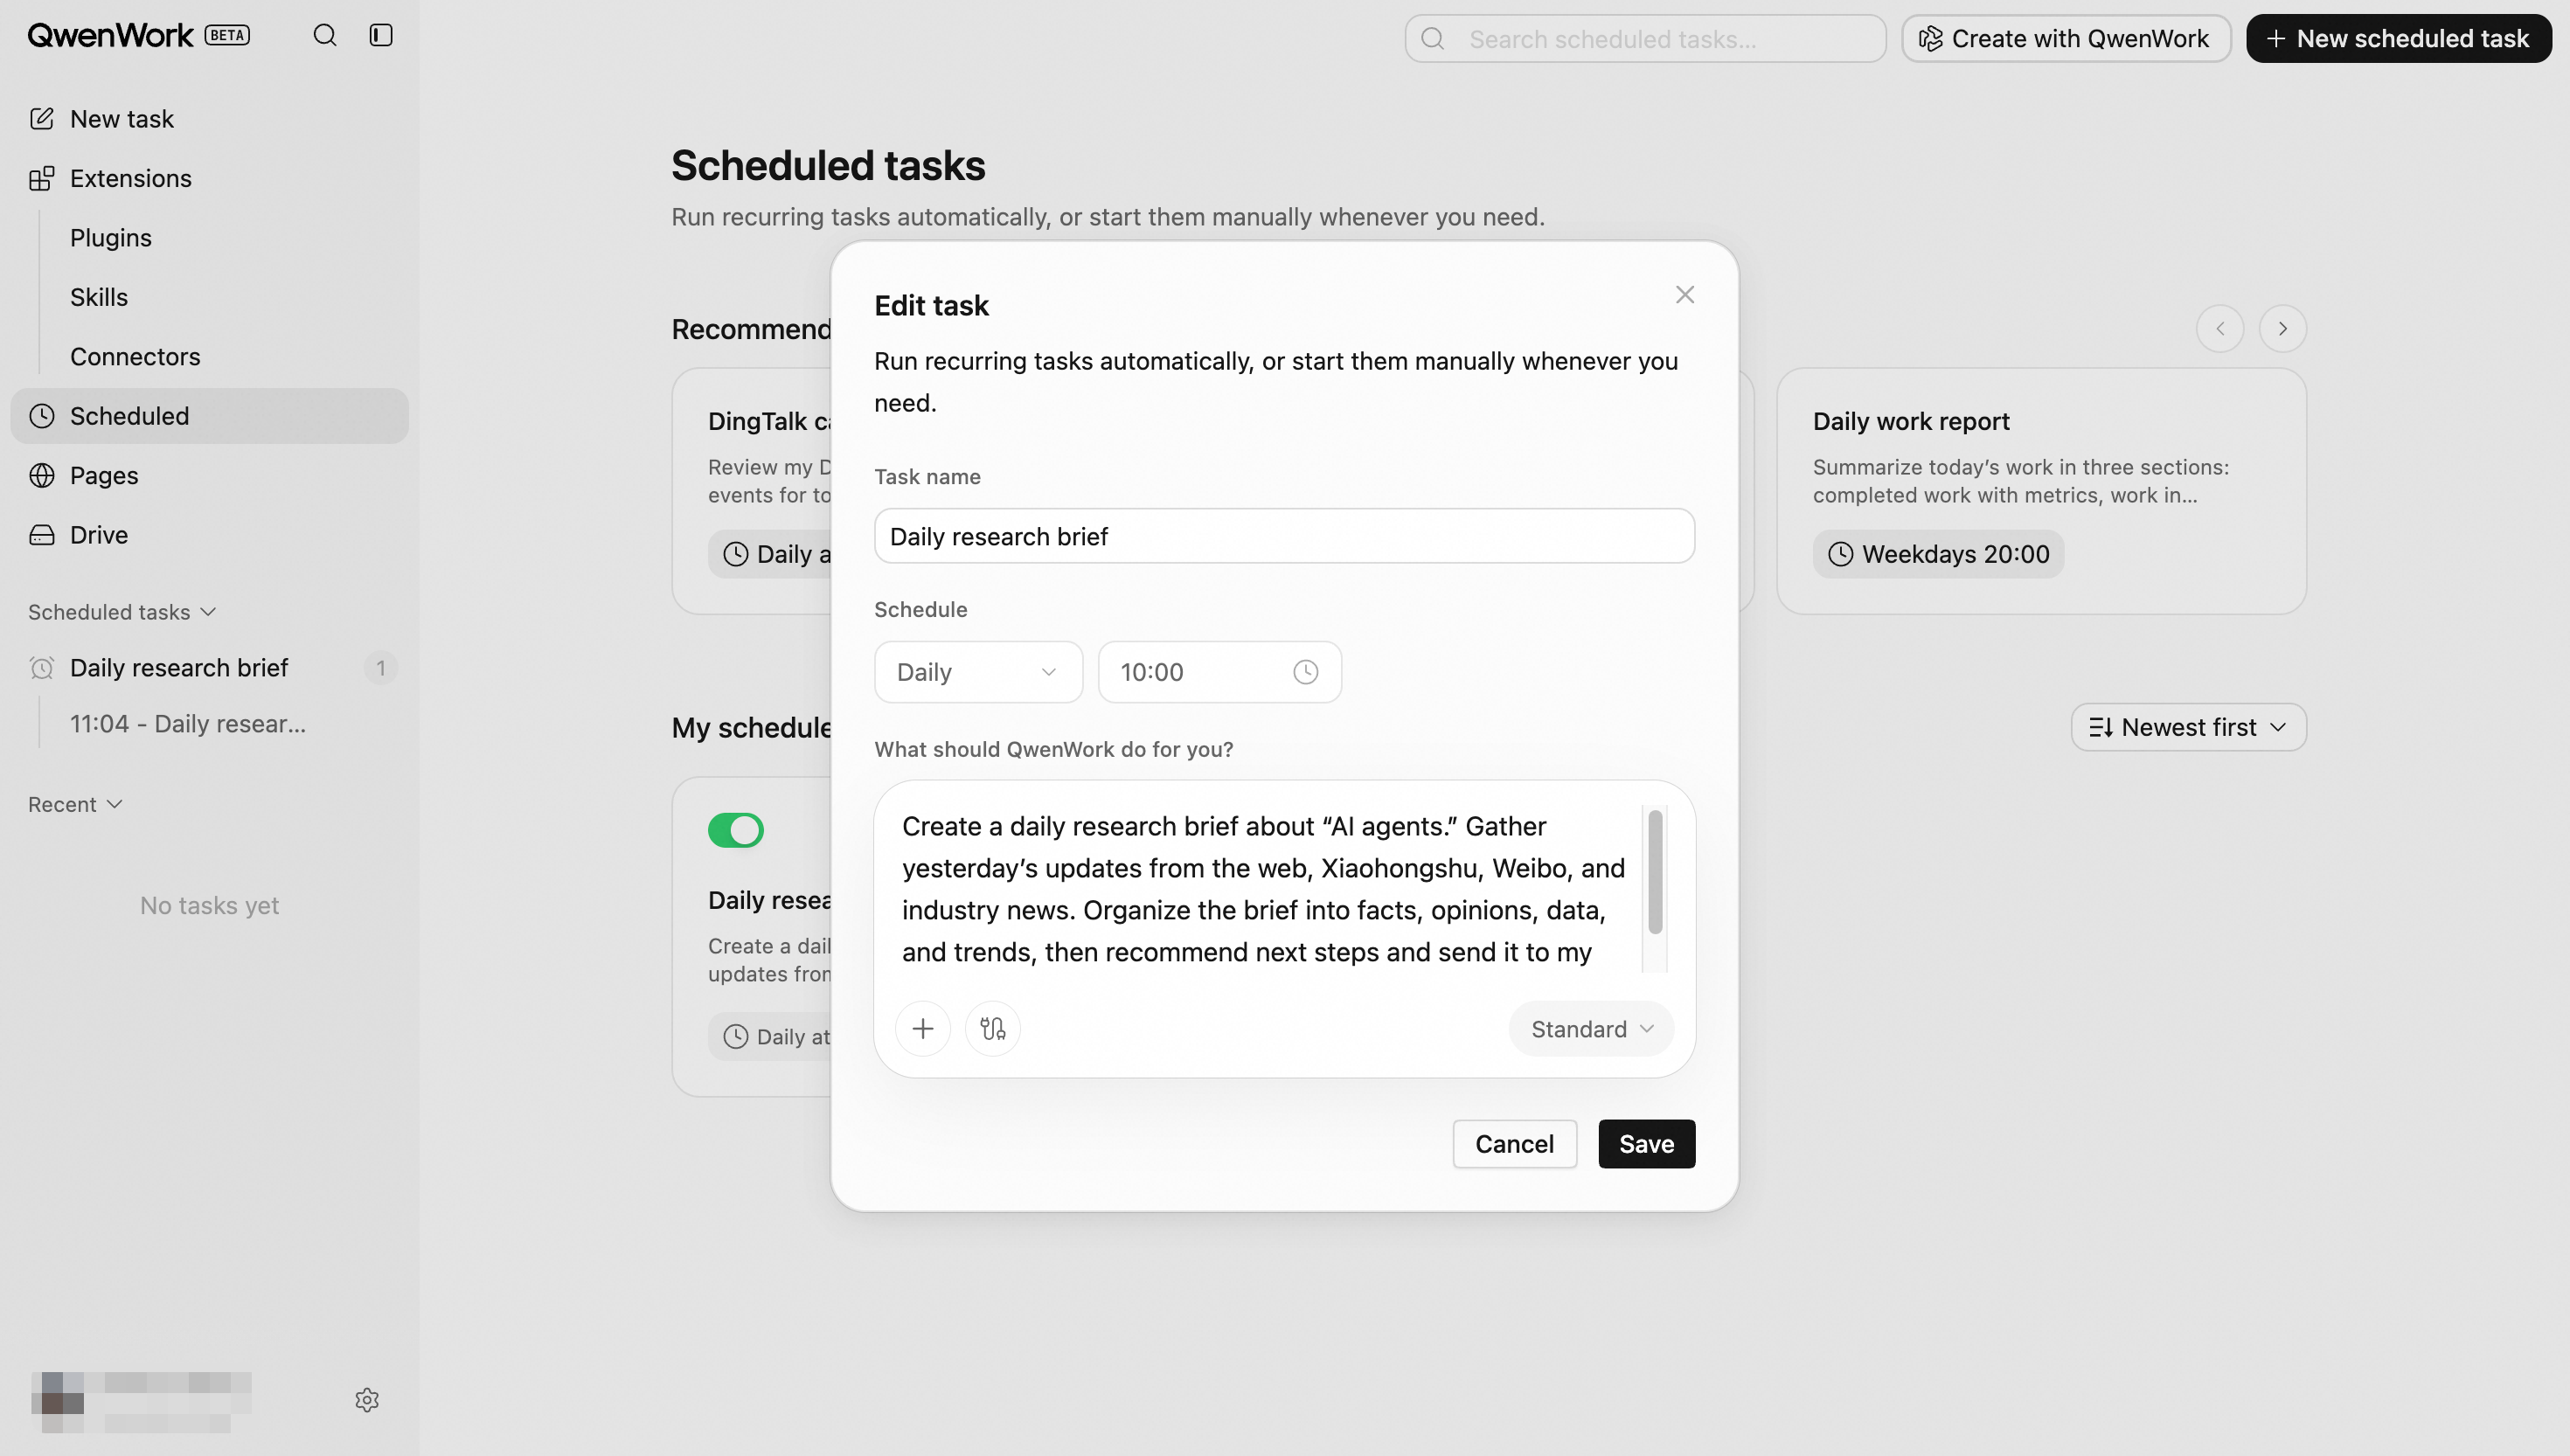
## **Task Execution and Results** {#task-execution-and-results}
### **Independent Execution Sessions** {#independent-execution-sessions}
Each time a task runs, QwenWork creates an independent session. The execution process, referenced content, and final result are recorded in that session.
Each run is independent and does not automatically use context from other conversations. If the task requires specific files, data sources, or output requirements, state them clearly in the instructions.
### **Viewing Execution Records** {#viewing-execution-records}
Open **Scheduled Tasks → Run History** to review the task’s execution history. Each record contains:
- Task name;
- Execution status: Running, Successful, or Failed;
- Trigger method: Scheduled or Manual;
- Start time;
- Execution duration;
- Associated task session.
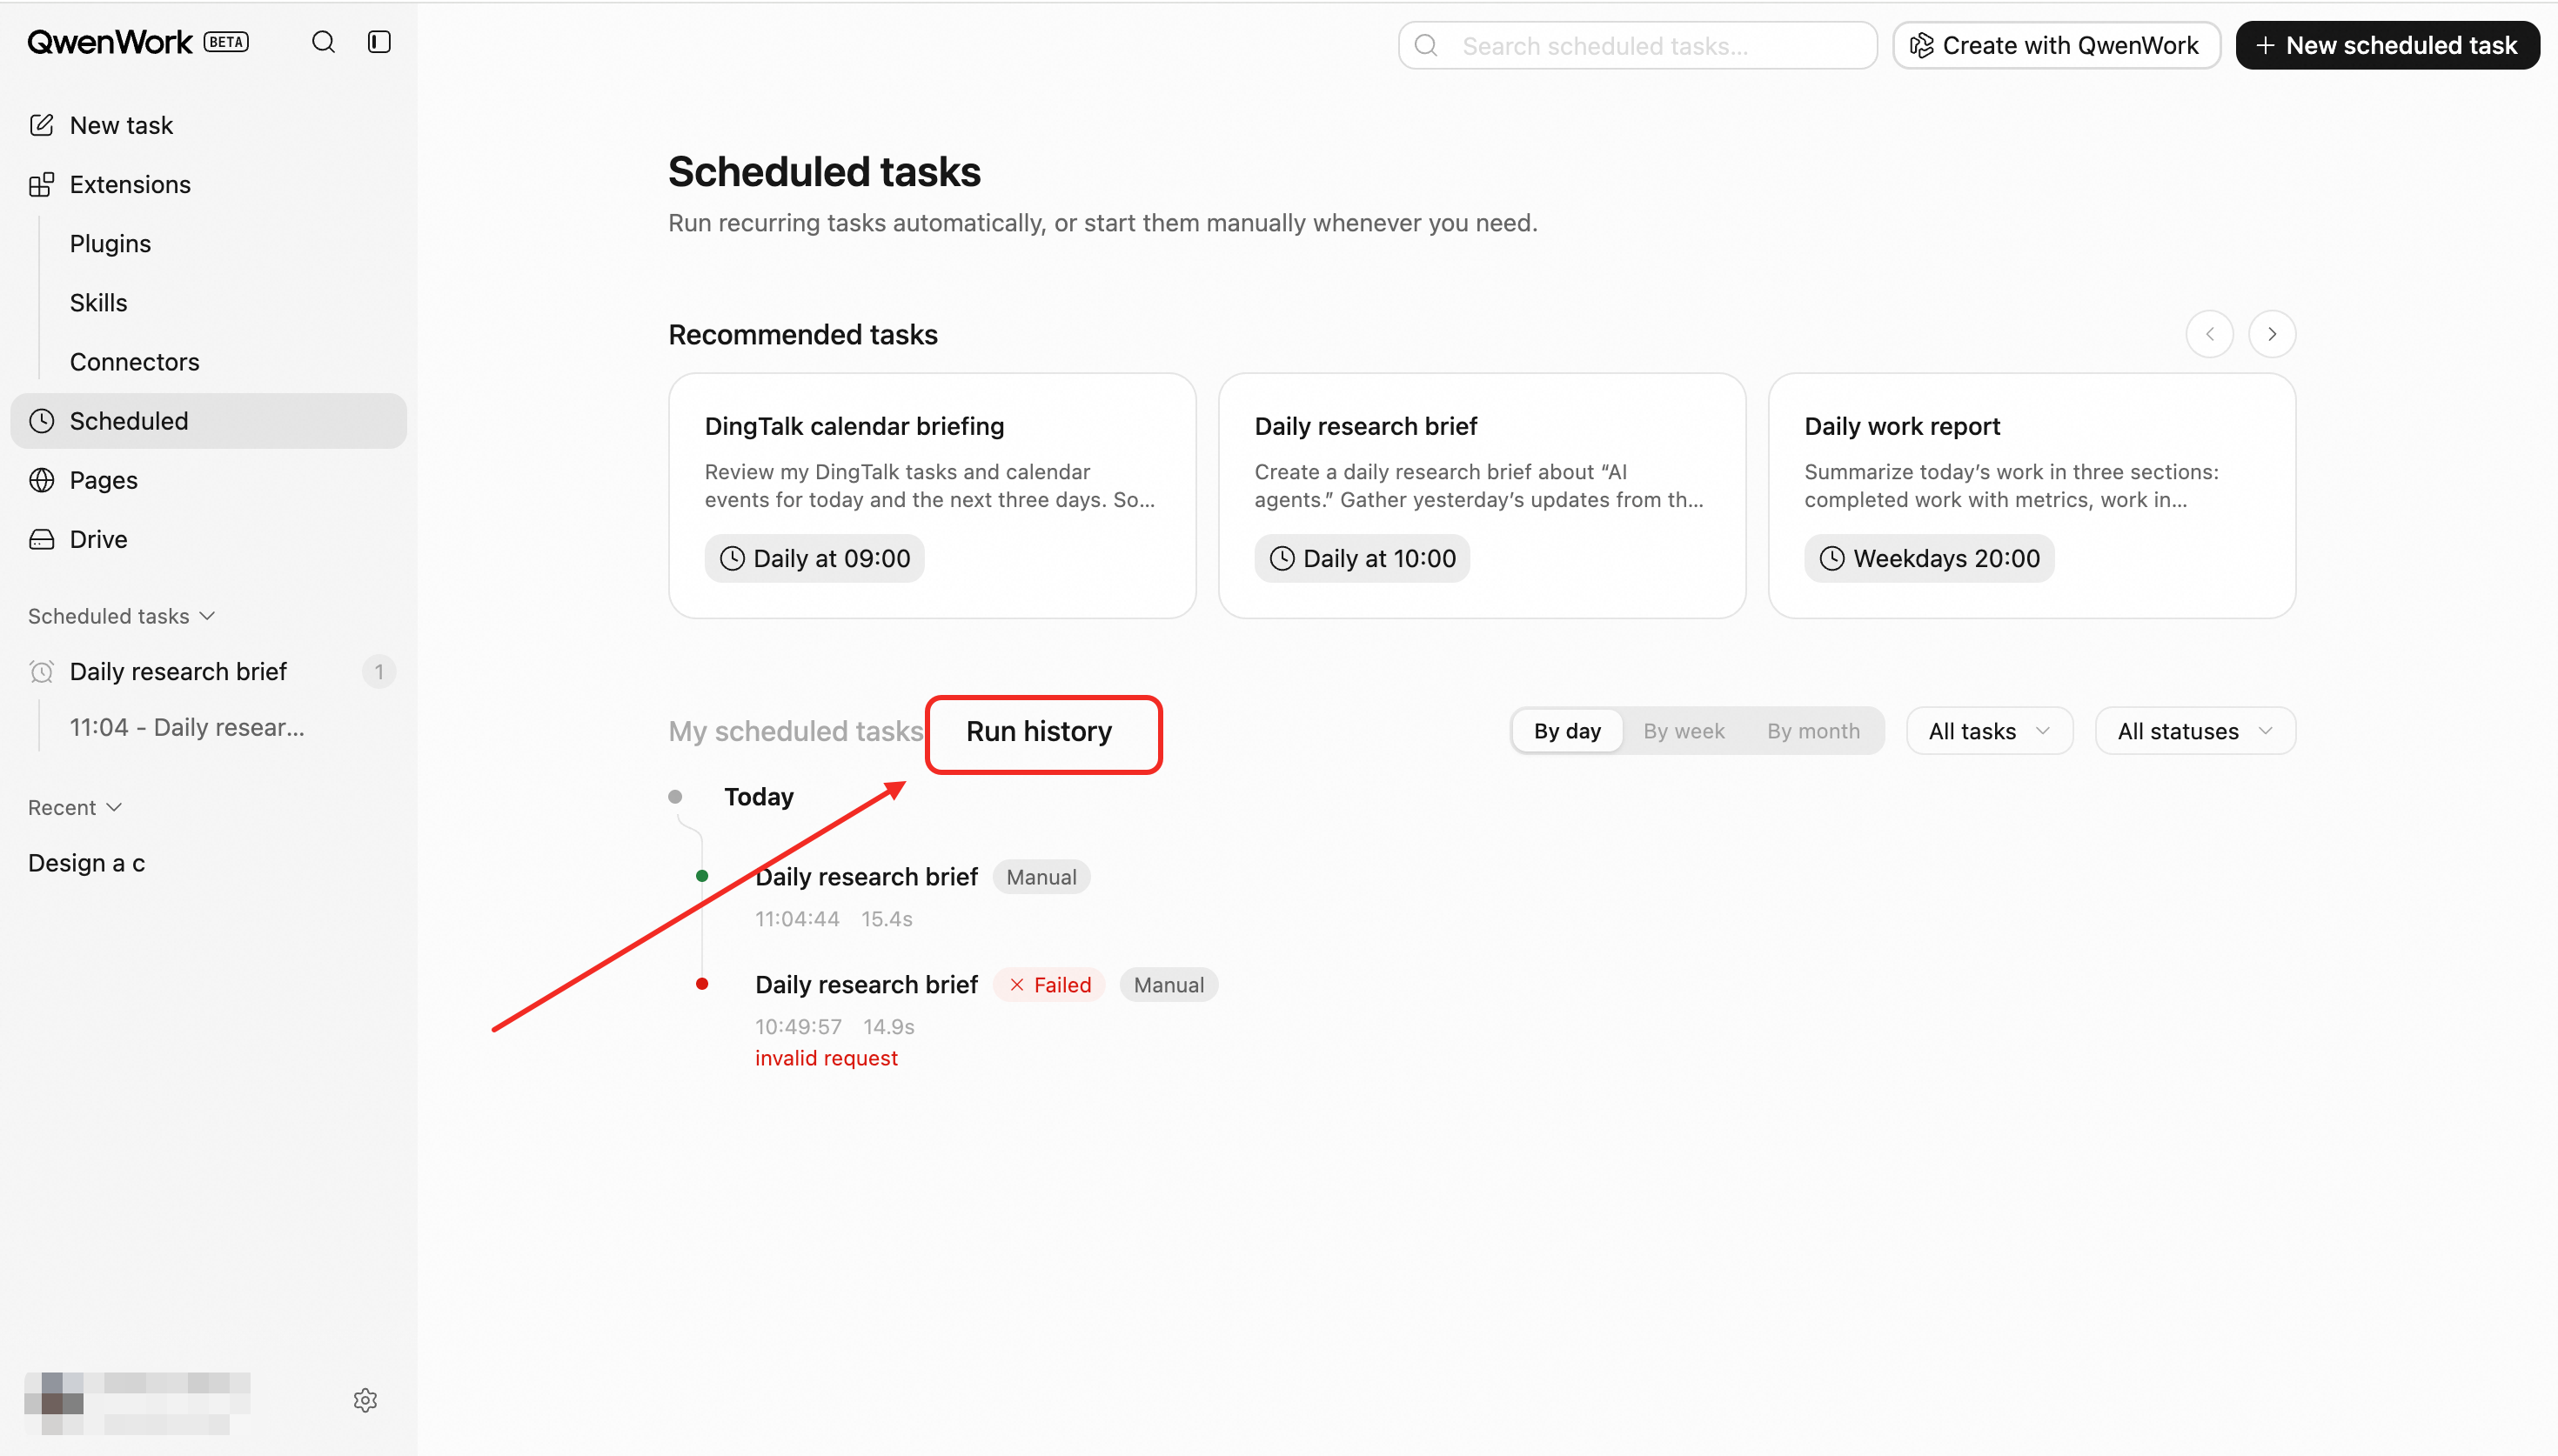
Execution records can be viewed by time and filtered by task or execution status. Click a record to open its session and review the execution process and result. You can also open an in-progress session to monitor its progress.
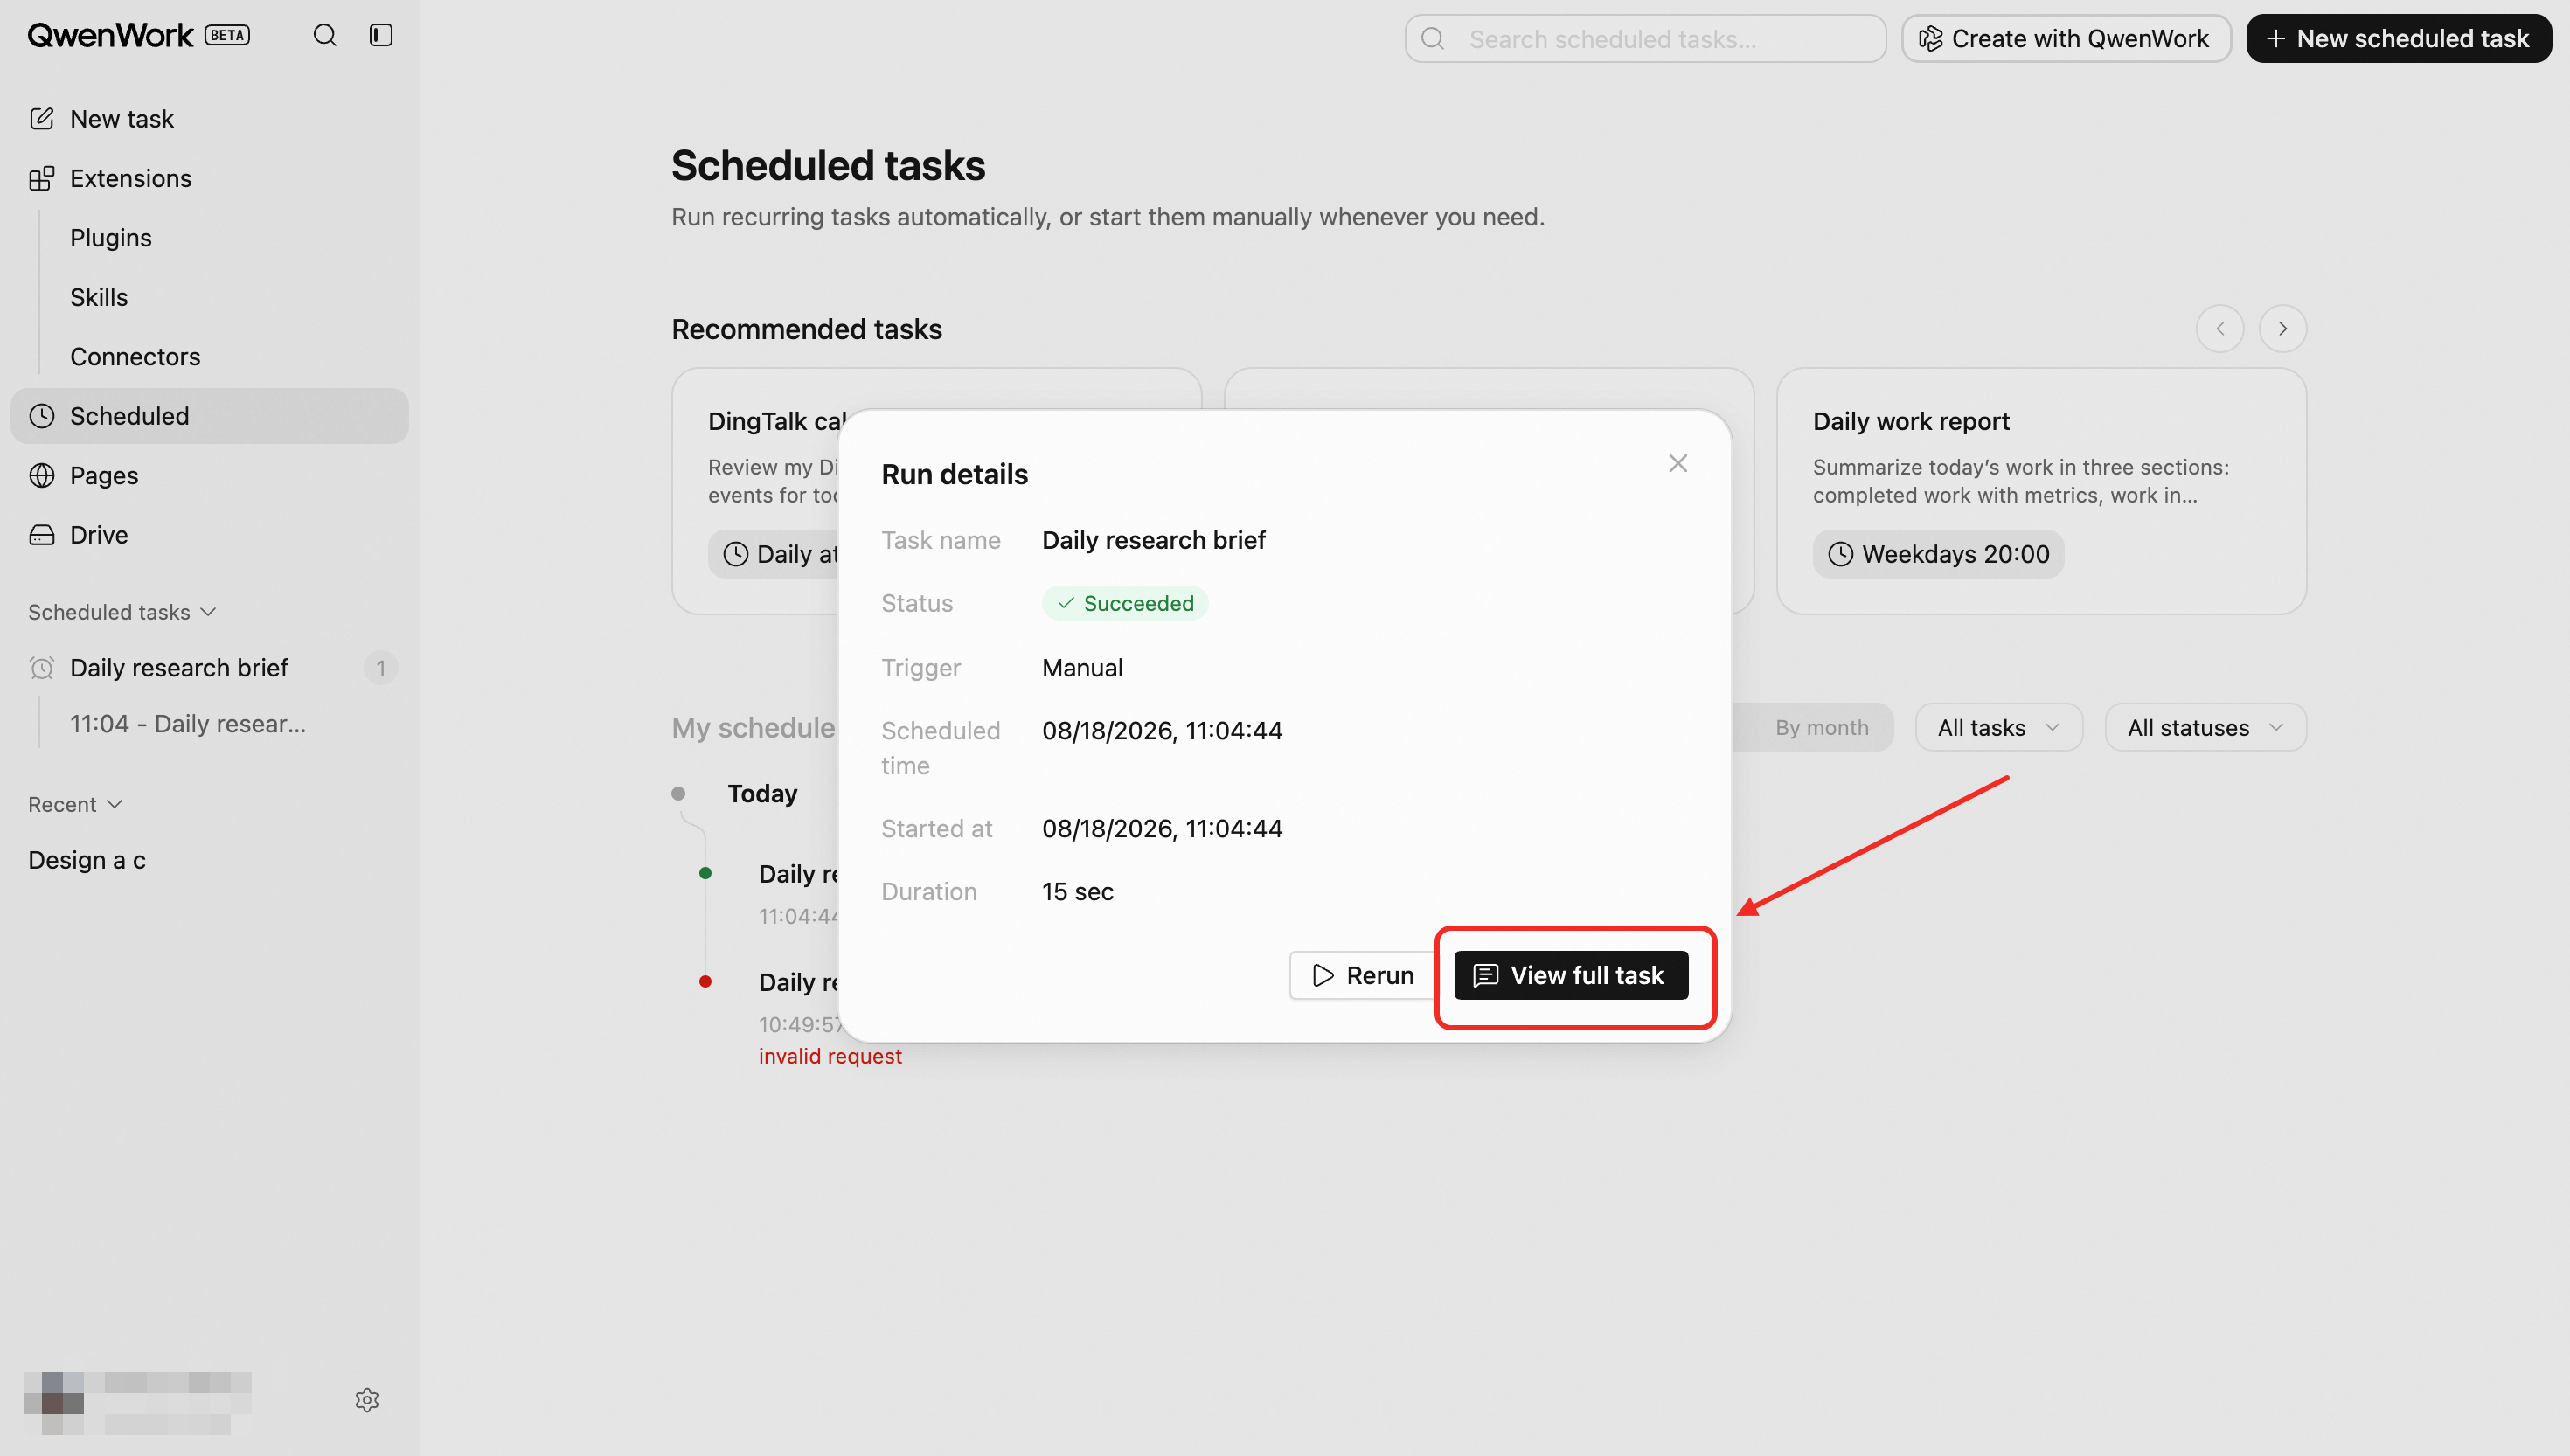
### **Finding Task Sessions** {#finding-task-sessions}
Sessions created by scheduled tasks appear under the **Scheduled Tasks** group in the sidebar, organized by their associated task. Each run creates a corresponding session, making it easy to compare results from different execution times.
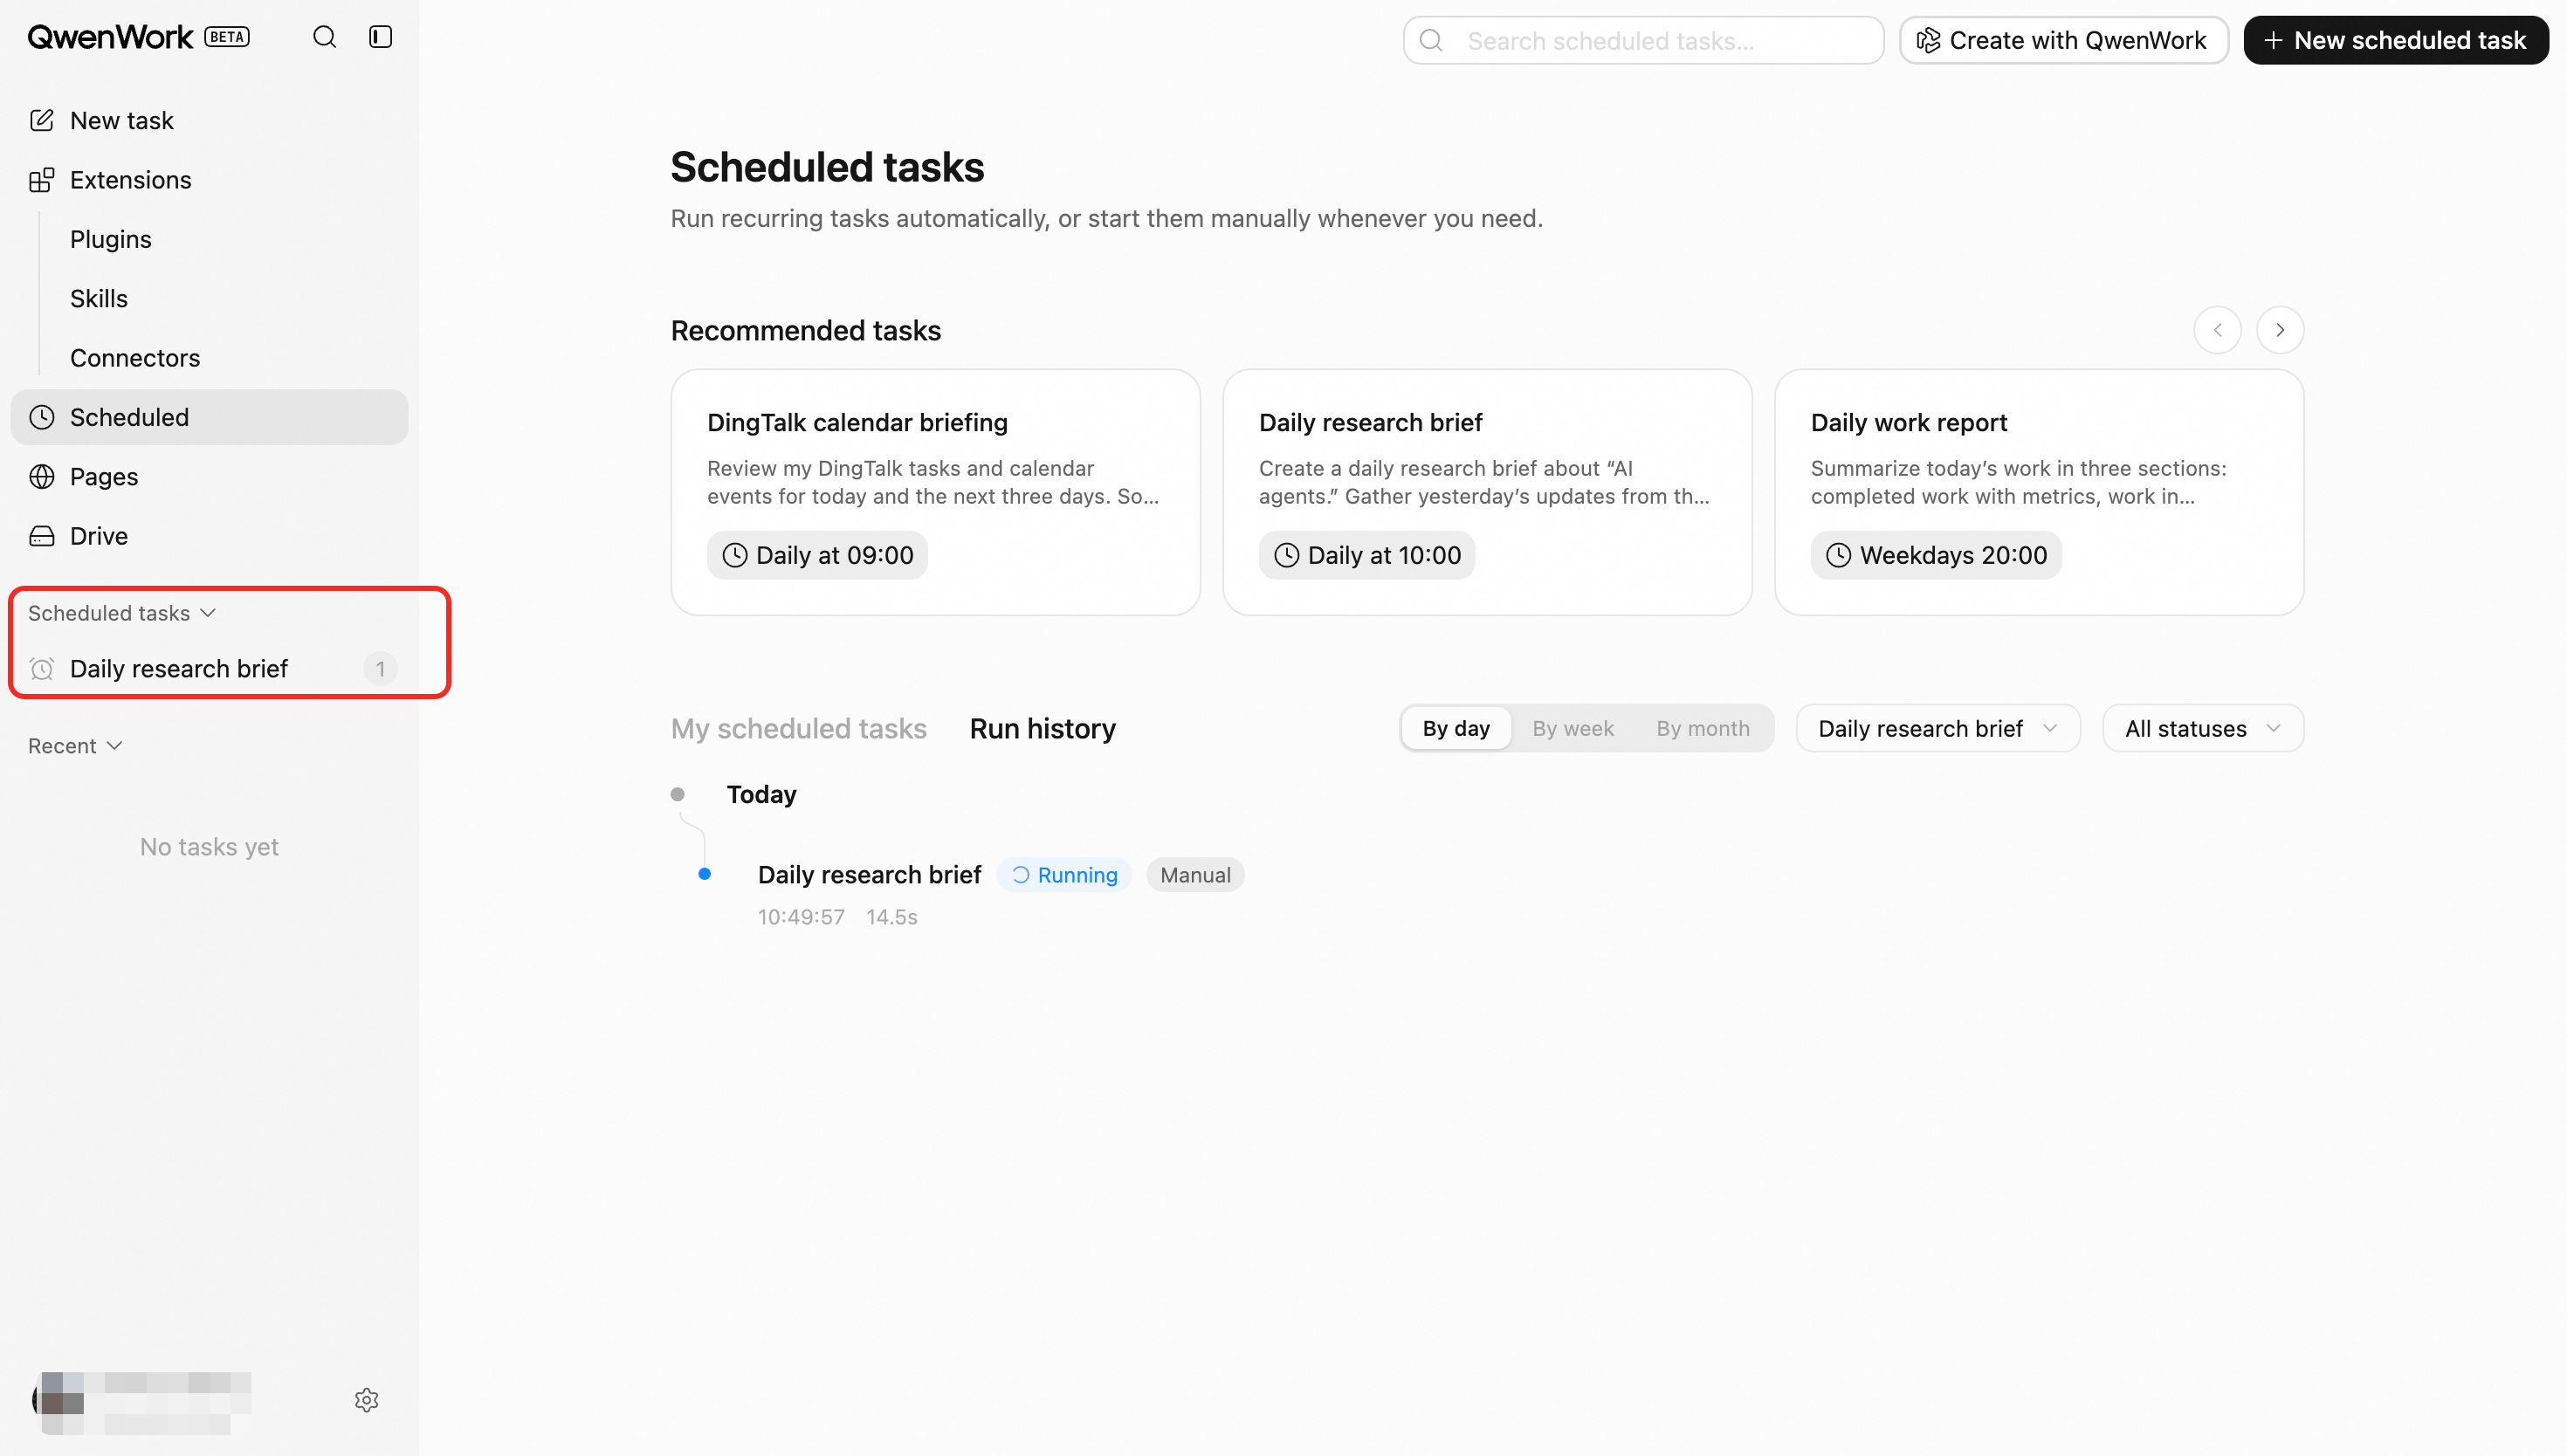
## **Saving and Sending Results** {#saving-and-sending-results}
Task results are saved in the corresponding task session by default.
To send results by email, message, or another channel, clearly specify the recipient and delivery method in the instructions. You must also complete any required account authorization or connector configuration in advance.
For external communications, file deletion, and other sensitive actions, QwenWork follows the platform’s existing permission and security confirmation mechanisms. If the required permissions are unavailable, the relevant actions may not be completed, but the task execution record will still be retained.
## End-to-End Flow {#end-to-end-flow}
1. Create a scheduled task from the page or a session.
2. Define the instructions, recurrence, time, and time zone.
3. Select required files, Skills, and connectors.
4. QwenWork triggers an execution at the scheduled time.
5. The Agent completes the work and saves the result.
6. Review the result and adjust the task when needed.
## Key Rules {#key-rules}
- Execution time follows the configured time zone.
- Each run uses the data and permissions available at that time.
- Editing a task affects future runs, not previous results.
- Paused tasks do not run until resumed.
- If a required file or connector is unavailable, the related work may not be completed.
# Workspace and Agent Sessions
Source: https://docs.qwenwork.ai/web/workspace-agent-sessions
> Start Agent sessions and manage work in your workspace.
## Overview {#overview}
The workspace and Agent session are the core of QwenWork. Users describe a goal in natural language, and the Agent interprets the request, plans the work, uses the required capabilities, and delivers the result.
## Common Use Cases {#common-use-cases}
- Research, analysis, and synthesis
- Documents, proposals, reports, and emails
- Processing images, documents, or structured data
- Creating websites and other previewable deliverables
- Multi-step tasks that require continued execution
- Revising an existing result through follow-up requests
## Entry Points {#entry-points}
Start a new session from the home input box, or reopen a previous session from session history.
## Core Capabilities {#core-capabilities}
### Start with Natural Language {#start-with-natural-language}
Describe the desired outcome and include relevant background, constraints, output format, and acceptance criteria. Clearer instructions help the Agent produce a better result.
### Model Selection {#model-selection}
The international edition provides two model tiers:
- **Basic:** everyday questions, content work, and standard tasks.
- **Advanced:** complex reasoning, long-running workflows, and high-quality professional deliverables.
The selected tier affects the available model capability and credit usage.
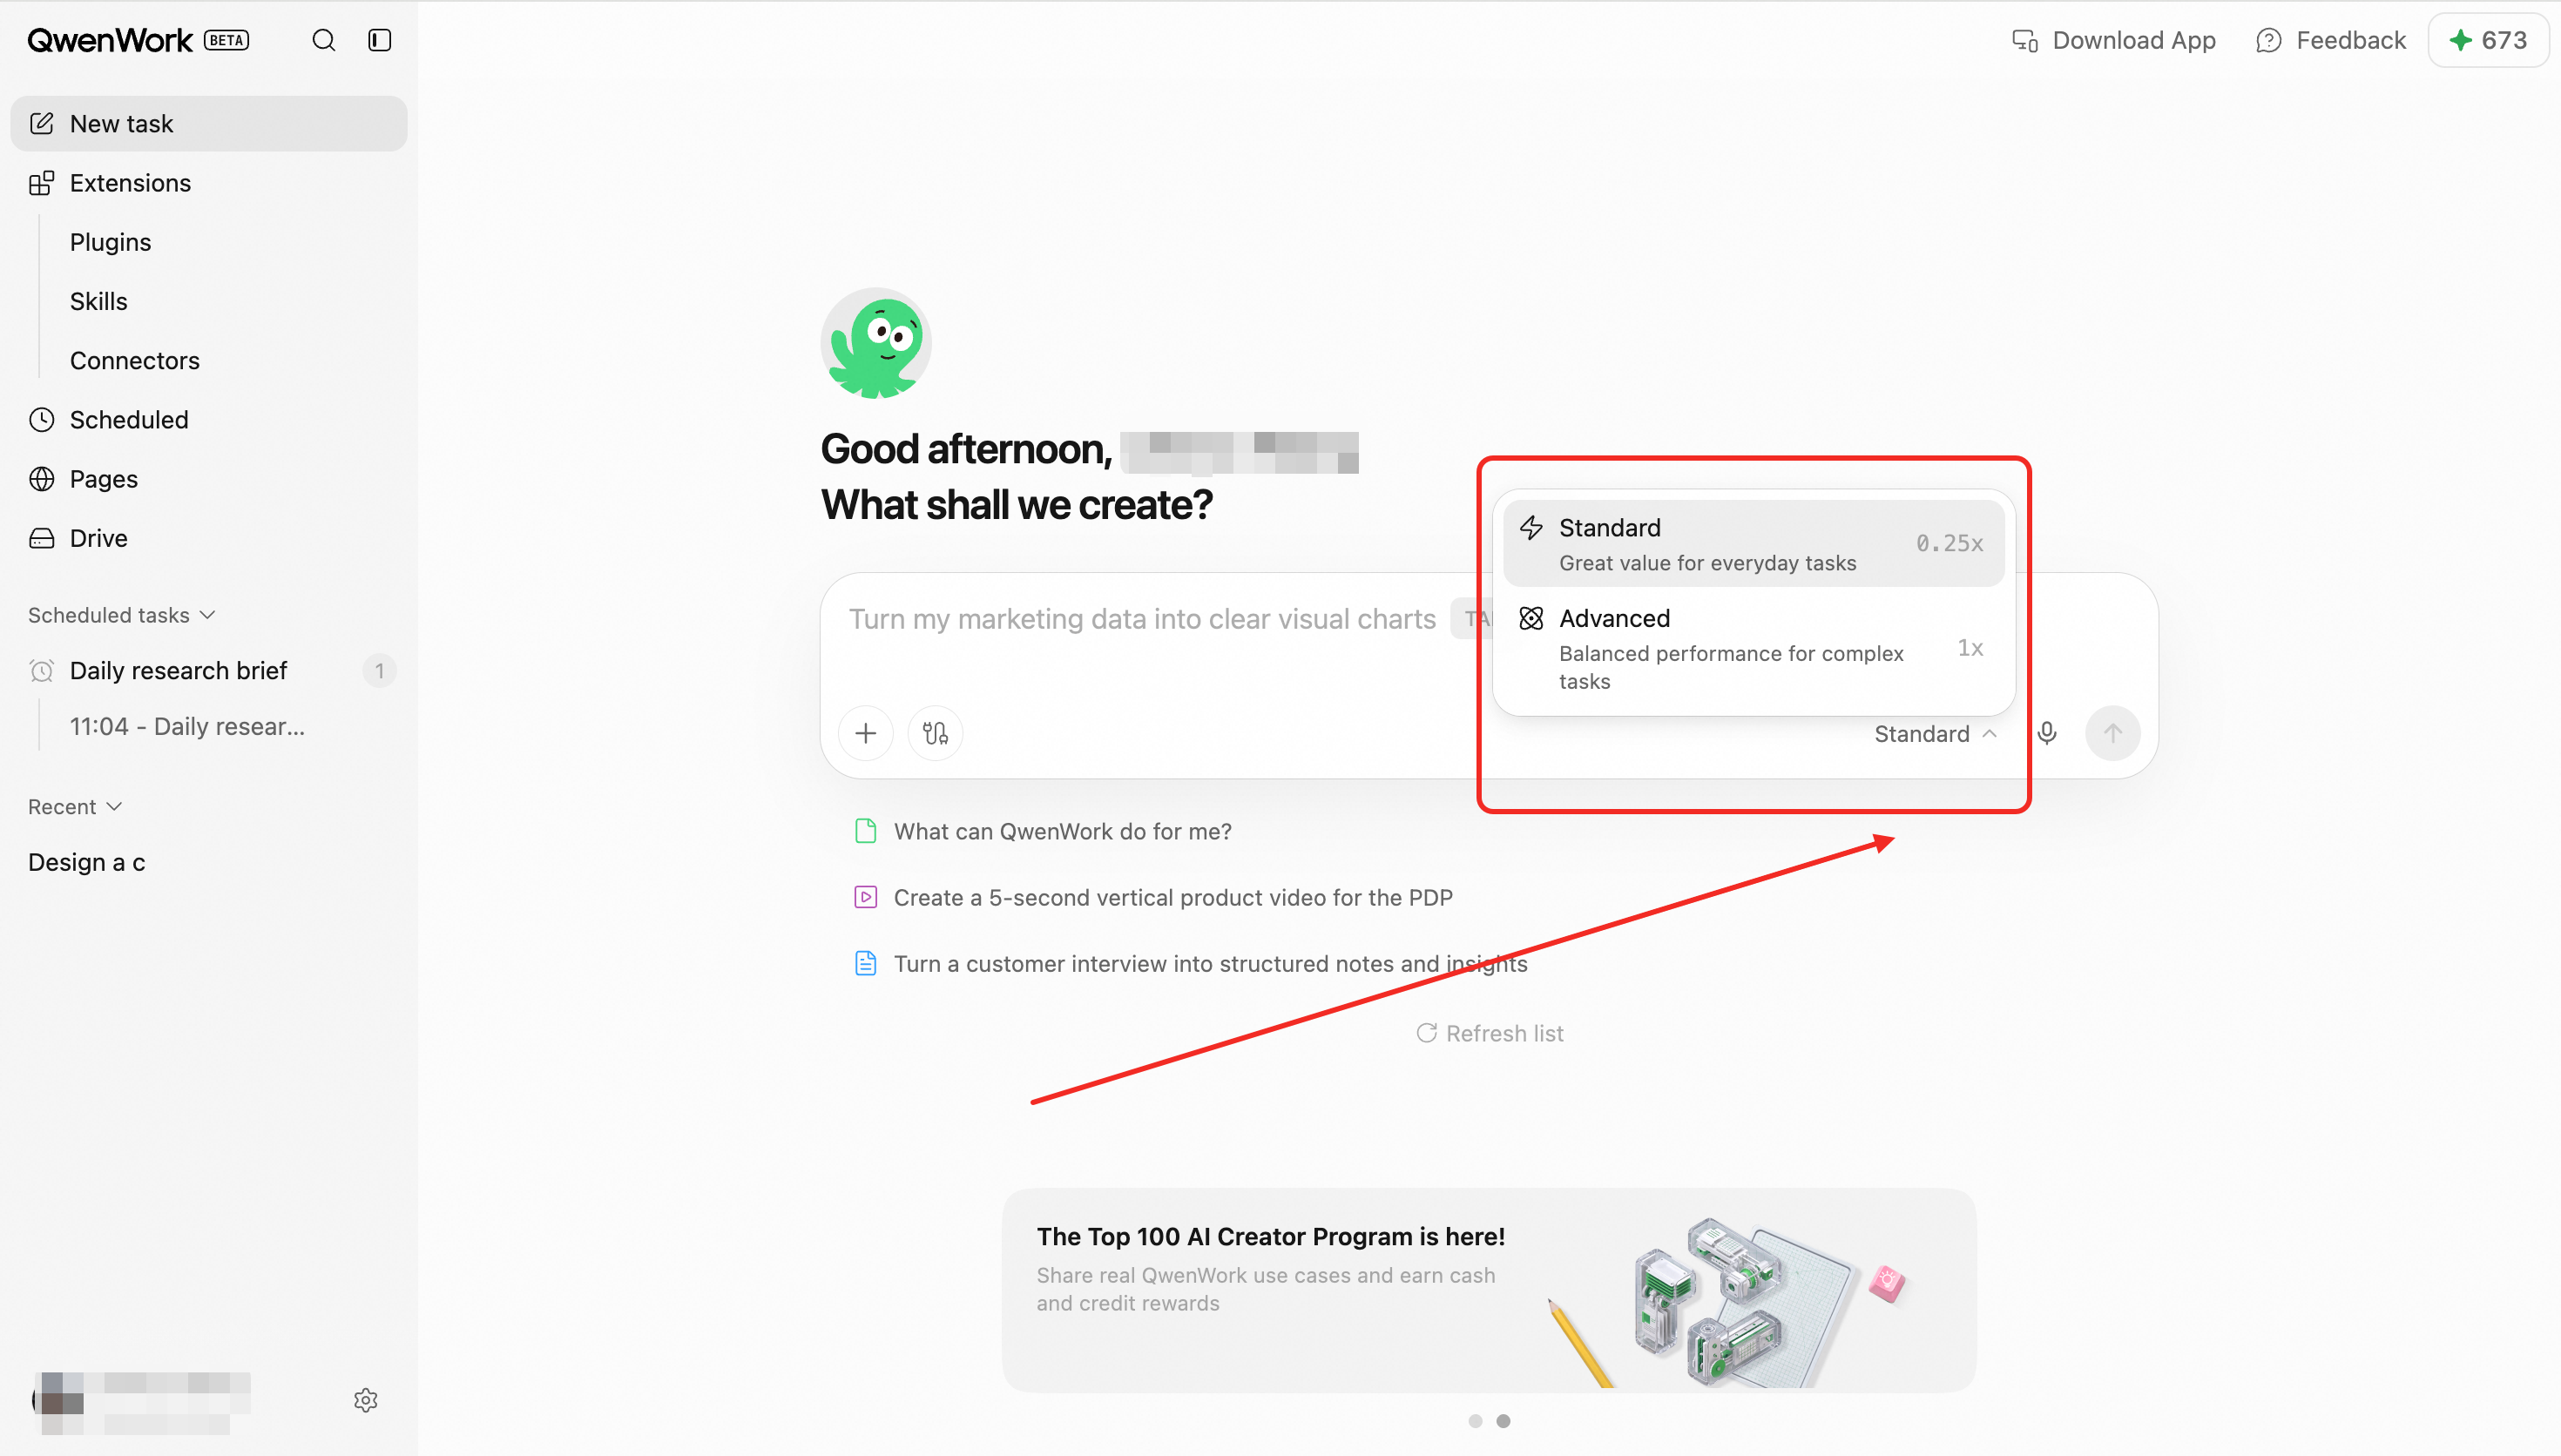
### Multi-turn Sessions {#multi-turn-sessions}
Follow up, add information, or request revisions without restating the entire task. Each session retains its own context.
### Execution Progress {#execution-progress}
For complex work, QwenWork shows execution events, capability calls, and intermediate results. When user input or approval is needed, the Agent asks a focused question before continuing.
### Voice Input {#voice-input}
Users can dictate a request. Speech is converted to text so it can be reviewed or edited before submission.
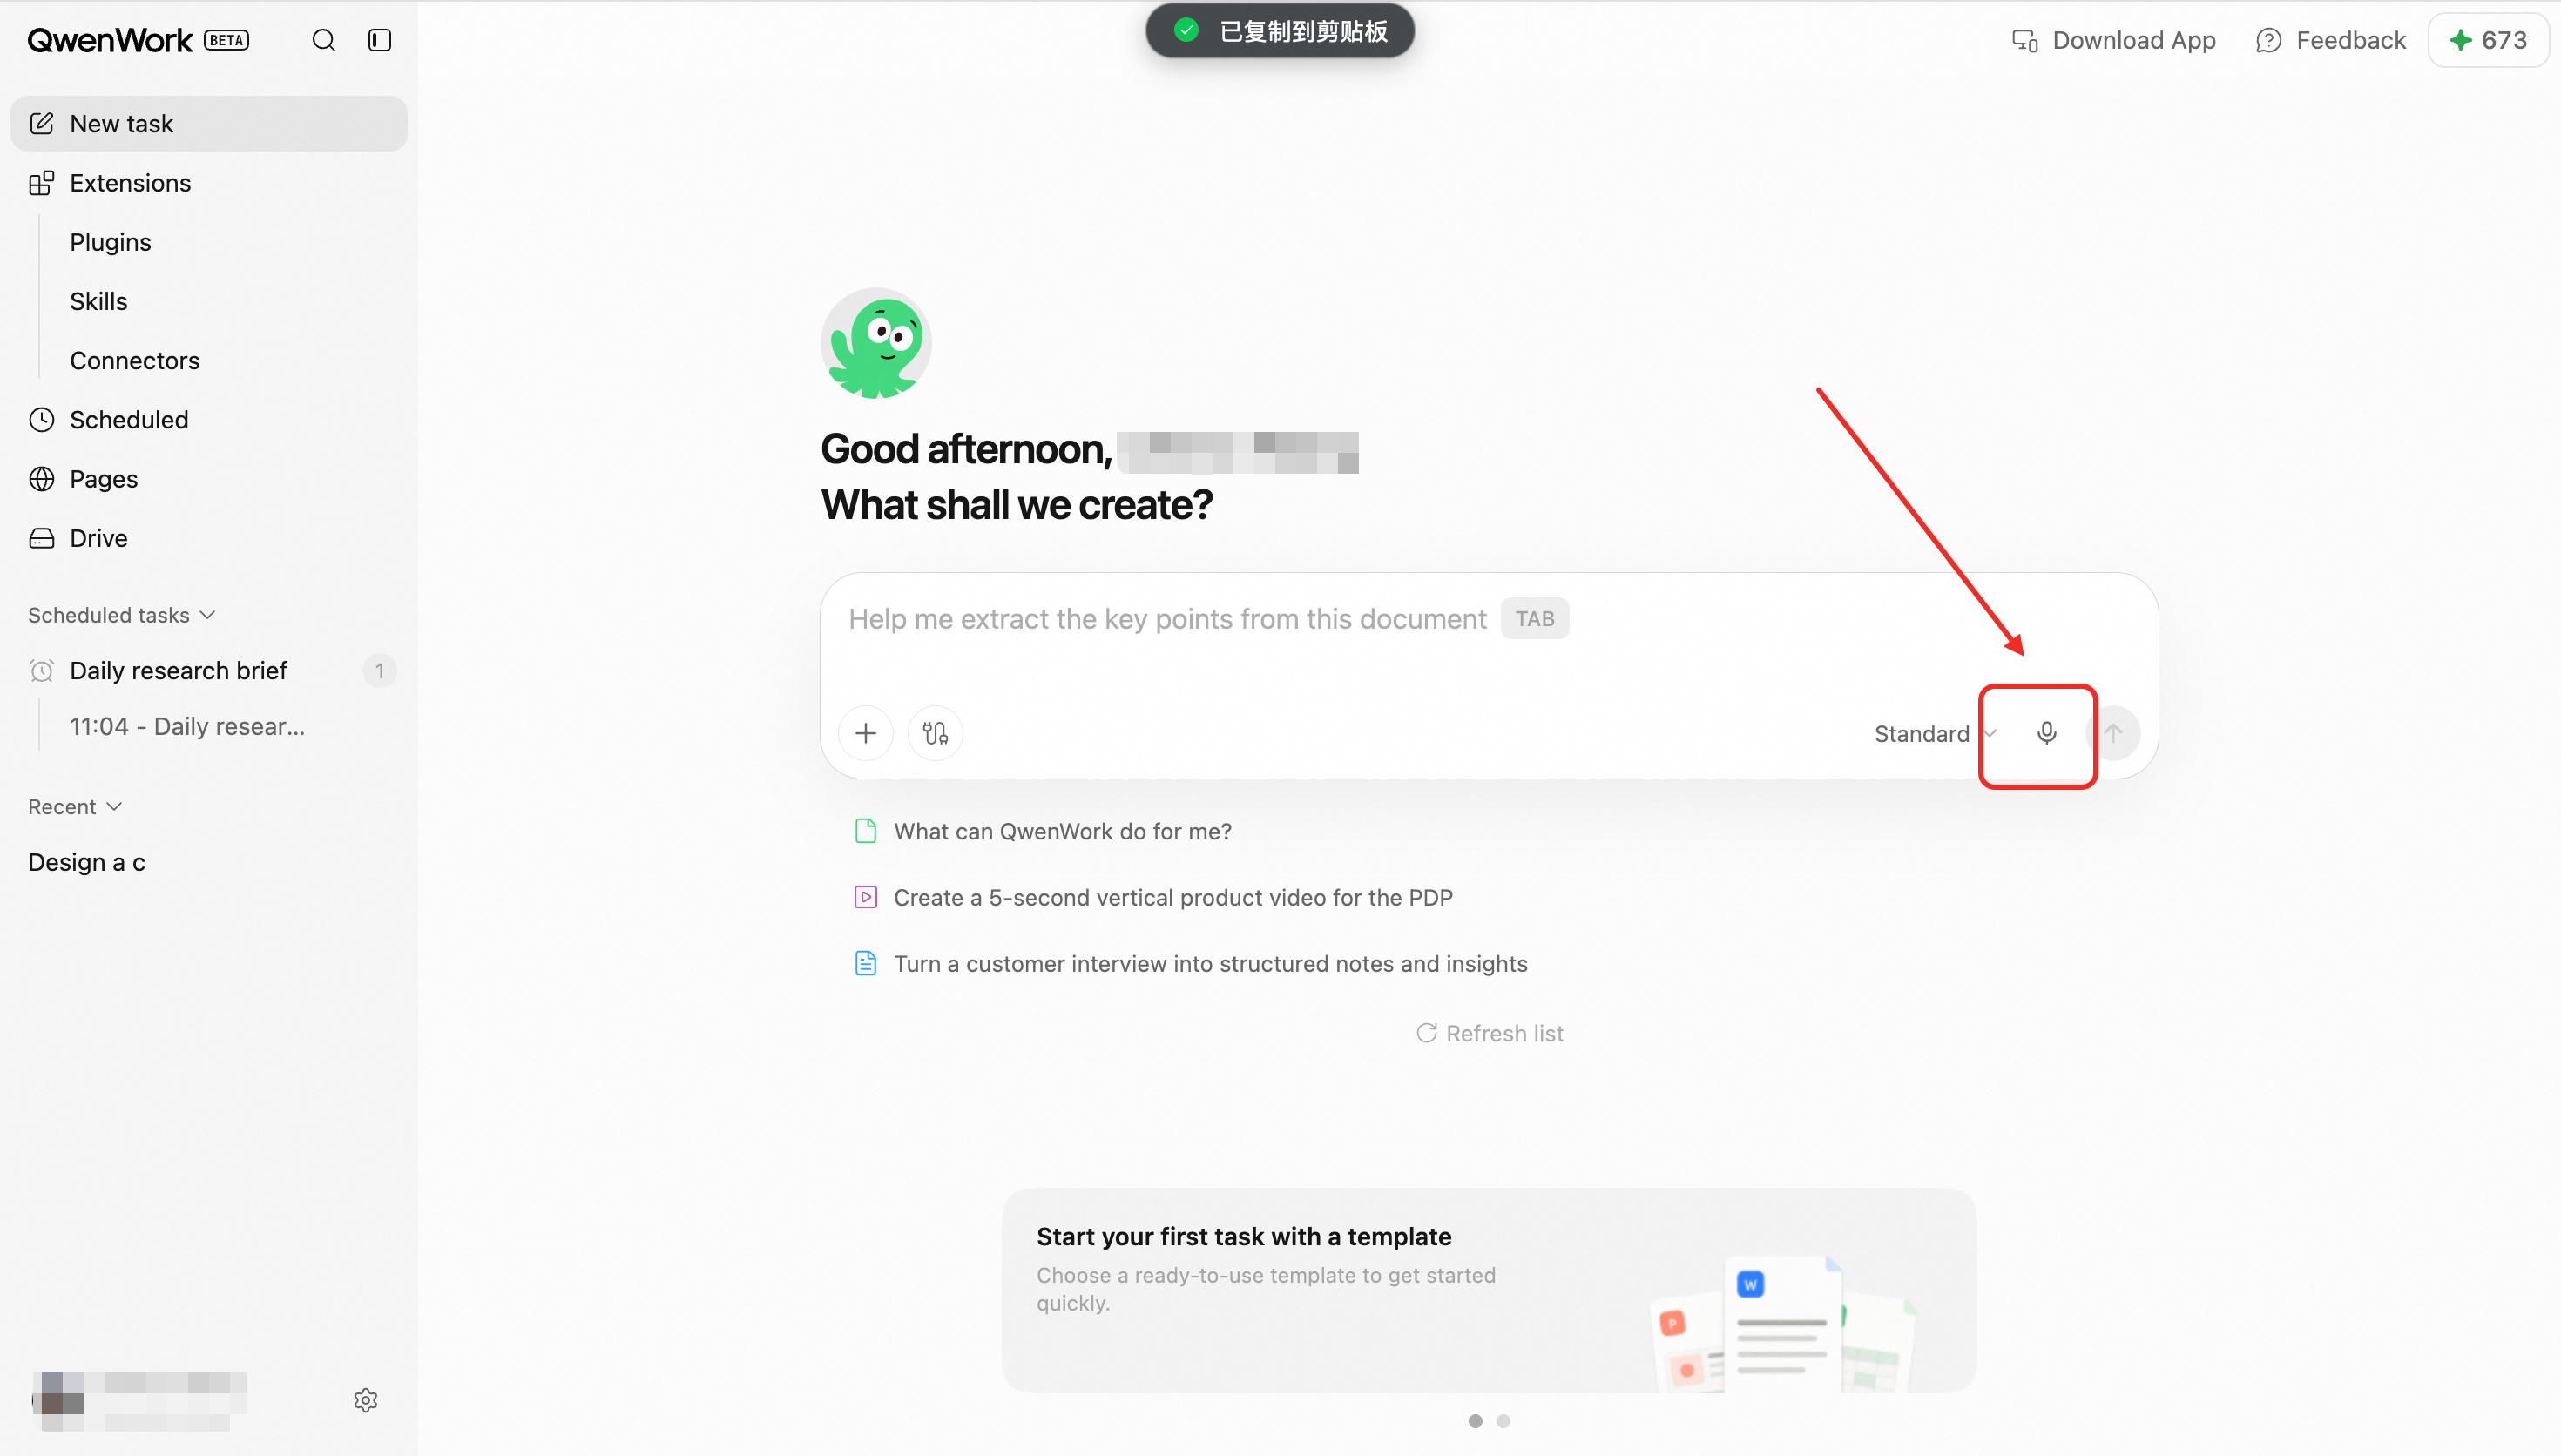
### Files and Images {#files-and-images}
Attach files or images before or during a session. The Agent uses them as task context according to the user's instructions.
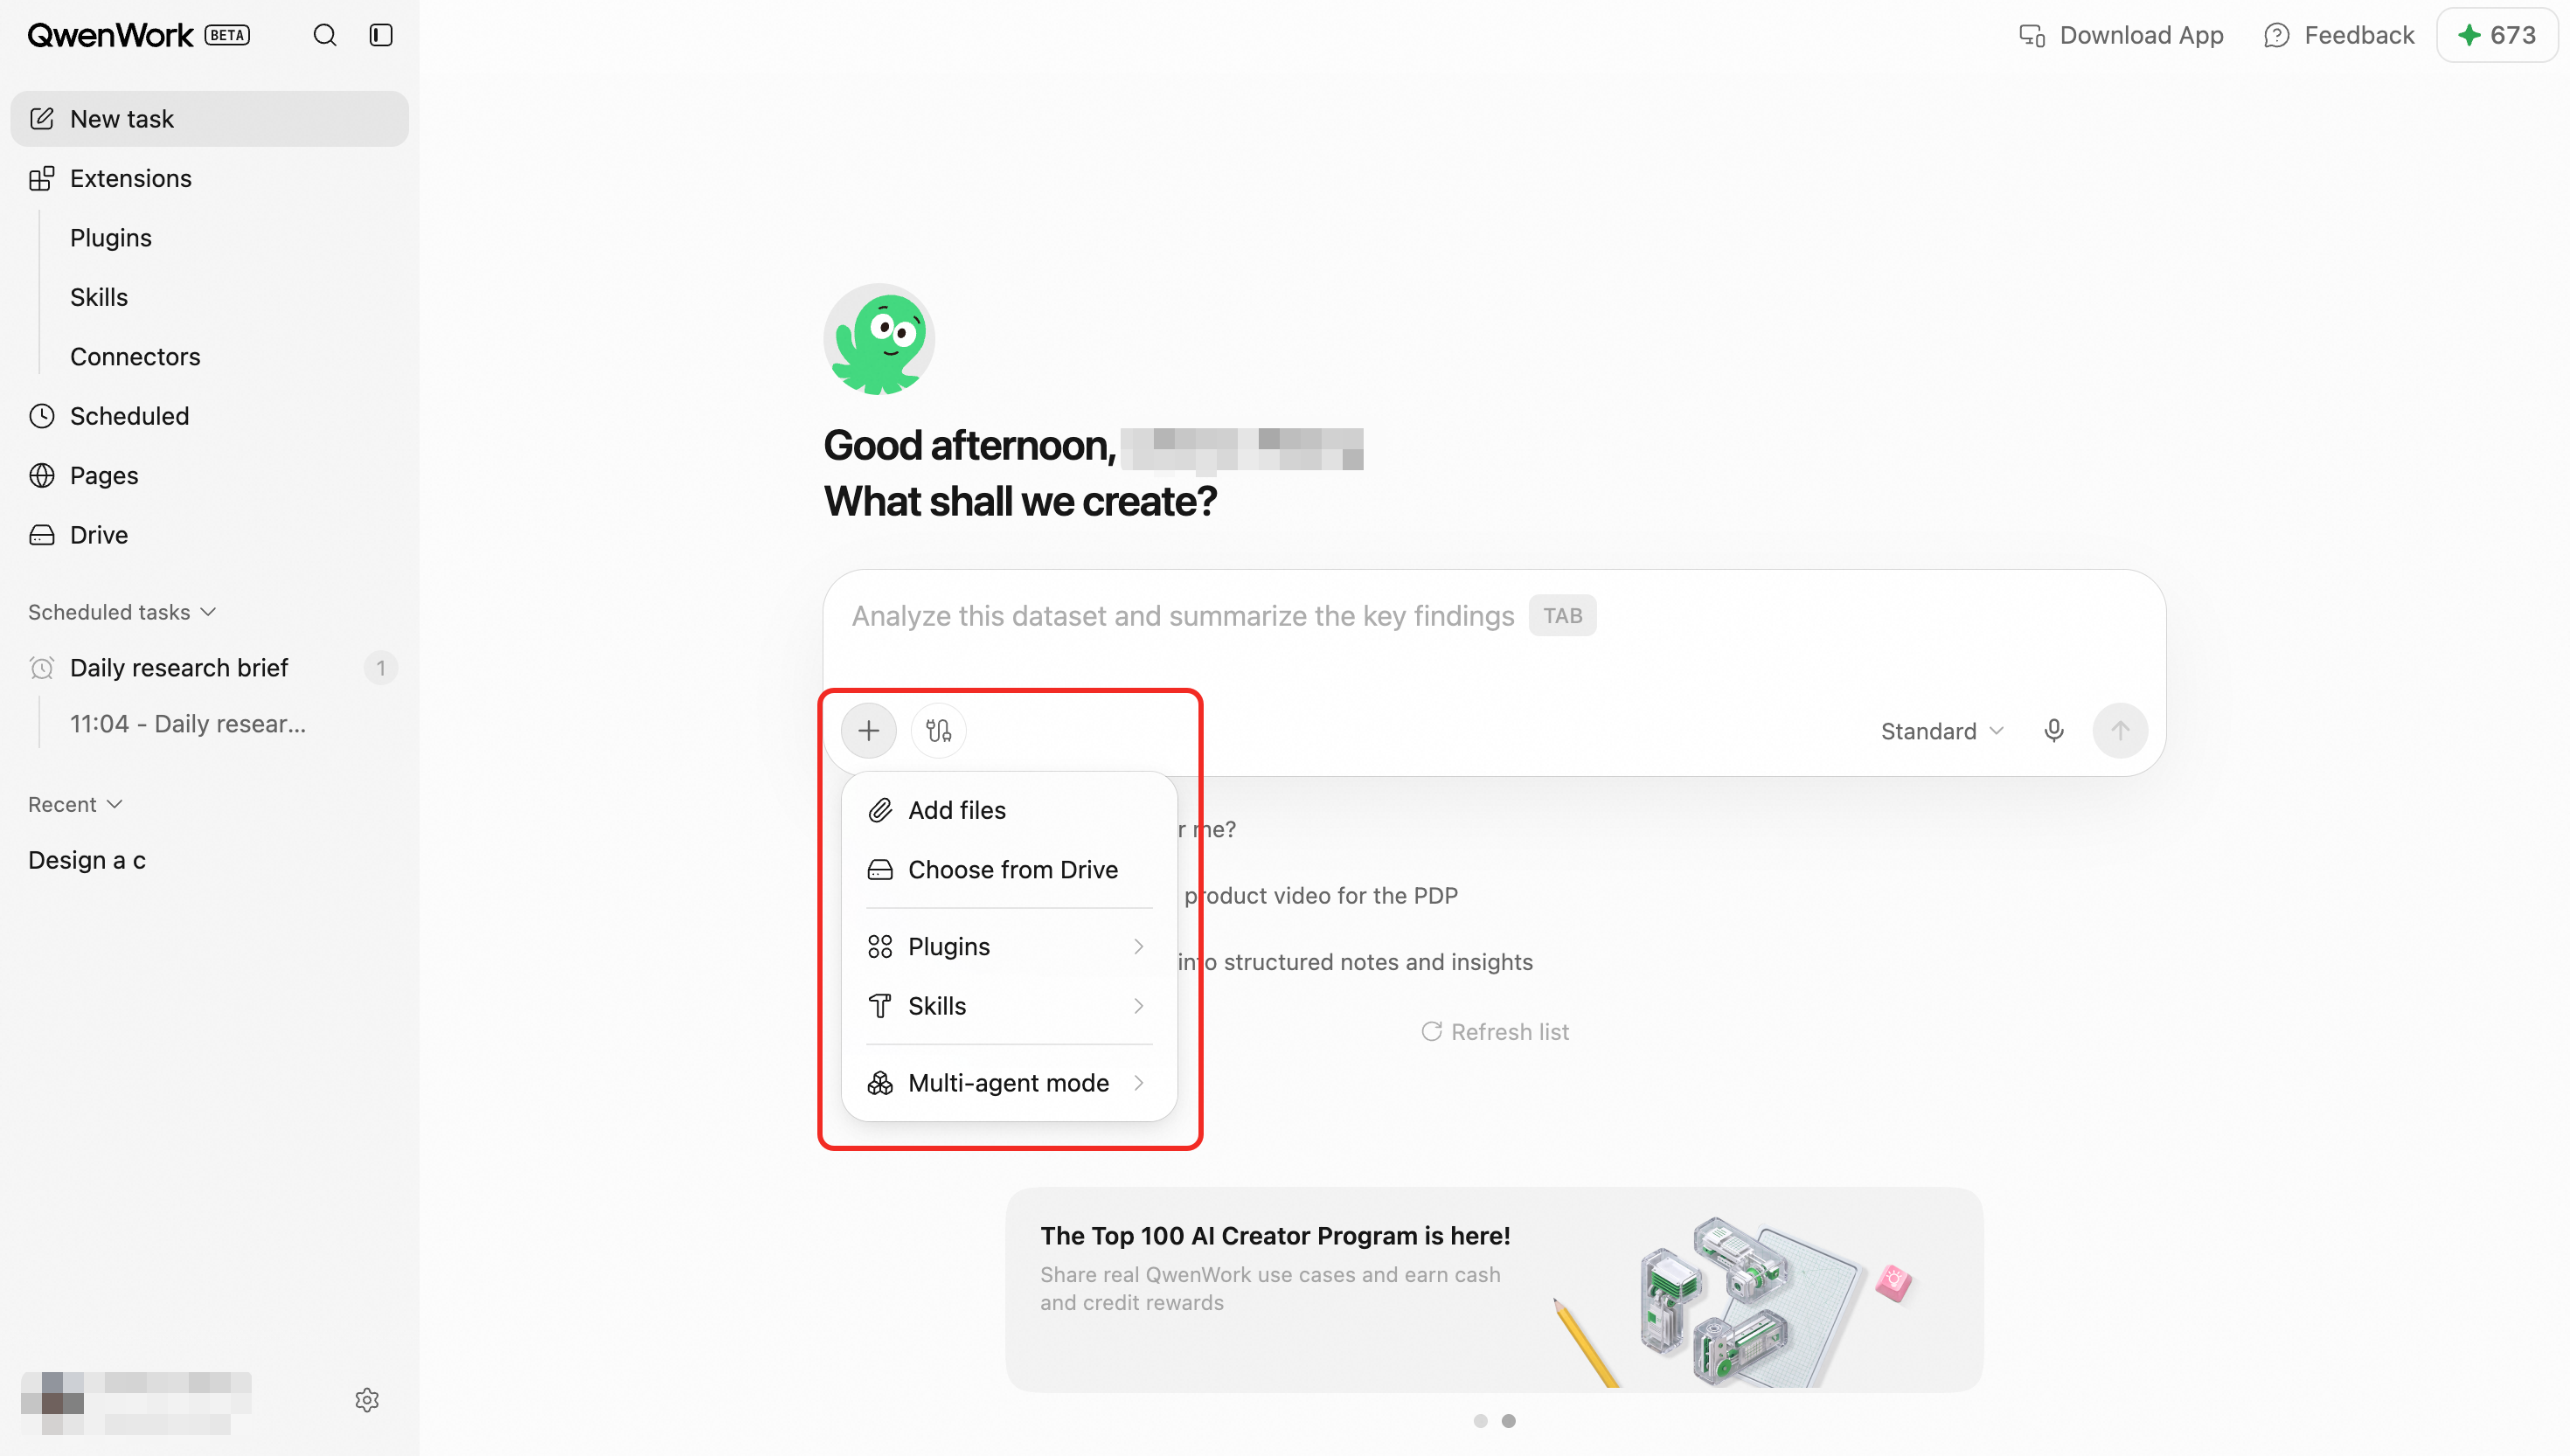
### Skills and Connectors {#skills-and-connectors}
Skills add specialized working methods. Connectors allow the Agent to use authorized external services.
### Deliverables and Preview {#deliverables-and-preview}
The Agent may generate documents, spreadsheets, code, websites, or other files. Supported outputs can be previewed in the session, refined through follow-up instructions, or downloaded.
### Support {#support}
The feedback entry shows [contact@qwenwork.ai](mailto:contact@qwenwork.ai) and can open the user's email application.
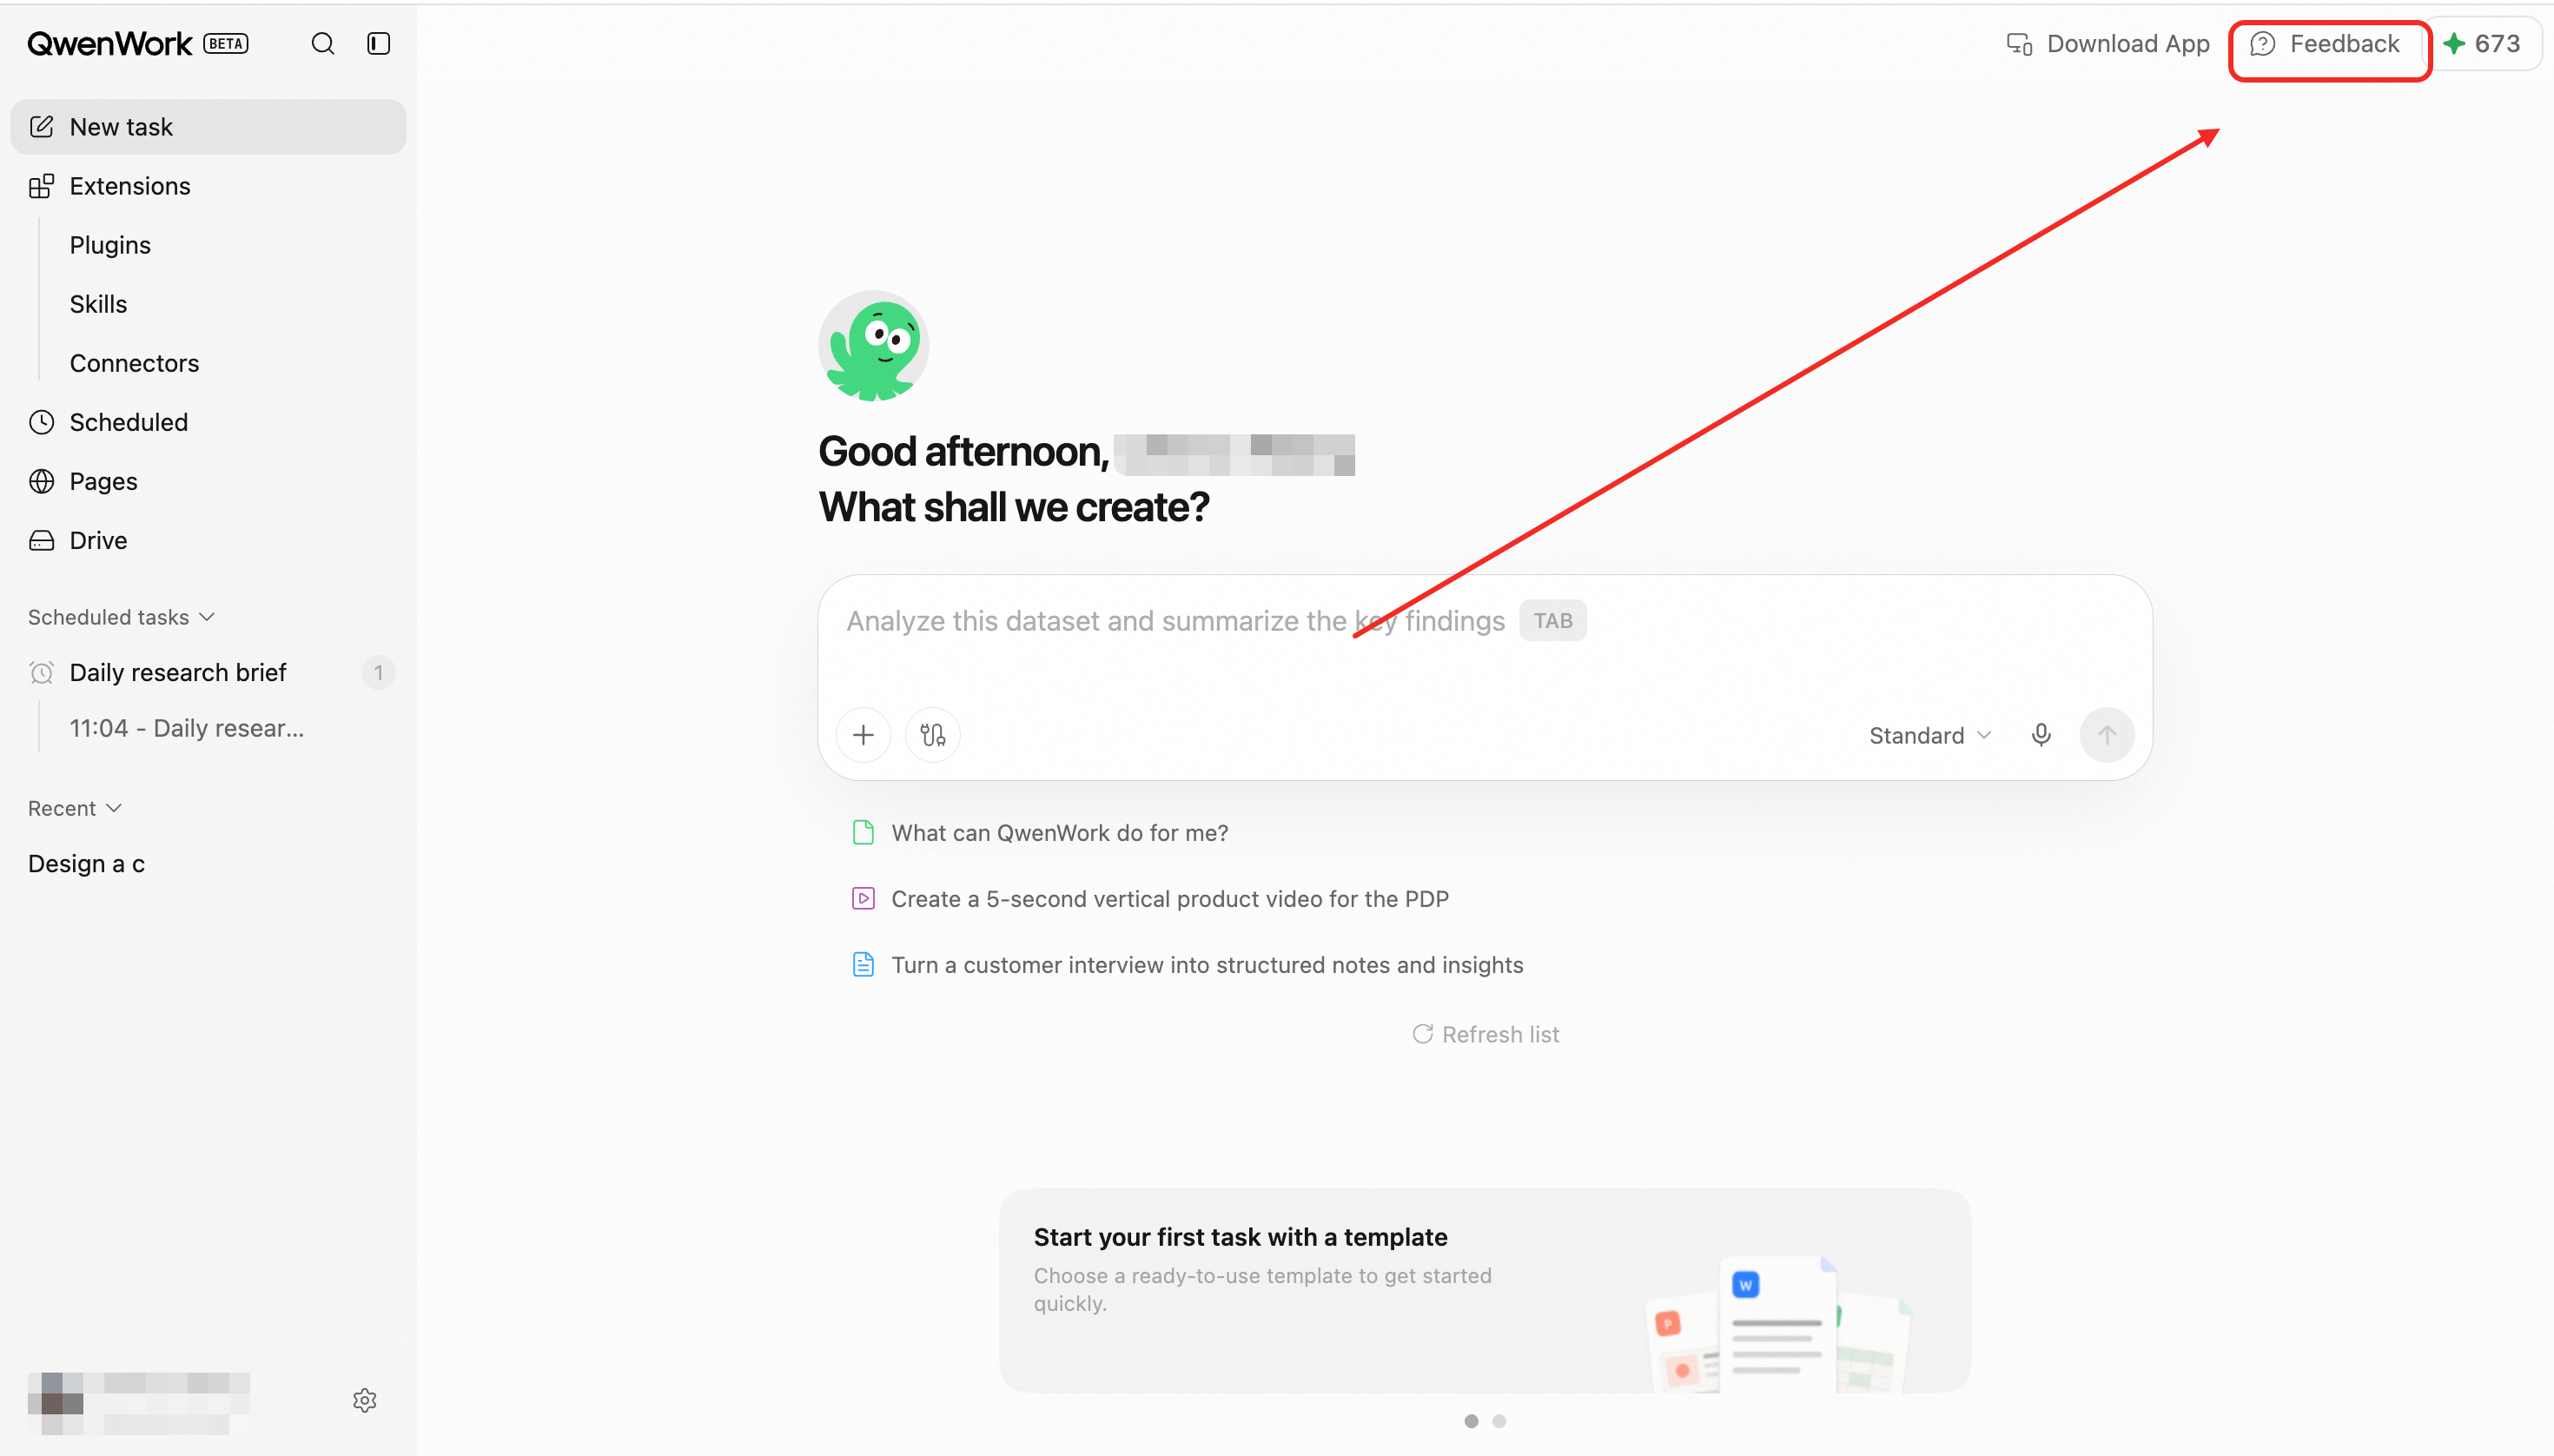
## End-to-End Flow {#end-to-end-flow}
1. Describe the goal and optionally select a model, files, Skills, and connectors.
2. The Agent interprets the task and plans the steps.
3. Progress and intermediate results appear in the session.
4. The Agent asks for input when a decision or missing detail is required.
5. The final response or deliverable is produced.
6. The user reviews, refines, downloads, or converts repeatable work into a scheduled task.
## Key Rules {#key-rules}
- Each session has independent context.
- Files, Skills, and connectors are used only within the user's authorized scope.
- Sessions and deliverables belong to the active workspace.
- Complex tasks may be completed in stages.
# Organization Workspaces and Administration
Source: https://docs.qwenwork.ai/web/organization-workspaces
> Manage organization workspaces and administrative controls.
## Overview {#overview}
An organization workspace gives teams a shared environment for Agent-powered work. Organization administration manages members, company details, shared assets, usage, and subscriptions.
## Common Use Cases {#common-use-cases}
- Create an organization workspace
- Accept an invitation to join an organization
- Invite and manage members
- Share files, websites, and work assets
- Review organization usage and benefits
- Purchase or adjust an organization plan
## Entry Points {#entry-points}
Create or join an organization during onboarding and workspace selection, or open the administration area from an organization workspace.
## Core Capabilities {#core-capabilities}
### Organization Registration {#organization-registration}
Provide the organization name, country or region, and contact email. The creator becomes an administrator and can continue configuring the workspace.
### Member Invitations and Management {#member-invitations-and-management}
Administrators invite members by email and review the member list. Invited users verify their identity before joining.
### Workspace Switching {#workspace-switching}
Users who have both personal and organization workspaces can switch between them. Sessions, files, websites, Skills, connectors, and usage are scoped to the active workspace.
### Organization Assets {#organization-assets}
Sessions, files, Organization Drive content, and Pages created in an organization workspace are organization assets. Members use them according to their permissions.
### Organization Usage {#organization-usage}
Administrators review the organization's plan, credit balance, and overall consumption.
### Organization Subscription {#organization-subscription}
Organization plans may include plan level, seats, and billing period. An administrator confirms the selected configuration and organization information before checkout.
### Administration {#administration}
The administration area centralizes company details, members, subscriptions, usage, and related controls. Each member sees only the capabilities allowed by their role.
## End-to-End Flow {#end-to-end-flow}
1. Create an organization or accept an email invitation.
2. QwenWork establishes the user's organization membership.
3. An administrator configures company details, members, and subscription.
4. Members switch to the organization workspace to work.
5. Sessions, files, websites, and usage are assigned to the organization.
6. Administrators continue to manage members, usage, and plans.
## Key Rules {#key-rules}
- Organization registration uses a contact email and records the country or region.
- A user may belong to multiple workspaces but works in one active workspace at a time.
- Personal and organization assets are managed separately.
- Administrative capabilities depend on member roles.
- Organization subscription benefits apply only to that organization workspace.
- When a member leaves, they lose access to organization assets; the organization retains those assets.
# Accounts, Sign-in, and Workspaces
Source: https://docs.qwenwork.ai/web/accounts-signin-workspaces
> Sign in, switch accounts, and manage workspaces.
## Overview {#overview}
This module verifies a user's identity, creates or accesses a QwenWork account, and directs the user to the correct personal or organization workspace.
## Common Use Cases {#common-use-cases}
- Create a QwenWork account
- Sign in with Google or email
- Reset a forgotten password
- Choose between personal and organization workspaces
- Accept an invitation to join an organization
## Get Started {#get-started}
Open the QwenWork sign-in page and continue with Google or enter an email address.
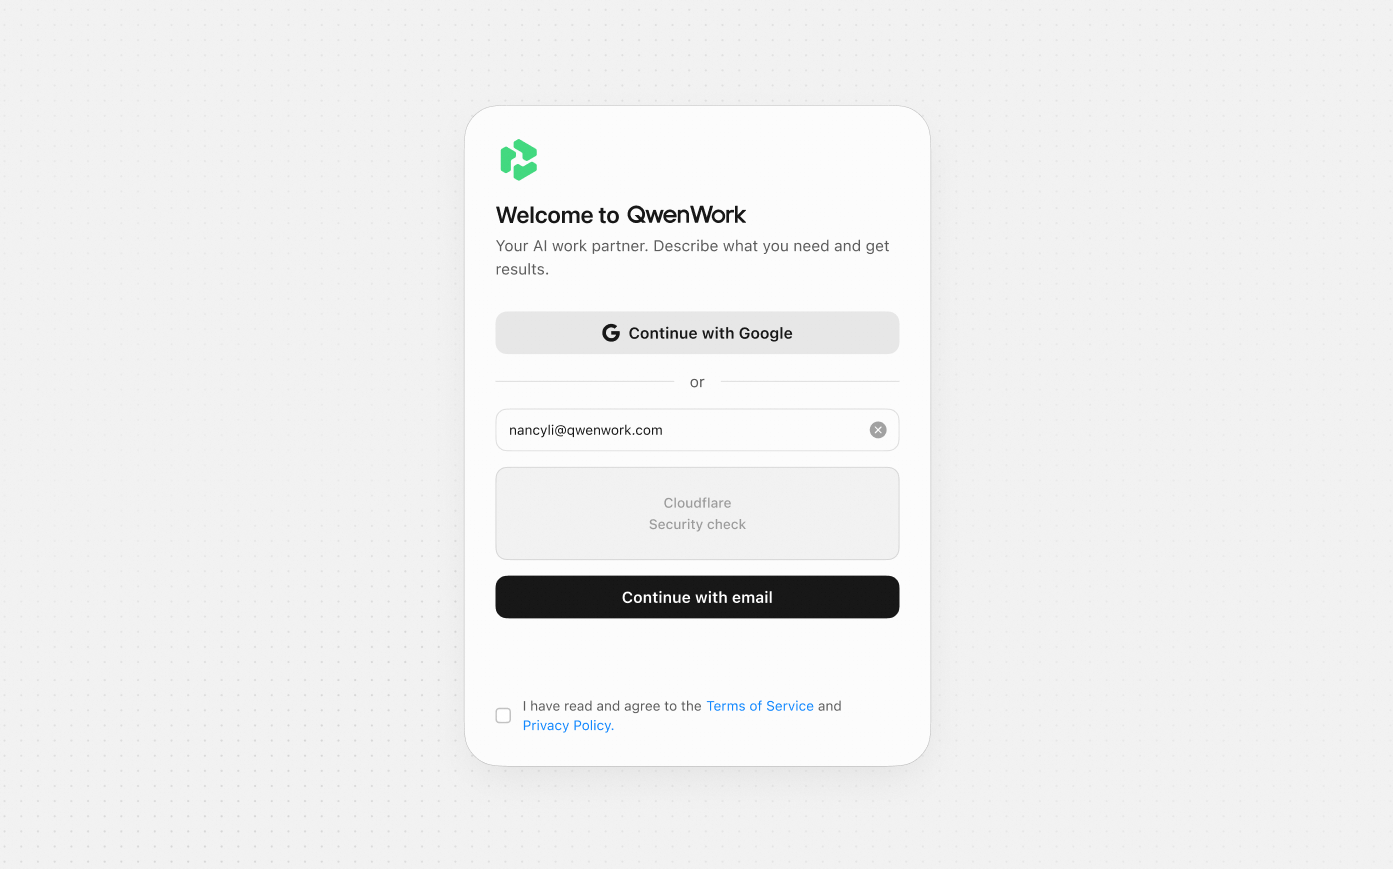
### Option 1: Sign in with Google {#option-1-sign-in-with-google}
After the user authorizes QwenWork through Google:
- Existing users are signed in to their account.
- New users continue to account setup and profile completion.
- Connect to your Alibaba Cloud account.
### Option 2: Sign-in with Email {#option-2-sign-in-with-email}
After an email address is entered, QwenWork determines the appropriate flow:
| User Type | Process | Screenshot |
| ---------------- | ---------------------------------------------------------------------------------------------------------- | ------------------------------------------------------------------------------------------------------------------------------------------------------------------------------------------------------------------------------------------------------------------------------------ |
| Existing account | Enter verification code sent to your email. If the code wasn't received, check Spam inbox first or resend. | 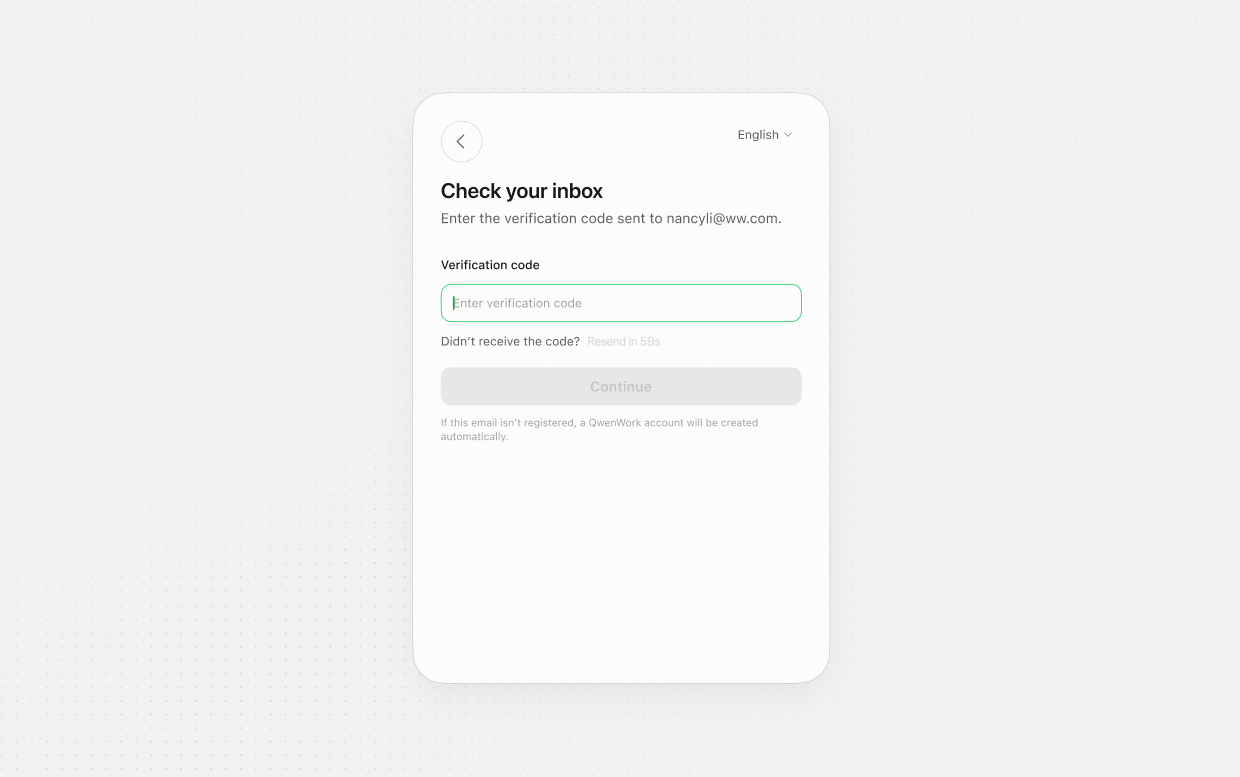 |
| New account | - 1. Verify your email address
- 2. Connect to your Alibaba Cloud account
| 
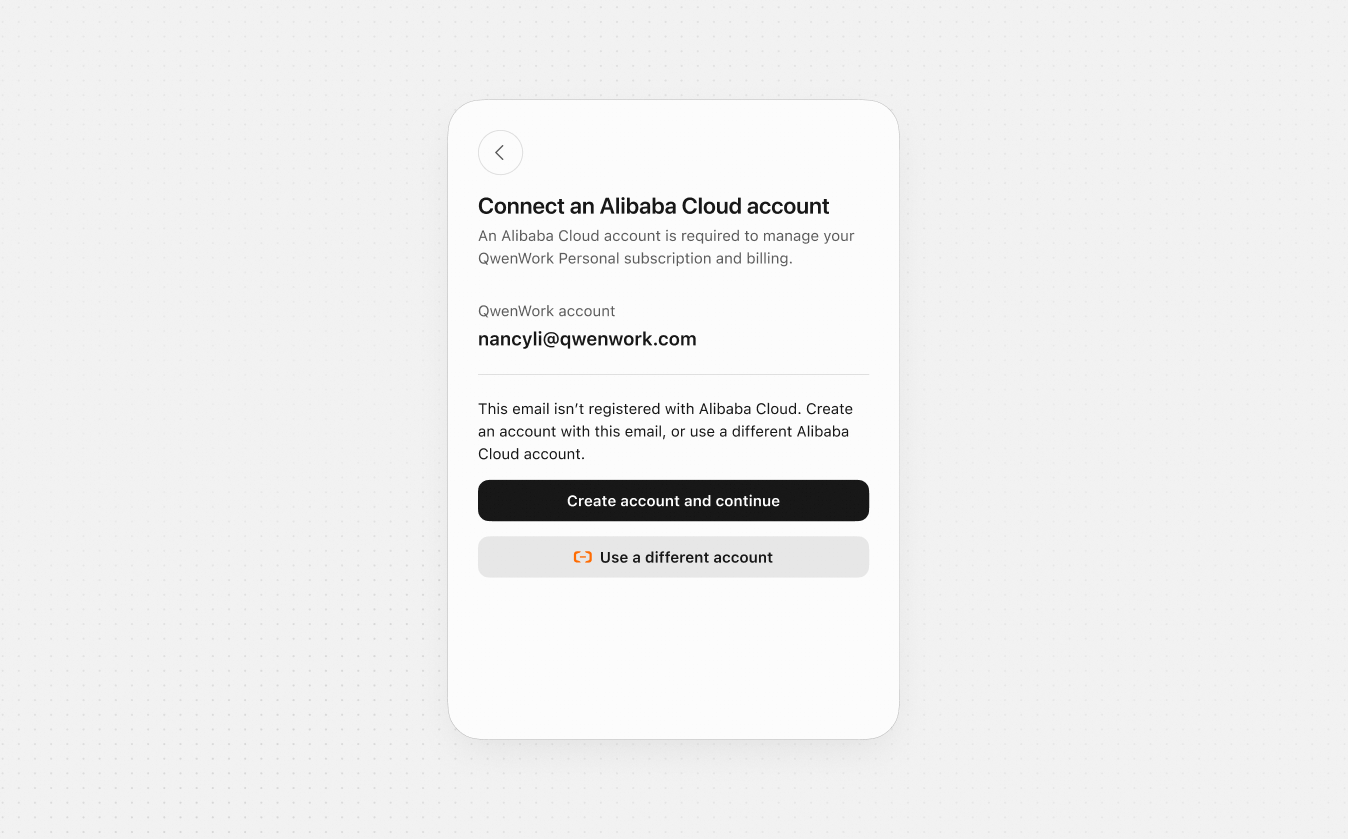 |
### New User Profile {#new-user-profile}
New users provide a display name and select their country or region. The display name is used throughout the product. Country or region information supports account and service configuration.
### Password Reset {#password-reset}
Select Forgot password, verify the email address with a one-time code, set a new password, and continue with the new credentials.
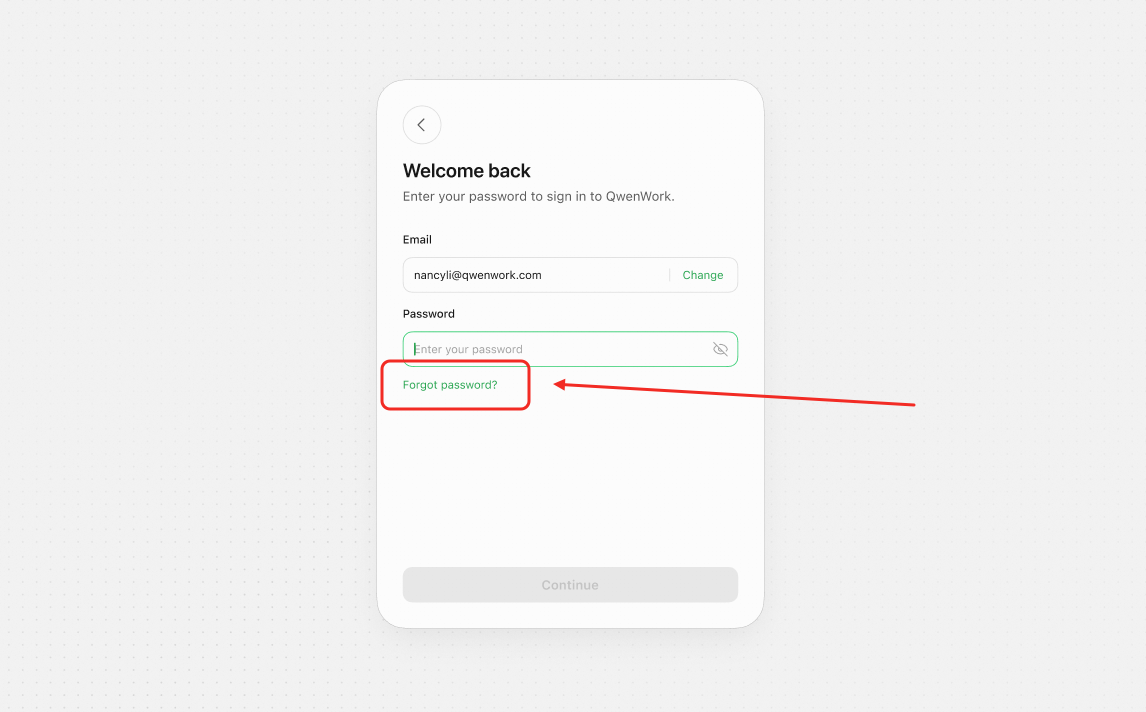
### Organization Invitations {#organization-invitations}
An invited user verifies their identity and joins the specified organization. The organization then appears in the user's workspace switcher.
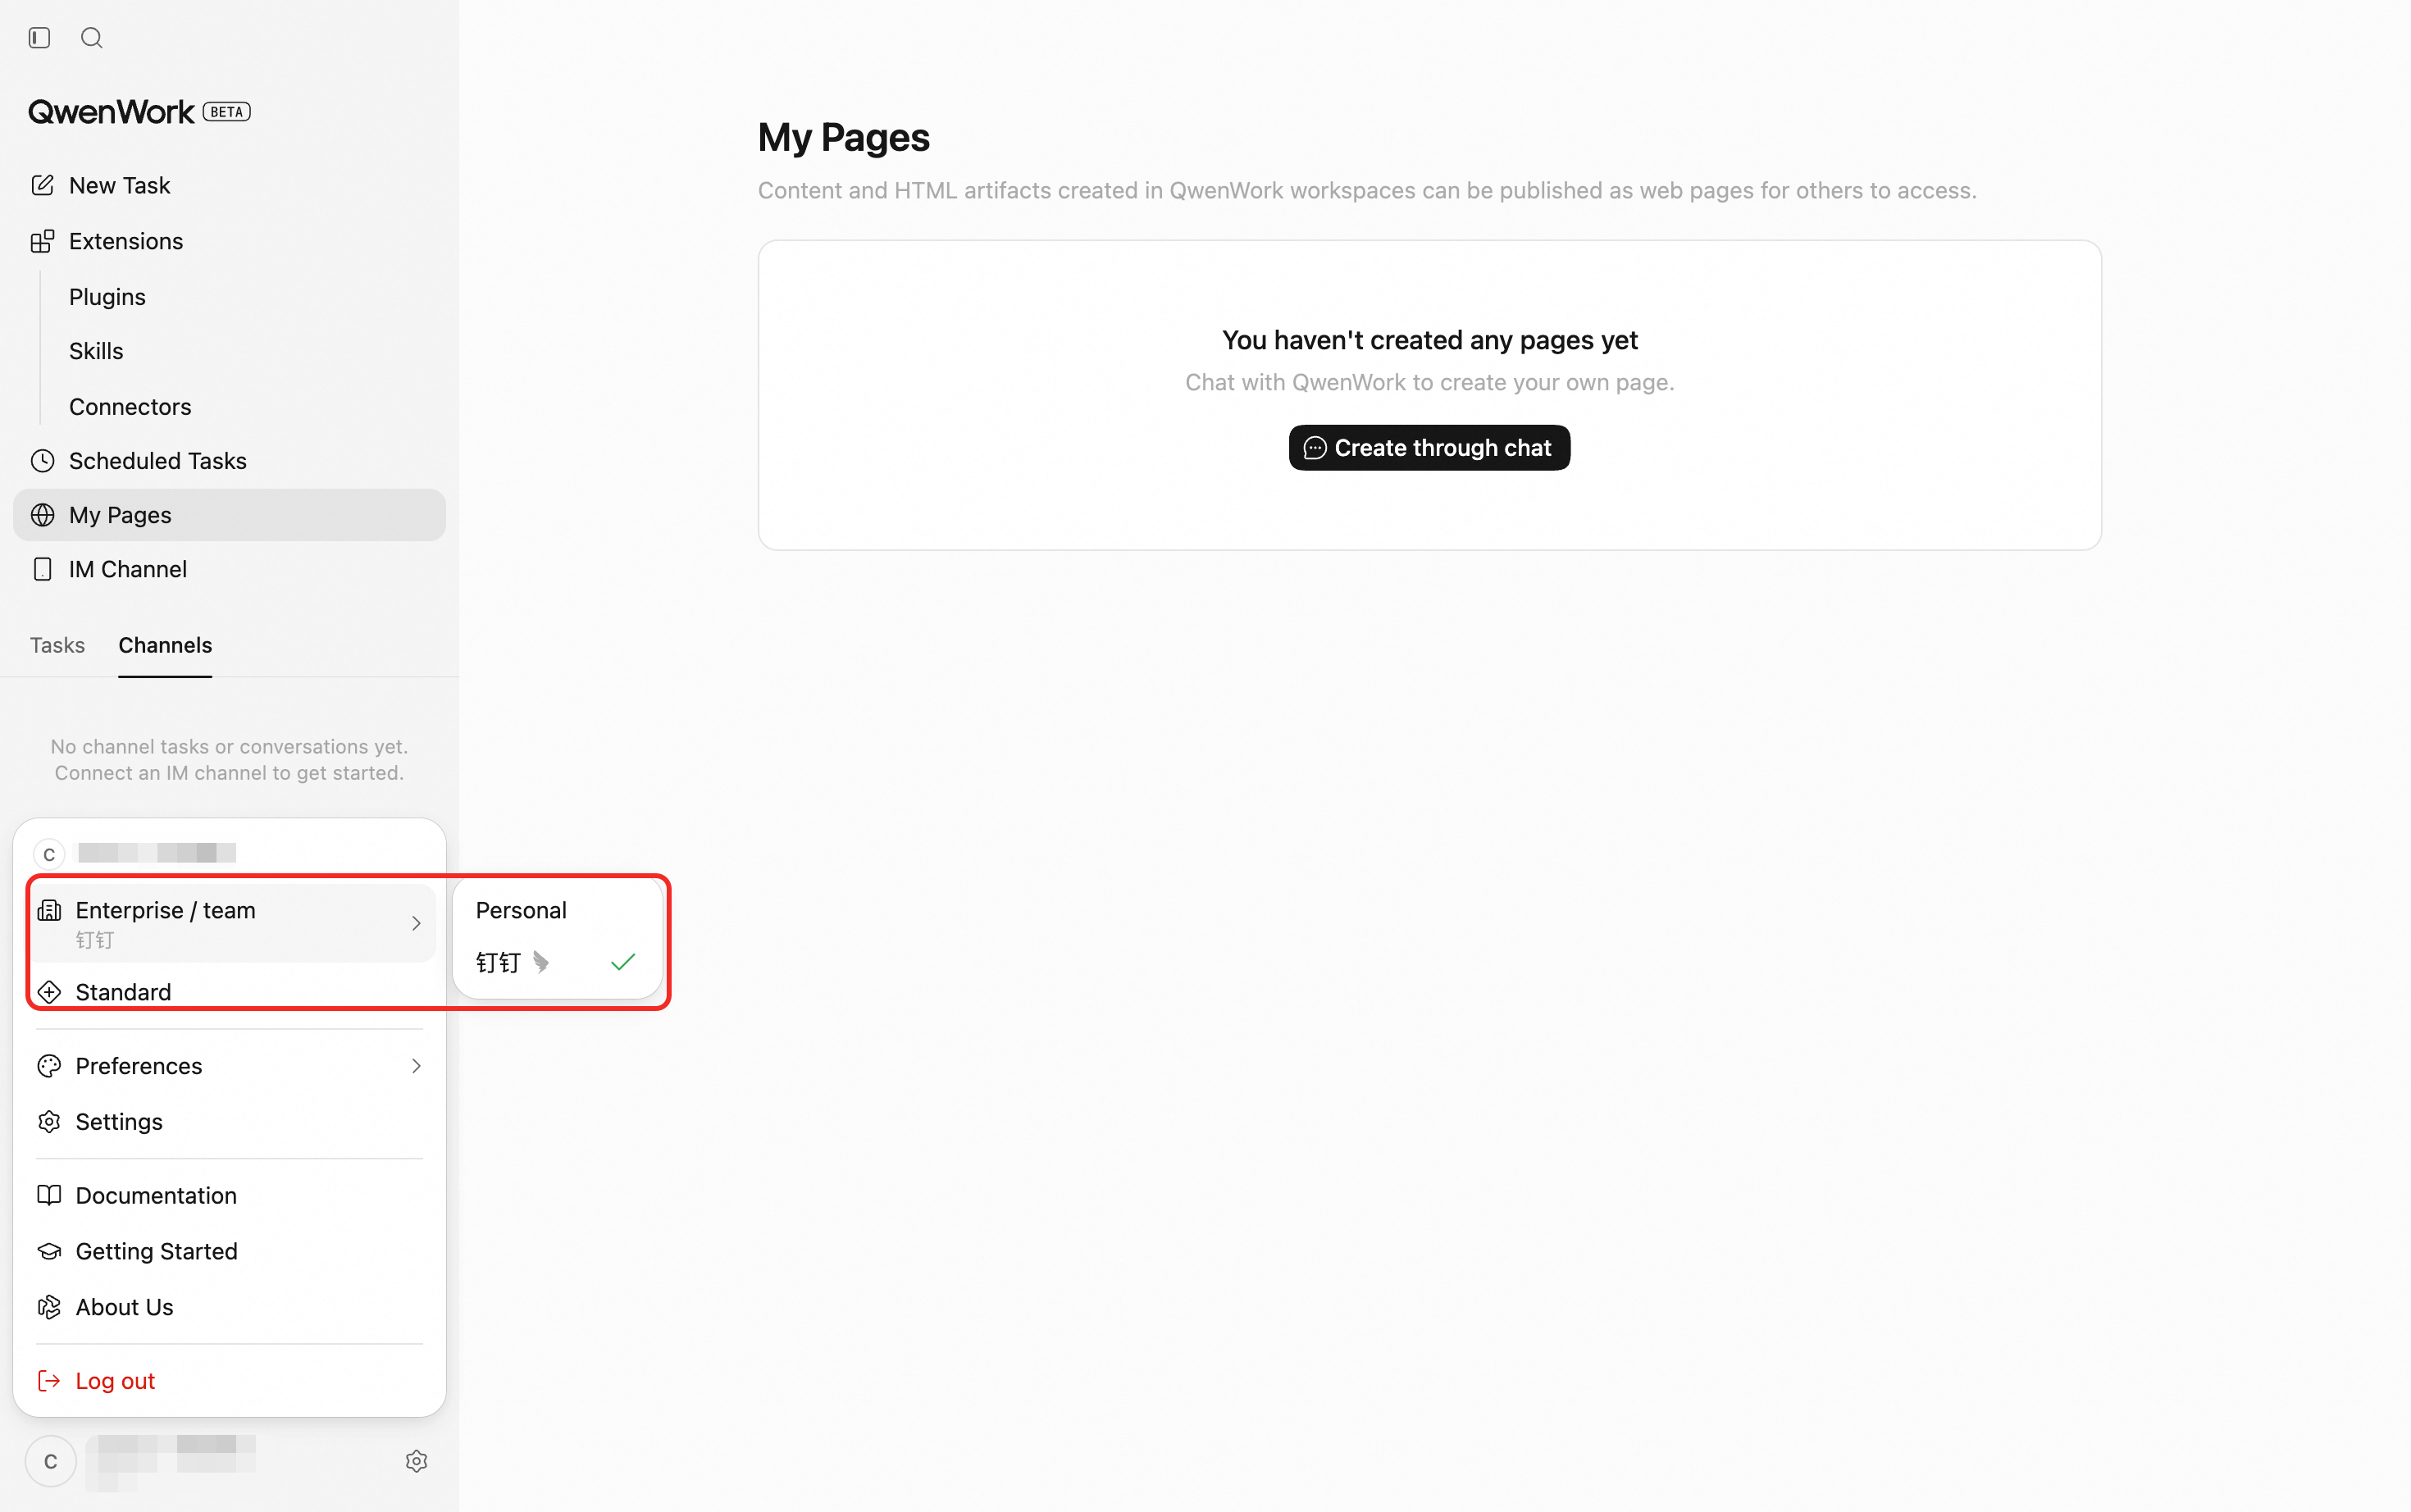
## End-to-End Flow {#end-to-end-flow}
1. Choose Google or email.
2. QwenWork identifies whether the user should sign in, register, or complete a profile.
3. Sign into existing Alibaba Cloud account or create a new one.
4. New users verify their email and complete required account details.
5. QwenWork loads all accessible workspaces.
6. If only one workspace is available, the user enters it directly; otherwise, the user selects one.
7. New work and usage are assigned to the active workspace.
## Key Rules {#key-rules}
- Google and email are the primary identity methods.
- Verification codes are delivered by email.
- One account can belong to multiple workspaces.
- Switching workspaces changes the visible sessions, files, members, and usage.
- Users review the Terms of Service and Privacy Policy during authentication.
# Profile, Usage, and Subscription
Source: https://docs.qwenwork.ai/web/profile-usage-subscription
> Manage your profile, usage, and subscription.
## Overview {#overview}
This module walk you through managing personal profile information, interface language, credit usage, and individual subscriptions.
## Common Use Cases {#common-use-cases}
- Update a profile image or display name
- Switch the product interface language
- Review credit usage and remaining balance
- Compare plans and benefits
- Subscribe, upgrade, or change an individual plan
- Purchase additional credits
## Entry Points {#entry-points}
Open Settings from the profile menu or sidebar. Usage warnings, the Credits page, and subscription pages also provide direct entry points.
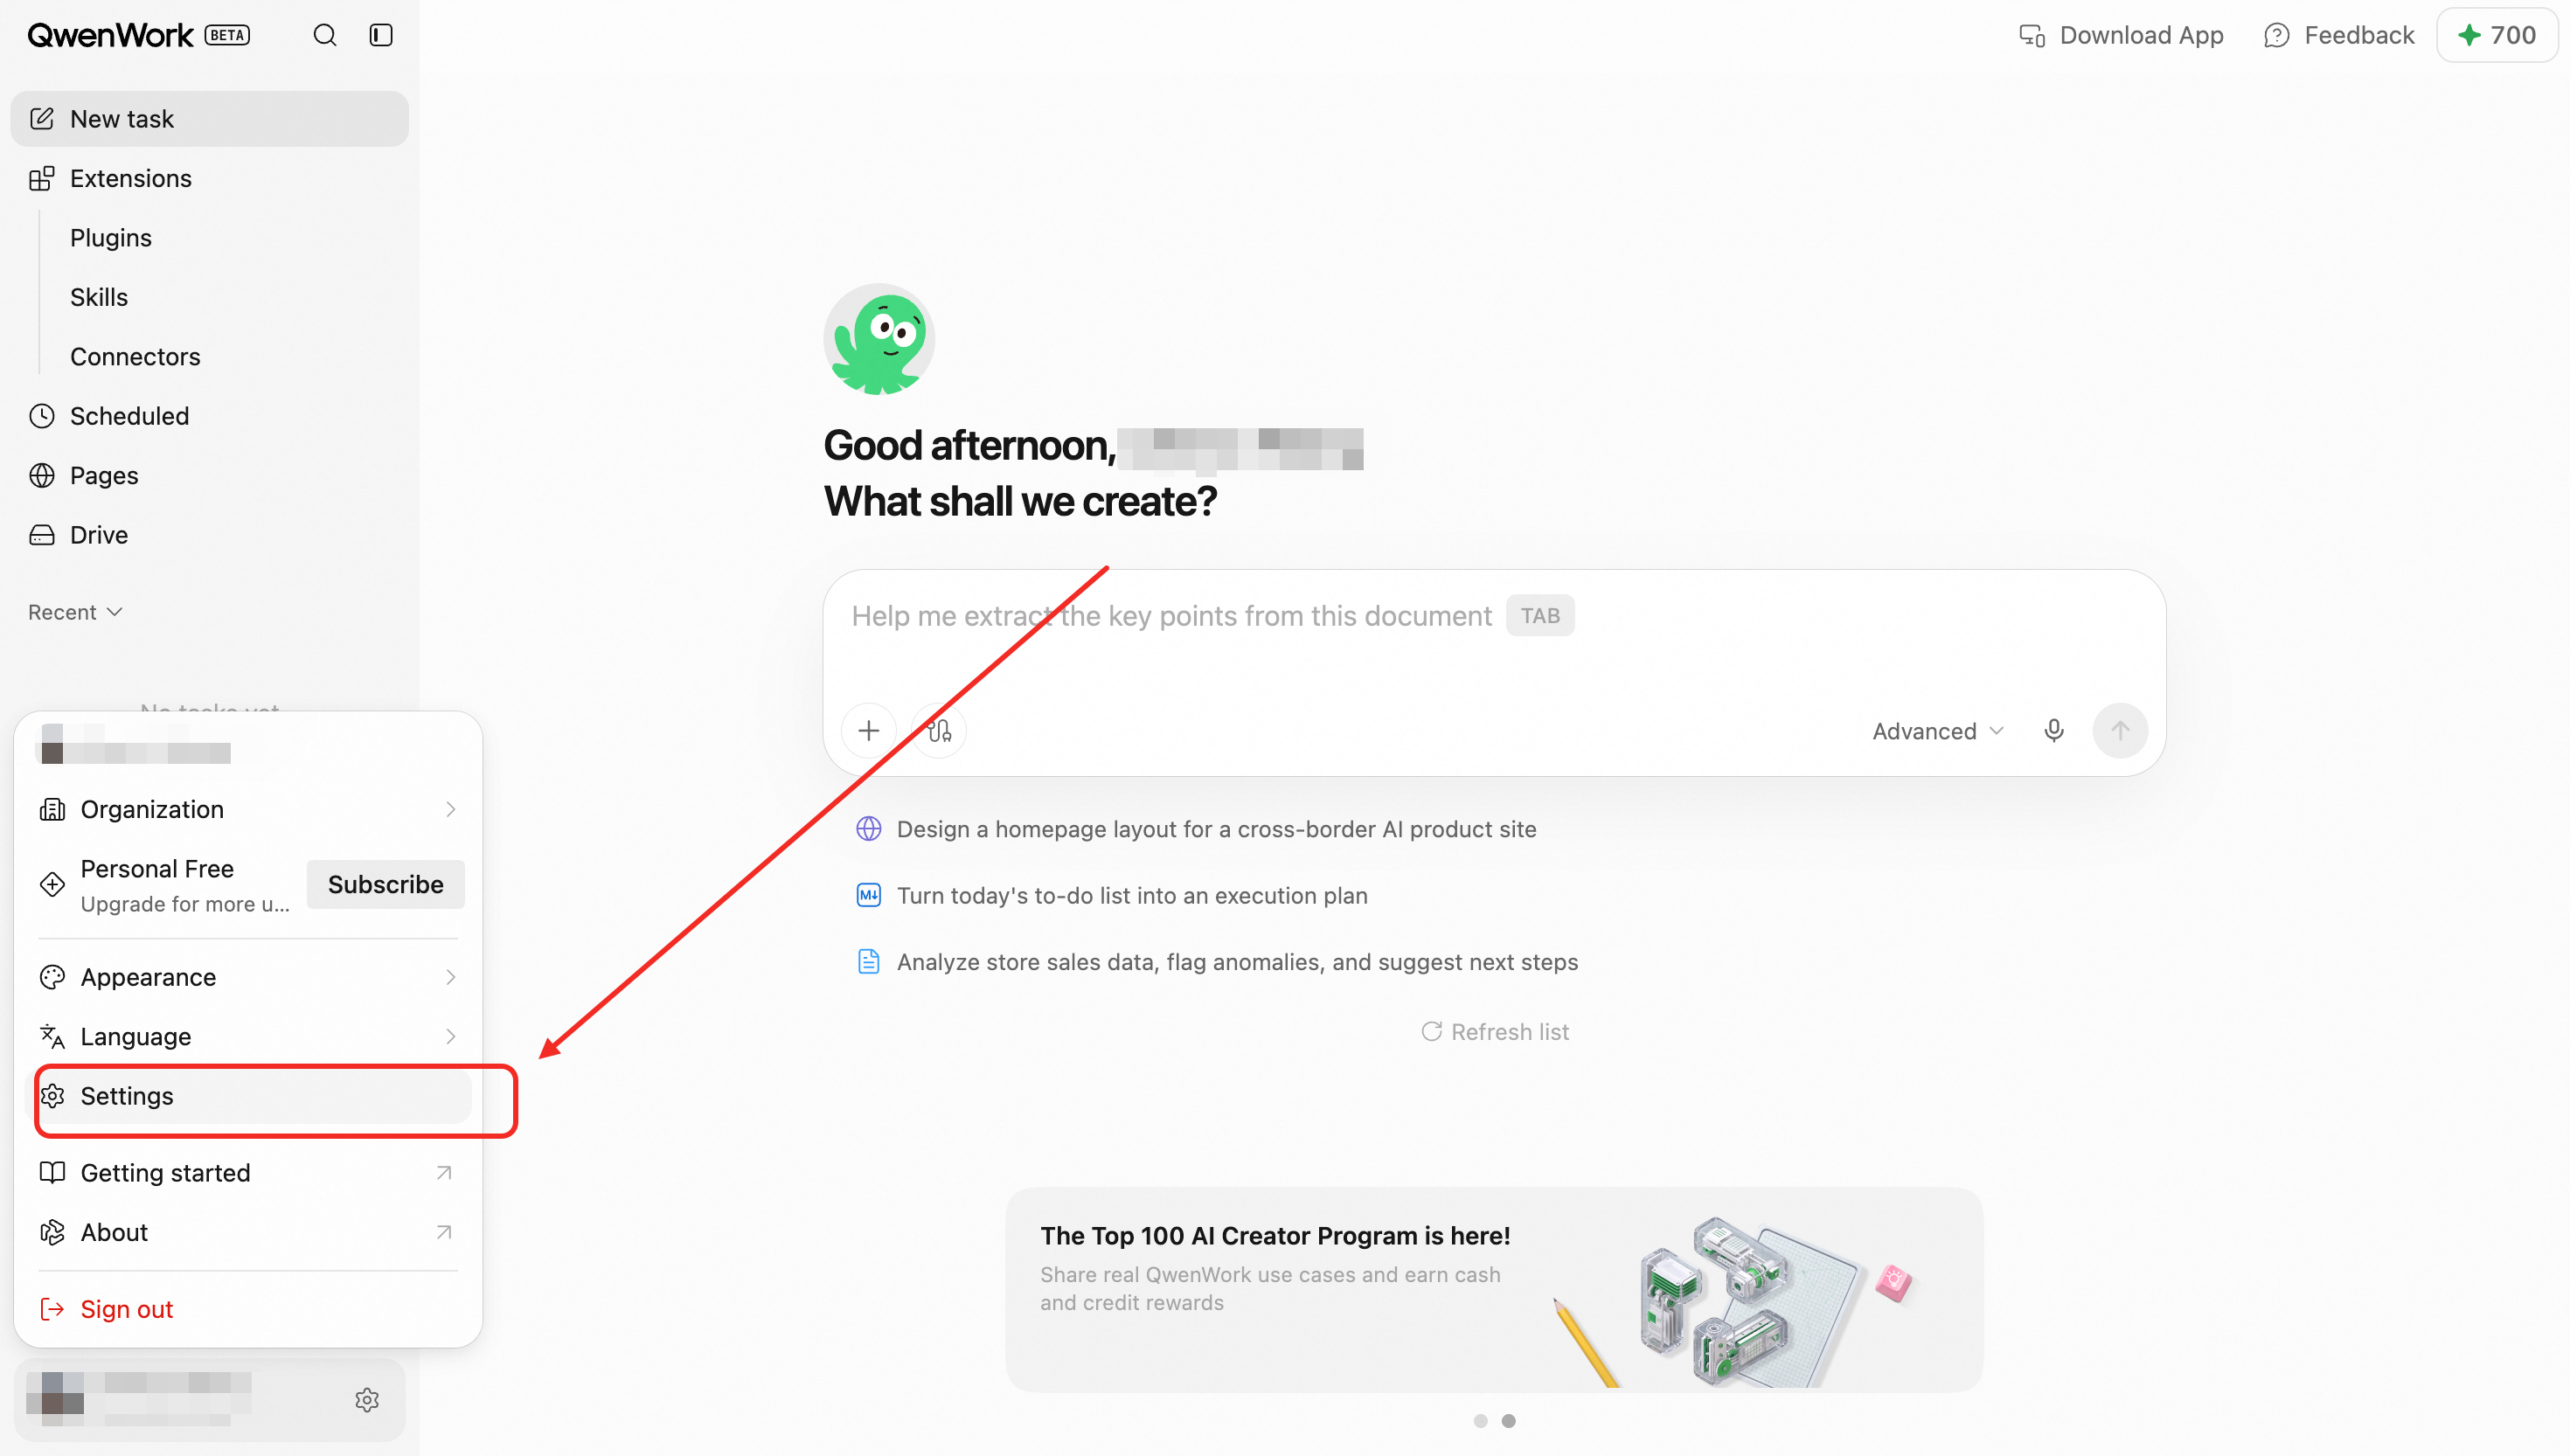
## Core Capabilities {#core-capabilities}
### Personal Profile {#personal-profile}
Review and update the profile image, display name, and account email. Email is the primary account identity for the international edition.

### Language {#language}
The interface supports English and Simplified Chinese. Changing the language updates interface copy and locale-sensitive date and number formats.
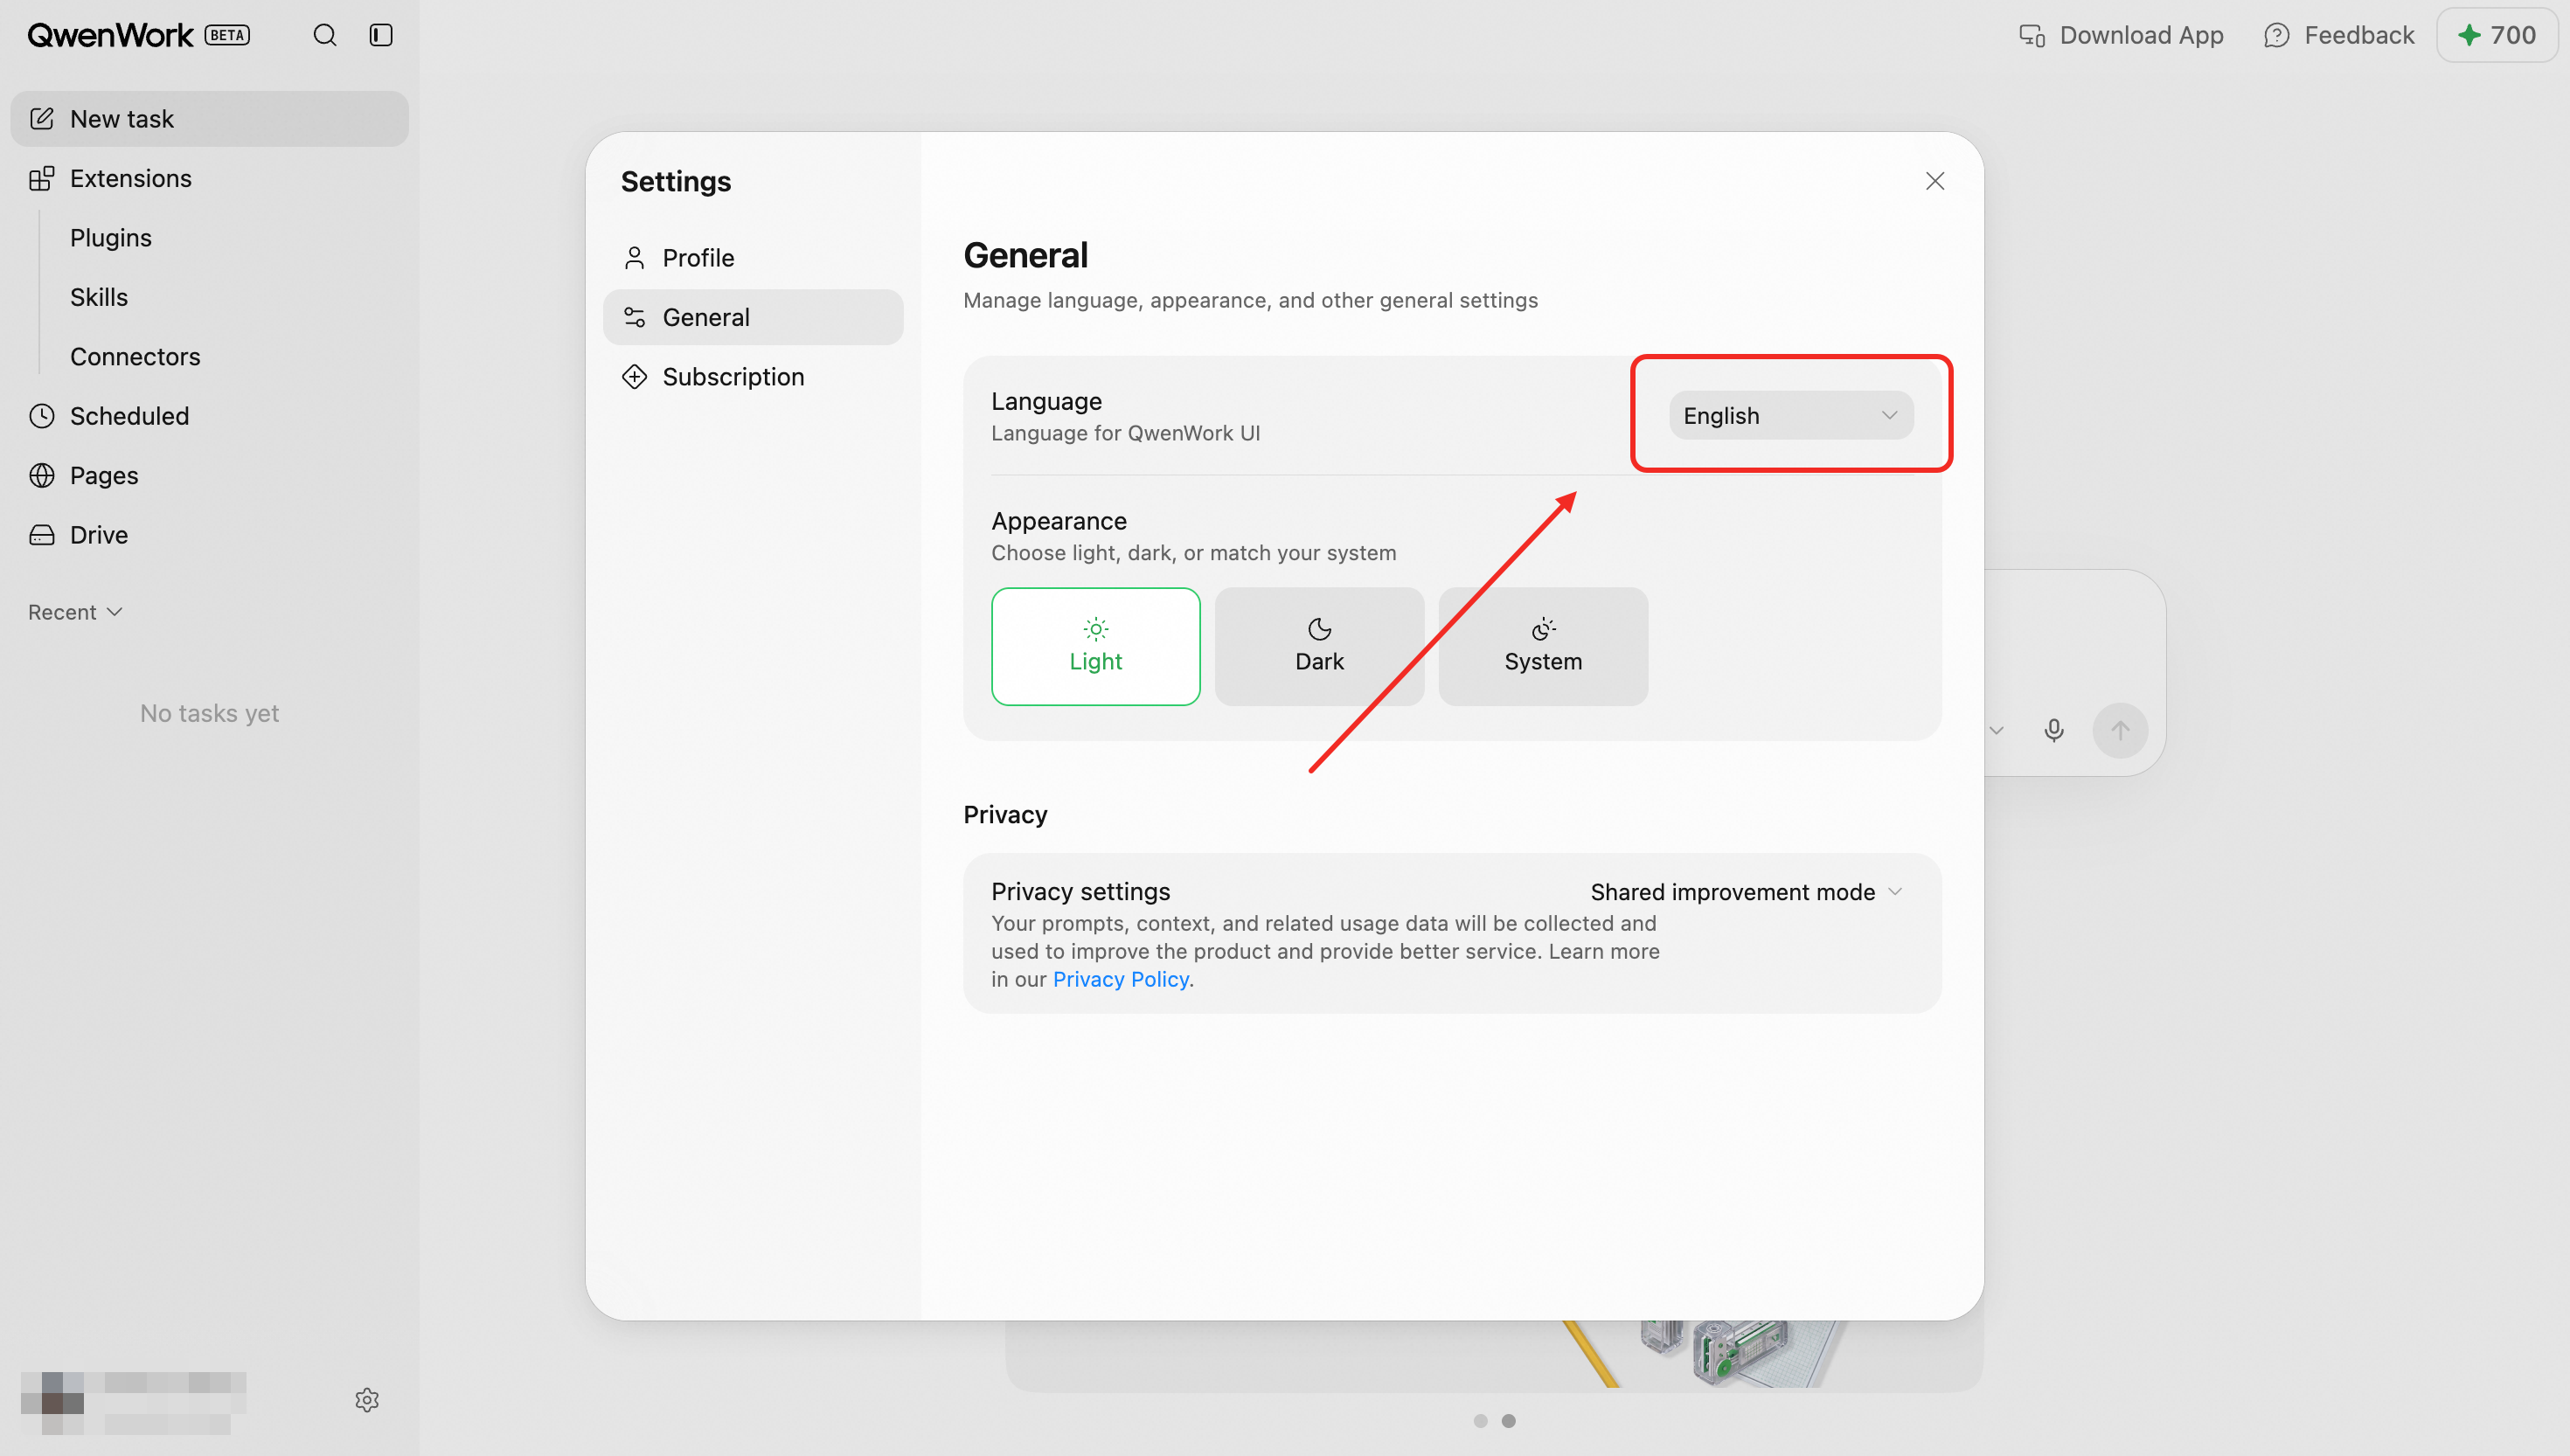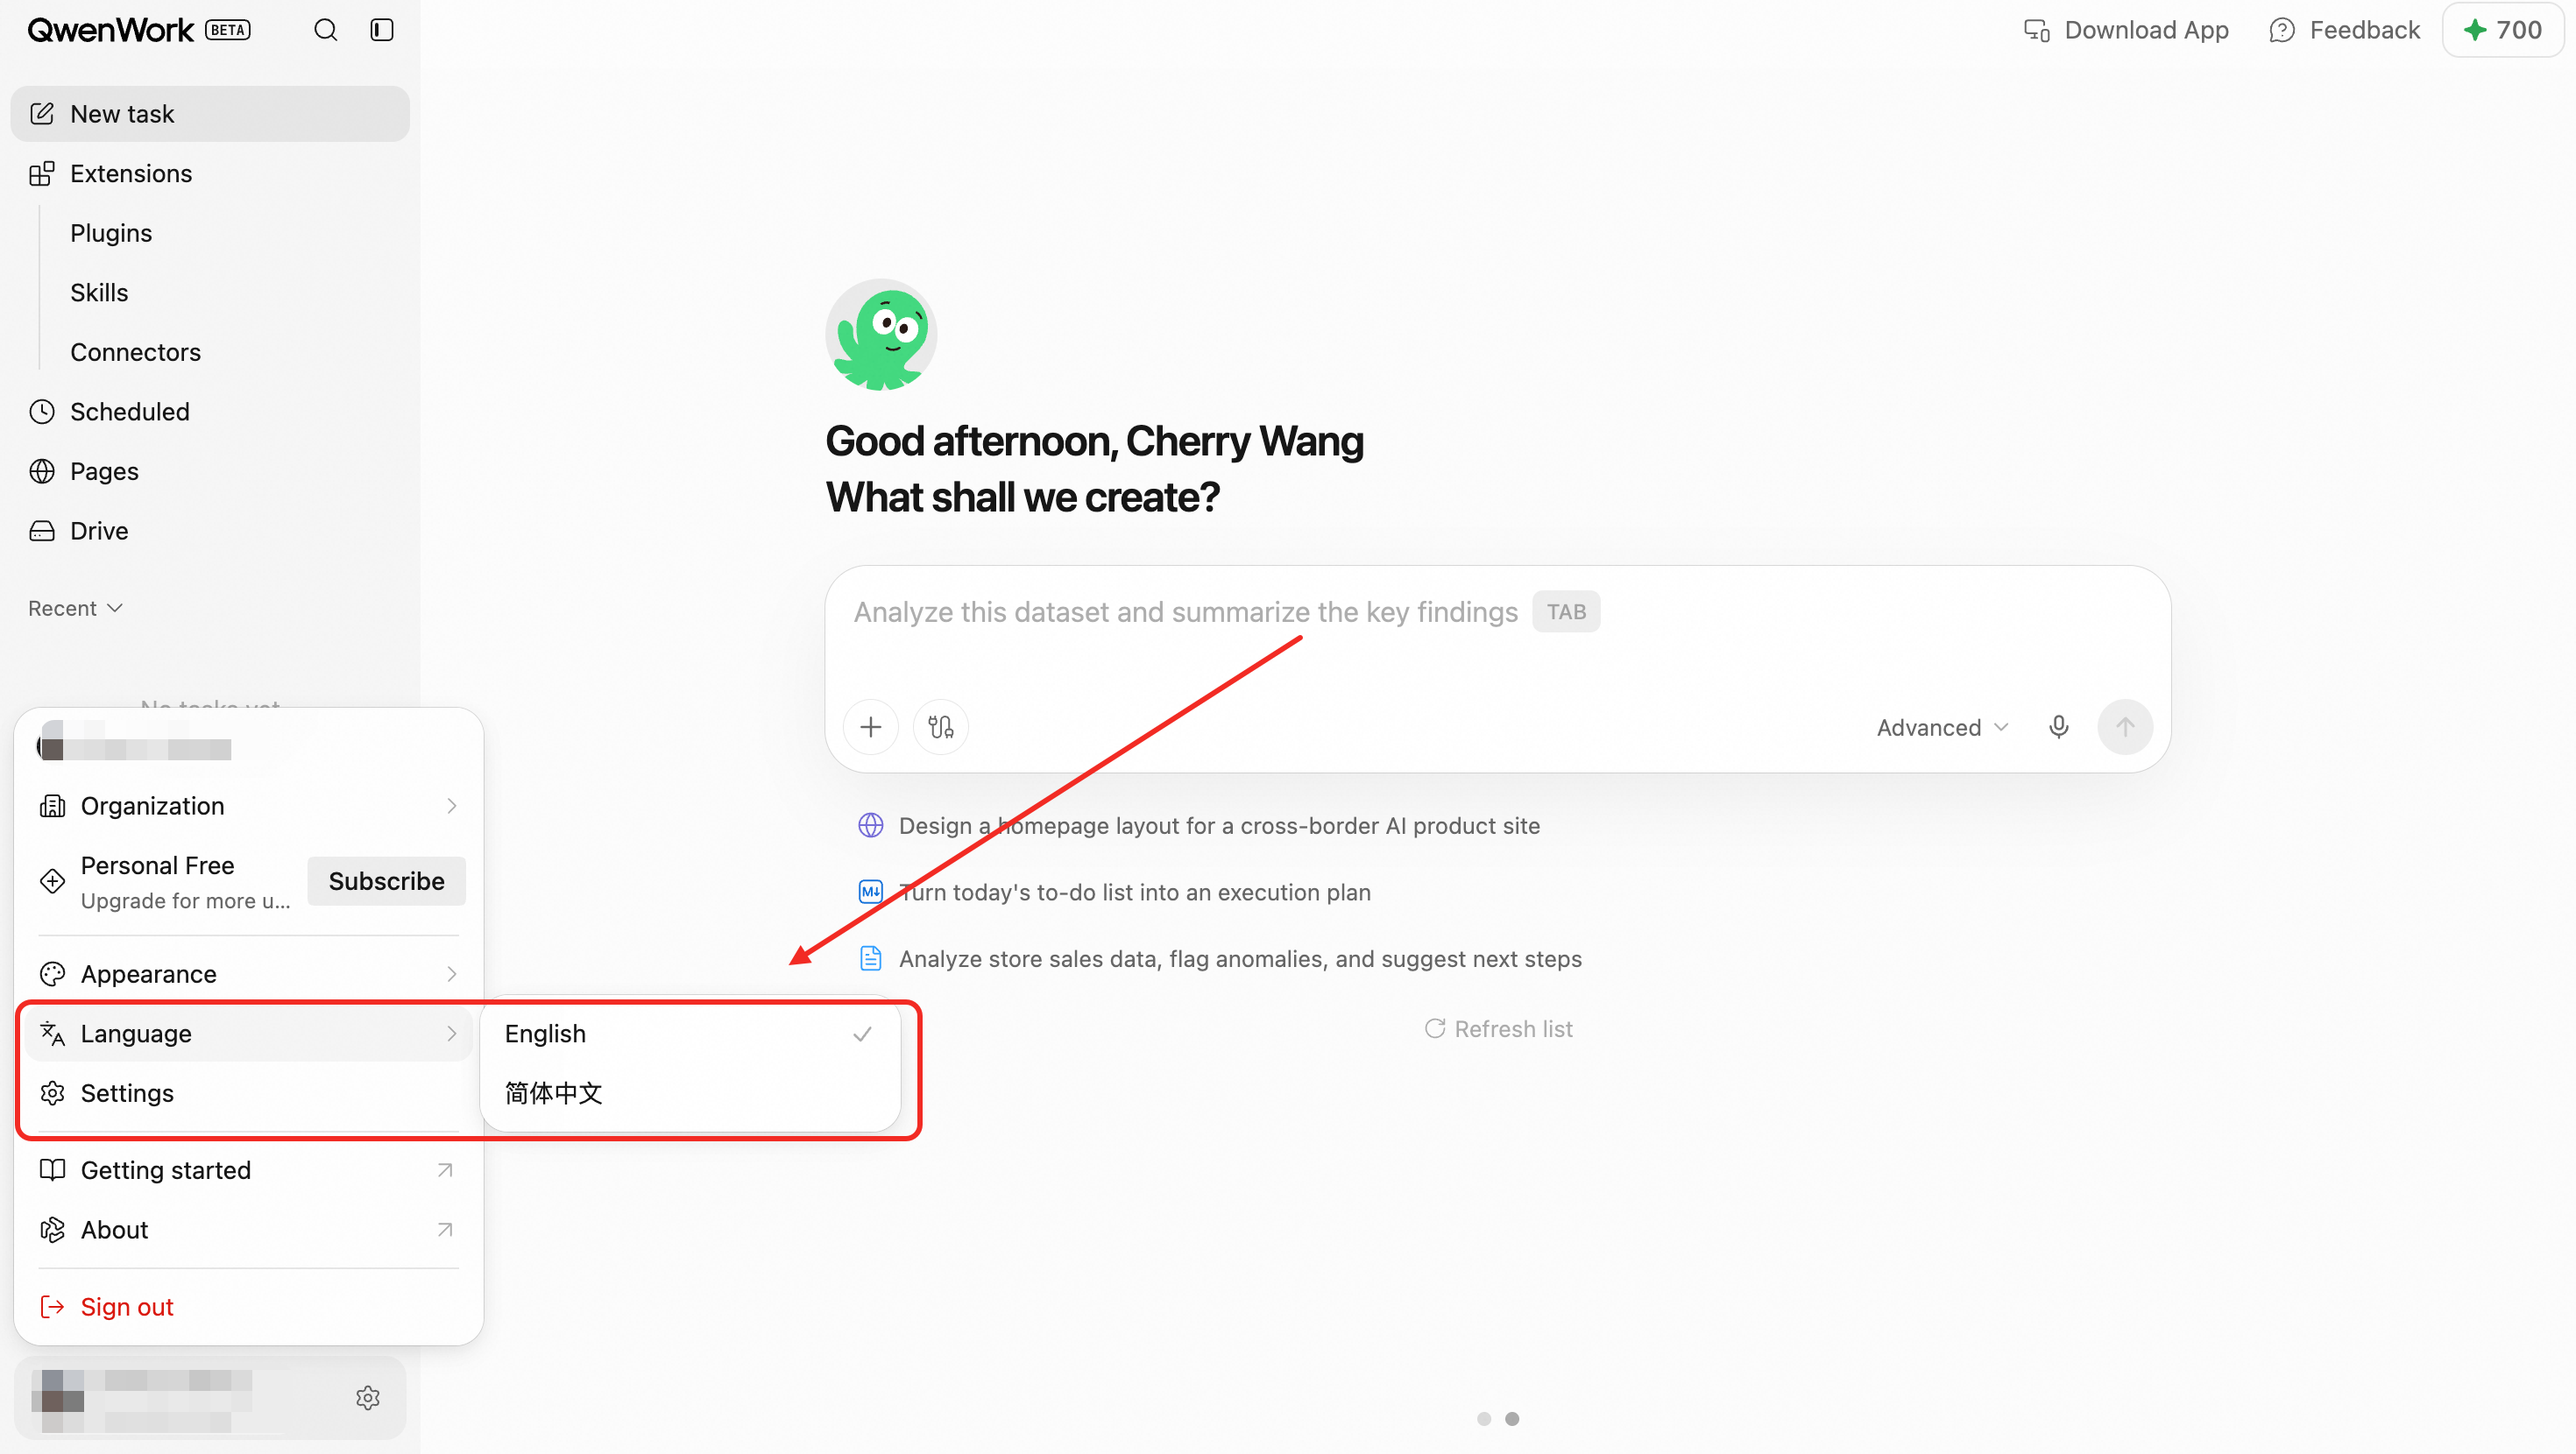
### Usage Details {#usage-details}
Usage views show the current plan, available credits, and consumption so users can understand how work affects their balance.

### Plans and Benefits {#plans-and-benefits}
The subscription page lists available individual plans, prices, billing periods, and included benefits.
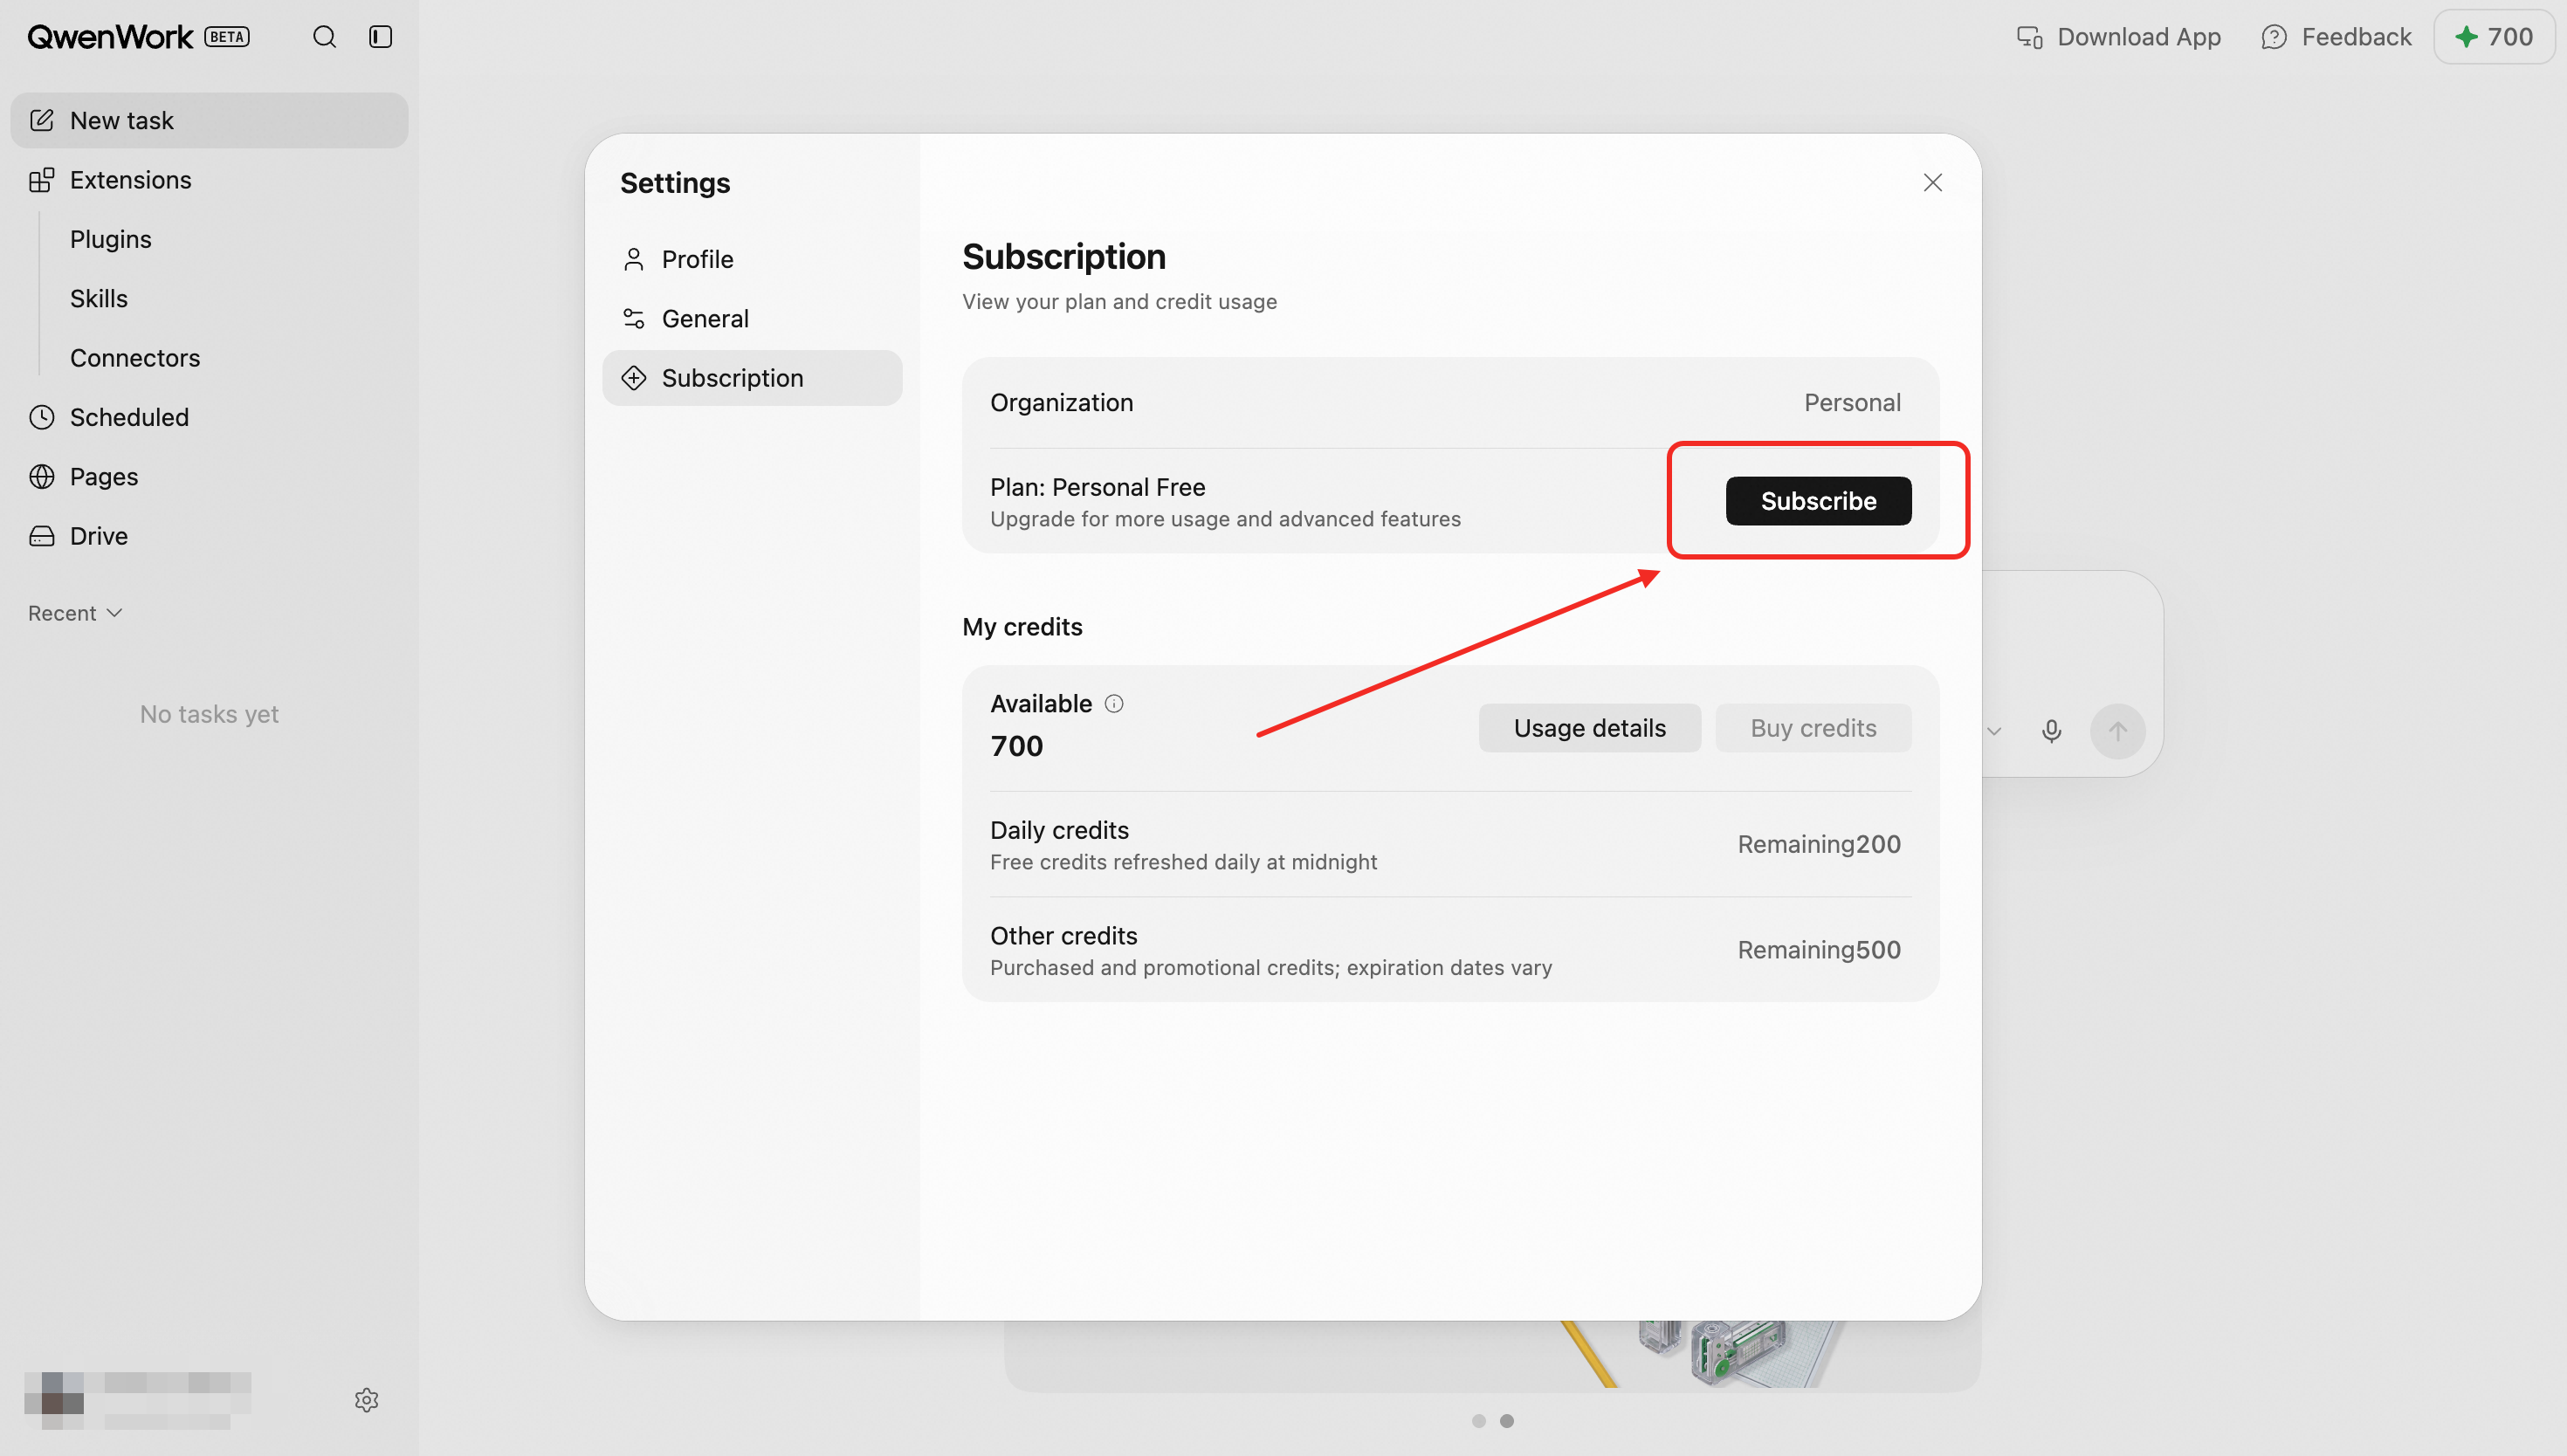
### Checkout and Payment {#checkout-and-payment}
After selecting a plan or credit package, review the order, choose a supported payment method, and provide required billing or tax information. Successful payment updates the account's benefits.
### Plan Changes {#plan-changes}
When supported by the current subscription, users can upgrade or switch plans. The confirmation page explains the new plan, amount, and effective timing.
## End-to-End Flow {#end-to-end-flow}
1. QwenWork loads the current plan and credit balance.
2. Review used and remaining credits.
3. Select a plan or additional credits.
4. Review pricing, billing period, and benefits.
5. Provide required checkout information and complete payment.
6. The account's benefits and credits refresh after successful payment.
7. Future work consumes credits according to the active plan.
## Key Rules {#key-rules}
- Profile and individual subscription data belong to the user's personal account.
- Email is the primary identity field; a phone number is not shown.
- Currency, tax details, and payment methods are confirmed during checkout.
- Different models and tasks may consume different amounts of credit.
- Changing interface language does not translate existing sessions or files.
- Individual subscriptions and organization subscriptions are separate.
# Awareness
Source: https://docs.qwenwork.ai/desktop/memory
> Customize how QwenWork understands your preferences and working style.
Customize your collaboration style and working manual, and give QwenWork cross-session memory and skill evolution.
Awareness is QwenWork's memory and personalization system — once enabled, it continuously records your preferences and working habits, so every new conversation starts with full context instead of from scratch.
The Awareness page is accessed from the **Awareness** icon in the left sidebar. It contains two master switches, the Evolution Activity panel, and the entry point for managing all of your Awareness files.
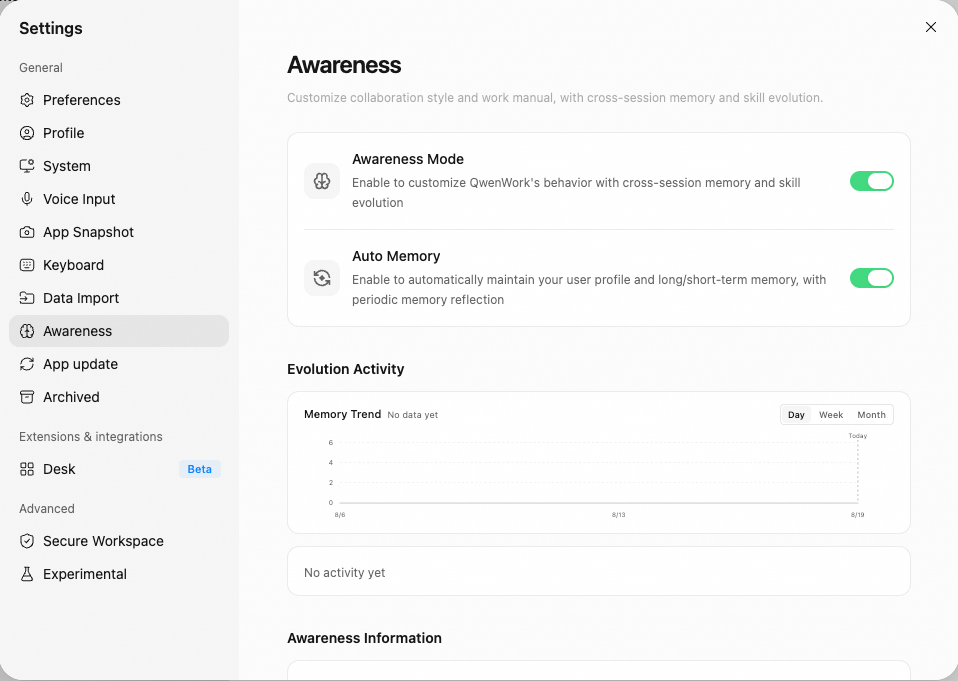
## Master Switches {#master-switches}
- **Awareness Mode** — the master switch. When enabled, QwenWork works in your customized style and gains cross-session memory and skill evolution.
- **Auto Memory** — when enabled, QwenWork automatically maintains your user profile and short- and long-term memory, and triggers memory reflections on a regular basis.
## Evolution Activity {#evolution-activity}
Shows how active the Awareness system has been:
- **Memory Trend Chart** — a line chart showing how memory entries change day by day. You can switch between Day / Week / Month views.
- **Today's Stats** — the number of reviews, newly added memory entries, skill updates, and reflections for the current day.
- **Recent Activity** — the latest memory writes and reflection records (short-term memory, memory reflections, etc.) in reverse chronological order. Click "Show More" to view the full history.
## Awareness Information {#awareness-information}
Manage all Awareness-related files and configuration. The following entries are included:
| Entry | Description |
| ----------------------- | ------------------------------------------------------------------------------------------------------------------------------------------------------ |
| **Storage Location** | The root directory of all Awareness files (`~/.qwenwork/awareness/main`). Click "Open Containing Folder" to open it directly in Finder / File Explorer |
| **Collaboration Style** | Defines how QwenWork communicates and collaborates. Click "Personalize" to choose a preset style or write your own description (`SOUL.md`) |
| **Working Manual** | Defines QwenWork's working standards and behavioral guidelines. You can edit and customize it directly (`AGENTS.md`) |
| **User Profile** | Records your basic information, preferences, and habits. Automatically maintained by QwenWork (`USER.md`) |
| **Long-term Memory** | Important knowledge and conclusions persisted across sessions. Automatically maintained by QwenWork (`MEMORY.md`) |
| **Short-term Memory** | Conversation summaries and temporary notes recorded day by day. Automatically maintained by QwenWork (the `memory/` directory) |
| **Index** | Builds a local search index over your Awareness files so past records can be located quickly. Click "Rebuild Search Index" to refresh it manually |
| **Backup & Restore** | Export or import the entire Awareness directory (memory files), for multi-device sync or backup |
## Danger Zone {#danger-zone}
The following actions are irreversible — proceed with caution:
- **Reset Collaboration Style** — clears the current collaboration style configuration. You can choose a new one again via "Personalize".
- **Reset Working Manual** — restores the working manual (`AGENTS.md`) to the initial template. The current content will be overwritten.
- **Clear Memory** — deletes `USER.md`, `MEMORY.md`, and all memory log files. The search index is rebuilt at the same time.
# App Snapshots
Source: https://docs.qwenwork.ai/desktop/app-snapshots
> Capture app screenshots and readable context for QwenWork.
Capture a screenshot and readable text of the frontmost app as conversation context.
App Snapshots lets you bring whatever you're currently working on straight into a conversation without switching windows. Press the global shortcut, and QwenWork captures both a screenshot and the readable text of the frontmost app and inserts them into the input box — going from "seeing the problem" to "asking about it" takes just one step.
Typical scenarios: an error message in your browser, a UI detail in a design tool you want to give feedback on, or terminal output you're unsure about — instead of taking a screenshot manually, pasting it, and then describing it, just press the shortcut. The screenshot and text are attached to the conversation together, and the AI immediately has the full context.
## Setting Up the Shortcut {#setting-up-the-shortcut}
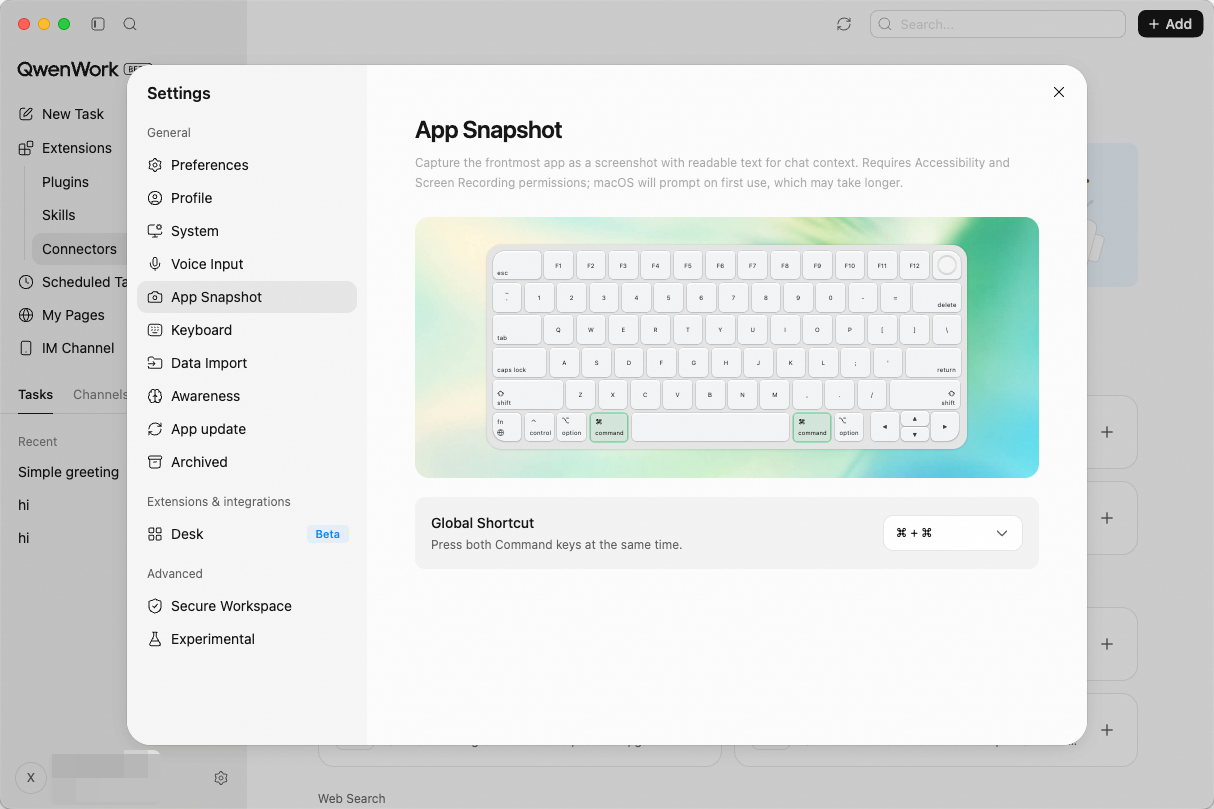
Go to **Settings → App Snapshots** and choose the trigger in the "Global Shortcut" dropdown menu (for example, pressing the left and right Option keys at the same time).
Once configured, the shortcut works globally — no matter whether QwenWork is in the foreground or which app currently has focus, pressing it triggers a capture. The captured screenshot and readable text are inserted automatically into the input box of the current conversation. You can add your explanation and send right away, or review the capture first and decide whether to add more detail.
## Permission Requirements {#permission-requirements}
App Snapshots requires two macOS system permissions to work:
- **Accessibility** — used to read the interface text and structure of the frontmost app and extract text content the AI can understand.
- **Screen Recording** — used to capture a screenshot of the current screen.
The first time you trigger the shortcut, macOS shows the corresponding authorization dialogs. Because system-level permissions are involved, the authorization process may take some time — please wait for it to finish, then try again. Authorization is only needed once; you won't be asked again afterwards.
# Computer Control
Source: https://docs.qwenwork.ai/desktop/computer-use
> Let QwenWork operate supported apps on your computer.
Let QwenWork operate the apps on your computer directly
Beyond handling files and data in conversations, QwenWork can directly "see" and "operate" your computer screen — clicking buttons, filling in forms, and switching between apps. This capability is called Computer Control, and it lets QwenWork complete tasks that need to be performed in a graphical interface.
## Core Capabilities {#core-capabilities}
**Screen awareness** — Reads the visible content of the target app window and understands visual information such as layout, button text, and form states. During operation, it keeps taking screenshots to confirm whether the previous step succeeded before deciding the next action.
**Mouse and keyboard control** — Supports the full range of human input: clicking, double-clicking, dragging, typing, and keyboard shortcuts. Precision reaches the pixel level, so even small UI elements can be clicked accurately.
**Autonomous background execution** — Drives the mouse, keyboard, and screenshots in the background without taking your foreground focus. You can keep using your computer for other things while the AI quietly completes the task behind the scenes.
**Cross-app workflows** — Switches between multiple desktop apps and chains multi-step operations into a complete workflow. It adjusts the next step dynamically based on real-time feedback, rather than following a fixed script.
## Use Cases {#use-cases}
- **Operating desktop apps without an API** — When the target app has no command line or plugin, the AI operates the graphical interface directly. For example, adjusting parameters in a design tool or bulk-modifying settings in an admin console.
- **Cross-app workflows** — When a task spans multiple apps, the AI switches windows, copies data, and fills in forms automatically, completing the work end to end.
- **GUI verification and testing** — Confirm that interface changes work as expected, reproduce issues that only appear in the GUI, or check how an app responds to a specific sequence of operations.
- **Collecting and consolidating information** — Extract data from apps without an export feature, or aggregate information scattered across multiple apps.
For web tasks, prefer browser automation — it is faster and more precise than Computer Control.
## System Requirements {#system-requirements}
- macOS 14 or later
- Accessibility and Screen Recording permissions must be granted
## How to Use {#how-to-use}
Simply describe the task you need completed in a graphical interface, and QwenWork will decide on its own when to enable Computer Control:
```
Open System Settings and take a screenshot so I can see the current network configuration
```
```
Open Finder and find the most recently modified Excel file in the Documents folder
```
```
Open "Budget.xlsx" in Numbers and change the number format of column B to currency
```
## Enabling Computer Control {#enabling-computer-control}
Before using Computer Control, enable the "Computer Control" connector in Connectors:
**1. Open Connectors**
Go to **Extensions & Integrations → Connectors**, find the "Computer Control" card, and click to enable it.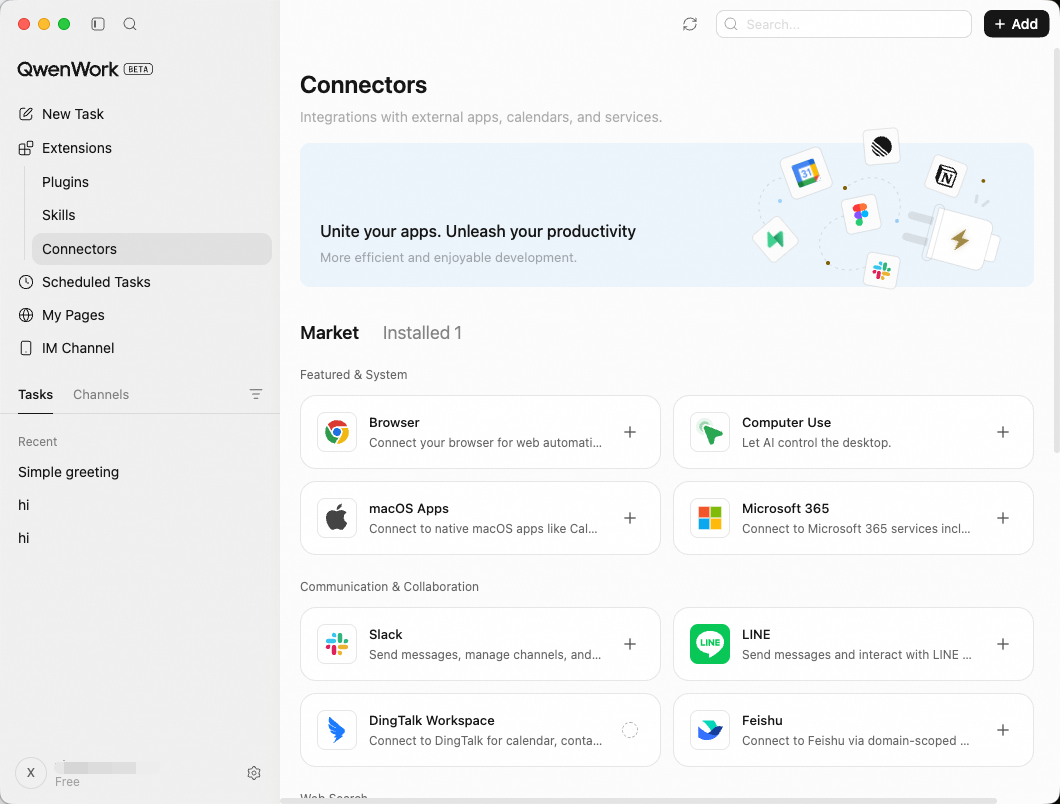
**2. Review the permission notes**
A dialog shows what this connector can do:
- **AI enhancement tools** — Provides desktop automation capabilities: clicking, typing, scrolling, taking screenshots, and other desktop control tools
- **Always respects permissions** — While Computer Control is running, it handles system permissions on its own as needed
- **You stay in control** — You can disable this connector from this dialog at any time
## Granting System Permissions {#granting-system-permissions}
After enabling the connector, the first time you use Computer Control, QwenWork will guide you through granting two system permissions:
**1. Accessibility**
Allows QwenWork to read the UI element tree of apps and perform clicks, typing, and other actions. Simply allow it in the prompt from the system.
**2. Screen Recording**
Allows QwenWork to capture the screen content of app windows so the AI can "see" the current interface state. Add QwenWork under Privacy & Security → Screen Recording in System Settings.
Once permissions are granted, QwenWork will ask for your confirmation whenever the AI tries to operate an app. You can choose the execution policy in Settings:
| Policy | Description |
| ---------------------------- | ------------------------------------------------------------------------ |
| **Ask Every Time** (default) | The AI asks for your confirmation before operating the desktop each time |
| **Auto-Execute** | The AI performs desktop operations directly, without asking each time |
| **Disabled** | Turns off Computer Control completely |
## How Operations Proceed {#how-operations-proceed}
When QwenWork performs Computer Control, you will see a fully transparent operation flow in the conversation:
1. **Screenshot** — The AI captures the current screen to understand the interface state
2. **Action description** — Before each step, it explains what it is about to do
3. **Actual action** — Performs the click, typing, scroll, or other action
4. **Result confirmation** — After the action, it takes another screenshot to confirm the result matches expectations
While Computer Control is running, avoid manually operating the app or window currently controlled by the AI — your actions may conflict with the AI's. Wait until the AI finishes the current step before stepping in.
## Typical Scenarios {#typical-scenarios}
### Extracting data from an app {#extracting-data-from-an-app}
```
Open Activity Monitor on my Mac and check the top 5 processes using the most CPU and memory,
then organize the results into a table
```
### Adjusting system settings {#adjusting-system-settings}
```
Check whether automatic updates are enabled on my system,
and if not, turn them on for me
```
### Consolidating information across apps {#consolidating-information-across-apps}
```
Check all my meetings in Calendar for today,
then create a "Today's Meeting Prep" note in Notes,
listing the time of each meeting and what I need to prepare
```
## Usage Tips {#usage-tips}
**Describe the target app and path clearly**
Telling QwenWork which app to operate and where to go is much clearer than simply saying "set this up for me".
**Break complex instructions into steps**
If there are many steps, you can tell the AI in several rounds — complete the first step, confirm it is correct, then continue.
**Combine with Skills for automation**
Recurring GUI operation flows can be saved as a [Skill](https://docs.qoder.com/zh/qoderwork/skills), so the whole flow can be triggered with a single sentence later.
## Cautions {#cautions}
Granting access means granting control. Once enabled, the AI can drive other apps on your computer under your identity, with the same effect as if you operated them yourself. Disable it in Settings when you don't need it.
- **Some actions cannot be undone** — Actions the AI performs in desktop apps (such as sending messages or deleting files) may be irreversible. For high-risk scenarios, we recommend the "Ask Every Time" policy.
- **Screen content will be captured** — The AI perceives the interface through screenshots, so anything visible on the screen (including sensitive information) may be captured. Close windows containing passwords or private data before running automation.
- **Be careful with online actions** — If the AI operates an app where you are signed in, it can send emails, submit forms, and more on your behalf. Stay vigilant about such actions.
## Limitations {#limitations}
- **CAPTCHAs and two-step verification** — The AI cannot complete CAPTCHAs, SMS verification codes, face recognition, and similar steps; you need to step in manually.
- **Speed** — Computer Control requires taking screenshots and analyzing the screen, so it is slower than pure text operations.
- **Precision** — When the interface is complex or elements are densely packed, the AI's clicking accuracy may drop. If an operation fails, try describing it more specifically.
# Model Selection
Source: https://docs.qwenwork.ai/desktop/model-selection
> Choose the right AI model for your task.
Learn about the available models and choose the right one for your task
QwenWork comes with multiple world-class AI models and a flexible selection mechanism, helping you find the best balance between efficiency, quality, and cost.
```
QwenWork's model list is continuously updated. We keep introducing excellent new models from the industry, and replace or retire older ones based on performance and market conditions, keeping the model list high-quality and reliable.
```
## Available Models {#available-models}
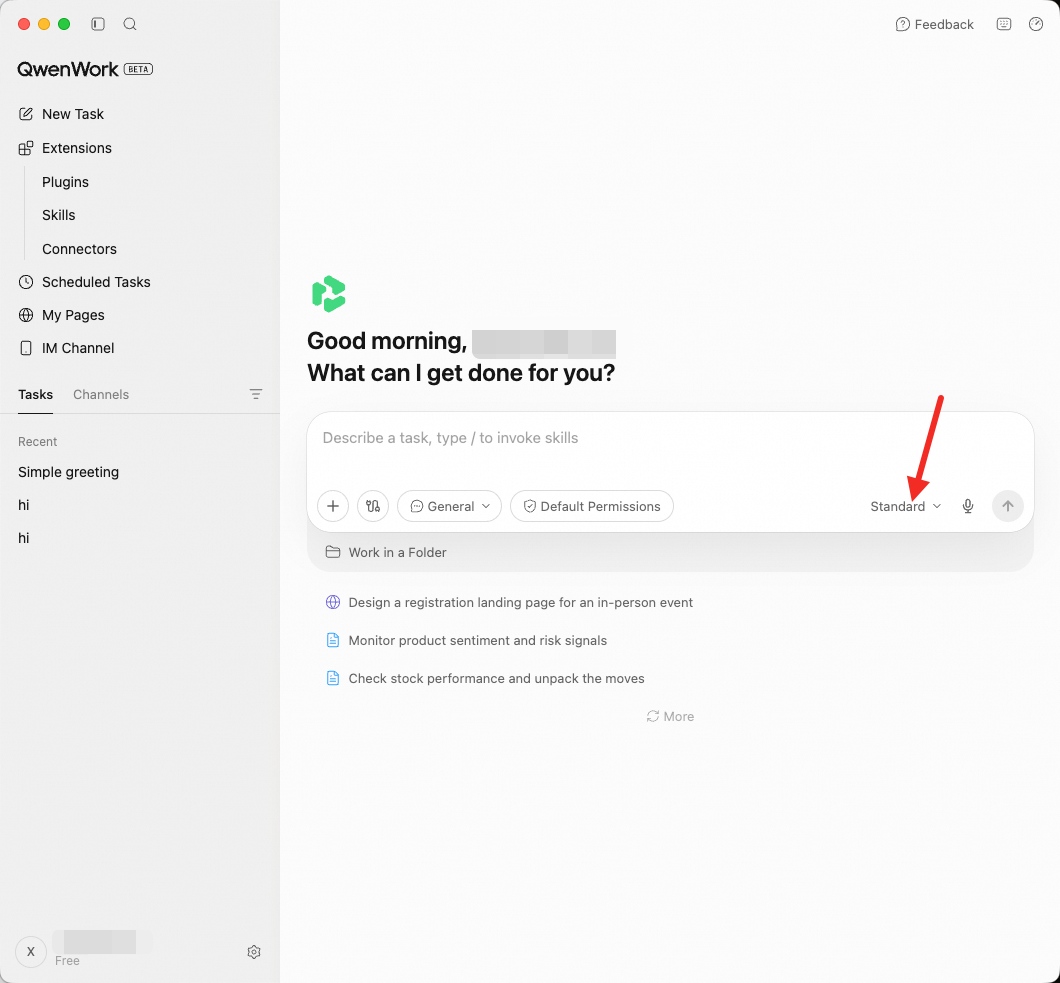
The model selector offers the following options:
| Model | Description | Recommended for |
| ------------ | --------------------------------------------------------- | ----------------------------------------------------------------------------------- |
| **Basic** | Smart and efficient, suited to everyday tasks | Simple Q\&A, file format conversion, copy polishing, information lookups |
| **Advanced** | Strong and well-rounded, handles important tasks reliably | Key project decisions, critical analysis, and tasks that need stable output quality |
## How to Choose {#how-to-choose}
Different models suit different types of tasks. Here are some suggestions:
### Tasks suited to **Basic** {#tasks-suited-to-basic}
- Format conversion (PDF to Word, CSV to Excel)
- Simple file organization and renaming
- Basic copy edits and translation
- Templated content generation (e.g., fixed-format emails)
- Quick information lookups
### Tasks suited to Advanced {#tasks-suited-to-advanced}
- Key decisions and analysis for important projects
- Tasks that require stable, reliable output quality
- Research and writing of medium complexity
- Work that sits between everyday tasks and deep reasoning
### Tasks suited to Qwen3.8-Max {#tasks-suited-to-qwen3-8-max}
- Tasks that need the strongest Qwen reasoning capability
- Advanced analysis and complex problem solving built on Qwen
- Long-form writing with extremely high requirements on generation quality
## How to Switch {#how-to-switch}
**1. Find the model selector**
Next to the chat input box, click the model dropdown menu.
**2. Choose a model**
Select one of Advanced / Basic / Qwen3.8-Max.
**3. Takes effect immediately**
Your choice takes effect immediately, and the new model applies to the rest of the current conversation. There is no need to start a new conversation.
## Switching Within a Task {#switching-within-a-task}
You can switch models at any time while a task is running. For example:
1. Start with Basic and let the AI handle the data collection in the first few steps
2. When you reach a step that needs deep analysis, switch to Advanced
3. Switch back to Basic for the final formatting and output step
Switching models does not lose context — the AI continues from where it left off.
## Credits Consumption and Management {#credits-consumption-and-management}
Different models consume Credits differently. Click the usage icon (⏱) at the top right of the interface to view your balance and usage details.
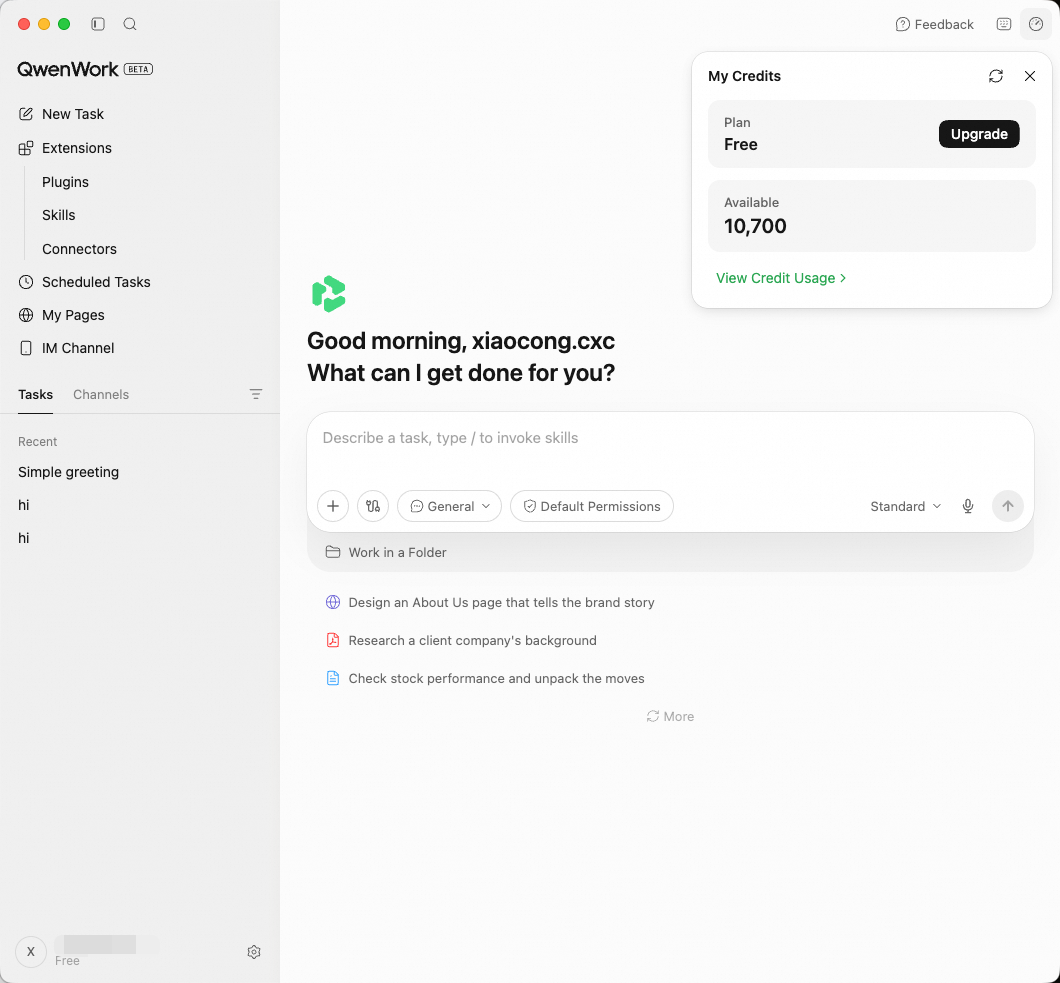
```
We recommend running a workflow end to end once to understand the cost. This is especially important for Scheduled Tasks that run regularly — it helps you estimate your daily/weekly Credits consumption.
```
When your Credits balance runs low:
- You can purchase additional Credits in your account settings
- Switch to Advanced or Basic to reduce consumption
- See the [Pricing](https://qwenwork.ai/pricing) page for details
# Scheduled Tasks
Source: https://docs.qwenwork.ai/desktop/scheduled-tasks
> Create and manage scheduled tasks in the desktop app.
How much of your work is simply "due at a set time"? Checking the data every morning, pulling together a weekly report every week, consolidating monthly summaries — the tasks themselves aren't hard. What really drains your energy is remembering to do them, doing them on time, and doing them right every single time.
Scheduled Tasks turn QwenWork from "it only moves when you ask" into "it gets to work on its own, right on time." You set the time and the task, and QwenWork runs automatically, exactly on time. The results appear as a new conversation task in the sidebar, ready for you to review at any time.
## How It Works {#how-it-works}
The execution model for Scheduled Tasks is simple: **when the scheduled time arrives → a new conversation task is created automatically → it runs according to the prompt you wrote → the result is saved in that conversation**.
Each time a task is triggered, QwenWork has exactly the same capabilities as when you start a conversation manually — it can call MCP tools, use [Connectors](/features/connectors) (browser automation, native macOS apps), run [Skills](/features/skills), and read and write local files. In other words, **anything you can do in a conversation, a scheduled task can do**.
Each run creates a separate conversation and consumes Credits just like a manual conversation. It's a good idea to test a complex task manually first to estimate how many Credits a single run will consume.
```
Scheduled Tasks are scheduled by the local desktop client, and execution times follow your computer's current system time zone. If your computer is asleep or shut down, the task won't be triggered. For important tasks, turn on **Keep System Awake** in the top-right corner of the Scheduled Tasks page to make sure the device doesn't sleep during the task's time window.
```
## Creating a Scheduled Task {#creating-a-scheduled-task}
QwenWork offers two ways to create a task — choose the one that suits you.
### Option 1: Create Directly in a Conversation (Recommended) {#option-1-create-directly-in-a-conversation-recommended}
The most natural way — in any conversation, just say in plain language "what to do and when," and QwenWork will create and configure the task for you automatically.
```
Create a scheduled task for me: every morning at 9, search for the latest news on "AI industry trends," compile a morning briefing of 5 summaries, and save it to the "Daily Briefing" folder on my desktop.
```
The advantage of this approach is **zero learning cost**. You don't need to know what a cron expression is, and you don't need to fill in any forms — QwenWork infers the frequency, the time, and the task content from your description automatically.
```
Good workflows often come from a successful manual run. If you're happy with how a conversation went, just say: "Turn what we just did into an automatic run every day at 9 AM," and QwenWork will solidify the execution logic of the current conversation into a scheduled task.
```
### Option 2: Create from the Panel {#option-2-create-from-the-panel}
Ideal for users who prefer visual operations or need precise control over the scheduling parameters.
**Go to the Scheduled Tasks Page**
Click **Scheduled Tasks** in the left sidebar to open the management page.
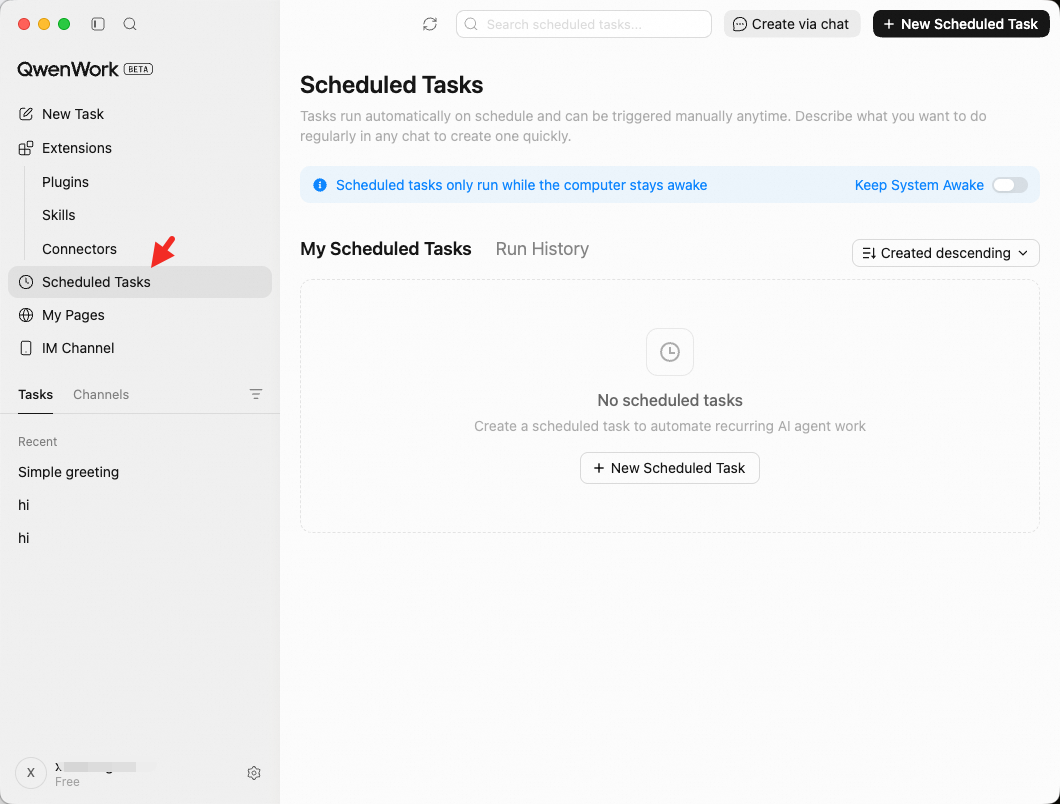
**Create a New Task**
Click **+ New Scheduled Task** in the top-right corner.
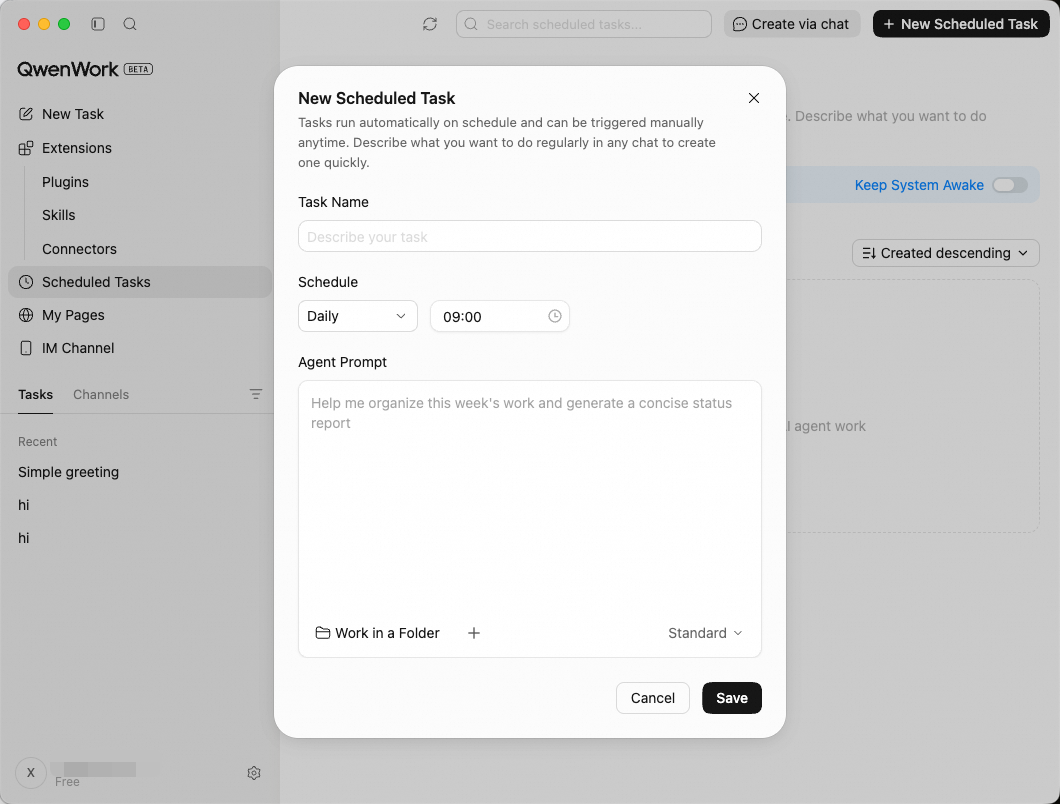
**Fill in the Task Details**
Fill in the fields in the form that appears:
- **Task Name**: Give the task a name that's recognizable at a glance, e.g., "Daily Competitor Briefing" or "Friday Weekly Report Draft."
- **Scheduled Time**: Choose the frequency (Does not repeat / Interval / Hourly / Daily / Weekly / Monthly) and the exact time. It supports a range of scheduling strategies, from one-off reminders to complex cycles:
| Type | Description | Use cases |
| ------------------- | --------------------------------------------------------- | ---------------------------------------------------------------------------- |
| **Does not repeat** | Runs once at the specified date and time | Preparing materials before a meeting, pre-deadline checks, scheduled sending |
| **Interval** | Runs at a fixed interval | Price monitoring, progress polling, data collection |
| **Hourly** | Runs every hour at the specified minute | Monitoring alerts, service health checks, status sync |
| **Daily** | Runs every day at the specified time | Daily briefings, data reports, end-of-day cleanup |
| **Weekly** | Runs on a specified day of the week, at a specified time | Weekly report drafts, competitor tracking, recurring meeting materials |
| **Monthly** | Runs on a specified day of the month, at a specified time | Monthly business analysis, billing summaries, monthly reviews |
```
When creating a task in a conversation, you can describe any scheduling logic in natural language, and QwenWork will convert it into a proper schedule automatically. For example, "check every 3 hours," "on the last business day of each month," and "every Tuesday and Thursday at 2 PM" are all recognized.
```
- **Have QwenWork do...**: Describe in natural language what you want QwenWork to do — exactly the same as writing a prompt in a conversation.
- **Working Directory (optional)**: Specify the directory where the task reads and writes files during execution.
- **Attachments (optional)**: Upload files that the task needs to reference.
**Save and Activate**
Click **Save**. The task takes effect immediately and will be triggered automatically at the scheduled times.
## Typical Scenarios {#typical-scenarios}
### Daily Data Report {#daily-data-report}
Automatically process the latest data every day and produce analysis conclusions — no more time spent running numbers by hand.
```
Create a scheduled task that runs at 9:30 AM every day:
1. Read the latest Excel/CSV data file in the working directory
2. Compare it with the previous day's data and flag abnormal fluctuations (metrics that moved more than 10%)
3. Generate a brief daily data report covering key metric changes and anomaly notes
4. Save it as a Markdown file in the working directory
```
### Daily Industry Briefing {#daily-industry-briefing}
Automatically fetch industry news every morning and organize it into a briefing — the information is ready by the time you get to your desk.
```
Create a scheduled task that runs at 8:30 AM on workdays:
1. Use the browser to search for "latest AI industry developments"
2. Pick the 5-8 most valuable items from the search results
3. Format each item as: title + one-sentence summary + source link
4. Categorize them into "Product launches," "Funding news," "Technical breakthroughs," and "Policy & regulation"
5. Save as a Markdown file to the "Daily Briefing" folder on the desktop
```
### Weekly Competitor Tracking {#weekly-competitor-tracking}
Keep an eye on competitor developments on a regular basis and stay on top of the market.
```
Create a scheduled task that runs every Monday at 10:00 AM:
1. Use the browser to search for the latest developments of these competitors: Cursor, Windsurf, GitHub Copilot
2. Check their websites, blogs, Twitter/X accounts, and changelogs
3. Organize the findings along three dimensions: "Feature updates," "Market moves," and "User feedback"
4. Compare with last week's report and highlight what's new this week
5. Output a Markdown briefing and save it to the working directory
```
### Daily File Cleanup {#daily-file-cleanup}
Automatically clean up the Downloads folder before you leave work and keep your digital workspace tidy.
```
Create a scheduled task that runs at 6:00 PM on workdays:
Scan the files added to ~/Downloads today,
move images to ~/Documents/Images/,
move PDFs and documents to ~/Documents/Docs/,
move archives to ~/Documents/Archives/,
and leave the rest untouched.
After finishing, generate a cleanup summary.
```
### Email Digest {#email-digest}
Automatically summarize unread emails every day and extract the key information, so you never miss what matters.
```
Create a scheduled task that runs at 5:00 PM on workdays:
1. Read all unread emails from today
2. Sort them by sender importance (prioritize emails from my boss and clients)
3. Summarize the core content of each email in one sentence
4. Mark emails that need a reply or follow-up
5. Compile an email digest and save it to Notes
```
### Timely Reminders and Preparation {#timely-reminders-and-preparation}
Automatically prepare materials ahead of important events.
```
Run once before 2:00 PM on 2026-03-25:
1. Check the details of my 3 PM calendar meeting that day
2. Search for background information related to the meeting topic
3. Prepare 3-5 discussion points and questions that need confirmation
4. Save the pre-meeting briefing to Notes
5. Create a high-priority reminder in Reminders
```
## Managing Tasks {#managing-tasks}
### Viewing Execution Results {#viewing-execution-results}
Each time a task is triggered, QwenWork automatically creates a new conversation in the sidebar. Open it to see the full AI execution process and the final result — the experience is exactly the same as starting a conversation manually. You can also keep asking questions or request changes in that conversation.
### Managing the Task List {#managing-the-task-list}
On the **Scheduled Tasks** page in the left sidebar, you can manage all your automated tasks in one place:
- **Enable / Disable**: Use the toggle in the top-left corner of a card to control whether the task keeps running on schedule. If you don't need it temporarily, disable it first and re-enable it any time.
- **Edit**: Change the task name, execution time, or prompt content — click a card to edit it directly.
- **Run Now**: Can't wait for the next scheduled trigger? Click `...` → Run Now to trigger it manually once. Perfect for debugging prompts or when you need results right away.
- **Delete**: For tasks you no longer need, click `...` → Delete Task. Deletion is permanent — use with care.
### Execution History {#execution-history}
In the **Execution History** area of the management page, you can view the execution history of all tasks:
| Status | Meaning |
| ------------- | ------------------------------------------------------------------------------- |
| **Succeeded** | The task was triggered normally and finished |
| **Running** | Still running. Open the conversation to see live progress |
| **Failed** | An error occurred during trigger or execution. View the details to troubleshoot |
## Best Practices {#best-practices}
### Test Manually First, Then Automate {#test-manually-first-then-automate}
This is the single most important piece of advice. For complex tasks, run the task once in full in a regular conversation first, and refine the prompt until the output meets your expectations — then convert it into a scheduled task. This avoids automated runs producing large amounts of results that miss the mark.
### Writing a Good Prompt Is Key {#writing-a-good-prompt-is-key}
No one is there to course-correct while a scheduled task runs, so the prompt must be specific enough. A few key points: specify the output format (Markdown / Excel / Word), identify the data source clearly (which folder, which website), state the judgment criteria (what counts as an "anomaly," what counts as "important"), and define the output location (which directory to save to).
### Make Good Use of the Working Directory {#make-good-use-of-the-working-directory}
When you specify a working directory at task creation, the AI gets a fixed context environment. This is especially useful for scenarios that need to process a specific folder on a regular basis (e.g., "This month's sales data" or "Contract archive"). As you keep adding new files to the folder, the scheduled task always reads the latest content.
### Combine with Connectors and Skills {#combine-with-connectors-and-skills}
A scheduled task itself is a scheduler — its power depends on the capabilities you give it. With the browser [Connector](/features/connectors) enabled, a scheduled task can scrape web data automatically; with the macOS app connector enabled, it can read and write Calendar and Mail; combined with [Skills](/features/skills), it can reuse proven workflows. Stacked together, these capabilities cover the vast majority of automation scenarios.
### Keep the Device Awake {#keep-the-device-awake}
Scheduled Tasks are scheduled on the local client and **only run while the computer is awake**. If you have high-priority tasks (for example, an 8 AM daily briefing), turn on **Keep System Awake** in the top-right corner of the Scheduled Tasks page to avoid missing tasks because the device went to sleep.
## FAQ {#faq}
**Can Scheduled Tasks use browser automation?**
Yes. As long as you've enabled the browser under **Extensions** → **Connectors** in the left sidebar and keep Chrome running, scheduled tasks can use browser automation when they run. Note, however, that login sessions expire — if your login on the target site has expired, the AI will hit a login page and won't be able to continue.
**If my computer was asleep, will missed tasks run later?**
They won't run automatically. If the device is asleep or shut down when a task is triggered, that run is skipped. You'll see a "Not run" status in the execution history, and you can catch up manually with "Run Now."
**What if the results don't meet expectations?**
There are usually two reasons. First, the prompt isn't specific enough (e.g., "analyze the data for me" is too vague — you should specify which fields to analyze and what format to output). Second, the underlying data source has changed (e.g., the Excel column names were changed). Open the conversation from the execution history to see the AI's full execution process, then optimize the prompt or the data source once you've pinpointed the problem.
**How many Scheduled Tasks can run at the same time?**
There's no hard limit, but each task creates a new conversation when triggered and consumes Credits. Configure tasks based on actual needs, and avoid triggering too many tasks at the same time.
**Is there a time limit on task execution?**
Just like regular conversations, there's no fixed time limit, but execution is constrained by your Credits balance. Complex tasks may consume more Credits — test manually once first to estimate the cost.
**How do I change the execution time of an existing task?**
On the Scheduled Tasks page, find the task card, click `...` in the top-right corner → Edit, change the scheduled time, and save. You can also just say in a conversation, "Change the XX task to run every Tuesday."
# Voice Input
Source: https://docs.qwenwork.ai/features/voice-input
> Use voice input to communicate with QwenWork.
Voice Input lets you talk to QwenWork instead of typing everything word by word. Whether you're describing a complex task, dictating long-form content, or issuing quick instructions hands-free, Voice Input makes communicating with the AI more natural and fluid.
Voice Input is especially handy when it's easier to say what you need than to type it — for example, describing a visual layout, walking through a multi-step workflow, or casually adding tweaks while reviewing results.
## Prerequisites {#prerequisites}
Before using Voice Input, check the following:
- **Microphone permission**: QwenWork needs access to your system microphone. The first time you use it, your system prompts you to grant permission. You can also enable it manually in your system settings (macOS: System Settings > Privacy & Security > Microphone).
- **System speech recognition**: Voice Input relies on your operating system's built-in speech recognition engine. The supported languages depend on the language packs installed on your system.
```
For the best recognition accuracy, make sure the languages you want to use are included in your system language settings. You can add languages in your system settings without changing the display language.
```
## How to Use {#how-to-use}
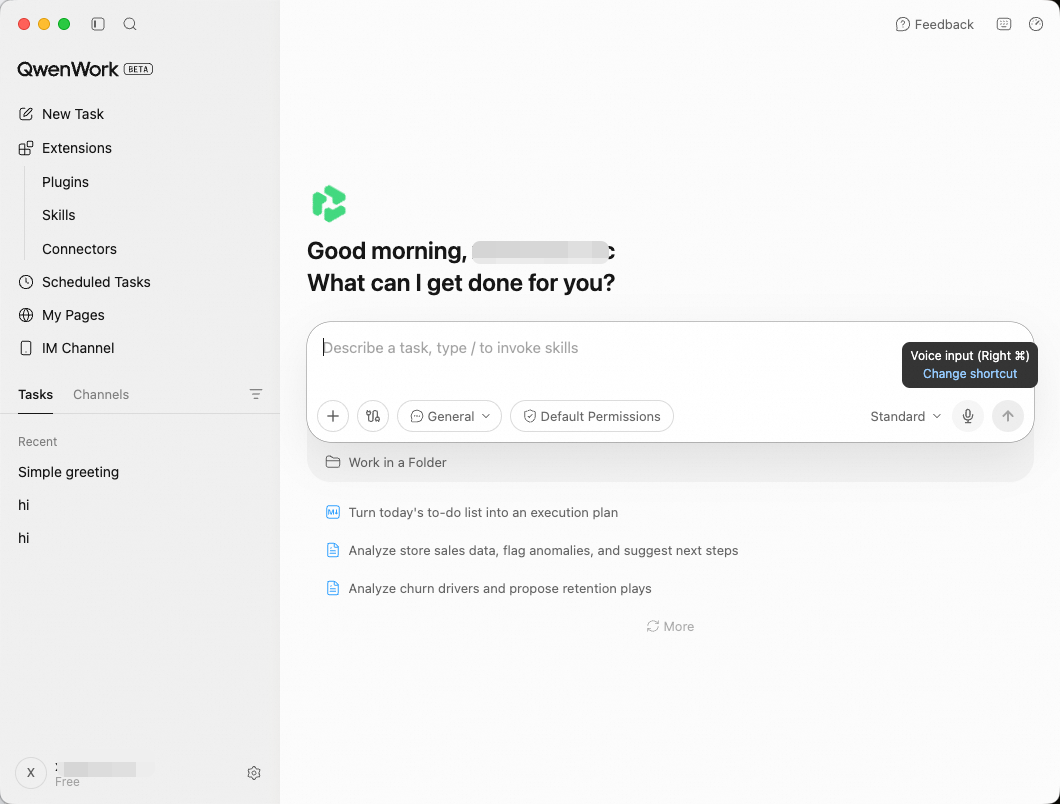
**1. Start recording**
By default, press and hold the **Right ⌘** shortcut to start voice input — no need to click an icon. You can also click the microphone icon on the right side of the chat input box. The icon changes to show that recording is in progress.
```
Custom shortcut: to change the trigger key, go to Settings → Voice Input → Trigger Key, or hover over the microphone icon in the input box and click Modify Shortcut.
```
**2. Say what you need**
Speak clearly at a natural pace. You can describe tasks, ask questions, or dictate content. There's no strict time limit — take as long as you need.
**3. Check the transcription**
When you stop speaking, your speech is automatically transcribed into text and shown in the input box. Check that the content is accurate.
**4. Edit as needed**
You can freely edit the transcription — fix misrecognized words, add punctuation, or adjust wording.
**5. Send**
Once you're happy with the content, press Enter or click the Send button. QwenWork handles a voice-transcribed message just like typed input.
## Best Practices {#best-practices}
- **Speak at a moderate pace and enunciate clearly.** Speaking too fast or mumbling easily leads to transcription errors. A normal conversational pace is ideal.
- **Pause briefly between sentences.** This helps the speech recognition engine segment sentences correctly and improves automatic punctuation.
- **Draft by voice, refine by keyboard.** Get your ideas out quickly by voice, then use the keyboard for precise edits and polishing.
- **The perfect match for long descriptions.** Multi-paragraph requirements, detailed step-by-step instructions, complex explanations — these are much faster to say than to type.
- **Reduce background noise.** Use Voice Input in a relatively quiet environment and recognition accuracy improves significantly.
## Example Scenarios {#example-scenarios}
| Scenario | Example voice input |
| ----------------- | -------------------------------------------------------------------------------------------------------------- |
| File organization | "Sort the files on my desktop into folders — PDFs in one folder, images in another, and documents in a third." |
| Document creation | "Write a Q2 project status report with three sections: progress, blockers, and next steps." |
| Browser tasks | "Open the company intranet, find the latest expense report template, and download it to my Documents folder." |
| Data analysis | "Open the sales data spreadsheet on my desktop and create a chart showing this year's monthly revenue trend." |
| Quick follow-up | "Change it to a bar chart, and add value labels on each bar." |
## Works with Other Features {#works-with-other-features}
Voice Input combines seamlessly with other QwenWork capabilities:
**Voice + file attachments.** Attach a file first, then describe by voice what you want to do with it. For example, after attaching a PDF, say "Summarize the key points and list the action items."
**Voice follow-ups.** After QwenWork delivers a result, give quick feedback by voice: "Make the title bigger" or "Add a section on risks."
# Hooks
Source: https://docs.qwenwork.ai/desktop/hooks
> Run custom logic at key points in QwenWork workflows.
Hooks let you insert custom logic at key points during QwenWork execution without changing application code. By editing a JSON configuration file, you can:
- Block dangerous operations before a tool runs.
- Run lint automatically after a file is written.
- Show a desktop notification when the Agent finishes.
Unlike prompt instructions, Hooks are deterministic: whenever a configured event fires, the script runs.
## Quick Start {#quick-start}
The following example blocks commands containing `rm -rf`.
### 1. Create the script {#1-create-the-script}
```bash
mkdir -p ~/.qwenwork/hooks
cat > ~/.qwenwork/hooks/block-rm.sh << 'EOF'
#!/bin/bash
input=$(cat)
command=$(echo "$input" | jq -r '.tool_input.command')
if echo "$command" | grep -q 'rm -rf'; then
echo "Dangerous command blocked: $command" >&2
exit 2
fi
exit 0
EOF
chmod +x ~/.qwenwork/hooks/block-rm.sh
```
### 2. Add the configuration {#2-add-the-configuration}
Add the following to `~/.qwenwork/settings.json`:
```json
{
"hooks": {
"PreToolUse": [
{
"matcher": "Bash",
"hooks": [
{
"type": "command",
"command": "~/.qwenwork/hooks/block-rm.sh"
}
]
}
]
}
}
```
### 3. Verify the result {#3-verify-the-result}
Open QwenWork and ask the Agent to execute a command containing `rm -rf`. The Hook blocks the command and returns the error message to the Agent.
## Configure Hooks {#configure-hooks}
### Configuration file {#configuration-file}
| Location | Scope | Description |
| --------------------------- | ---------- | ------------------------------------------------------------ |
| `~/.qwenwork/settings.json` | User level | Personal configuration that applies to all QwenWork sessions |
Hot reload is not currently supported. Restart QwenWork after changing the configuration file.
### Configuration format {#configuration-format}
```json
{
"hooks": {
"EventName": [
{
"matcher": "match condition",
"hooks": [
{
"type": "command",
"command": "command to execute",
"timeout": 60
}
]
}
]
}
}
```
| Field | Required | Description |
| --------- | -------- | ------------------------------------------------------ |
| `type` | Yes | Must be `"command"` |
| `command` | Yes | Shell command to execute |
| `timeout` | No | Timeout in seconds; the default is 60 |
| `matcher` | No | Match condition; omit it to match every event instance |
An event can contain multiple matcher groups, and each group can contain multiple Hook commands.
### Matcher rules {#matcher-rules}
| Pattern | Meaning | Example |
| ------------------------ | -------------------- | --------------------------------------- |
| Leave empty or `"*"` | Match all | Run for every tool |
| Exact value | Exact match | `"Bash"` matches only the Bash tool |
| Values separated by `\ | ` | Match several values | `"Write \ | Edit"` matches Write or Edit |
| Regular expression | Pattern match | `"mcp__.*"` matches MCP tools |
## Write a Hook Script {#write-a-hook-script}
A Hook script receives JSON through **stdin** and controls behavior using its exit code and stdout. This section describes the input and output shared by all events. Event-specific fields are documented under [Hook Events](#hook-events).
QwenWork does not inject environment variables into Hook scripts. Read the session ID, working directory, tool information, and other event data from the stdin JSON payload.
### Input {#input}
All events include the following common fields:
| Field | Description |
| ----------------- | ---------------------------- |
| `session_id` | Current session ID |
| `cwd` | Current working directory |
| `hook_event_name` | Name of the event that fired |
Different events add their own fields to this payload. Use `jq` to parse the input:
```bash
#!/bin/bash
input=$(cat)
tool_name=$(echo "$input" | jq -r '.tool_name')
```
### Output {#output}
Exit code `0` indicates success. Exit code `2` blocks supported events and injects stderr into the conversation. Other exit codes are treated as non-blocking errors.
When a script exits with `0`, supported events can parse JSON from stdout for more precise control. Stdout is ignored when the exit code is not `0`.
## Hook Events {#hook-events}
### SessionStart {#sessionstart}
Fires when a session starts.
**Matcher:** session source
| Matcher value | Scenario |
| ------------- | -------------------------------- |
| `startup` | Start a new session |
| `resume` | Resume an existing session |
| `compact` | Context compaction has completed |
```json
{
"source": "startup",
"model": "Auto"
}
```
### SessionEnd {#sessionend}
Fires when a session ends.
**Matcher:** end reason
- `prompt_input_exit`: The user exits input, for example with Ctrl+D.
- `other`: Any other reason.
```json
{
"reason": "prompt_input_exit"
}
```
### UserPromptSubmit {#userpromptsubmit}
Fires after the user submits a prompt and before the Agent starts processing it.
```json
{
"prompt": "Write a sorting function"
}
```
### PreToolUse {#pretooluse}
Fires before a tool runs and can block the tool call.
**Matcher:** tool name, such as `Bash`, `Write`, `Edit`, `Read`, `Glob`, or `Grep`. MCP tools use names such as `mcp__server__tool`.
```json
{
"tool_name": "Bash",
"tool_input": {"command": "rm -rf /tmp/build"},
"tool_use_id": "toolu_01ABC123"
}
```
To block the tool, exit with code `2`. Stderr is returned to the Agent as an error.
### PostToolUse {#posttooluse}
Fires after a tool completes successfully.
**Matcher:** tool name
```json
{
"tool_name": "Write",
"tool_input": {"file_path": "/path/to/file.ts", "content": "..."},
"tool_response": "File written successfully",
"tool_use_id": "toolu_01ABC123"
}
```
### PostToolUseFailure {#posttoolusefailure}
Fires after a tool fails.
**Matcher:** tool name
```json
{
"tool_name": "Bash",
"tool_input": {"command": "npm test"},
"tool_use_id": "toolu_01ABC123",
"error": "Command exited with non-zero status code 1",
"is_interrupt": false
}
```
### Stop {#stop}
Fires when the main Agent finishes a response and has no pending tool calls. The Hook can prevent the Agent from stopping so it continues working.
To prevent the Agent from stopping, exit with code `2`. Stderr is injected into the conversation as a message and the Agent continues.
### SubagentStart / SubagentStop {#subagentstart-subagentstop}
Fire when a sub-agent starts or finishes. Like `Stop`, `SubagentStop` can prevent a sub-agent from stopping.
**Matcher:** Agent type
```json
{
"agent_id": "a1b2c3d4",
"agent_type": "task"
}
```
### PreCompact {#precompact}
Fires before context compaction.
**Matcher:** trigger type
| Matcher value | Scenario |
| ------------- | -------------------------------------------------------------- |
| `manual` | The user runs `/compact` manually |
| `auto` | The context window is full and compaction starts automatically |
```json
{
"trigger": "manual",
"custom_instructions": "Preserve all tool results"
}
```
### Notification {#notification}
Fires for notifications such as permission requests and completed tasks.
**Matcher:** notification type
- `permission`: Permission request notification.
- `result`: Agent result notification.
```json
{
"message": "Agent is requesting permission to run: rm -rf node_modules",
"title": "Permission Required",
"notification_type": "permission"
}
```
### PermissionRequest {#permissionrequest}
Fires when a tool needs user authorization.
**Matcher:** tool name
```json
{
"tool_name": "Bash",
"tool_input": {"command": "rm -rf node_modules"}
}
```
## Use Cases {#use-cases}
### Desktop notifications {#desktop-notifications}
Show a desktop notification when the Agent completes a task or needs authorization.
Create `~/.qwenwork/hooks/notify.sh` on macOS:
```bash
#!/bin/bash
input=$(cat)
message=$(echo "$input" | jq -r '.message')
if echo "$message" | grep -q "^Agent"; then
osascript -e 'display notification "Task completed" with title "QwenWork"'
else
osascript -e 'display notification "Authorization required" with title "QwenWork"'
fi
exit 0
```
Configure the Hook:
```json
{
"hooks": {
"Notification": [
{
"hooks": [
{
"type": "command",
"command": "~/.qwenwork/hooks/notify.sh"
}
]
}
]
}
}
```
### Run lint after file changes {#run-lint-after-file-changes}
Run lint automatically whenever the Agent writes or edits a file.
Create `${project}/.qwenwork/hooks/auto-lint.sh`:
```bash
#!/bin/bash
input=$(cat)
file_path=$(echo "$input" | jq -r '.tool_input.file_path')
case "$file_path" in
*.js|*.ts|*.jsx|*.tsx)
npx eslint "$file_path" --fix 2>/dev/null
;;
esac
exit 0
```
Configure the `PostToolUse` event with matcher `Write|Edit` and command `.qwenwork/hooks/auto-lint.sh`.
### Ask the Agent to continue {#ask-the-agent-to-continue}
When the Agent tries to stop, check for unfinished work and inject a message that tells it to continue.
Create `~/.qwenwork/hooks/check-continue.sh`:
```bash
#!/bin/bash
if [ -n "$(git status --porcelain 2>/dev/null)" ]; then
echo "Uncommitted changes detected. Complete the git commit." >&2
exit 2
fi
exit 0
```
Configure the `Stop` event with command `~/.qwenwork/hooks/check-continue.sh`.
# IM Channels
Source: https://docs.qwenwork.ai/desktop/im-channels
> Use QwenWork through supported instant messaging channels.
QwenWork conversations and tasks run on the desktop by default. But most of your work communication happens in IM — with IM Channels, QwenWork plugs into the chat tools you already use. On the go or between meetings, just @mention the AI in your IM and it can run tasks, query data, and organize documents, with results coming back straight to the current chat window.
The desktop app remains mission control: every IM conversation has a corresponding conversation window on desktop, where you can check progress, take over, or adjust settings such as MCP, Skills, and Connectors at any time — these settings apply to all your IM conversations as well.
QwenWork currently supports the following IM platforms:
| Platform | Connection method | Best for |
| ------------- | ----------------------------------------------------- | --------------------------------------------------------- |
| **DingTalk** | QR code binding | Enterprise team collaboration |
| **Feishu** | Scan the QR code and the app is created automatically | Quick onboarding for individuals or teams |
| **Lark** | Scan the QR code and the app is created automatically | Quick onboarding for individuals or teams (international) |
| **WeChat** | QR code binding, ready to use instantly | Lightweight mobile interactions |
| **WeCom Bot** | Quick QR code binding or manual configuration | Enterprise collaboration and automation |
All IM channels are managed on the **IM Channels** page.
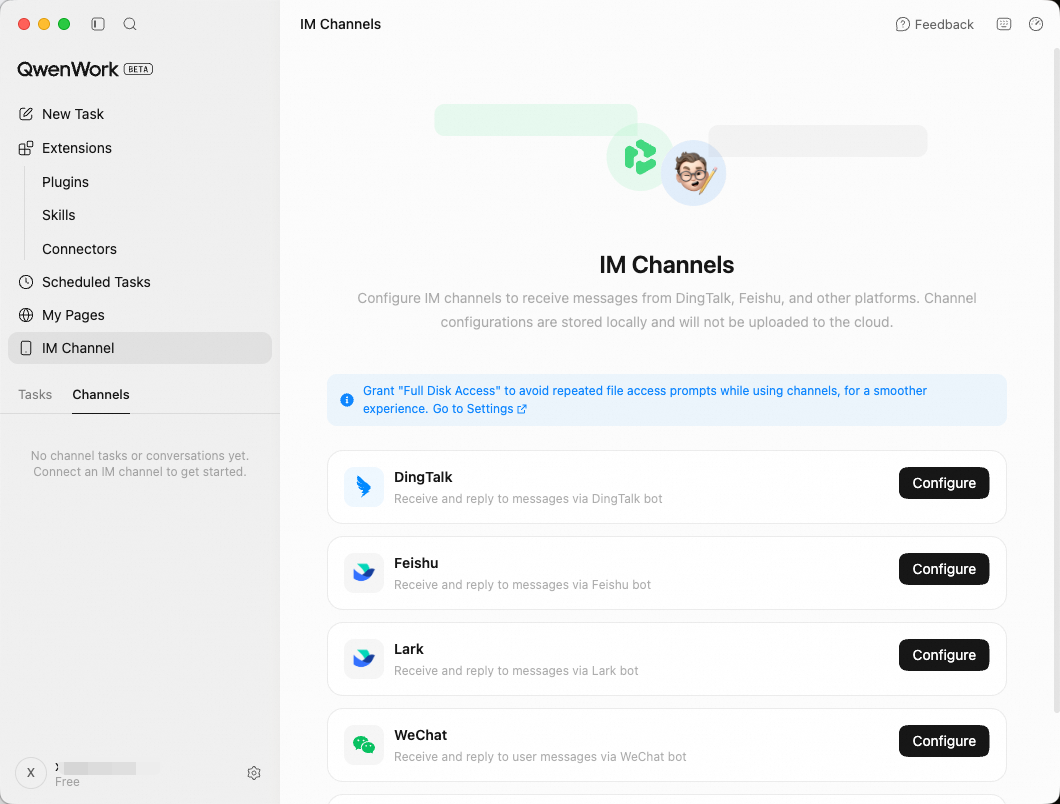
```
If your organization uses the Teams edition, team administrators can control which IM channel types members can use.
```
## How It Works {#how-it-works}
IM integration follows one core principle: **where it comes from, it goes back**.
Messages you send in an IM chat window are processed by QwenWork, and the results are automatically returned to the same chat window. Results of tasks created directly on desktop stay on desktop and are never pushed to any IM. Each IM conversation maps to a separate conversation window in the QwenWork desktop app, with fully isolated context — different IM platforms and chat windows don't interfere with each other. You can view the history and status of all IM conversations on desktop, and continue working in the corresponding desktop conversation window; the output is still synced back to IM.
## Supported Message Types {#supported-message-types}
In any connected IM channel, you can send the following types of messages:
| Message type | Description |
| ------------------------ | ------------------------------------------------------------------------------------------------------------ |
| Text message | Send text instructions directly |
| Image | Send images — supports OCR recognition, background replacement, and more |
| File | Supports common formats such as PDF, Excel, PPT, Word, CSV, and TXT |
| Voice message | Send a voice message — its content is recognized automatically and acted upon |
| Combined forward message | Multiple forwarded messages are parsed correctly |
| Image + text combination | The image and text instruction are understood together — for example, send an image with "Extract the table" |
When you send multiple messages in a row, they are processed in order — no messages are lost or reordered.
```
IM Channels and Scheduled Tasks work well together. When you create a Scheduled Task, you can specify that its results be sent to a particular IM conversation. After the task runs, the results are pushed automatically to that chat window — for example, "Generate a daily data report every day at 9 AM and send it to the DingTalk group."
```
## Access Policy {#access-policy}
| Policy | Description |
| ---------------- | ---------------------------------------------------------------------- |
| **Open mode** | Anyone and any group can talk to the bot directly, with no extra steps |
| **Pairing mode** | A conversation can use the bot only after you approve it |
Open mode is great for quickly rolling out the bot inside a team. Pairing mode fits scenarios where you need to control who can use it — for example, limiting it to specific people.
In pairing mode, pairing requests are triggered automatically when a user sends the bot a direct message or @mentions it in a group. You can approve a request by clicking **Allow** in Pairing Management on the channel card. Pairing is per conversation: approving a direct message lets that user chat, and approving a group chat lets every member of the group chat.
## Connect DingTalk {#connect-dingtalk}
QwenWork can receive and reply to user messages through a DingTalk bot. You connect the DingTalk bot by configuring it in QwenWork.
### Configure in QwenWork {#configure-in-qwenwork}
**Open the DingTalk configuration page**
In QwenWork, go to **IM Channels**, find the DingTalk card, and click **Configure**.
**Scan the QR code to complete binding**
In the "Configure DingTalk" window that appears, the QR code screen is shown by default.
Open DingTalk and scan the QR code to complete app registration and binding. If the QR code expires, click **Refresh QR Code** at the bottom.
**Choose an access policy**
After binding succeeds, choose an access policy:
- **Open mode**: anyone / any group can chat directly
- **Pairing mode**: a conversation can use the bot only after you approve it
**Finish setup**
Return to QwenWork and confirm that the DingTalk status shows "Connected". Now you can use the bot in DingTalk.
### Usage {#usage}
**Direct message**: search for the bot's name in the search box at the top of DingTalk, click to open the conversation window, and send messages directly.
**Group chat**: add the bot to a group chat, then @mention the bot to send messages. To add it, click Group Settings (top right) → Bots → Add Bot → search for and select the bot you created.
```
The group's organization must match the organization used when the bot was created — otherwise the bot won't appear in search.
```
## Connect Feishu / Lark {#connect-feishu-lark}
### Configure in QwenWork {#configure-in-qwenwork-2}
**Open the configuration page**
In QwenWork, go to **IM Channels**, find the Feishu or Lark card, and click **Configure**.
**Scan to authorize**
A QR code is shown at the top of the page. Open the Feishu / Lark app, scan the QR code, and confirm authorization. The system automatically creates an app under your organization and configures the required permissions and event callbacks.
**Choose an access policy**
After authorization succeeds, choose an access policy:
- **Open mode**: anyone / any group can chat directly
- **Pairing mode**: a conversation can use the bot only after you approve it
**Finish setup**
Return to QwenWork and confirm that the status shows "Connected". Now you can use the bot in Feishu / Lark.
### Usage {#usage-2}
**Direct message**: search for the bot's name in the Feishu / Lark search box and click to open the conversation window.
**Group chat**: add the bot to a group chat and @mention the bot to send messages.
## Connect WeChat {#connect-wechat}
Scan a QR code to complete binding — no additional configuration required.
**Open the WeChat configuration page**
In QwenWork, go to **IM Channels**, find the WeChat card, and click **Configure**.
**Scan to authorize**
The page shows a QR code. Open WeChat, scan the QR code, and confirm authorization.
**Start using it**
After binding completes, wait for the status to change to "Connected", then send messages directly to QwenWork in WeChat to start chatting.
## Connect WeCom {#connect-wecom}
QwenWork can receive and reply to user messages through a WeCom bot. There are two ways to connect a WeCom bot: quick binding and manual configuration.
### Option 1: QR code binding (recommended) {#option-1-qr-code-binding-recommended}
The simplest and fastest way to connect — just scan a QR code to complete binding.
**Open the WeCom configuration page**
In QwenWork, go to **IM Channels**, find the WeCom card, and click **Configure**.
**Scan the QR code to complete binding**
In the "Configure WeCom" window that appears, select **Quick Binding (Recommended)**.
Open WeCom and scan the QR code to complete bot creation and binding. If the QR code expires, click **Refresh QR Code** at the bottom.
### Option 2: Manual configuration {#option-2-manual-configuration}
**Get the bot credentials**
Create a bot in the WeCom admin console, and get the bot's **Bot ID** and **Secret**.
**Enter the configuration**
In QwenWork's "Configure WeCom" window, select **Manual Configuration**, enter the Bot ID and Secret you obtained, and click **Save**.
## Connect Slack {#connect-slack}
To receive and reply to Slack messages, you need the **Bot Token** and **App-Level Token** from Slack.
**Open the Slack configuration page**
In QwenWork, go to **IM Channels**, find the Slack card, and click **Configure**.
**Enter the tokens**
Enter the following two tokens in the "Configure Slack" window (both come from the app you created in Slack):
- **Bot Token** (starts with `xoxb-`)
- **App-Level Token** (starts with `xapp-`)
**Choose an access policy**
Select an **Access Policy**:
- **Pairing**: a conversation can use the bot only after you approve it
- **Open**: anyone can chat directly
**Test and save**
You can click **Test Connection** to verify the configuration, then click **Save**. Once the status shows "Connected", send the bot a direct message or @mention it in a channel to chat.
## Connect WhatsApp {#connect-whatsapp}
**Open the WhatsApp configuration page**
In QwenWork, go to **IM Channels**, find the WhatsApp card, and click **Configure**.
**QR code binding**
Open WhatsApp on your phone and scan the QR code shown in QwenWork to complete binding.
**Finish setup**
After binding completes, wait for the status to change to "Connected", then send messages directly to the bot in WhatsApp to start chatting.
## Manage IM Channels {#manage-im-channels}
The configuration and status of all IM channels are managed in one place on the **IM Channels** page.
### Enable and disable {#enable-and-disable}
Each channel card has a toggle. When the toggle is on, the status shows "Connected" and the channel works normally on the IM side. When it's off, messages sent from the IM side no longer receive replies. Turning the toggle off doesn't clear the configuration — turn it back on to restore.
### Remove a channel {#remove-a-channel}
To completely remove a channel's configuration, click **Remove Configuration** on the channel card. After removal, all of the channel's configuration is cleared and the IM side no longer responds. To use it again, configure it from scratch.
### Switch access policy {#switch-access-policy}
DingTalk, Feishu, and Lark channels can switch between open mode and pairing mode at any time:
- **From open to pairing**: after switching, previously unpaired users can no longer use the bot — they need to trigger a pairing request again and be approved.
- **From pairing to open**: after switching, all users can use it directly, no pairing required.
### Multiple channels in parallel {#multiple-channels-in-parallel}
You can enable all IM channels at the same time. Channels are fully independent and don't interfere with each other — DingTalk, Feishu, Lark, and WeChat conversations each have their own isolated context and history.
## Task Binding (Remote Takeover) {#task-binding-remote-takeover}
QwenWork lets you step into regular desktop tasks from IM and interact with a running task remotely — so you can operate QwenWork wherever you are.
**Prerequisites**:
1. You've enabled at least one IM channel (such as DingTalk or WeChat).
2. A regular task has been created and exists in the QwenWork desktop app.
In any connected IM channel, you can use the following commands to manage task binding:
- `/bind`: view the list of tasks available to bind. Reply with `/bind ` (for example, `/bind 1`) to bind the current IM conversation to the specified desktop task. Once bound, messages you send in IM are forwarded directly to that task, and the task's replies are synced back to IM in real time.
- `/unbind`: unbind the current IM conversation from the desktop task. After unbinding, the IM conversation becomes a regular, independent conversation again.
```
Once a task is bound, you can keep talking from your phone to a task running on your computer — for example, asking for a progress report, adding new instructions, or providing a verification code it needs.
```
## Typical Scenarios {#typical-scenarios}
### Lightweight conversations on mobile {#lightweight-conversations-on-mobile}
Ask the bot directly in IM — well suited to simple Q\&A and quick lookups:
```
Find the quote for XX company and send it over
```
The bot calls your configured MCP tools and data sources, and replies with the result directly in IM.
### Image and file processing {#image-and-file-processing}
Images and files you receive or shoot on your phone can be sent straight to the bot for processing:
```
(Send a PDF contract) Review this contract, focusing on risk points in the liability-for-breach clauses
```
Supported capabilities include OCR text recognition, background replacement, receipt information extraction, file summarization, format conversion, and data analysis.
### Assign work remotely {#assign-work-remotely}
When you're away from your desk and want the QwenWork on your computer to do something:
```
Turn "Q1 Sales Data.xlsx" on my desktop into an analysis report,
including sales trends, customer distribution, and month-over-month changes, and save it as a PDF on the desktop.
```
QwenWork runs in the background, and when it finishes, automatically sends the result summary and the file back to the IM conversation.
### Scheduled Task result push {#scheduled-task-result-push}
Combined with [Scheduled Tasks](/desktop/scheduled-tasks), execution results can be pushed to IM automatically:
```
Create a Scheduled Task for me: every day at 9 AM, generate a summary of yesterday's operational data,
and send the results to the "Operations Daily" group on DingTalk when done.
```
### Group chat collaboration {#group-chat-collaboration}
@mention the bot in a team group chat and every member can use it:
```
@QwenWork Summarize the key points discussed in the group today
```
# Skills
Source: https://docs.qwenwork.ai/desktop/skills
> Create and use local skills in the desktop app.
## What is a Skill? {#what-is-a-skill}
In daily work, we often handle similar tasks over and over: writing weekly reports, organizing documents, generating infographics, and so on. Having to re-explain your requirements, preferences, and workflows to the AI every time is not only time-consuming but also makes it easy to miss key details.
Skills are designed to solve exactly this problem. A Skill is a pre-written working guide that tells QwenWork, for a certain type of task: what steps to follow, what format to output, and what details to watch out for. Define it once, and QwenWork will automatically recognize and apply it in every subsequent conversation, completing the work as steadily and consistently as a well-trained assistant.
From a technical perspective, each Skill is essentially a folder containing a `SKILL.md` file, stored under the `~/.qwenwork/skills/` directory. `SKILL.md` describes the skill's name, trigger conditions, and execution steps in natural language — no coding required; just express your working experience and process clearly in words.
## What do Skills bring you? {#what-do-skills-bring-you}
**No more repeated explanations**
Every new conversation takes time to describe your requirements and preferences. With a Skill, this information is locked in once — later, a single sentence triggers it, and it can even be recognized and applied automatically, saving large amounts of time spent on repetitive communication.
**Consistent output**
When your team has clear format or style requirements for a certain type of output (such as which sections a weekly report must include), a Skill ensures that every output meets the established standard, with no quality fluctuation caused by communication gaps or different executors.
**Turn personal experience into reusable assets**
The best practices, handling techniques, and judgment criteria you accumulate at work can all be distilled into Skills. They serve not only their creators but can also be shared with team members, letting experience circulate and be reused across the organization instead of staying in one person's head.
**Turn the AI from a generalist into a specialist**
QwenWork itself has broad general capabilities, and Skills are like adding professional modules to it — a document-processing expert, a design assistant, a data analyst, and more. With different combinations of Skills, QwenWork can adapt to almost any scenario at work.
## Getting Skills {#getting-skills}
QwenWork provides multiple acquisition channels, taking you from discovery to installation in one step.
### Search and install in conversation {#search-and-install-in-conversation}
Simply describe your need in natural language, and QwenWork uses the built-in find-skill feature to search the skill library and recommend the best-matching Skills. For example:
> Help me find a skill that can automatically turn web page content into Markdown notes
QwenWork lists the matching results with brief descriptions. Once you confirm, QwenWork can install it into the `~/.qwenwork/skills/` directory with one click — no need to leave the conversation window at any point.
### Browse and install in the Skill Plaza {#browse-and-install-in-the-skill-plaza}
Under **Extensions** in the left sidebar, click **Skills** to enter the Skill Plaza — QwenWork's built-in skill marketplace, gathering all kinds of official and community-contributed Skills. Browse by category or search by keyword; once you find one, click install to start using it.
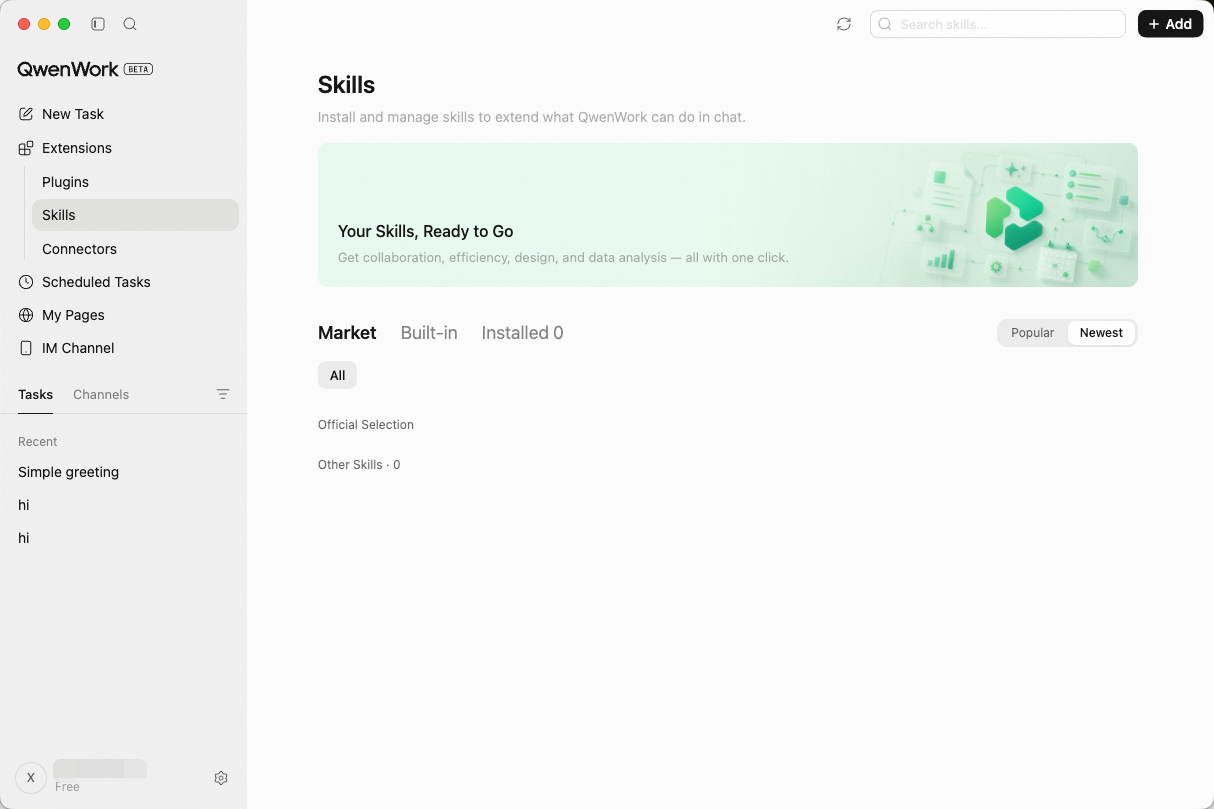
### Get from open-source communities {#get-from-open-source-communities}
Platforms like GitHub host large numbers of community-shared Skills. Just send the repository link to QwenWork and ask it to install, for example:
> Please download `` and place it in the \~/.qwenwork/skills/ directory
QwenWork automatically completes the cloning, file placement, and loading — no need to run any commands manually.
### Manually upload local files {#manually-upload-local-files}
If you already have a Skill file ready (for example, obtained from a colleague), under **Extensions** in the left sidebar, click **Skills**, then click **Install Skill** to upload `SKILL.md` and its auxiliary files directly. After the upload, it is recognized and loaded automatically, ready to use in relevant scenarios.
## Using Skills {#using-skills}
After a Skill is installed, you can invoke it in conversation in the following ways.
### Automatic triggering {#automatic-triggering}
Just describe your need, and QwenWork automatically determines whether there is a matching Skill and activates it. For example, after installing a "Resume Optimization" Skill:
> Optimize my resume based on the job JD
QwenWork recognizes and invokes the corresponding Skill.
### / shortcut invocation {#shortcut-invocation}
Type `/` in the conversation input box, and QwenWork shows the list of installed Skills — select one to invoke it.
### @ to add context {#to-add-context}
Type `@` in the conversation input box to add context information (such as files or folders), helping QwenWork understand your need better. `@` is for supplementing context, not for invoking Skills.
### Invoke by name in conversation {#invoke-by-name-in-conversation}
Name a specific Skill directly in the conversation, for example:
> Use the kancolle-infographic skill to generate an image series
QwenWork loads the specified Skill, executes it, and presents the generated results directly in the conversation.
```
Want to create your own Skill? See Create Skill for a complete guide covering everything from distilling tasks and co-creating in conversation to the SKILL.md file format.
```
## Managing Skills {#managing-skills}
**Operate via the file system**
All Skills are stored under the `~/.qwenwork/skills/` directory. Each Skill is an independent folder (containing `SKILL.md` and optional auxiliary files), which you can add, delete, and edit directly in the file system.
## Built-in Skills {#built-in-skills}
QwenWork comes with a set of pre-installed built-in Skills, ready to use out of the box:
| Skill name | Function | How it is triggered |
| ----------------- | ------------------------------------------------------------------------------------------------------------------------------------- | --------------------------------------------------------------------------------------------------------------------------- |
| create-skill | Guides the creation of QwenWork skills, including skill structure, best practices, and writing `SKILL.md` | Triggered when you mention creating, writing, or designing a Skill, or ask about `SKILL.md` |
| docx | Creates, reads, and edits Word documents, supporting template filling, layout, revisions, comments, and image replacement | Triggered when you mention Word, `.docx`, Word reports, contracts, letters, meeting minutes, or converting Markdown to Word |
| find-skills | Searches for and installs professional skills from the official marketplace, the community, and enterprise skill marketplaces | Prioritized before handling non-trivial tasks; triggered directly when you mention finding or installing skills |
| pdf | Reads, creates, merges, splits, and rotates PDFs, supporting watermarks, forms, encryption, image extraction, and OCR | Triggered when you mention PDF, `.pdf`, or ask to generate or process PDFs |
| plugin-creator | Creates, customizes, or modifies the QwenWork plugins, including the skills and commands within a plugin | Triggered when you mention creating, customizing, or editing plugins |
| pptx | Creates, reads, and edits presentations, supporting templates, layouts, speaker notes, comments, merging, and splitting | Triggered when you mention PPT, `.pptx`, slides, presentations, decks, or similar terms |
| qwenwork-guidance | Queries and manages QwenWork's own capabilities, including settings, Connectors, Skills, plugins, tasks, Scheduled Tasks, and credits | Triggered when you ask about QwenWork's settings, feature status, Connectors, Skills, plugins, task progress, or credits |
| xlsx | Creates, reads, and edits spreadsheets, supporting formulas, formatting, charts, data cleaning, and spreadsheet format conversion | Triggered when you mention `.xlsx`, `.xlsm`, `.csv`, `.tsv`, or ask to generate or process spreadsheets |
```
These are QwenWork's current built-in Skills. The Skill Plaza has many more community-contributed skills waiting to be discovered; you can also simply say in conversation "help me find a skill that can do XX" and let QwenWork search for you.
```
## Skill UI — Interactive Interfaces {#skill-ui-interactive-interfaces}
Some advanced Skills support rendering interactive HTML components — forms, charts, configuration panels, and more. These components are embedded directly in the conversation flow, letting you complete operations without leaving the conversation.
For example, when using the `frontend-design` skill, the generated web page preview is displayed directly in the conversation, so you can review the effect instantly and give feedback for revisions.
# Connectors
Source: https://docs.qwenwork.ai/desktop/connectors
> Connect the desktop app to external services and workplace systems.
By default, QwenWork completes tasks for you within conversations. But real work doesn't happen only in the chat box — you also need to look up web pages, check your calendar, and handle email, and in the workplace you'll also use collaboration platforms such as DingTalk. Connectors are the bridge between QwenWork and these external systems: once enabled, the AI can operate your browser the way you do, read and write your system calendar and email, integrate with Microsoft 365, and complete common workflows such as To-Dos and daily reports in DingTalk using natural language.
## Connectors {#connectors}
Without Connectors, QwenWork can only handle conversations and local files; with Connectors, it can help you get work done across apps and systems. QwenWork offers multiple ways to connect to external systems. All Connectors are configured and managed in one place under **Extensions** → **Connectors** in the left sidebar, and fall into two main categories:
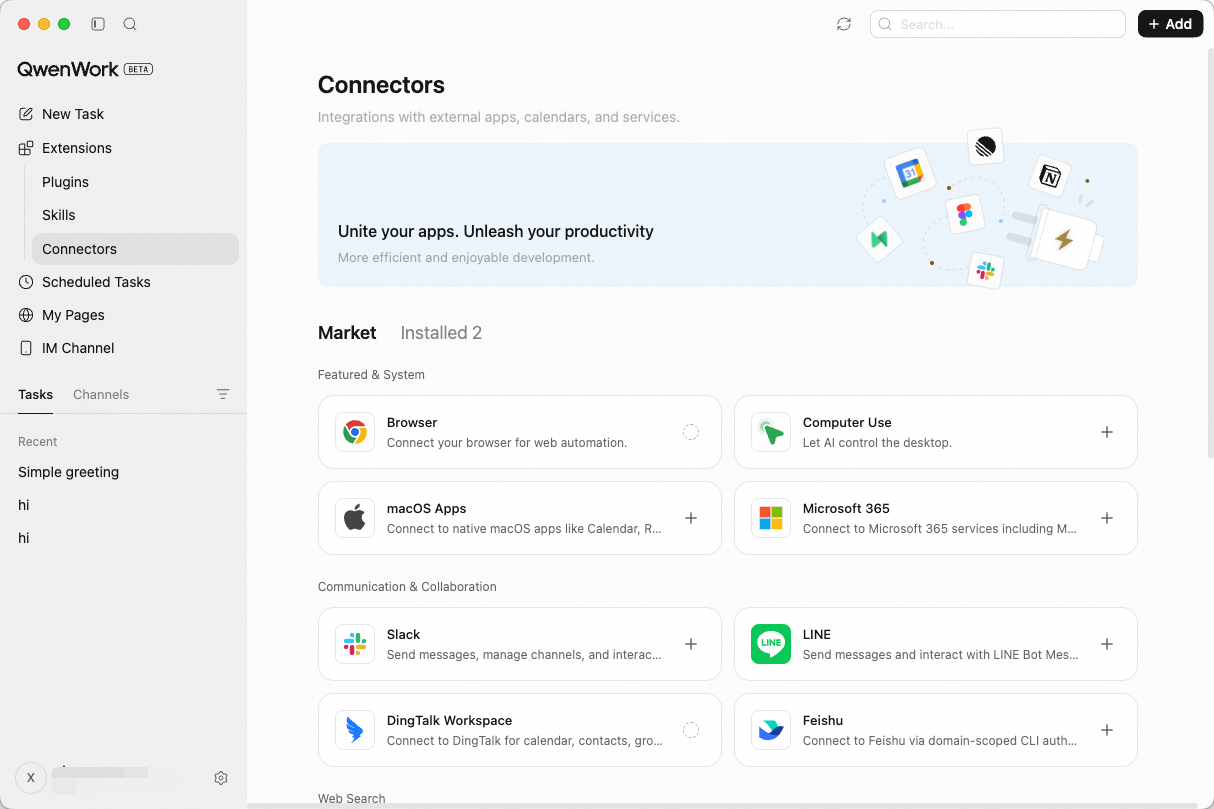
### Built-in Connectors {#built-in-connectors}
- **Browser**: Controls your browser for web operations, data extraction, and automated form filling.
- **macOS Apps**: Reads and writes data from native Mac apps — Calendar, Reminders, Notes, Mail, and Contacts.
- **Microsoft 365**: Reads and writes Outlook email, calendar, to-dos, contacts, OneNote notebooks, and OneDrive files.
### Integration Marketplace {#integration-marketplace}
In the in-app marketplace, you can install and connect enterprise collaboration platforms and third-party SaaS tools with one click. Integrations in the productivity section include **DingTalk**, **Feishu (Lark)**, **Notion**, **Linear**, **Todoist**, **Canva**, **Supabase**, **Vercel**, **Neon**, **Slack**, **Figma**, **Google Calendar**, **Google Maps**, **LINE**, **Qichacha**, and more.
All Connectors are turned off by default. QwenWork gains the corresponding access only after you explicitly complete authorization and configuration.
## Browser {#browser}
Browser lets QwenWork control your browser — opening pages, clicking buttons, extracting data, and filling in forms.
```
The Browser connector currently supports only Chromium-based browsers (such as Chrome and Edge). Safari and Firefox are not supported yet.
```
### Why you need it {#why-you-need-it}
Much of daily work involves repetitive operations in the browser: logging into a back-office system every day to export data, checking competitors' prices on a regular basis, or copying information back and forth between multiple pages. These tasks aren't difficult, but they are time-consuming and error-prone. Browser lets you describe what you need in a single sentence, and the AI completes the entire workflow automatically.
### Core capabilities {#core-capabilities}
- **Shared login state**: Runs in a browser you are already signed into — no need to re-enter account names and passwords.
- **Natural-language driven**: No crawler code or recorded scripts required; just describe what you want in everyday language.
- **Page awareness and interaction**: The AI can "see" the page structure, understand elements such as buttons, forms, and lists, and perform clicks, typing, scrolling, selection, and other operations.
- **Data extraction and organization**: Extracts structured data from web pages and outputs it as tables, Markdown, or files.
- **Multi-tab operation**: Can work with multiple tabs at the same time, switching between pages and comparing data.
### Quick setup {#quick-setup}
**1. Install the browser extension**
Under **Extensions** in the left sidebar, click **Connectors**, find **Browser** in the recommended list, and click **+**. When the dialog opens with the status **Waiting for extension**, click **Install from Chrome Web Store** to complete the installation. If you run into trouble, click "Having trouble installing from the store? Try manual installation".
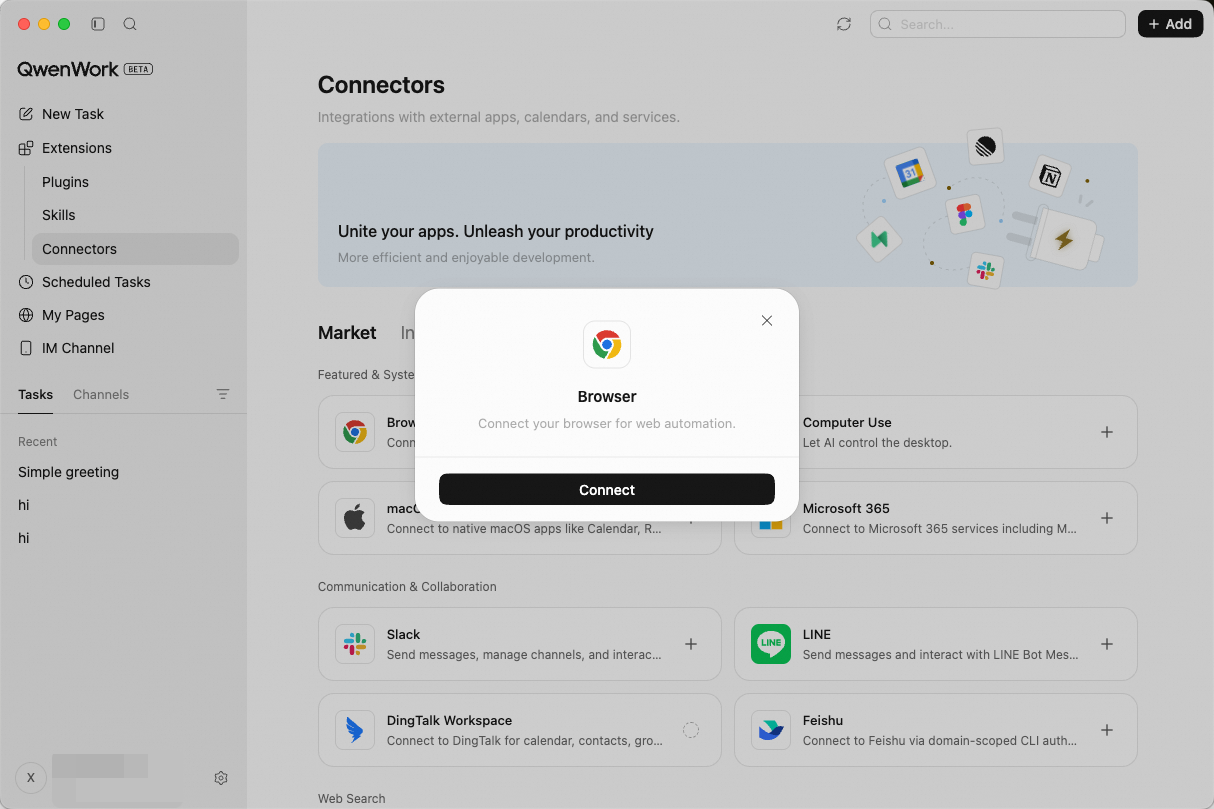
**2. Confirm the connection**
Once the extension is installed and enabled, the dialog status changes to **Extension connected** and shows the connected browser instance — the connection is complete.
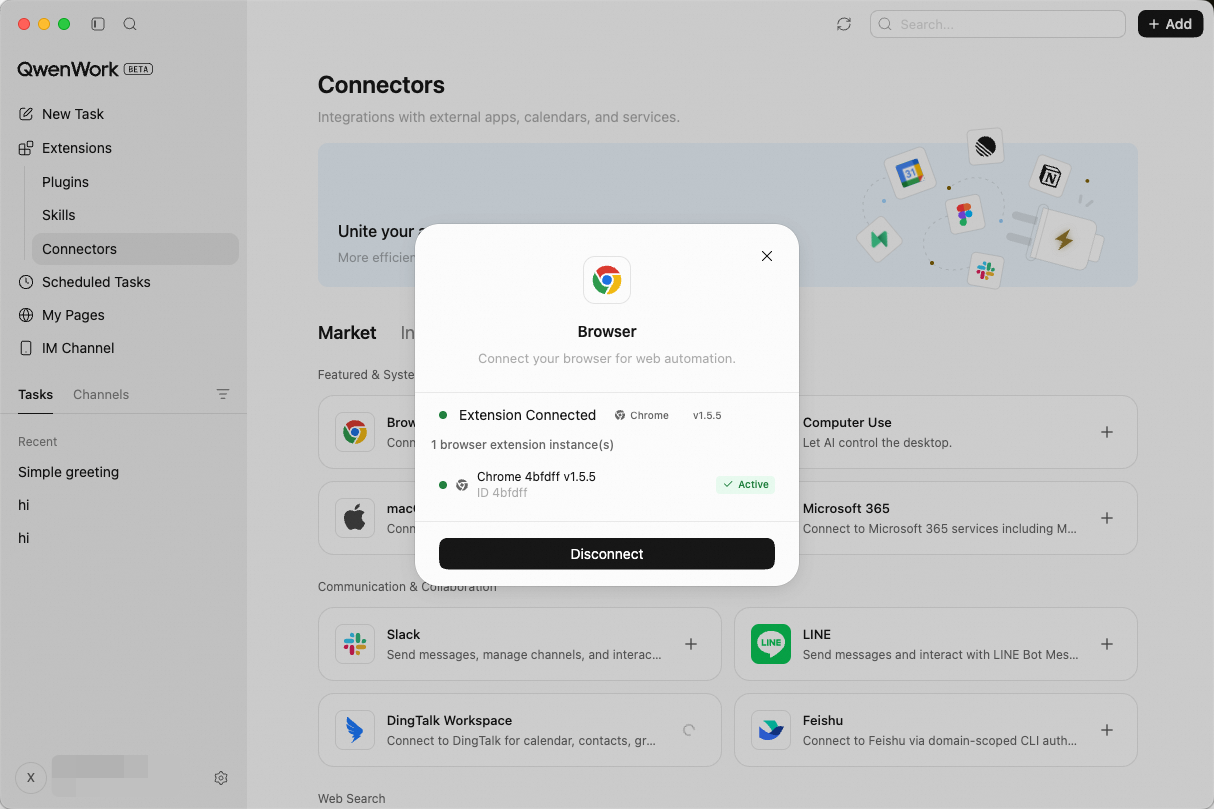
```
After a successful connection, the AI takes over the current tab. While a task is running, avoid operating that page manually so your actions don't conflict with the AI's.
```
### Typical scenarios {#typical-scenarios}
**Data collection and research**
```
Open https://huggingface.co/models,
filter for recently updated models in the "Text Generation" category,
extract the names, download counts, like counts, and publish dates of the top 10 models,
and organize them into an Excel spreadsheet sorted by downloads from highest to lowest.
```
**Web information extraction**
```
Open https://github.com/trending,
extract the names, descriptions, star counts, and languages of today's trending repositories,
and organize them into a Markdown table saved to the working directory.
```
**Industry news collection**
```
Open Hacker News and browse today's top 10 posts,
filter for articles related to "AI" or "Machine Learning",
open each article's detail page and extract the key takeaways,
and compile them into a Markdown briefing of today's AI news.
```
**Bulk form filling**
```
Read "team-members.xlsx" from the working directory,
then open the company's internal admin system (https://admin.example.com),
and fill each row's name, department, and position into the new-member form.
Take a screenshot to confirm after each entry is completed.
```
## macOS Apps {#macos-apps}
macOS Apps lets QwenWork directly read and write data from native apps on your Mac, turning your Calendar, Mail, Reminders, and more into a workbench the AI can operate.
### Supported apps {#supported-apps}
Under **Extensions** in the left sidebar, click **Connectors**, find macOS Apps, and enable the following apps individually as needed:
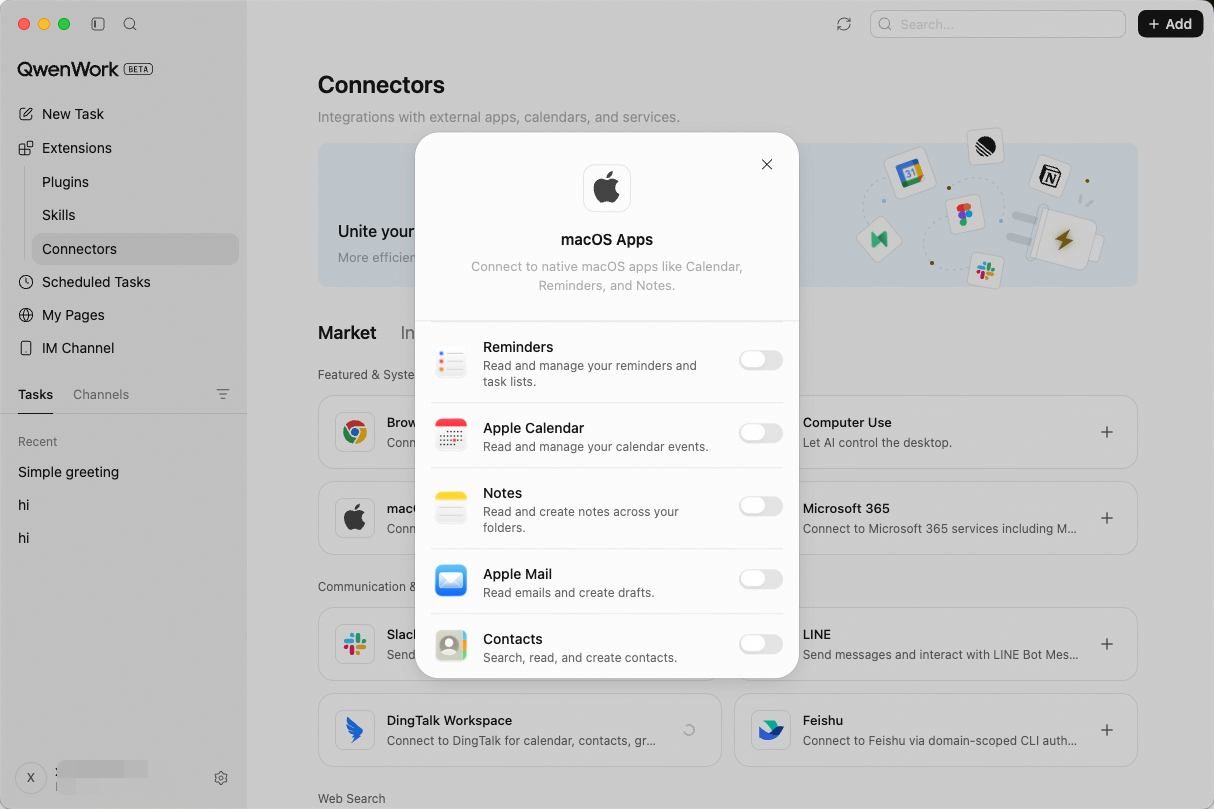
**Reminders** — Reads and manages your Reminders lists. The AI can create tasks, set due dates, and mark completion status, acting as your to-do management assistant.
**Calendar** — Reads and manages calendar events. The AI can review today's schedule, create new events, and check for time conflicts, helping you plan your day.
**Notes** — Reads and creates notes. The AI can save important information from conversations, meeting minutes, and quick ideas directly to Notes.
**Mail** — Reads email and creates drafts. The AI can summarize unread messages, extract key information, and draft replies, reducing the time you spend in your inbox.
**Contacts** — Searches, reads, and creates contacts. The AI can quickly look up contact details and organize contact data in bulk.
```
The first time you enable a connection to an app, macOS shows a system permission request (such as "QwenWork would like to access your calendar"). Once you grant access, everything works normally and the request won't appear again.
```
### Typical scenarios {#typical-scenarios-2}
**Manage your schedule in one sentence**
```
Check today's schedule on my calendar,
add the 3 PM meeting to Reminders with high priority,
and create a new note in Notes listing the materials I need to prepare.
```
**Smart email summaries**
```
Read all unread emails from today,
sort them by importance, and summarize the core content of each email in one sentence.
Save the details of the three most important emails to Notes.
If any email needs a reply today, draft one and place it in Drafts.
```
**Cross-app information integration**
```
Check my calendar events this week and find all external meetings.
For each meeting, look up the corresponding contact's information in Contacts,
and generate a meeting memo that includes the meeting time, attendee names, contact details, and meeting topic.
```
## Microsoft 365 {#microsoft-365}
Microsoft 365 lets QwenWork directly access and manage your Microsoft account data. Once enabled, the AI can help you handle Outlook email, arrange your calendar, manage to-dos, and more.
### Quick setup {#quick-setup-2}
Before first use, you need to authorize your account:
1. In QwenWork, go to **Extensions** → **Connectors** in the left sidebar, find Microsoft 365, and click **Connect Microsoft Account**.
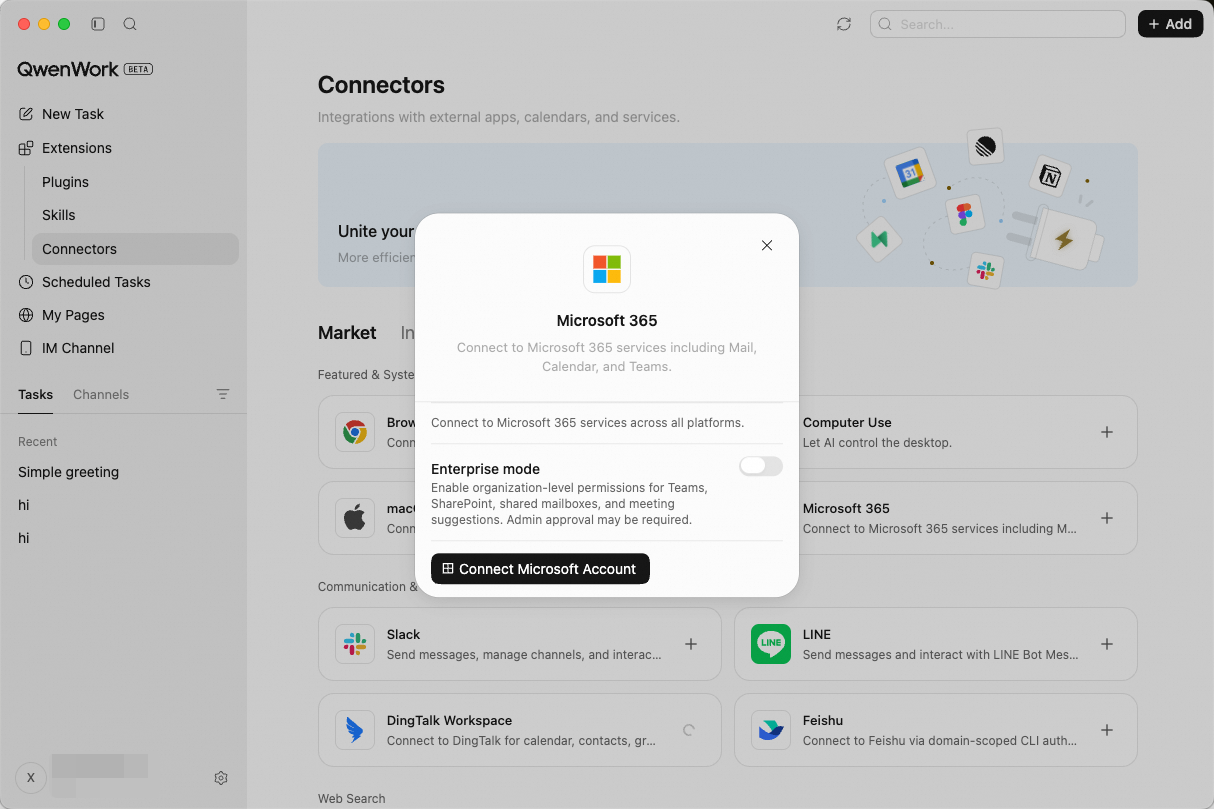
2\. In the browser window that opens, sign in to your Microsoft account.
3\. Read the permissions request page carefully (such as "QwenWork MS365 Connector needs your permission..."). Once you confirm authorization, it is ready to use.
### Supported apps {#supported-apps-2}
After signing in, you can enable the following services individually as needed:
**Mail** — Reads, sends, and manages Outlook email and drafts. The AI can summarize your inbox, draft replies, or find specific emails.
**Calendar** — Reads and manages Outlook calendar events and meetings. The AI can review your schedule and create new meeting invitations.
**Contacts** — Reads and manages Outlook contacts. The AI can quickly find contact details for colleagues or clients.
**To Do** — Manages personal tasks and task lists (Microsoft To Do). The AI can add to-dos and mark them complete.
**Notes** — Accesses OneNote notebooks, sections, and pages. The AI can record meeting minutes or extract note content.
**Files** — Browses and manages OneDrive files and Excel data. The AI can find documents in the cloud or read spreadsheet data.
### Typical scenarios {#typical-scenarios-3}
**Handling email and schedules**
```
Summarize all the important emails I received today.
If any email mentions a meeting invitation, check my Outlook calendar for conflicts,
and if there is no conflict, add the meeting to my calendar and reply to confirm my attendance.
```
**Cross-platform task management**
```
Check my Microsoft To Do tasks for today,
find the high-priority tasks,
search OneDrive for relevant reference documents based on the task content,
and add the document links to the task notes.
```
## DingTalk Workbench {#dingtalk-workbench}
DingTalk connects QwenWork to your organization's DingTalk: instead of clicking through multi-level menus item by item, you can complete workflows such as creating To-Dos, submitting or drafting reports, and handling attendance and calendar events in natural language (the exact scope depends on what your enterprise administrator has enabled).
### Why you need it {#why-you-need-it-2}
In everyday work, handling matters in DingTalk usually requires tedious steps: finding the right app, clicking into the details, filling in a form, and submitting it. The Connector lets QwenWork connect directly to the DingTalk Workbench (DWS), compressing these "multi-click" operations that span multiple pages into "one-sentence" natural-language instructions — keeping you in your current work context.
### Core capabilities {#core-capabilities-2}
Subject to what your enterprise administrator has enabled, the Connector can operate more than ten DingTalk modules through a large language model. Typical capabilities include:
- **To-Do management**: For example, type "finish reviewing the three tables by 8 PM today", and the AI automatically parses the time and content and creates a To-Do. You can also view your To-Do list, change completion status, or update goals directly in the conversation window, without leaving the editor.
- **Report filling**: Say goodbye to manual compilation. QwenWork automatically gathers your To-Dos and the work you did during the day (such as submission records and task progress), organizes them into a cleanly formatted report, and pushes it to DingTalk with one click. Weekly and monthly reports work the same way — no page switching or opening report templates required.
- **Attendance and calendar**: Within the scope authorized by the Connector, initiate attendance check-ins, query shift schedules, or book and manage calendar events.
- **Approval workflows**: Subject to what your enterprise has enabled, quickly initiate or handle various approval flows (the specifics depend on the configuration on the DingTalk side).
The modules and permissions actually available depend on your enterprise's configuration on the DingTalk side and the capability scope granted to the app.
### Quick setup {#quick-setup-3}
**1. Open the DingTalk Connector**
Under **Extensions** → **Connectors** in the left sidebar, switch to the **Marketplace** tab, find **DingTalk**, and click the card.
**2. Sign in to your DingTalk account**
The **Sign in to DingTalk** dialog appears. Read the permission description, then click **Sign in to DingTalk** at the bottom to complete authorization.
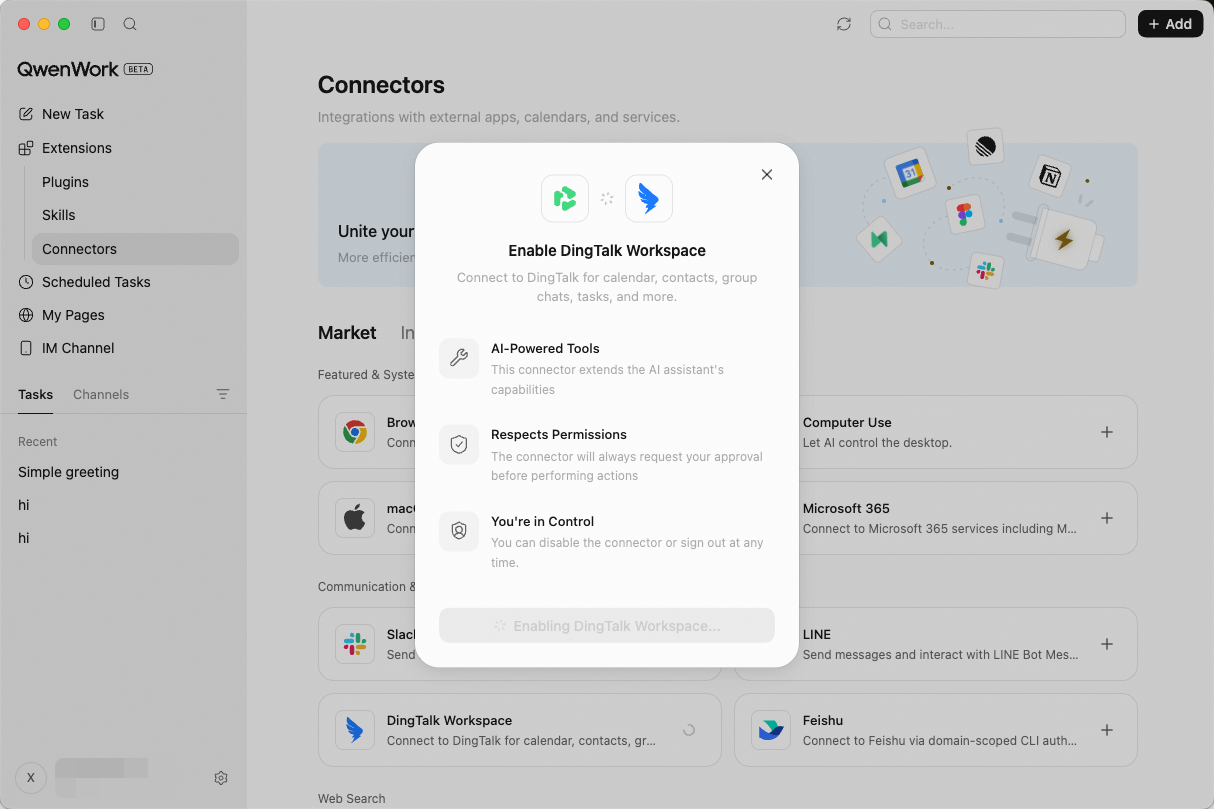
**3. Confirm the installation**
Once authorization is complete, view or manage the connector under **Installed**.
After completing the steps above, you can operate To-Dos, reports, attendance, calendar, approvals, and more in natural language (subject to the capabilities your enterprise has enabled).
### Typical scenarios {#typical-scenarios-4}
**Create a DingTalk To-Do**
```
Create a To-Do in DingTalk for 8 PM today, titled "Review of three tables".
```
**Draft a daily report**
```
Based on yesterday's meeting notes and completed To-Dos, list the key points as a draft so I can paste it into today's DingTalk daily report.
```
```
You can turn frequently used DingTalk instructions into a Skill, or combine them with Scheduled Tasks for periodic automation.
```
## Custom MCP Services {#custom-mcp-services}
MCP (Model Context Protocol) is an open protocol that standardizes how AI applications connect to external tools and data sources. Think of it as the "USB port" of the AI world — just as USB makes all kinds of peripherals plug-and-play, MCP lets AI call a wide variety of external services in a unified way.
Before MCP, AI assistants could only answer questions based on the conversation context. With MCP, QwenWork can directly operate your calendar, query documents, fetch map information, and more — truly becoming an assistant that can "take action".
### How it works {#how-it-works}
MCP uses a client-server architecture:
- **MCP client**: QwenWork itself, responsible for initiating requests and presenting results.
- **MCP server**: Deployed by service providers (such as DingTalk and AMap), responsible for executing the actual operations and returning data.
When you make a request in QwenWork, the AI automatically determines whether an MCP service needs to be called, completes the invocation through the protocol, and presents the result to you — all you need to do is describe what you want in natural language, as usual.
### Add an MCP service {#add-an-mcp-service}
Open the QwenWork desktop client and go to **Extensions** → **Connectors** in the left sidebar. Click **+ Add** in the upper-right corner of the page, and choose one of the following two methods:
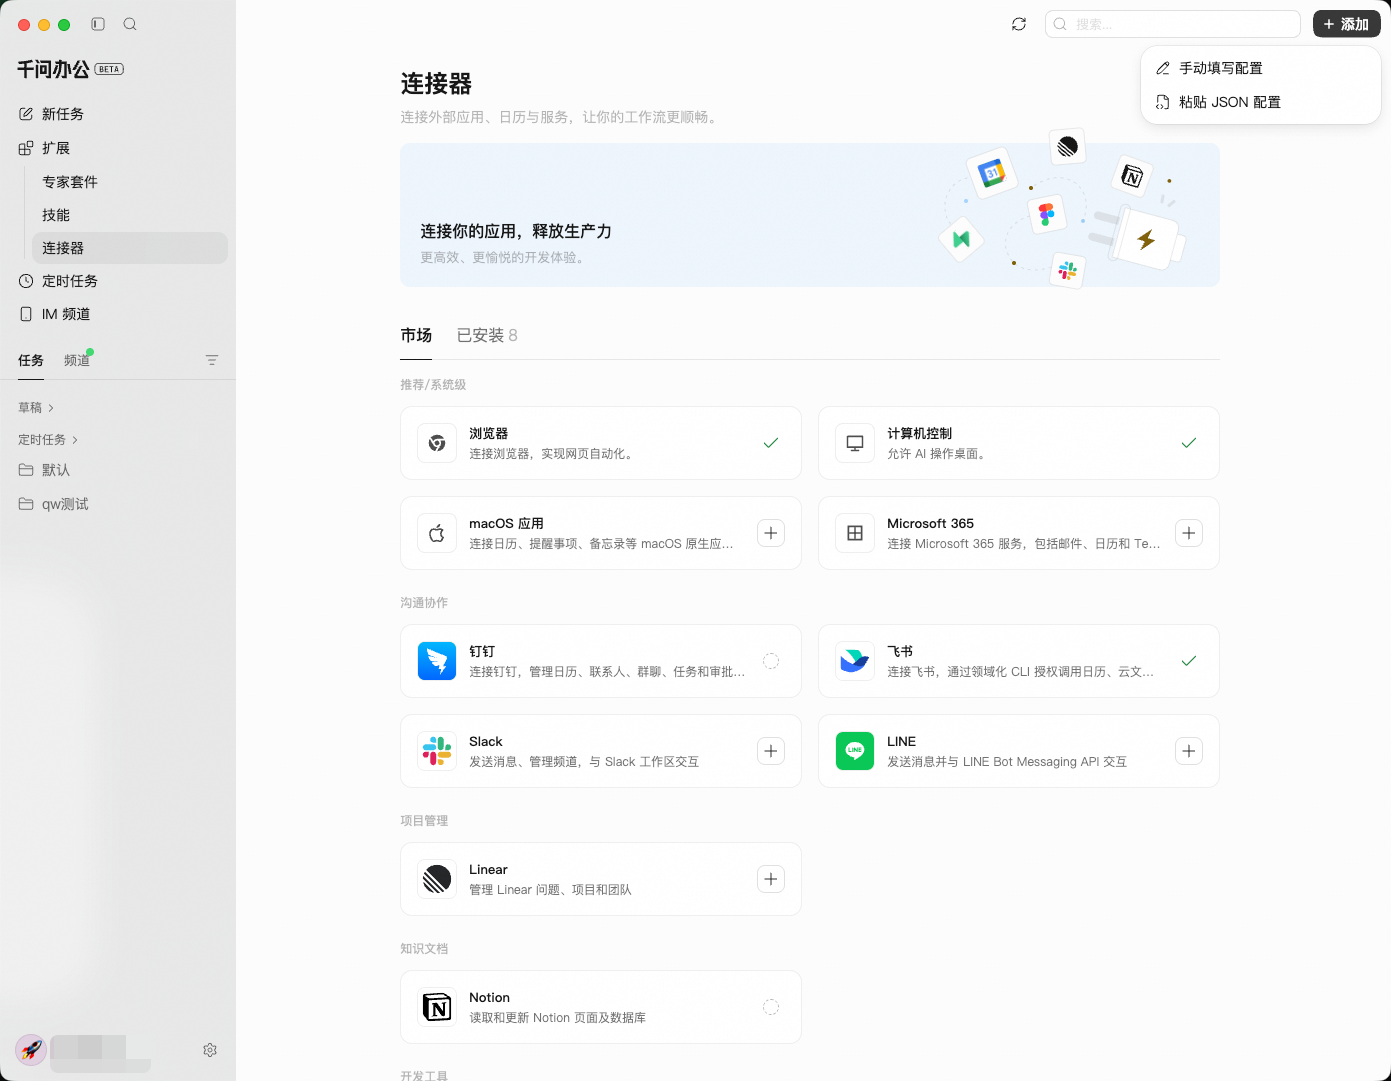
#### Paste JSON configuration {#paste-json-configuration}
Best for cases where you copy a JSON configuration directly from an MCP marketplace. Click **+ Add** → **Paste JSON configuration**; the **Import via JSON** dialog appears — paste the configuration and click **Import**.
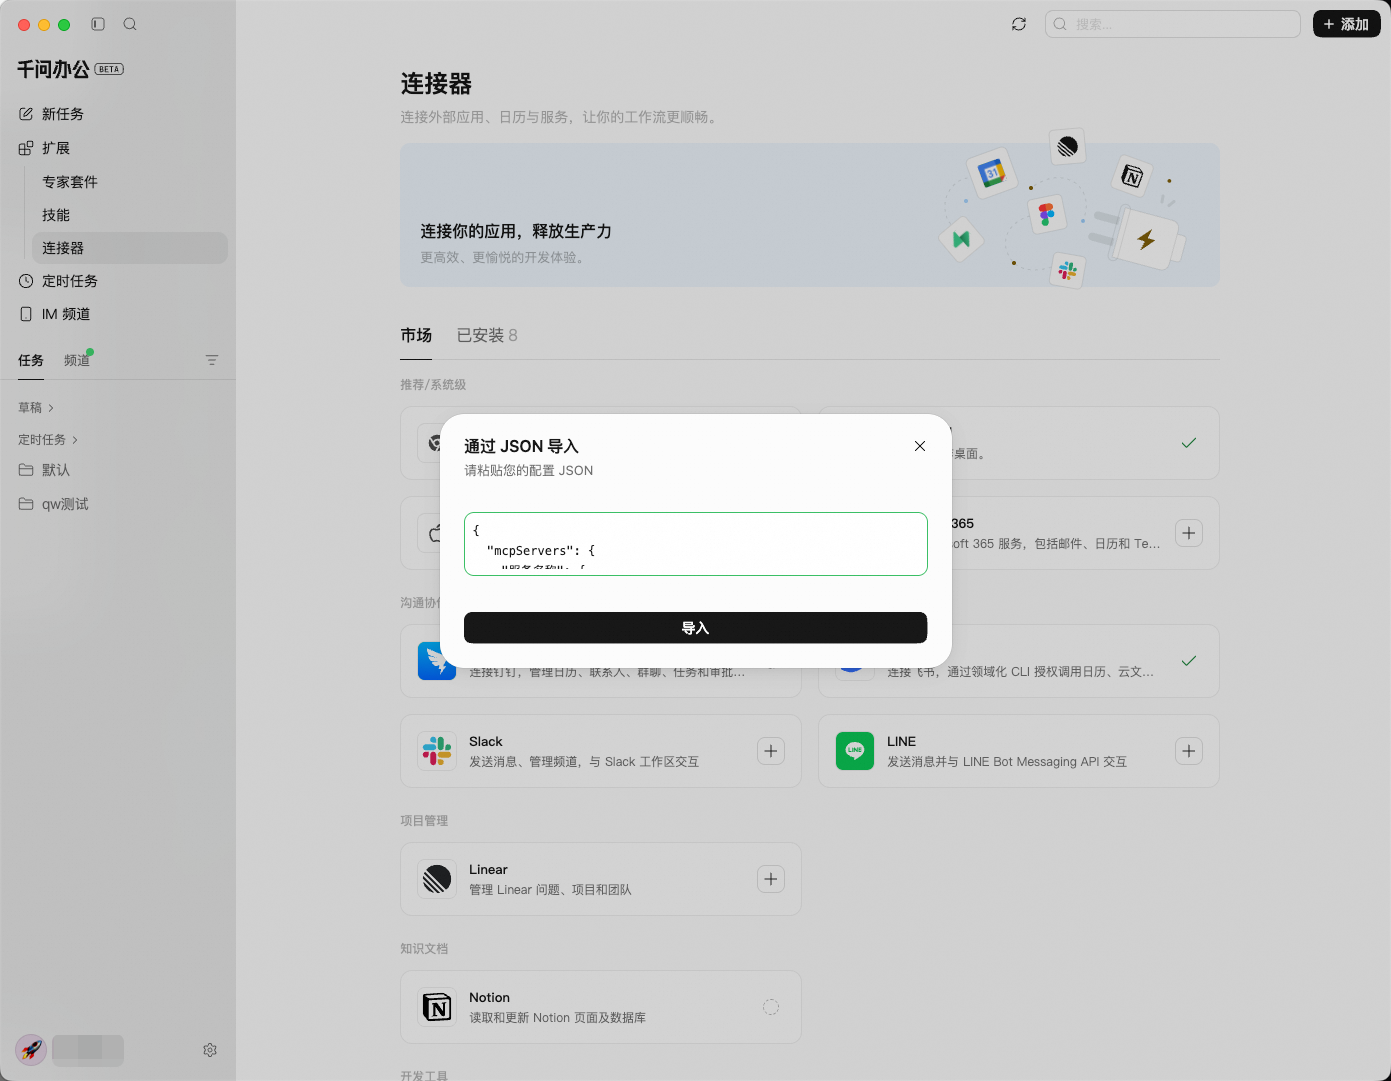
Example JSON configuration format:
```json
{
"mcpServers": {
"service-name": {
"type": "streamable-http",
"url": "https://mcp-server-url.example.com/sse",
"headers": {
"Authorization": "Bearer your-token"
}
}
}
}
```
#### Fill in the configuration manually {#fill-in-the-configuration-manually}
Best for cases where you fill in the service configuration by hand. Click **+ Add** → **Fill in configuration manually**. In the "Add MCP Server" dialog that appears, first choose a type from the **Server type** dropdown. Different types correspond to different configuration forms:
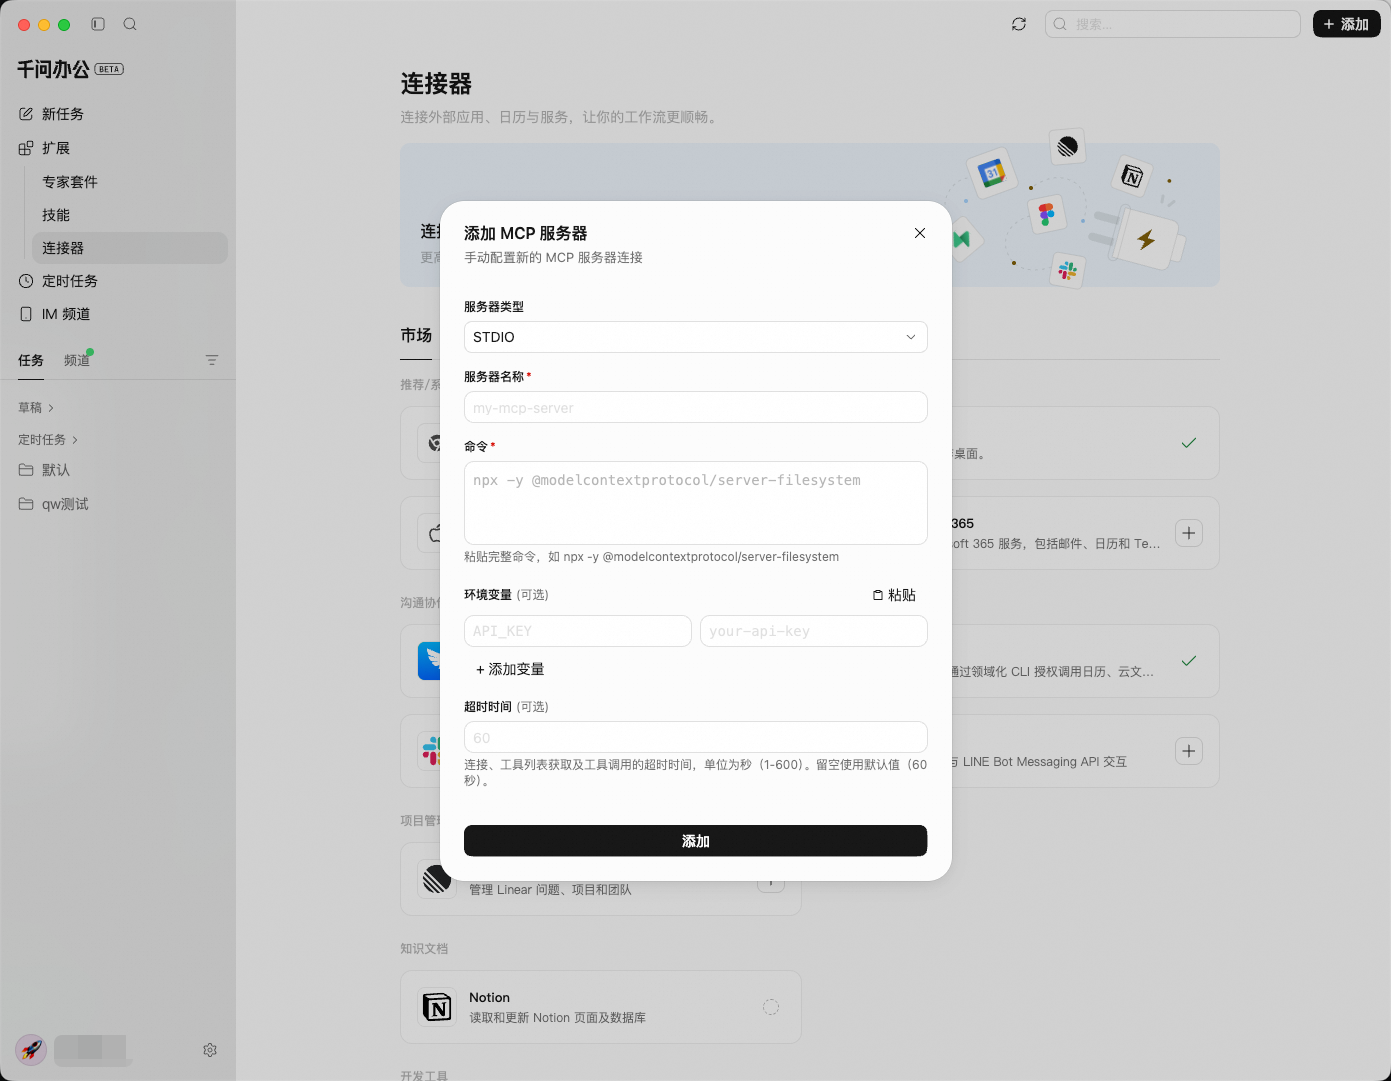
##### Streamable HTTP / SSE
Remotely hosted MCP services, accessed via URL. Most services offered by MCP marketplaces are of this type. Configuration is simple, and this is the recommended first choice.
- **Server name**: Give the service an easily recognizable name.
- **Server address**: Paste the URL copied from the MCP marketplace.
- **Headers** (optional): If the service requires authentication, click **+ Add Header** to add request headers (for example, `Authorization: Bearer your-token`). You can also click **Paste** to import them in bulk from the clipboard.
```
Streamable HTTP is the upgraded version of SSE, with more powerful functionality. If the MCP marketplace provides a Streamable HTTP URL, simply choose the Streamable HTTP type.
```
##### STDIO
MCP services that run locally and are launched from the command line. Suitable for developers using local tools or command-line integrations; the corresponding runtime environment (such as Node.js or Python) must already be installed on your machine.
- **Server name**: Give the service an easily recognizable name.
- **Command**: Paste the complete launch command, such as `npx -y @modelcontextprotocol/server-filesystem`.
- **Environment variables** (optional): Environment variables the service needs at runtime (such as API keys and access tokens). Click **+ Add Variable** to add key-value pairs one by one, or click **Paste** to import them in bulk from the clipboard.
Once you've filled everything in, click **Add**.
```
How do you choose between pasting JSON configuration and filling in the configuration manually? Pasting JSON configuration automatically parses all fields in the configuration (type, address, authentication, etc.) in one step; filling in the configuration manually requires entering each item but is more flexible. Both methods produce the same result — choose whichever is more convenient.
```
### Manage MCP services {#manage-mcp-services}
Open the **Connectors** page and switch to the **Installed** tab. Added MCP services appear in the **Custom** section. You can:
- Enable or disable a service with its toggle.
- Expand a service to view the list of tools it provides.
- Click the edit icon to modify its configuration, or click the delete icon to remove the service.
## Using Connectors Together {#using-connectors-together}
When multiple types of Connectors are enabled at the same time, QwenWork can collaborate across apps within a single task:
**Browser + Calendar**
```
Check all the meetings on my calendar tomorrow.
For each meeting, use the browser to search for background information on the attendees' companies,
and generate a pre-meeting preparation briefing saved to Notes.
```
**Browser + Mail**
```
Read all customer emails received today.
For each product issue mentioned in the emails, use the browser to search our documentation site for the corresponding solution,
and organize them into a comparison table of issues and solutions saved to the working directory.
```
**Full-feature collaboration**
```
Please do the following:
1. Check today's calendar and list all meetings
2. Read unread emails and filter for content marked as important
3. Open the browser and check today's To-Dos on the team project board
4. Consolidate the information above into a daily work briefing, save it to Notes, and create a corresponding reminder
```
**Scheduled Tasks**
```
Combine these multi-connector tasks with Scheduled Tasks to achieve periodic automatic execution. For example, set the "daily work briefing" above to run at 9 AM every workday, and the briefing will be ready by the time you arrive at the office.
```
## Best Practices {#best-practices}
### Give an explicit URL or operation path {#give-an-explicit-url-or-operation-path}
When using the Browser connector, providing the target URL directly in your prompt is faster and more accurate than letting the AI search for it on its own. For example, say "Open [https://analytics.google.com](https://analytics.google.com)" rather than "Find Google Analytics for me".
### Combine Connectors with file reading and writing {#combine-connectors-with-file-reading-and-writing}
Connectors can work together with QwenWork's local file capabilities. You can have the AI scrape data from a web page and save it as a local Excel file, or read a local document and then bulk-fill forms on a website.
### Run complex workflows through manually once first {#run-complex-workflows-through-manually-once-first}
For complex workflows that involve multiple page jumps, we recommend first guiding the AI through the entire process in a regular conversation. Once the steps are confirmed, solidify the prompt into a [Skill](/features/skills) or [Scheduled Task](/desktop/scheduled-tasks) for reuse.
### Make good use of human-AI collaboration {#make-good-use-of-human-ai-collaboration}
When you encounter steps the AI can't complete on its own, such as CAPTCHAs or QR-code sign-ins, you can take over at any time. After you complete the verification manually, the AI continues with the rest of the task in the signed-in state.
## FAQ {#faq}
**After enabling a Connector, the conversation says the related tools can't be found?**
Right after enabling or disabling a Connector, you **need to create a new conversation task** for it to take effect. Please don't continue asking in the original conversation.
**What if I encounter a sign-in page or CAPTCHA?**
QwenWork can't automatically pass complex image CAPTCHAs, SMS verification, or QR-code sign-ins. When the AI navigates to such a page, simply complete the verification manually, and the AI will continue once sign-in succeeds.
**What if a macOS app permission was denied?**
If you clicked Deny when the dialog first appeared, you need to grant the permission manually: open **System Settings → Privacy & Security**, find the corresponding permission category (Calendar, Reminders, etc.), and add QwenWork to the allowed list.
**Is it normal for browser operations to be slow?**
The Browser connection needs to perceive page content in real time, which involves screenshots and element analysis, so it is slightly slower than pure conversation. Network conditions and page complexity both affect execution time. For data-heavy tasks, we recommend describing the steps in stages in your prompt, letting the AI complete them step by step.
**What if an MCP doesn't work after being added?**
```
Please check the following in order:
1. Confirm that the JSON configuration or URL was copied completely and is correctly formatted.
2. Confirm that your network connection is working normally (some MCPs require a specific network environment).
3. Confirm whether the corresponding service requires additional authorization or sign-in.
4. Try removing the service under **Connectors** → **Installed** and adding it again.
```
**What if MCP service calls are delayed?**
Response times for MCP services depend on the service provider. Most services return results within a few seconds. If timeouts persist, check your network environment or contact the service provider.
# System Settings
Source: https://docs.qwenwork.ai/desktop/settings
> Configure preferences, shortcuts, workbench, security, and experimental features.
An overview of all QwenWork settings: Preferences, Profile, System, Voice, Shortcuts, Workbench, Security, and Experimental features.
Click the **⚙** Settings icon at the bottom of the left sidebar to open the Settings panel. Settings are organized into three groups: **General**, **Extensions & Integrations**, and **Advanced**.
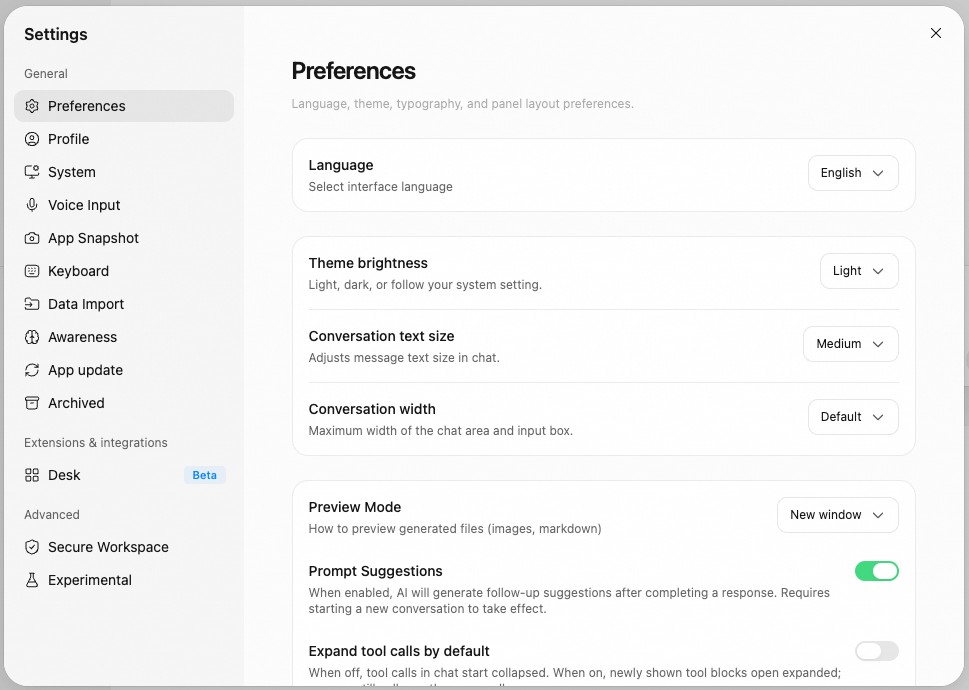
## General {#general}
### Preferences {#preferences}
Personalize the interface appearance and conversation experience:
| Setting | Description |
| ------------------------------------------ | ------------------------------------------------------------------------------------------------------------------------------------------------------------------------------- |
| **Language** | Choose the interface language (Chinese / English). The change takes effect immediately |
| **Theme brightness** | Light, Dark, or Auto (follows the system) |
| **Conversation text size** | Small,Medium,Large |
| **Conversation Width** | Default,Wide |
| **Preview Mode** | How generated files (images, Markdown) are previewed:New window , Right sidebar |
| **Prompt Suggestions** | When enabled, the AI automatically suggests next steps after each reply. Takes effect in new conversations |
| **Expand Tool Calls by Default** | When enabled, newly shown tool blocks are expanded by default. You can collapse them manually at any time |
| **Show Tool Call Progress in IM Channels** | When enabled, IM channels show each tool execution step as it happens. When disabled, only the final reply is shown |
| **Tool execution limit** | Automatically pause when tool calls reach the set count in a single turn, and wait for your confirmation before continuing. Helps prevent runaway loops from consuming credits. |
| **Auto-allow repeated tool calls** | When enabled, repeated tool call confirmations are automatically allowed without showing a card. |
### Profile {#profile}
Manage your avatar and account information:
- **Avatar** — customize the background color (11 colors to choose from) and the icon (the first letter of your username, or an emoji).
- **Account UID** — displays the unique user ID of the current account. It can only be viewed and copied.
- **Subscription** — shows the current plan of your account. Click "View Plans & Pricing" to open the plans page.
- **Log Out** — sign out on this device. You can sign back in at any time.
### System {#system}
System-level options such as auto-start, keep-awake, and notifications:
| **Setting** | Description |
| ------------------------- | --------------------------------------------------------------------------------------------- |
| **Launch at Login** | Automatically start QwenWork when you log in to your computer |
| **Keep System Awake** | Prevents your computer from sleeping while the Agent is working |
| **Desktop Notifications** | Sends a system notification when the Agent is waiting for your reply or has finished its work |
| **Dock unread status** | Shows a red badge with the unread task count on the Dock/taskbar |
| **Task Unread Status** | A one-time action on unread status |
| **Sound Notifications** | Plays a sound when the Agent finishes its work |
| **Network Proxy** | Configures the app's proxy settings (follow system / custom) |
| **Network diagnostics** | Check QwenWork service connectivity and help locate connection issues |
**System Permissions** — the following permissions can be granted in your system settings:
| Permission | Purpose |
| ----------------------------------- | ----------------------------------------------------------------------------------------------- |
| **Full Disk Access** | Reading and writing project files, and similar operations |
| **Screen & System Audio Recording** | Screen content recognition, feedback screenshots, and more |
| **Accessibility** | Listening for global shortcuts, used for quick launch and more |
| **Microphone** | Voice input and more |
| **Automation** | Working with system apps — creating reminders, viewing calendar events, editing notes, and more |
| **Notifications** | Sending desktop notifications for task completion, message alerts, and similar scenarios |
| **Location Services** | Handling location-based tasks |
**Data Sharing** — your data is never used for product improvement; it is only used to provide core services. You can enable Privacy Mode here. For enterprise accounts, only administrators can change this setting in the enterprise admin console.
### Voice Input {#voice-input}
Global voice-input shortcut and transcription settings (see [Voice Input](/features/voice-input) for details):
- **Enable Voice Input** — enables the global voice-input shortcut. Press once to start recording, press again to stop and transcribe.
- **Shortcut Mode** — choose how voice recording is triggered: a single key, or a key combination (e.g., Ctrl+Shift+Space).
- **Trigger Key** — the chosen key triggers voice input only when pressed on its own. Normal key combinations are not affected.
### App Snapshots {#app-snapshots}
Capture a screenshot and readable text of the frontmost app as conversation context (see [App Snapshots](/desktop/app-snapshots) for details):
- **Global Shortcut** — choose the trigger here (e.g., pressing the left and right Option keys at the same time).
### Keyboard Shortcuts {#keyboard-shortcuts}
View and customize keyboard shortcuts. Search, or click any entry to record a new combination.
**General**
| Action | macOS | Windows |
| ------------------- | ----- | -------- |
| Open Settings | `⌘ ,` | `Ctrl ,` |
| Toggle Sidebar | `⌘ \` | `Ctrl \` |
| Toggle Task Monitor | `⌘ /` | `Ctrl /` |
**Tasks**
| Action | macOS | Windows |
| ---------------------- | ------- | ---------- |
| Quickly Switch Tasks | `⌃ Tab` | `Ctrl Tab` |
| New Task | `⌘ N` | `Ctrl N` |
| Search All Tasks | `⌘ G` | `Ctrl G` |
| Search in Current Task | `⌘ F` | `Ctrl F` |
**Conversation**
| Action | macOS | Windows |
| ----------------- | -------------- | --------------- |
| Send Message | `↵` or `⌘ ↵` | `↵` or `Ctrl ↵` |
| Insert Line Break | `⇧ ↵` or `⌃ ↵` | `Shift ↵` |
**QuickPick** — a global quick-task window that lets you submit tasks at any time without switching to the main window. It supports two trigger modes: a key combination (e.g., ⌥ Space), or double-tapping a modifier key.
### Awareness {#awareness}
Customize collaboration style and work manual, with cross-session memory and skill evolution.
### App Updates {#app-updates}
Check for and install new versions of QwenWork — the same as "Check for Updates" in the menu bar. When a new version is available, a prompt appears, and the download and restart happen only after you confirm. If you are already up to date, it simply shows "You're on the latest version".
### Archived {#archived}
A central place to manage your archived tasks. Each archived task can be restored or permanently deleted individually, or you can click "Delete All" in the top-right corner to clear them all at once.
## Extensions & Integrations {#extensions-integrations}
### Desk {#desk}
Configure work modes and the default mode for new tasks.
| Workbench | Description |
| ----------- | ------------------------------------ |
| **General** | Chat with the AI assistant (default) |
| **Design** | Design with canvas |
| **Slides** | Create slide decks with AI Slides |
| **Writing** | Write, edit, and polish documents |
**Slide Templates** — manage built-in and custom slide templates here. You can also import your own templates.
## Advanced {#advanced}
### Secure WorkSpace {#secure-workspace}
Carves out a dedicated, isolated space on your computer for running tasks — execution is faster and more stable, and all files and data stay on your device:
- **Enable Secure Work Space**— when enabled, tasks run in an isolated work environment. They won't affect other files on your computer or touch the real system.
- **Clean Up Work Space Files to Free Up Space** — removes the downloaded work environment files, but never deletes your conversation history or work outputs.
### Experimental Features {#experimental-features}
Get early access to new features. Some are still being polished:
| Feature | Description |
| ----------------------------- | -------------------------------------------------------------------------------------------------------------------------------- |
| **Generative UI** | Allows the AI to render interactive HTML components (charts, dashboards, forms, etc.) in chat. Takes effect in new conversations |
| **Pop-out Window** | Runs a task in its own detached window. Right-click a task in the sidebar to pop it out |
| **Assistant Process Folding** | Adjust how thinking, tool execution, and process notes collapse in conversations. |
# Admin Console Overview
Source: https://docs.qwenwork.ai/enterprise/admin-overview
> Navigate the QwenWork Admin Console and its management features.
## 1. What you can do in the Admin console {#1-what-you-can-do-in-the-admin-console}
The Qwen Work Admin console is where you manage organization members, subscriptions, credits, and organization capabilities. Depending on your role and organization status, the navigation may include the following features:
| Section | Feature | What it is for | User guide |
| ------------ | --------------------- | -------------------------------------------------------------------------------------------------- | ---------------------------------------------------------- |
| Subscription | Subscription | View plans and credits, purchase seats or credit packs, renew, manage orders, and request invoices | [Subscription Management](/enterprise/subscriptions) |
| Team | Members | Invite members, assign roles and seats, review requests, and maintain tags and remarks | [Member Management](/enterprise/members) |
| Team | Credits | View organization credits and packages, and set organization and member allowances | [Credit Management](/enterprise/credits) |
| Capabilities | Skills | Manage organization skills, control marketplace access, and review member submissions | [skill-management](/enterprise/skills) |
| Capabilities | Kits | Manage organization kits, control marketplace access, and review member submissions | [kit-management](/enterprise/kits) |
| Capabilities | Connectors | Manage organization-owned connectors, enable or disable them, and review member submissions | [connector-management](/enterprise/connectors) |
| Settings | Organization settings | Change the organization name and contact email, copy the organization ID, and manage privacy mode | [organization-settings](/enterprise/organization-settings) |
| Settings | Single sign-on | Connect an enterprise identity provider so members can sign in with their corporate accounts | [single-sign-on](/enterprise/sso) |
## 2. Open the Admin console {#2-open-the-admin-console}
1. Sign in to [qwenwork.ai](https://qwenwork.ai).
2. Switch to the organization you want to manage.
3. Open **Admin** from the account menu, or go directly to [qwenwork.ai/admin](https://qwenwork.ai/admin).
4. The console opens on the **Members** page by default.
If Qwen Work reports that the current account or organization does not match the requested one, confirm the organization shown on the page and then either:
- sign in with an account for the requested organization; or
- continue with the organization that is currently signed in.
Before purchasing, inviting members, or changing SSO, verify the current organization so the change is not applied to the wrong workspace.
## 3. Admin roles {#3-admin-roles}
### Organization super admin {#organization-super-admin}
A super admin has full organization management access and can usually:
- manage subscriptions, orders, and payments;
- manage members, roles, seats, and credit allowances;
- manage organization skills, kits, and connectors;
- change the organization contact email and privacy settings; and
- configure single sign-on when the organization is eligible.
### Team admin {#team-admin}
A team admin is responsible for day-to-day member and capability management and can usually:
- manage members and seats within their permission scope;
- view credits and set member allowances;
- manage skills, kits, and connectors; and
- view and maintain basic organization information.
Team admins do not see **Subscription** or **Single sign-on**, and cannot change the organization contact email or privacy mode.
## 4. Why a menu item may be missing {#4-why-a-menu-item-may-be-missing}
The menu changes automatically based on your role, organization type, and organization configuration.
| Missing feature | Common reason |
| ---------------------------------------- | -------------------------------------------------------------------------------------------------------------------- |
| Subscription | You are not an organization super admin, or the current workspace is not an enterprise organization |
| Single sign-on | You are not an organization super admin, or the organization already uses another bound organization identity method |
| Seat requests or Pending approvals | The current workspace is not an enterprise organization |
| Invitation links | The current workspace is not an enterprise organization, or it is already connected to a DingTalk directory |
| Organization email or Privacy management | You are not an organization super admin, or the current workspace is not an enterprise organization |
If your account should have access but the menu is still missing, refresh the page and switch to the target organization again.
## 5. Recommended setup order {#5-recommended-setup-order}
For a new organization, complete setup in this order:
1. In **Organization settings**, confirm the organization name and add a monitored contact email.
2. In **Subscription**, confirm the plan, total seats, and credit balance.
3. In **Members**, invite admins and members and assign the required seats.
4. In **Credits**, set organization and member allowances.
5. In **Skills**, **Kits**, and **Connectors**, define what organization capabilities members can access.
6. If corporate identity login is required, configure an identity provider in **Single sign-on** and submit it for review.
## 6. Common controls {#6-common-controls}
### Change the language {#change-the-language}
Use **English** or **Chinese** at the bottom of the navigation. The Admin console menu and page text switch to the selected language.
### Return to Qwen Work {#return-to-qwen-work}
Select the Qwen Work logo in the upper-left corner, or select **Back to Qwen Work** at the bottom of the navigation.
### Use the console on a small screen {#use-the-console-on-a-small-screen}
On a narrow screen, select the menu button in the upper-left corner to open the Admin navigation. Select the backdrop, the close button, or another feature to close it.
### Search, filter, and paginate {#search-filter-and-paginate}
Lists such as members, skills, kits, and connectors support search or pagination. After changing a filter, wait for the list to reload. Before a bulk action, verify the current filter scope.
## 7. Important notes {#7-important-notes}
- Delete, remove, and void actions often cannot be undone. Verify the target before confirming.
- Purchases, renewals, invoices, and payment methods open Alibaba Cloud pages. Allow your browser to open new windows.
- Role, seat, allowance, privacy, and SSO changes affect other members. Follow your organization's approval process before making them.
- If data fails to load, select **Retry**. If the issue continues, record the page, time, and error message before contacting support.
# Subscription Management
Source: https://docs.qwenwork.ai/enterprise/subscriptions
> Manage enterprise subscriptions in the QwenWork Admin Console.
## 1. What you can do {#1-what-you-can-do}
On the **Subscription** page, you can:
- view the current organization plan, term, and seat usage;
- purchase seats or add seats to an existing plan;
- view available credits and purchase credit packs;
- renew the current subscription;
- view orders, continue payment, or void unpaid orders; and
- open Alibaba Cloud to manage payment methods or request invoices.
If **Subscription** is not in the navigation, confirm that you are an organization super admin and that you are in an enterprise workspace.
## 2. View the current subscription {#2-view-the-current-subscription}
In **Current subscription**, review:
| Item | Description |
| -------------------- | ----------------------------------------------------------- |
| Plan name | The plan currently used by the organization |
| Status | Whether the plan is active |
| Expiration date | The last day of the current subscription term |
| Assigned/total seats | Seats assigned to members compared with all purchased seats |
If there is no active subscription, the page shows the free plan and provides a **Purchase seats** action.
## 3. Purchase or add seats {#3-purchase-or-add-seats}
1. In **Current subscription**, select **Purchase seats** or **Add seats**.
2. Follow the page instructions to choose the quantity and subscription term.
3. Verify the product, amount, currency, and organization.
4. Submit the order and complete payment in the secure cashier page.
5. Return to Subscription and confirm that the plan and total seat count have been updated.
Before buying more seats, review current seat usage on the **Members** page to avoid duplicate purchases.
## 4. View and purchase credits {#4-view-and-purchase-credits}
The **Available credits** section shows the organization's current usable credits and the end date of the current subscription cycle.
To purchase a credit pack:
1. Select **Buy credit pack**.
2. Choose the required pack.
3. Verify the order amount and currency.
4. Complete payment.
5. Return to the page and confirm that available credits have increased.
Credits included with seats refresh when the next subscription cycle begins. A credit balance is not the same as a member allowance: the balance is what the organization can actually spend, while an allowance is a usage limit set by an admin.
## 5. Renew the subscription {#5-renew-the-subscription}
1. In **Renewal settings**, confirm that the plan uses manual renewal.
2. Select **Renew now**.
3. Verify the renewal term, seat count, and amount.
4. Complete payment.
5. Return to the page and confirm the new expiration date.
If **Renew now** is unavailable, the current plan may not support renewal on this page, or the subscription information may still be loading.
## 6. Manage payment methods {#6-manage-payment-methods}
The global edition provides **Manage payment methods** in the upper-right corner:
1. Select **Manage payment methods**.
2. Alibaba Cloud Billing Account opens in a new window.
3. Add, change, or review cards and other supported payment methods.
4. Return to Qwen Work when finished.
If the page does not open, allow pop-ups from [qwenwork.ai](https://qwenwork.ai).
## 7. View and manage orders {#7-view-and-manage-orders}
The **Order information** section shows:
- order ID and product name;
- order type, such as new purchase, upgrade, or renewal;
- payment status;
- creation and payment/activation times; and
- amount and available actions.
### Continue payment {#continue-payment}
1. Find an order with **Unpaid** status.
2. Select **Pay**.
3. Complete card payment in the secure cashier page.
4. Return to Qwen Work and select **I have completed payment**, or wait for the page to update automatically.
5. Confirm that the order status changes to paid.
### Void an order {#void-an-order}
1. Find an unpaid order you no longer need.
2. Select **Void**.
3. Verify the order ID and confirm.
A voided order cannot be restored. Create a new order if the purchase is still required.
## 8. Request an invoice {#8-request-an-invoice}
1. Select **Invoice** in the order section.
2. Alibaba Cloud's invoice page opens.
3. Select eligible orders and enter the invoice information.
4. Submit the request as instructed by Alibaba Cloud.
Invoice requests, billing profiles, and delivery status are managed on Alibaba Cloud.
## 9. Troubleshooting {#9-troubleshooting}
### Payment is complete but the order is still unpaid {#payment-is-complete-but-the-order-is-still-unpaid}
- Confirm that the transaction completed in the payment window.
- Select **I have completed payment** in the payment dialog.
- Refresh the Subscription page.
- Do not create multiple identical orders while payment status is still being confirmed.
### Purchase or renewal actions are missing {#purchase-or-renewal-actions-are-missing}
Confirm that the current account is an organization super admin and that the organization has a manageable subscription plan.
### The payment page does not open {#the-payment-page-does-not-open}
Allow new windows from [qwenwork.ai](https://qwenwork.ai), and confirm that your browser or corporate network is not blocking Alibaba Cloud Billing.
### Credits do not update immediately {#credits-do-not-update-immediately}
Payment and credit activation may take a short time to synchronize. Refresh the page. If a paid order does not update after an extended period, record the order ID and contact support.
---
[Back to overview](/enterprise/admin-overview) · [Next: Members](/enterprise/members)
# Member Management
Source: https://docs.qwenwork.ai/enterprise/members
> Add, remove, and manage organization members.
## 1. What you can do {#1-what-you-can-do}
On the **Members** page, you can:
- view member count and seat usage;
- invite members to the organization;
- change member names, roles, and seat status;
- maintain member tags, remarks, and storage usage information;
- review organization join requests and seat requests;
- view, resend, or revoke pending invitations; and
- create and deactivate invitation links.
The tabs shown on the page depend on the organization type and whether it is connected to a corporate directory.
## 2. Members and seats {#2-members-and-seats}
- A **member** is a user who has joined the organization.
- A **seat** is an organization entitlement assigned by an admin. A member with a seat can use organization credits.
- A **member without a seat** remains in the organization but cannot use features that consume organization credits. They can request a seat.
The top of the page shows used/total seats and the current member count. Before assigning a seat, confirm that one is available.
## 3. Find and review members {#3-find-and-review-members}
1. Open the **Members** tab.
2. Select the search button and enter a name, email address, or other contact information.
3. To filter by tags, open the filter in the **Tags** column and choose the matching mode.
4. Review each member's role, status, storage usage, tags, and remarks.
5. Use pagination to view more members.
Some enterprise members may also show a **Provider ID**, which identifies an external identity source.
## 4. Invite members {#4-invite-members}
Select **Invite member** in the upper-right corner. Qwen Work offers different invitation methods based on the organization configuration.
### Single email invitation {#single-email-invitation}
1. Select **Single email invitation**.
2. Enter the member's email address. First and last name are optional.
3. Choose a role: super admin, team admin, or member. Available choices depend on your own role.
4. Confirm the target team.
5. Review the invitation summary and select **Send invitation**.
The global edition does not require a mainland China phone number when inviting a super admin.
### Bulk invitation link {#bulk-invitation-link}
This method is available only to enterprise organizations that are not connected to a DingTalk directory.
1. Select **Bulk invitation link**.
2. Enter the maximum number of people who can join with the link. It cannot exceed the organization's available member capacity.
3. Optionally enter a name, such as “September new hires.”
4. Select **Create link**.
5. Copy and share the link with the intended members.
After a person verifies their identity through the link, the request appears under **Pending approvals**. Once approved, the person joins the organization without a seat.
### Corporate directory invitation {#corporate-directory-invitation}
If the organization is connected to a DingTalk directory, selecting **Invite member** opens the directory picker:
1. Select members from the corporate directory. You can select up to 100 people at a time.
2. Review the selected list.
3. Assign a role to each member.
4. Submit the invitation.
## 5. Manage pending invitations {#5-manage-pending-invitations}
Open **Pending invitations** to view invitations that have not yet been accepted.
- Use search to find an invitee.
- Select **Resend** to send the invitation email again.
- Select **Revoke** to invalidate the invitation.
- Review the invitation time, expiration, role, and remark.
If the email address is incorrect, revoke the invitation and create a new one rather than repeatedly resending it.
## 6. Review organization join requests {#6-review-organization-join-requests}
**Pending approvals** is available to enterprise organizations and contains requests created through invitation links.
### Review one request {#review-one-request}
1. Verify the applicant's name, email address, target team, and invitation link.
2. Select **Approve** or **Reject**.
3. An approved applicant becomes an organization member without a seat.
### Review requests in bulk {#review-requests-in-bulk}
1. Select **Batch select**.
2. Select requests, or select all results in the current scope.
3. Select **Approve** or **Reject**.
4. In the confirmation dialog, review the actual number of requests and any skipped items.
5. Confirm the action.
## 7. Review seat requests {#7-review-seat-requests}
Members without seats can request one. Process these requests under **Seat requests**:
1. Review the member, team, request time, and remark.
2. Select **Assign seat** to approve, or select **Reject**.
3. Use **Batch select** to process multiple requests together.
Before approval, confirm that a seat is available. If not, ask a super admin to purchase or add seats under **Subscription**.
## 8. Edit a member {#8-edit-a-member}
1. Find the member in the list.
2. Select **Edit**.
3. Change the first name, last name, or role as allowed.
4. Select **Save changes**.
Roles follow this hierarchy:
```text
Super admin > Team admin > Member
```
Admins can edit themselves, but cannot manage another admin at the same or a higher level. A team admin cannot change a super admin or another team admin.
## 9. Assign or reclaim seats {#9-assign-or-reclaim-seats}
### One member {#one-member}
1. Open the member's edit dialog.
2. Under **Seat**, select **Assign seat** or **Reclaim seat**.
3. Wait for the status to update.
### Multiple members {#multiple-members}
1. Select **Batch select** in the member list.
2. Select members, or select all results in the current search scope.
3. Select **Assign seat** or **Reclaim seats**.
4. In the confirmation dialog, review the actual member count and any skipped members.
5. Confirm the action.
Reclaiming a seat keeps the person in the organization, but they can no longer use features that consume organization credits.
## 10. Manage tags and remarks {#10-manage-tags-and-remarks}
### Tags {#tags}
- Select the tag area in a member row to add or remove tags.
- In batch mode, select **Batch tags** to update explicitly selected members.
- Batch tag editing is unavailable when all search results are selected. Select the target members individually instead.
### Remarks {#remarks}
Select the remark area to add internal context. Do not store passwords, secrets, or other sensitive information in remarks.
## 11. Remove a member {#11-remove-a-member}
1. Select **Remove member** from the member list or edit dialog.
2. Review the confirmation message.
3. Confirm removal.
The member loses access to organization resources. An admin cannot remove themselves or remove a super admin.
## 12. Manage invitation links {#12-manage-invitation-links}
Under **Invitation links**, you can:
- review total, used, and remaining capacity for active links;
- select **Copy** to copy a link again;
- deactivate a link immediately; and
- select **Show inactive links** to view used-up, expired, or deactivated links.
A deactivated link cannot be restored. Create a new link if more invitations are needed.
## 13. Troubleshooting {#13-troubleshooting}
### The invitation action is unavailable or shows Retry {#the-invitation-action-is-unavailable-or-shows-retry}
The page may still be loading the organization invitation configuration, or loading may have failed. Wait for it to finish. If **Retry invitation settings** appears, select it to reload.
### A member joined but cannot use organization credits {#a-member-joined-but-cannot-use-organization-credits}
Check whether the member has **No seat assigned**, and assign a seat if needed.
### You cannot edit an admin {#you-cannot-edit-an-admin}
You can manage only other members below your own role level. Contact an organization super admin to manage an admin at the same or a higher level.
### Invitation links are missing {#invitation-links-are-missing}
Invitation links are available only to enterprise organizations that are not connected to a DingTalk directory. Use the corporate directory invitation flow when a directory is connected.
---
[Previous: Subscription](/enterprise/subscriptions) · [Back to overview](/enterprise/admin-overview) · [Next: Credits](/enterprise/credits)
# Credit Management
Source: https://docs.qwenwork.ai/enterprise/credits
> Review and manage organization credits and usage.
## 1 What you can do {#1-what-you-can-do}
The **Credits** page has two tabs:
- **Organization credits**: View the organization's actual credit balance, plans, and resource packages.
- **Member allowances**: Set organization or member usage limits and review member usage.
An actual credit balance and a usage allowance are different:
| Term | Meaning |
| ----------------- | ----------------------------------------------------------------------------------- |
| Available credits | Credits the organization can actually spend and that members share |
| Frozen credits | Credits that are reserved or temporarily unavailable |
| Usage allowance | A monthly limit set by an admin; it is not the organization's actual wallet balance |
Increasing a member allowance does not add credits to the organization. If the balance is low, a super admin must purchase a credit pack under **Subscription**.
## 2 View organization credits {#2-view-organization-credits}
1. Open **Credits**.
2. Select **Organization credits**.
3. Review the following at the top of the page:
- available credits;
- frozen credits; and
- active resource packages.
If the balance fails to load, select **Retry**. Do not treat frozen credits as credits that have already been consumed.
## 3 View current plans {#3-view-current-plans}
Under **Organization credits Current plans**, each active plan shows:
- plan name and status;
- effective and expiration dates;
- seat count;
- allowance per cycle;
- cycle type and total cycles; and
- an internal remark.
Select the remark area to add context such as the purchasing batch, owner, or renewal reminder. Do not store card details, passwords, or secrets in remarks.
## 4 View plan history {#4-view-plan-history}
1. Select **Plan history**.
2. Review ended plans and plans with other historical statuses.
3. Use pagination to find older records.
4. Update remarks when needed.
Historical plans are for reference and do not change the current organization balance.
## 5 View resource package details {#5-view-resource-package-details}
1. Select **Resource package details**.
2. Filter by **All**, **Active**, or **Expired**.
3. Review each package's source, initial capacity, current balance, frozen amount, and validity period.
4. Use pagination to view more packages.
When investigating a balance change, check both the package expiration date and remaining balance. Expired packages no longer provide usable credits.
## 6 View organization or team allowances {#6-view-organization-or-team-allowances}
Open **Member allowances**:
- An organization super admin sees the **Organization allowance** and can change it.
- A team admin sees the current **Team allowance**, which is the upper limit for member allowances.
The organization allowance refreshes monthly. It cannot be set below an existing member allowance. If the page reports a conflict, lower the relevant member allowances first.
### Change the organization allowance {#change-the-organization-allowance}
1. Select **Edit allowance** on the Organization allowance card.
2. Enter a new whole-number amount. The minimum is 2,000 credits.
3. Verify the current and new allowance.
4. Select **Confirm**.
## 7 Review member usage {#7-review-member-usage}
The member list shows:
- member name, contact information, and status;
- used credits;
- member allowance;
- usage rate; and
- tags and remarks.
You can:
- search by member name or contact information;
- sort by usage rate, used credits, or allowance in ascending or descending order;
- filter by member tags; and
- use pagination to view more members.
Members approaching or exceeding 80% usage should be reviewed first.
## 8 Change one member's allowance {#8-change-one-members-allowance}
1. Find the member.
2. Select **Edit member allowance**.
3. Enter a new whole-number amount. The minimum is 500 credits.
4. Confirm that it does not exceed the organization or team maximum shown on the page.
5. Select **Confirm**.
Allowance editing is unavailable for a removed member.
## 9 Set allowances in bulk {#9-set-allowances-in-bulk}
1. Select **Batch select**.
2. Select members, or select all results in the current search scope.
3. Select **Set allowances in bulk**.
4. In the preview, review the number of members to be updated and skipped.
5. Enter the shared new allowance.
6. Confirm that it is at least 500 and does not exceed the parent allowance.
7. Select **Confirm**.
The system skips members that are no longer eligible and reports the actual processed count when the action finishes.
## 10 Manage tags and remarks {#10-manage-tags-and-remarks}
### Tags {#tags}
- Select the tag area in a member row to add or remove tags.
- In batch mode, select **Batch tags** to update explicitly selected members.
- Batch tag editing is unavailable when all search results are selected. Select the target members individually instead.
### Remarks {#remarks}
Select a member's remark area to add internal context. Remarks do not change credits or permissions.
## 11 Troubleshooting {#11-troubleshooting}
### A member still cannot use a feature even though their allowance is not exhausted {#a-member-still-cannot-use-a-feature-even-though-their-allowance-is-not-exhausted}
Check whether:
- the organization's available credits are exhausted;
- the member still has a valid seat; and
- the current resource package has expired.
### A member allowance cannot be increased further {#a-member-allowance-cannot-be-increased-further}
A member allowance cannot exceed the organization or team allowance. Ask an authorized admin to increase the parent allowance first.
### The organization allowance cannot be reduced {#the-organization-allowance-cannot-be-reduced}
The new organization allowance cannot be lower than an existing member allowance. Lower high member allowances first.
### Does changing an allowance purchase more credits? {#does-changing-an-allowance-purchase-more-credits}
No. An allowance is only a usage limit. Purchase credits under **Subscription**.
---
[Previous: Members](/enterprise/members) · [Back to overview](/enterprise/admin-overview) · [Next: Skills](/enterprise/skills)
# Skills Management
Source: https://docs.qwenwork.ai/enterprise/skills
> Manage organization skills from the Admin Console.
## 1. What you can do {#1-what-you-can-do}
A skill gives Qwen Work a repeatable method, knowledge set, or workflow for a specific task. Admins can:
- control whether members can browse the public skill marketplace, upload personal skills, or submit skills to the organization;
- create and maintain organization-owned skills;
- control whether an organization skill is visible to members; and
- review skills submitted by members.
Changes made by a team admin affect the entire organization, not only their own team.
## 2. Configure skill access {#2-configure-skill-access}
The top of the page contains three organization-wide settings.
### Public marketplace visibility {#public-marketplace-visibility}
- On: Members can see and browse the public skill marketplace.
- Off: The public marketplace entry is hidden. Public skills that are already installed are not automatically removed.
### Allow personal skill uploads {#allow-personal-skill-uploads}
- On: Members can upload their own skills in their personal space.
- Off: Members cannot add new personal uploads. Whether existing resources remain usable depends on their current member-side status.
### Allow members to add skills to Organization skills {#allow-members-to-add-skills-to-organization-skills}
- On: Members can submit skills to the organization. New submissions appear under **Skill reviews**.
- Off: Members cannot create new organization submissions. Existing review records remain available.
After changing a setting, wait for the **Settings updated** confirmation.
## 3. Create an organization skill {#3-create-an-organization-skill}
1. Open **Organization skills**.
2. Select **Add skill**.
3. Enter the skill information.
4. Upload an icon and skill ZIP package when needed.
5. Set the supported clients and team visibility.
6. Select **Create**.
### Field reference {#field-reference}
| Field | Required | Guidance |
| ----------------- | ----------- | -------------------------------------------------------------------------------------------------------------------------- |
| Skill name | Yes | Technical identifier using lowercase letters, numbers, and hyphens only; maximum 64 characters, for example `sales-report` |
| Chinese name | No | Name shown in the Chinese interface |
| Author | No | If empty, the current admin is recorded |
| Version | No | Use a clear version such as `1.0.0` |
| Description | No | Explain the purpose, required input, and intended scenario |
| Icon | No | Image file up to 2 MB |
| Supported clients | Yes | Choose where members can discover the skill |
| Team visibility | No | When on, the skill is shown in the team's marketplace |
| Skill ZIP package | Recommended | ZIP only, up to 10 MB |
The skill name cannot be changed after creation. To use a different technical identifier, create a new skill.
## 4. Prepare a skill package {#4-prepare-a-skill-package}
The package should contain one top-level folder matching the skill name, with a `SKILL.md` file inside:
```text
sales-report/
├── SKILL.md
├── scripts/
└── references/
```
Before uploading, verify that:
- the top-level folder matches the **Skill name** exactly;
- `{skill-name}/SKILL.md` exists;
- unrelated system files such as `.DS_Store` and `__MACOSX` are removed;
- file paths do not contain unsafe segments such as `..`; and
- the ZIP file is no larger than 10 MB.
You can create a record without a package, but members will not receive complete skill content. Upload a valid package before making the skill team-visible.
## 5. Find and review skills {#5-find-and-review-skills}
1. Search by skill name under **Organization skills**.
2. Review the name, description, package status, supported clients, status, team visibility, and last update time.
3. Use pagination to view more skills.
**Uploaded** means a ZIP package is available. **Not uploaded** means there is no downloadable skill package.
## 6. Edit a skill {#6-edit-a-skill}
1. Find the skill.
2. Select **Edit**.
3. Change the Chinese name, author, version, description, icon, supported clients, or team visibility.
4. To replace the package, choose a new ZIP file.
5. Select **Save changes**.
If you do not choose a new file, the existing package is retained.
## 7. Control team visibility {#7-control-team-visibility}
Use **Team visible** in the list:
- On: The skill appears in the team's marketplace.
- Off: The skill is hidden from the team's marketplace. Members who already installed it are not affected.
This setting applies to one organization skill and does not control public marketplace visibility.
## 8. Download or remove a skill {#8-download-or-remove-a-skill}
### Download a package {#download-a-package}
1. Find a skill marked **Uploaded**.
2. Select **Download**.
3. Save the ZIP file.
### Remove a skill {#remove-a-skill}
1. Select **Remove** for the skill.
2. Verify the skill name.
3. Confirm removal.
The Admin console does not currently provide a restore action. Download and retain the package before removal.
## 9. Review member submissions {#9-review-member-submissions}
1. Open **Skill reviews**.
2. Filter by **Pending**, **Approved**, **Rejected**, **Cancelled**, or **All**.
3. Select **Details** and review the name, description, author, version, supported clients, and package.
4. For a pending submission:
- select **Approve** to publish it immediately to Organization skills; or
- select **Reject**, enter a reason, and return it to the submitter.
5. Confirm that the submission status has updated.
Before approval, verify that:
- the name and purpose are clear and do not conflict with an existing skill;
- the package comes from a trusted source and contains no sensitive or unauthorized content;
- supported clients and organization visibility follow company policy; and
- the description gives members enough information to use the skill.
## 10. Troubleshooting {#10-troubleshooting}
### Create is unavailable {#create-is-unavailable}
Check that the skill name is not empty and contains no uppercase letters, underscores, spaces, or other unsupported characters.
### Package upload fails {#package-upload-fails}
Confirm that the file is a ZIP under 10 MB, then check the folder structure and `SKILL.md`.
### The skill exists but members cannot see it {#the-skill-exists-but-members-cannot-see-it}
Check:
- whether **Team visible** is on;
- whether supported clients include the client used by the member; and
- whether the member is in the correct organization workspace.
### Member submissions are missing {#member-submissions-are-missing}
Confirm that **Allow members to add skills to Organization skills** is on and that the member completed submission. Select **All** to check whether the submission was already processed or cancelled.
---
[Previous: Credits](/enterprise/credits) · [Back to overview](/enterprise/admin-overview) · [Next: Kits](/enterprise/kits)
# Kits Management
Source: https://docs.qwenwork.ai/enterprise/kits
> Manage reusable kits for your organization.
## 1. What you can do {#1-what-you-can-do}
A kit combines multiple professional capabilities into a solution for a role or business scenario. Admins can:
- control whether members can browse the public kit marketplace or submit kits to the organization;
- create and maintain organization-owned kits;
- control whether an organization kit is visible to members; and
- review kits submitted by members.
## 2. Configure kit access {#2-configure-kit-access}
The top of the page contains three organization-wide settings.
### Public marketplace visibility {#public-marketplace-visibility}
- On: Members can browse the public kit marketplace.
- Off: The public marketplace entry is hidden. Public kits that are already installed are not automatically removed.
### Allow personal kit uploads {#allow-personal-kit-uploads}
This capability is marked **Coming soon** and cannot currently be changed.
### Allow members to add kits to Organization kits {#allow-members-to-add-kits-to-organization-kits}
- On: Members can submit kits to the organization. New submissions appear under **Kit reviews**.
- Off: Members cannot create new organization submissions. Existing review records remain available.
## 3. Create an organization kit {#3-create-an-organization-kit}
1. Open **Organization kits**.
2. Select **Create kit**.
3. Enter the kit information.
4. Upload an icon and kit ZIP package when needed.
5. Set the supported clients and team visibility.
6. Select **Create**.
### Field reference {#field-reference}
| Field | Required | Guidance |
| -------------------- | -------- | --------------------------------------------------------------------------- |
| Kit name | Yes | Unique technical identifier in the organization, for example `sales-expert` |
| Display name | No | English or general display name |
| Chinese display name | No | Name shown in the Chinese interface |
| Summary | No | Explain the business scenario addressed by the kit |
| Version | No | Use a clear version such as `1.0.0` |
| Icon | No | Image file up to 2 MB |
| Supported clients | Yes | Choose where members can discover the kit |
| Team visibility | No | When on, the kit is shown in the team's marketplace |
| Kit ZIP package | No | ZIP only, up to 50 MB |
The kit name cannot be changed after creation. To use a different technical identifier, create a new kit.
## 4. Prepare a kit package {#4-prepare-a-kit-package}
A kit package can include:
- `README.md` for documentation;
- `README_EN.md` for English documentation;
- skill files used by the kit; and
- other configuration files required by the kit.
After upload, the page attempts to read documentation from the package. If it reports that no README was found, the kit can still be saved, but members may not see complete usage instructions.
Before uploading, verify that:
- the ZIP file is no larger than 50 MB;
- the README explains the intended scenario, required input, and limitations;
- all skills and configuration files come from trusted sources; and
- the package contains no real passwords, access tokens, personal information, or customer data.
When editing, the existing package is retained if no new file is selected.
## 5. Find and review kits {#5-find-and-review-kits}
1. Search by name under **Organization kits**.
2. Review the kit name, summary, composition, version, supported clients, status, and update time.
3. Use pagination to view more kits.
The **Composition** column shows the number of skills and connectors included in the kit, helping admins understand its complexity.
## 6. Edit a kit {#6-edit-a-kit}
1. Find the kit.
2. Select **Edit**.
3. Change the display name, Chinese display name, summary, version, icon, supported clients, or team visibility.
4. To update the content, choose a new ZIP file.
5. Select **Save changes**.
Download and retain the previous package before an update, and use the version field to record changes.
## 7. Control team visibility {#7-control-team-visibility}
Use **Team visible** in the list:
- On: The kit appears in the team's marketplace.
- Off: The kit is hidden from the team's marketplace. Members who already installed it are not affected.
For a kit still being tested, keep team visibility off until validation is complete.
## 8. Download or remove a kit {#8-download-or-remove-a-kit}
### Download a package {#download-a-package}
1. Find the kit.
2. Select **Download**.
3. Save the ZIP file for backup or review.
### Remove a kit {#remove-a-kit}
1. Select **Remove** for the kit.
2. Verify the kit name.
3. Confirm removal.
The Admin console does not currently provide a restore action. Download and retain required files before removal.
## 9. Review member submissions {#9-review-member-submissions}
1. Open **Kit reviews**.
2. Filter by **Pending**, **Approved**, **Rejected**, **Cancelled**, or **All**.
3. Select **Details** and review the name, summary, author, version, supported clients, and package.
4. For a pending submission:
- select **Approve** to publish it to Organization kits; or
- select **Reject**, enter a reason, and return it to the submitter.
5. Confirm that the submission status has updated.
When reviewing a kit, also confirm that all included skills and connectors comply with the organization's security and authorization requirements.
## 10. Troubleshooting {#10-troubleshooting}
### Package upload fails {#package-upload-fails}
Confirm that the file is a ZIP under 50 MB, remove unnecessary large files, and try again.
### The page reports that no README was found {#the-page-reports-that-no-readme-was-found}
Add `README.md` or `README_EN.md` to the ZIP with the kit purpose and instructions, then upload it again.
### The kit exists but members cannot see it {#the-kit-exists-but-members-cannot-see-it}
Check team visibility, supported clients, and the member's current organization workspace.
### Why is personal upload unavailable? {#why-is-personal-upload-unavailable}
Personal kit uploads are not currently available. Submitting a kit to the organization uses the separate **Add to organization** setting.
---
[Previous: Skills](/enterprise/skills) · [Back to overview](/enterprise/admin-overview) · [Next: Connectors](/enterprise/connectors)
# Connectors Management
Source: https://docs.qwenwork.ai/enterprise/connectors
> Manage organization connectors from the Admin Console.
## 1. What you can do {#1-what-you-can-do}
Connectors allow Qwen Work to access external systems or tools approved by your organization, such as CRM, knowledge base, and ticketing systems. Admins can:
- control whether members can browse the public connector marketplace or submit connectors to the organization;
- create and maintain the organization's own MCP connectors;
- enable or disable organization connectors; and
- review connectors submitted by members.
Connectors may access data in external systems. Before creating or reviewing one, confirm the service source, authorization scope, and your organization's security requirements.
## 2. Configure connector access {#2-configure-connector-access}
The top of the page contains three organization-wide settings.
### Public marketplace visibility {#public-marketplace-visibility}
- On: Members can browse the public connector marketplace.
- Off: The public marketplace entry is hidden. Public connectors that are already configured are not automatically removed.
### Allow personal connector uploads {#allow-personal-connector-uploads}
This capability is marked **Coming soon** and cannot currently be changed.
### Allow members to add connectors to Organization connectors {#allow-members-to-add-connectors-to-organization-connectors}
- On: Members can submit connectors to the organization. New submissions appear under **Connector reviews**.
- Off: Members cannot create new organization submissions. Existing review records remain available.
Because connectors can access external data, establish an owner for connector reviews before allowing member submissions.
## 3. Add an organization connector {#3-add-an-organization-connector}
1. Open **Organization connectors**.
2. Select **Add connector**.
3. Enter the connector information.
4. Choose an authorization method.
5. Upload an icon and choose supported clients when needed.
6. Select **Create**.
### Field reference {#field-reference}
| Field | Required | Guidance |
| -------------------- | -------- | ------------------------------------------------------------------------------------------------------------------------ |
| Connector key | Yes | Technical identifier using lowercase letters, numbers, and hyphens only, up to 128 characters; for example, `crm-search` |
| Service URL | Yes | Full `http://` or `https://` URL of the MCP service, up to 1,024 characters |
| Authorization method | Yes | Choose **No authorization** or **OAuth** |
| Display name | No | English or general display name |
| Chinese display name | No | Name shown in the Chinese interface |
| Version | No | Use a clear version such as `1.0.0` |
| Description | No | Explain the connector's purpose, data scope, and prerequisites |
| Icon | No | Image file up to 2 MB |
| Supported clients | Yes | Choose where members can discover the connector |
The connector key and service URL cannot be changed after creation. Before submitting, verify the production address, protocol, and path.
## 4. Choose an authorization method {#4-choose-an-authorization-method}
### No authorization {#no-authorization}
Use this option for an MCP service that does not require user authentication, or where organization authentication is handled centrally by the service.
Before selecting it, confirm that the absence of a user-level identity will not expose data that the member should not be able to access.
### OAuth {#oauth}
Use this option when members must sign in to an external account and grant access. Members may need to authorize the external service the first time they use the connector.
Before selecting OAuth, confirm that:
- the external service has a correctly configured OAuth application;
- members receive only the permissions they need; and
- the organization has a process for revoking access and handling departing employees.
## 5. Find and review connectors {#5-find-and-review-connectors}
1. Search by name under **Organization connectors**.
2. Review the connector name, service URL, authorization method, supported clients, enabled status, and update time.
3. Use pagination to view more connectors.
A service URL may reveal information about an internal system. Do not share Admin console screenshots with people who do not need access.
## 6. Edit a connector {#6-edit-a-connector}
1. Find the connector.
2. Select **Edit**.
3. Change the authorization method, display name, Chinese display name, version, description, icon, or supported clients.
4. Select **Save changes**.
The connector key and service URL cannot be edited. If the service address has changed, create a new connector, verify it, and then disable or remove the old connector.
## 7. Enable or disable a connector {#7-enable-or-disable-a-connector}
Use the **Enabled** control in the list:
- On: Organization members can use the connector.
- Off: The connector stops providing service to organization members.
Before disabling a connector, notify members who still use it and confirm that related tasks will not be interrupted.
## 8. Remove a connector {#8-remove-a-connector}
1. Find the connector.
2. Select **Remove**.
3. Verify the connector name and service URL.
4. Confirm removal.
The Admin console does not currently provide a restore action. For temporary maintenance, disable the connector instead of removing it.
## 9. Review member submissions {#9-review-member-submissions}
1. Open **Connector reviews**.
2. Filter by **Pending**, **Approved**, **Rejected**, **Cancelled**, or **All**.
3. Select **Details** and review the name, description, author, version, supported clients, and configuration.
4. For a pending submission:
- select **Approve** to publish it to Organization connectors; or
- select **Reject**, enter a reason, and return it to the submitter.
5. After publication, check the connector's default status and enable it according to your organization's requirements.
During review, confirm at least that:
- the service domain and operator are trusted;
- the URL uses a secure protocol and points to the intended environment;
- the authorization method matches the service requirements;
- the description clearly states what external data the connector accesses; and
- the connector does not ask members to upload shared passwords or long-lived keys.
## 10. Troubleshooting {#10-troubleshooting}
### The connector key is invalid {#the-connector-key-is-invalid}
Use lowercase letters, numbers, and hyphens only. Do not begin or end the key with a hyphen. For example, use `salesforce-search`.
### The service URL cannot be saved {#the-service-url-cannot-be-saved}
Confirm that the address begins with `http://` or `https://` and contains no spaces. Use HTTPS for a production environment.
### Why can't I change the service URL? {#why-cant-i-change-the-service-url}
The service URL is part of the connector's identity and is locked after creation. Create a new connector and gradually replace the old one.
### Members can see the connector but cannot use it {#members-can-see-the-connector-but-cannot-use-it}
Check whether the connector is enabled, whether its supported clients are correct, and whether the member has completed OAuth authorization.
### Why is personal upload unavailable? {#why-is-personal-upload-unavailable}
Personal connector uploads are not currently available. Submitting a connector to the organization uses the separate **Add to organization** setting.
---
[Previous: Kits](/enterprise/kits) · [Back to overview](/enterprise/admin-overview) · [Next: Organization settings](/enterprise/organization-settings)
# Organization Settings
Source: https://docs.qwenwork.ai/enterprise/organization-settings
> Configure organization-wide settings and policies.
## 1. What you can do {#1-what-you-can-do}
In **Organization settings**, you can:
- view and change the organization name;
- view and copy the organization ID;
- set the organization contact email; and
- choose shared improvement mode or privacy mode for organization data.
The organization contact email and privacy management are available only to organization super admins.
## 2. Change the organization name {#2-change-the-organization-name}
1. Find **Organization name** under **Basic information**.
2. Select the edit button.
3. Enter the new organization name.
4. Select the save button.
The organization name helps members identify their workspace. Confirm the change internally first so members do not mistake it for a different organization.
An empty organization name cannot be saved.
## 3. View and copy the organization ID {#3-view-and-copy-the-organization-id}
The organization ID is the organization's unique identifier in Qwen Work. Support staff or an enterprise system integration may ask for it.
1. Find **Organization ID** under **Basic information**.
2. Select the copy button.
3. Paste the ID where it is needed.
The organization ID is not a password, but it should still be shared only with people who have a business need.
## 4. Set the organization contact email {#4-set-the-organization-contact-email}
The contact email receives organization notifications and can be changed only by an organization super admin.
If no contact email has been set, a reminder appears at the top of the Admin console.
### Change the email {#change-the-email}
1. Find **Organization email** under **Basic information**.
2. Select the edit button.
3. Enter the new organization contact email.
4. Select **Get verification code**.
5. Open the new mailbox and find the six-digit code.
6. Enter the code on the page.
7. Select **Confirm change**.
The verification code is sent to the new email address, not the old one. After the change succeeds, organization notifications are sent to the new address.
### Choose a suitable contact email {#choose-a-suitable-contact-email}
- Use a long-term shared business mailbox, such as `it-admin@example.com`.
- Avoid a personal mailbox owned by someone who may leave or change responsibilities.
- Confirm that the mailbox can receive external messages from Qwen Work.
- Record the mailbox owner in your organization's internal documentation.
## 5. Set the data-sharing mode {#5-set-the-data-sharing-mode}
**Privacy management** is visible only to organization super admins.
### Shared improvement mode {#shared-improvement-mode}
When this mode is on, organization members' prompts, context, and related usage data may be collected and used to improve products and services.
### Privacy mode {#privacy-mode}
In privacy mode, organization data is not used for product improvement. It is used only to provide and personalize the current service.
### Switch modes {#switch-modes}
1. Check the current mode under **Privacy management**.
2. Select the mode switch.
3. Wait for the page to confirm that the change succeeded.
4. Check again that the intended mode is shown.
This organization-wide setting affects all members. Complete any internal privacy, compliance, and data-governance review before changing it.
## 6. Role permissions {#6-role-permissions}
| Action | Team admin | Organization super admin |
| ------------------------------------- | ---------- | ------------------------ |
| View basic organization information | Yes | Yes |
| Change the organization name | Yes | Yes |
| Copy the organization ID | Yes | Yes |
| View the organization contact email | Yes | Yes |
| Change the organization contact email | No | Yes |
| View and change privacy mode | No | Yes |
## 7. Troubleshooting {#7-troubleshooting}
### The verification code does not arrive {#the-verification-code-does-not-arrive}
- Check the email spelling and spam folder.
- Confirm that the organization's email gateway is not blocking external messages.
- Wait for the countdown to finish before requesting another code.
- Do not request several codes in quick succession. Use the latest valid code received.
### The email edit button is missing {#the-email-edit-button-is-missing}
Only an organization super admin can change the contact email. A team admin can only view it.
### Privacy management is missing {#privacy-management-is-missing}
This section is visible only to super admins of enterprise organizations. Confirm the current workspace and your account role.
### The organization name cannot be saved {#the-organization-name-cannot-be-saved}
Confirm that the name is not empty, then refresh the page and try again. If it still fails, record the error message and contact support.
### The organization ID cannot be copied {#the-organization-id-cannot-be-copied}
The browser may not allow clipboard access. Select the organization ID and copy it manually.
---
[Previous: Connectors](/enterprise/connectors) · [Back to overview](/enterprise/admin-overview) · [Next: Single sign-on](/enterprise/sso)
# Single Sign-On
Source: https://docs.qwenwork.ai/enterprise/sso
> Configure single sign-on for your QwenWork organization.
## 1. What you can do {#1-what-you-can-do}
Single sign-on (SSO) allows organization members to sign in to Qwen Work with their corporate identity provider accounts. The page currently supports:
- Authing;
- Azure AD;
- DingTalk;
- Feishu;
- SAML2; and
- WeCom.
An admin can create, edit, submit for review, enable, disable, or delete one SSO connection for the organization. The admin can also decide whether members automatically receive seats when joining through SSO.
## 2. Before you begin {#2-before-you-begin}
Confirm that:
- the current account is an organization super admin;
- **Single sign-on** appears in the navigation;
- the organization has at least the minimum number of seats shown on the page;
- an enterprise application has been created in the identity provider and the required credentials are available;
- the corporate email domain is ready, for example `example.com` without the `@`; and
- a standard member test account is available, so a super admin account is not the only test account.
If the page reports insufficient seats, purchase or add seats under **Subscription** first.
### Register the callback URL with the identity provider {#register-the-callback-url-with-the-identity-provider}
Enter the following address as the callback URL, redirect URI, or Redirect URI in the identity provider application:
```text
https://qwenwork.ai/biz/user/v1/sso/callback
```
HTTPS is required. The protocol, domain, port, path, and trailing slash must exactly match the registered value. Do not enter the identity provider's authorization URL as the Qwen Work callback URL.
## 3. Prepare identity provider information {#3-prepare-identity-provider-information}
The information required depends on the provider. Common fields on the page include:
| Provider | Information to prepare |
| -------- | ------------------------------------------------------------------------------------------------------------------------------------------------------------- |
| Authing | Client ID, protocol, and authorization URL; OAuth2 also requires a Client Secret, Token URL, and UserInfo URL; OIDC requires a JWKS URL or signing public key |
| Azure AD | Azure Tenant, Application (client) ID, Client Secret, Scopes, and email domain |
| DingTalk | AppKey, AppSecret, optional Corp ID, Scopes, and email domain |
| Feishu | App ID, App Secret, and email domain; Scopes are optional |
| SAML2 | SP Entity ID, IdP SSO URL, IdP/SP certificates, SP private key, unique ID field, and email domain |
| WeCom | Enterprise Corp ID, application credentials, Agent Secret, Scopes, and email domain |
If the identity provider console asks for a callback URL, permission scope, or application-visible members, use the Qwen Work values provided for your organization's integration. Make sure the production domain, protocol, and trailing slash match exactly.
The current Feishu setup does not provide a China/Lark region selector. If your organization uses Lark international, confirm the supported setup with Qwen Work Support before creating the connection.
## 4. Create an SSO connection {#4-create-an-sso-connection}
1. Open **Single sign-on**.
2. Confirm that the page does not report insufficient seats or another failed prerequisite.
3. Select **Configure SSO**.
4. Choose the provider type.
5. Enter a connection name that admins can recognize.
6. Enter the identity credentials and provider-specific information.
7. Enter the allowed email domains, separated by commas.
8. Configure field mappings, Scopes, JWKS, public keys, or certificates when needed.
9. Select **Create**.
A new connection is usually created with **Draft** status. It must be submitted and approved before it enters the production sign-in flow.
The provider type and protocol cannot be changed after creation. If either is incorrect, delete the connection and create a new one.
## 5. Key fields {#5-key-fields}
### Connection name {#connection-name}
This helps admins identify the connection. For example, use `Corporate Azure AD Production`. Include the environment or organization scope instead of using only `SSO`.
### Client ID and Client Secret {#client-id-and-client-secret}
Obtain these values from the identity provider application console. When editing an existing connection, leave the Secret field empty to keep the current secret.
Do not paste a Secret into notes, support-ticket screenshots, or chat messages.
### Scopes {#scopes}
Scopes determine what information Qwen Work can read from the identity provider. Keep the page defaults unless the enterprise identity administrator confirms a change.
### Email domain allowlist {#email-domain-allowlist}
This limits which corporate email domains can use the SSO connection. For example:
```text
example.com, subsidiary.example.com
```
Do not include `@`. Separate multiple domains with commas. Public email domains are generally not suitable for enterprise SSO.
### Unique ID field {#unique-id-field}
Use a stable user identifier returned by the identity provider. OIDC commonly uses `sub`, while SAML commonly uses `name_id`. Do not use a display name that may change.
### Login name field {#login-name-field}
This field is optional. When set, the system combines it with the configured corporate domain for internal identification.
### JWKS URL or signing public key {#jwks-url-or-signing-public-key}
Authing OIDC uses this value to verify identity-token signatures. Prefer the provider's public, stable JWKS URL. Use a PEM-formatted public key only when JWKS is unavailable.
### SAML certificates and private key {#saml-certificates-and-private-key}
Paste the complete certificate and private key, including the BEGIN and END lines. Confirm that:
- the IdP X.509 signing certificate comes from the identity provider;
- the SP X.509 certificate matches the SP private key;
- the private key is stored only in controlled locations; and
- certificate rotation is scheduled before expiration.
## 6. Submit for review {#6-submit-for-review}
1. Return to the connection details after creating it.
2. Check the provider, protocol, domains, and credentials again.
3. Select **Submit for review** in the upper-right corner.
4. Wait for the result.
| Status | Meaning | Next step |
| ------------ | ------------------------------------------------------- | ------------------------------------------ |
| Draft | The configuration is saved but has not been submitted | Check it and submit for review |
| Under review | The configuration is being reviewed | Wait for the result |
| Approved | The configuration can enter the production sign-in flow | Test it with a standard member account |
| Rejected | The configuration did not pass review | Read the reason, edit it, and submit again |
If the connection already has an approved version, a new draft created by editing it does not immediately replace that version. The previously approved configuration continues to provide sign-in service while the new version is under review.
## 7. Enable SSO {#7-enable-sso}
**Enable SSO** in the connection details controls whether members can use the connection to sign in.
- On and approved: The connection is available for organization sign-in.
- Off: Members cannot start new SSO sign-ins through the connection.
For the first rollout:
1. Finish the configuration and obtain approval.
2. Enable SSO.
3. Test with one or two standard member accounts.
4. After successful testing, share the sign-in method with all members.
## 8. Set automatic seat assignment {#8-set-automatic-seat-assignment}
When **Automatically assign seats when joining through SSO** is on, a new member joining through SSO attempts to receive a seat.
- Seats are available: The member receives a seat automatically.
- No seats are available: The member can still sign in but may remain without an assigned seat.
When the setting is off, a new member can sign in and join the organization, but an admin must assign a seat manually under **Members**.
## 9. View connection details {#9-view-connection-details}
Connection details contain the following tabs:
- **Connection information**: Protocol, Client ID, and masked Secret.
- **Access control**: Scopes and the email domain allowlist.
- **Endpoints**: Authorization, Token, and UserInfo URLs.
- **Workbench**: Enterprise workbench sign-in URL for DingTalk, Feishu, or WeCom connections.
- **Notes**: Internal organization notes.
Use the copy button to copy a Client ID, endpoint, or workbench sign-in URL.
## 10. Configure an enterprise workbench entry {#10-configure-an-enterprise-workbench-entry}
After creating a DingTalk, Feishu, or WeCom connection, the **Workbench** tab appears in the connection details:
1. Open **Workbench**.
2. Copy the **Sign-in URL**.
3. Set this address as the home page or workbench address of the enterprise application in the identity provider.
4. Open it from the workbench with a standard member account and verify sign-in.
Do not manually change the connection ID or return address in the sign-in URL.
## 11. Edit a connection and rotate secrets {#11-edit-a-connection-and-rotate-secrets}
### Edit a connection {#edit-a-connection}
1. Select **Edit**.
2. Change the editable fields.
3. If you are not replacing a Secret or private key, leave its input field empty.
4. Save the connection and submit it for review again.
### Rotate a Secret {#rotate-a-secret}
1. Create a new Secret in the identity provider. Do not delete the old Secret yet.
2. Edit the connection in Qwen Work and enter the new Secret.
3. Save and submit the new configuration for review.
4. After the new configuration is approved and successfully tested, revoke the old Secret in the identity provider.
## 12. Delete a connection {#12-delete-a-connection}
1. Select the delete button in the upper-right corner of the connection.
2. Read the impact notice.
3. Confirm deletion.
After deletion, members can no longer sign in through the connection. Before deleting it:
- prepare an alternative sign-in method;
- notify organization members;
- remove the old entry from the identity provider workbench; and
- retain any required non-sensitive configuration records.
To stop the connection temporarily, turn off **Enable SSO** instead of deleting it.
## 13. Troubleshooting {#13-troubleshooting}
### Single sign-on is missing from the navigation {#single-sign-on-is-missing-from-the-navigation}
Confirm that the current account is an organization super admin and that the correct enterprise workspace is open. Some organizations that already use a bound organization identity method do not show this menu.
### Configure SSO or Submit for review is unavailable {#configure-sso-or-submit-for-review-is-unavailable}
Check whether the organization has the minimum number of seats required on the page. If a prerequisite check failed, select **Retry**.
### The page reports that no email domain is configured {#the-page-reports-that-no-email-domain-is-configured}
Confirm that an email domain has been entered, the configuration is approved, and **Enable SSO** is on.
### The identity provider reports a callback URL mismatch {#the-identity-provider-reports-a-callback-url-mismatch}
Check that the HTTPS protocol, domain, port, path, and trailing slash exactly match the value registered in the identity provider console.
### The Client is invalid or the credentials are incorrect {#the-client-is-invalid-or-the-credentials-are-incorrect}
Confirm that the Client ID, Secret, Tenant, AppKey, Corp ID, and related values come from the same production application, and that the Secret has not expired.
### Sign-in succeeds but the member has no seat {#sign-in-succeeds-but-the-member-has-no-seat}
Check whether automatic seat assignment is on and whether the organization still has available seats. You can also assign a seat manually under **Members**.
### The old configuration is still used after editing {#the-old-configuration-is-still-used-after-editing}
The new configuration must be reviewed again. The previously approved version remains active until the new version is approved.
---
[Previous: Organization settings](/enterprise/organization-settings) · [Back to overview](/enterprise/admin-overview)
# Admin console feature overview
Source: https://docs.qwenwork.ai/enterprise-ultimate/admin-guide
> The QwenWork Premium admin console manages enterprise users, sign-in methods, administrator permissions, models, AI assets, subscriptions, usage, and audit logs.
The QwenWork Premium admin console manages enterprise users, sign-in methods, administrator permissions, models, AI assets, subscriptions, usage, and audit logs. Available pages and actions depend on the enterprise's enabled capabilities and your administrator role. Start with the setup steps below or use the directory to find a feature.
Installers and Release plans require app customization and the relevant permissions. Environment packages uses its own permission without the same app-customization condition. Adding custom models requires enterprise BYOK access.
**BYOK availability:** BYOK (Bring Your Own Key) custom models are available only when enabled for your enterprise. BYOK models are not included in QwenWork credit usage statistics or credit limits. Check external model usage and charges with the model provider.
## Documentation directory {#documentation-directory}
- Overview
- Users / Users overview
- Personalization / Personalization overview
- Organization / Organization overview
- Security / Security overview
- Models / Models overview
- AI Assets / AI Assets overview
- Billing & usage / Billing & usage overview
- Analytics / Analytics overview
- Audit / Audit overview
- Open platform / Open platform overview
## Set up an enterprise for the first time {#set-up-an-enterprise-for-the-first-time}
1. Open Organization information, confirm the enterprise, and copy its admin console and client service addresses.
2. Decide how users will be maintained. Configure Directory sync for an existing enterprise directory, or add and invite users manually.
3. Configure Authentication for password, email code, or enterprise SSO sign-in.
4. Assign seats, then configure the models and AI assets users need.
5. Sign in with an ordinary user account, select a model, and use a resource. Check Usage and Audit afterward.
## Find a task {#find-a-task}
| Task | Article |
| ------------------------------------------------- | -------------------------------------------------------- |
| Connect DingTalk, Feishu, or an identity platform | Users / Authentication / Authentication overview |
| Synchronize departments and joiners or leavers | Users / Directory sync / Directory sync overview |
| Assign seats and review joining requests | Users / Users |
| Delegate administration | Organization / Admin roles |
| Control device sign-in or task operations | Security / Trusted devices; Security / Hooks |
| Change the home page and navigation | Personalization / Personalization overview |
| Allocate credits and investigate usage | Billing & usage / Quota management; Analytics / Usage |
| Let an enterprise app call management APIs | Open platform / App authorization |
| Configure models, skills, and connectors | Models / Models overview; AI Assets / AI Assets overview |
| Review usage, changes, and user issues | Analytics / Analytics overview; Audit / Audit overview |
| Manage app installation and upgrades | Installation and upgrades below |
## Browse paginated lists {#browse-paginated-lists}
A paginated list shows its total, page number, rows per page, and a page-number input. Enter an integer and press Enter or move focus away. Where offered, select 10, 20, 50, or 100 rows per page.
- The page input remains visible when there is one page. It is disabled when there are no records.
- Zero or a negative number takes you to the first page. A number above the last page takes you to the last page.
- Blank and non-integer values do not navigate.
After changing filters, check the new total and current page before browsing further.
## Reading conventions {#reading-conventions}
Menu paths use arrows, such as Users → Authentication. Bold text identifies controls and options. The desktop app is the user-facing QwenWork application; the admin console is the administrator's website.
Organizations, users, domains, and values in screenshots are examples. Use your enterprise's information. Copy callback URLs, service addresses, and identifiers from the current page. Open an image to inspect it at a larger size.
## Resolve a missing menu or unavailable action {#resolve-a-missing-menu-or-unavailable-action}
The console displays features and operations according to the administrator role. If another administrator can see an entry that you cannot, ask an authorized administrator to check your role. Read the explanation beside a disabled control. For example, when Directory sync is enabled, user creation and deletion must be handled in the source directory.
## Manage installation and upgrades {#manage-installation-and-upgrades}
Installers and Release plans manage app installation files and upgrade releases. They require app customization and the corresponding permissions. Installer packages supply the download page; upgrade packages supply automatic updates and release plans.
### Prepare installers {#prepare-installers}
1. Open User terminals → Installers and click Import client packages. Download the JSON template and prepare metadata.json with the referenced files.
2. Put metadata.json and its referenced files in one ZIP. Set package\_purpose for each file: installer for the download page, or upgrade for release plans and automatic updates. Select the ZIP, click Upload and import, and check the import result.
3. Open the version details and check each file's purpose, operating system, CPU architecture, and enabled state. A device needs a compatible available file.
4. Copy or open the download-page address and check the enterprise download entry. It lists enabled, available versions.
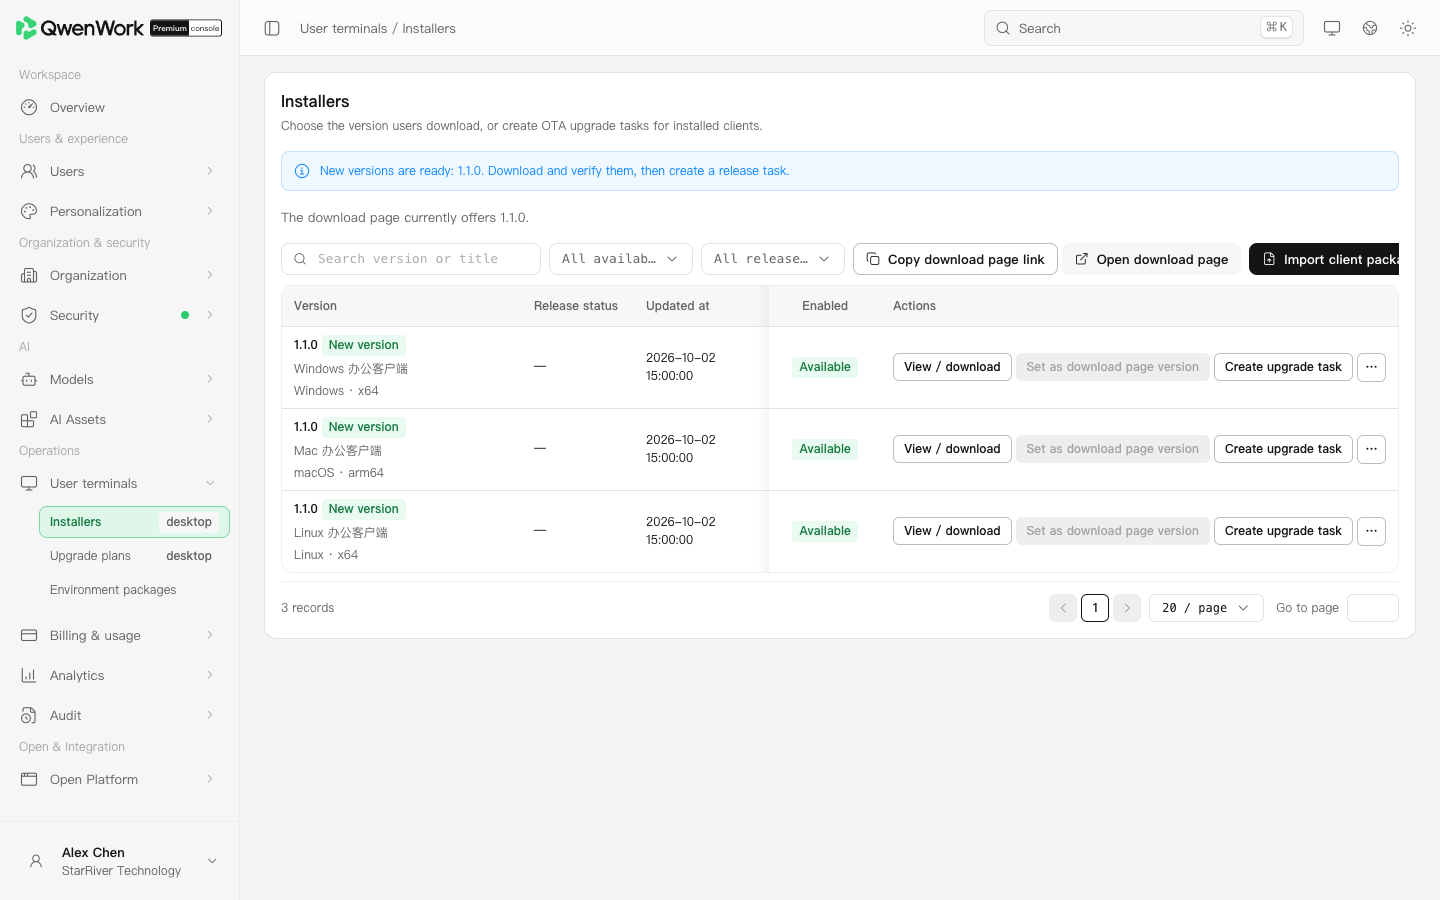
### Choose automatic updates or a release plan {#choose-automatic-updates-or-a-release-plan}
Open User terminals → Upgrade plans. With automatic updates enabled, a client obtains the highest available version compatible with its operating system and CPU architecture. With automatic updates disabled, upgrades follow published plans. The force-upgrade option for automatic updates requires clients with a matching new version to upgrade.
For a pilot release:
1. Create a release plan and enter its name and description.
2. Select an enabled version whose purpose is Upgrade. Check its platform, architecture, and files. Every target platform and architecture needs a matching upgrade package.
3. Choose a subset of users and add departments, users, or user groups. Choose all users for an enterprise-wide release.
4. Set the upgrade rules and choose immediate or scheduled publication. A scheduled time must be in the future.
5. Save and publish. Check the target version, scope, publication time, and status in the list.
6. Ask users in scope to check for updates and confirm the version. Check users outside the scope before expanding the release.
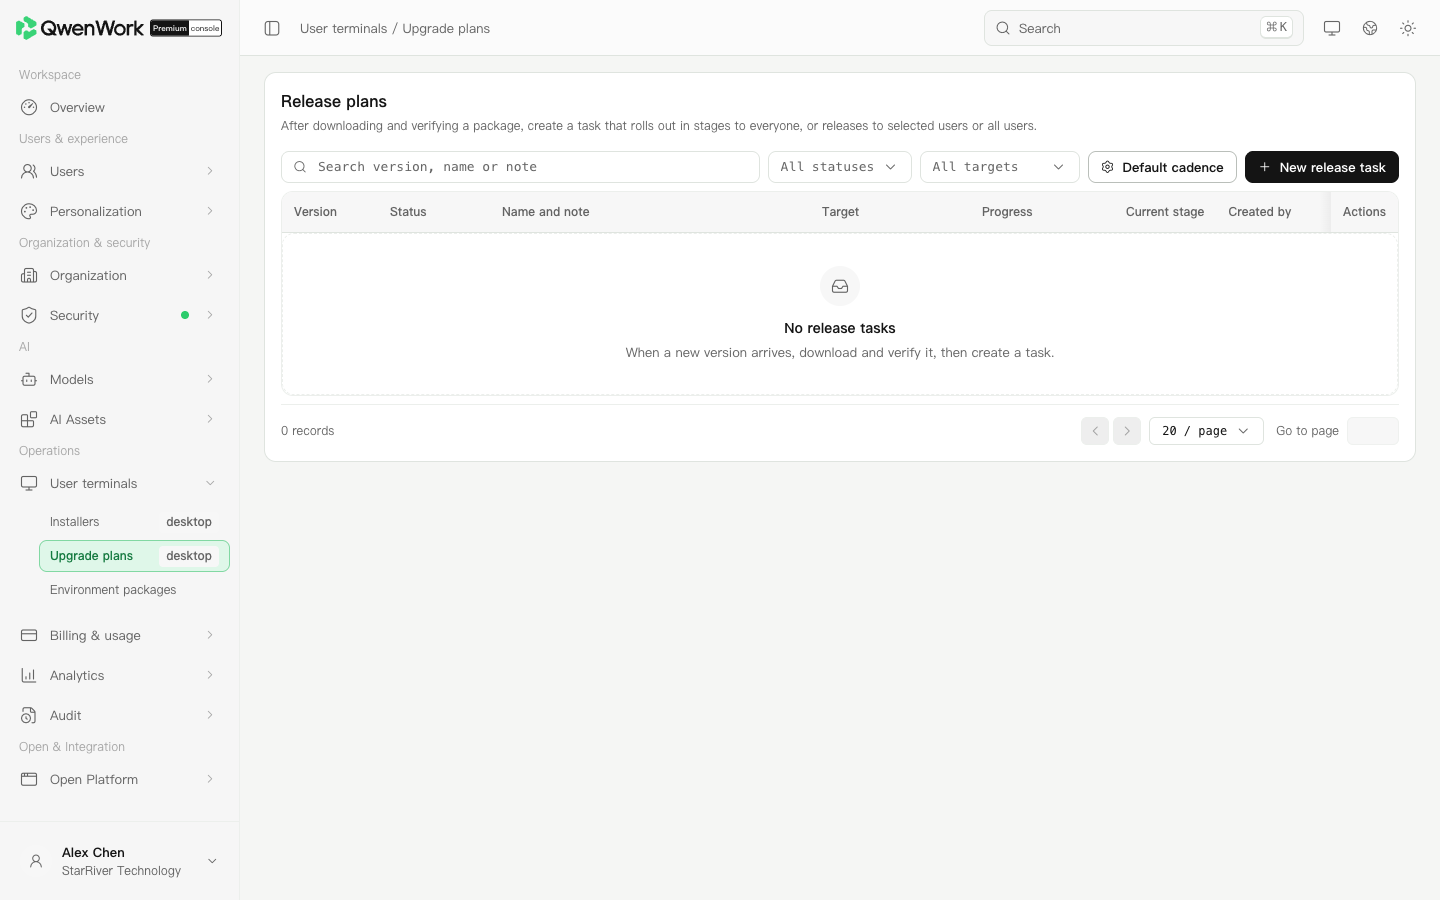
Adding installer files to a version later does not add them to saved plans automatically. Recheck each plan's installer selection. A published plan still requires the client to check for updates and complete installation.
## Related configuration guides {#related-configuration-guides}
- [Personalization overview](/enterprise-ultimate/personalization) — maintain home page, navigation, and credit prompts by policy group.
- [Models overview](/enterprise-ultimate/models) — register and manage models available to the enterprise.
- [Security overview](/enterprise-ultimate/security) — network access, trusted devices, hooks, environment variables, and IM channels.
# Overview
Source: https://docs.qwenwork.ai/enterprise-ultimate/overview
> Overview shows enterprise setup guidance, the current plan, remaining seats and credits, and usage over the last 30 days.
Overview shows enterprise setup guidance, the current plan, remaining seats and credits, and usage over the last 30 days.
## Review the enterprise {#review-the-enterprise}
1. Sign in to the admin console and open **Overview**.
2. In the current-plan card, check the organization, subscription status, and expiry date. Open the subscription link to view Subscription management.
3. Check the remaining seats and assigned users. Open seat management to manage users.
4. Review the 30-day credit trend. In the department ranking, compare total usage or average usage per user.
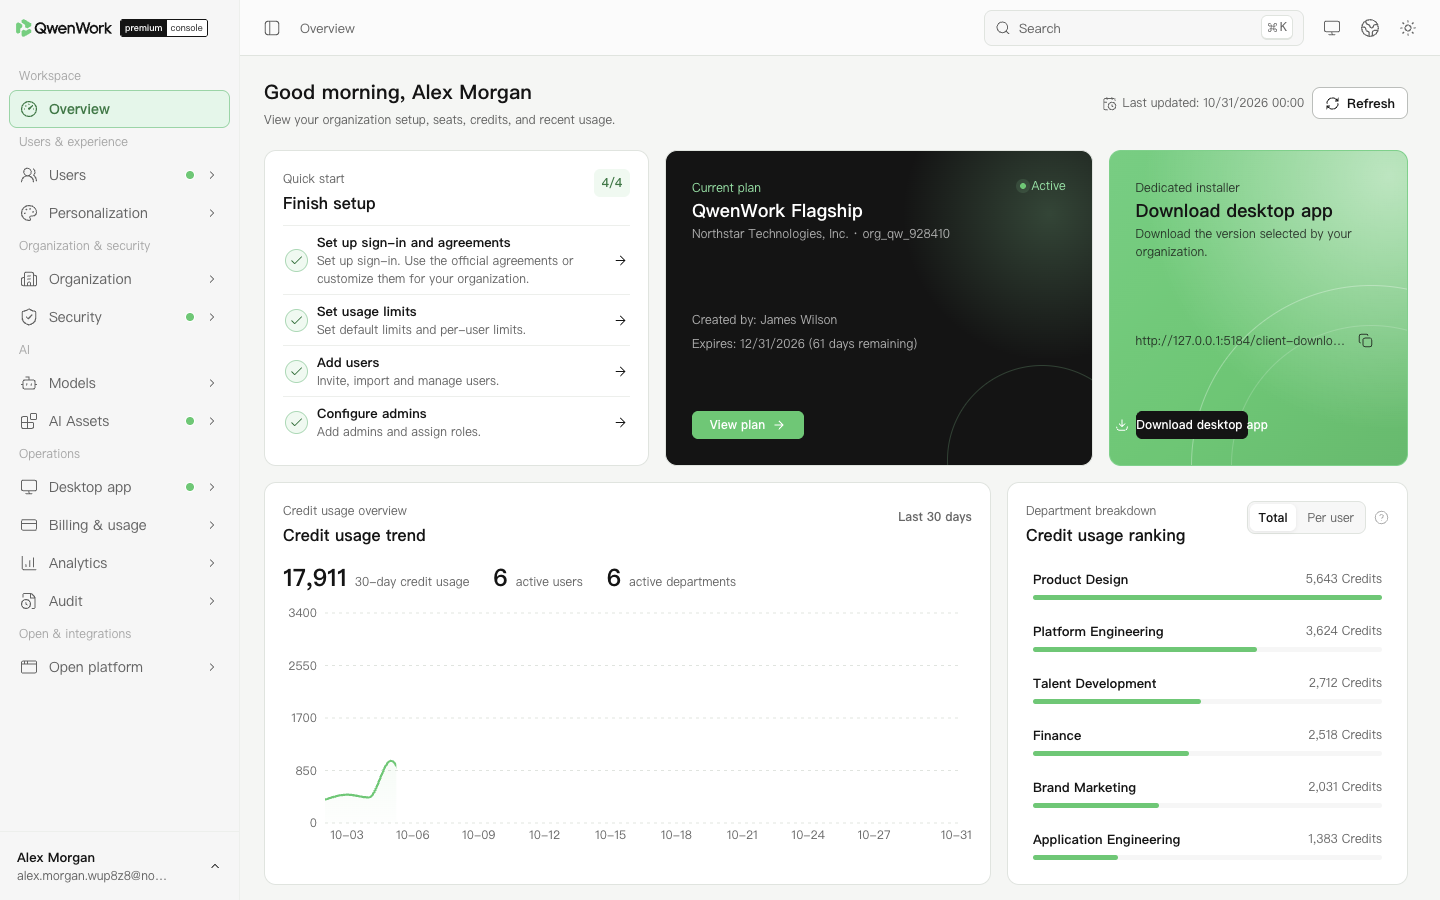
## Use the setup guidance {#use-the-setup-guidance}
The enterprise initialization section links to sign-in methods, quota allocation rules, user invitation or import, and administrator configuration. Select a task to open its configuration page.
Return to [Admin console feature overview](/enterprise-ultimate/admin-guide).
# Users overview
Source: https://docs.qwenwork.ai/enterprise-ultimate/users
> Users manages enterprise users, departments, user groups, and seats, together with sign-in methods and directory sources.
Users manages enterprise users, departments, user groups, and seats, together with sign-in methods and directory sources. User sync imports and updates departments and users from an enterprise directory. Authentication verifies the identity used to sign in. Configure each function separately when using them together.
## Choose a feature {#choose-a-feature}
| Feature | What you manage |
| ---------------------------------------- | ------------------------------------------------------------ |
| Users | Add and invite users, maintain departments, and assign seats |
| User groups | Define a policy scope across departments |
| Authentication / Authentication overview | Configure passwords, email codes, and enterprise SSO |
| User sync / User sync overview | Connect a directory and handle user changes |
Return to: Admin console feature overview.
# Users
Source: https://docs.qwenwork.ai/enterprise-ultimate/users/user
> The Users page manages users and departments, invitations, joining and seat requests, account status, and seat assignment.
The Users page manages users and departments, invitations, joining and seat requests, account status, and seat assignment. An existing account, an active account, and an assigned seat are separate conditions. Check each one when a user cannot use the enterprise service.
## Confirm how users are maintained {#confirm-how-users-are-maintained}
Open Users → Users and select **Organization**.
When User sync is enabled, manual user creation, invitations, new-user imports, and deletion are disabled across the organization. **Import updates** remains available.
- For a user managed by the currently enabled source, the source owns the name, email, account, phone number, external user ID, and employee number. Department and status are locked only when mapped.
- Users belonging to other sources can be edited according to your permissions.
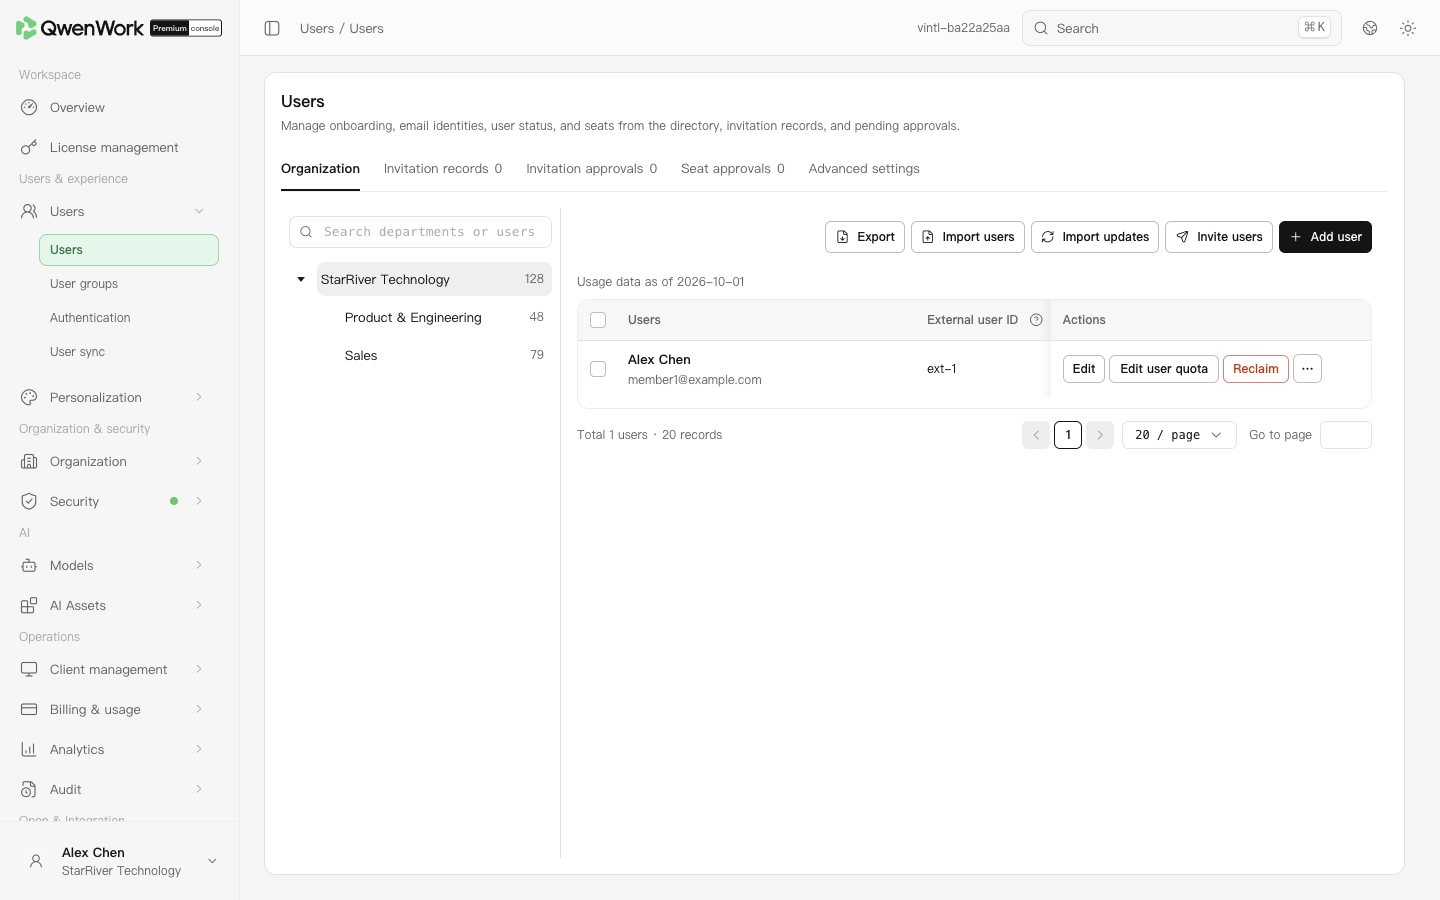
*Admin console: select a department and review its users.*
## Find and edit a user {#find-and-edit-a-user}
The department tree and user list scroll separately. Search, action controls, table headers, and pagination remain visible. Use the horizontal scrollbar at the bottom of the list for columns on the right. Enter a page number and press Enter or move focus away; zero opens the first page and a number above the total opens the last page. Changing departments, filters, or pages returns the list to the top. Closing the editor preserves your browsing position.
The console has a minimum width of 1280 pixels. In a narrower window, use the horizontal scrollbar at the bottom of the page. A short window may also require vertical page scrolling.
1. Search for a user or department, or expand the tree and select a department.
2. Check the account, email, phone, employee number, or external user ID. Use the QID in the editor or exported file when necessary to confirm the user.
3. Click **Edit** and check the current management source. An enabled source locks the six identity fields above; mapped department and status fields are also locked. A disabled source, a user no longer managed by that source, or removal of the department or status mapping restores editing of the affected fields. Users without a source are maintained under ordinary permissions.
4. Save, search again, and check the name, departments, and changed values. A user may belong to several departments; inspect the complete set.
## Add users manually or by import {#add-users-manually-or-by-import}
### Add a user {#add-a-user}
1. Confirm User sync is disabled. Select the department and click **Add user**.
2. Enter a name and at least one of account, email, phone number, or employee number. An external user ID does not satisfy this requirement.
3. If account-and-password sign-in is enabled, enter both an account and an initial password. Otherwise, a password is optional; entering a password still requires an account.
Account-and-password sign-in uses the account field. To use an email or employee number as the account, explicitly put that value in the account column when importing.
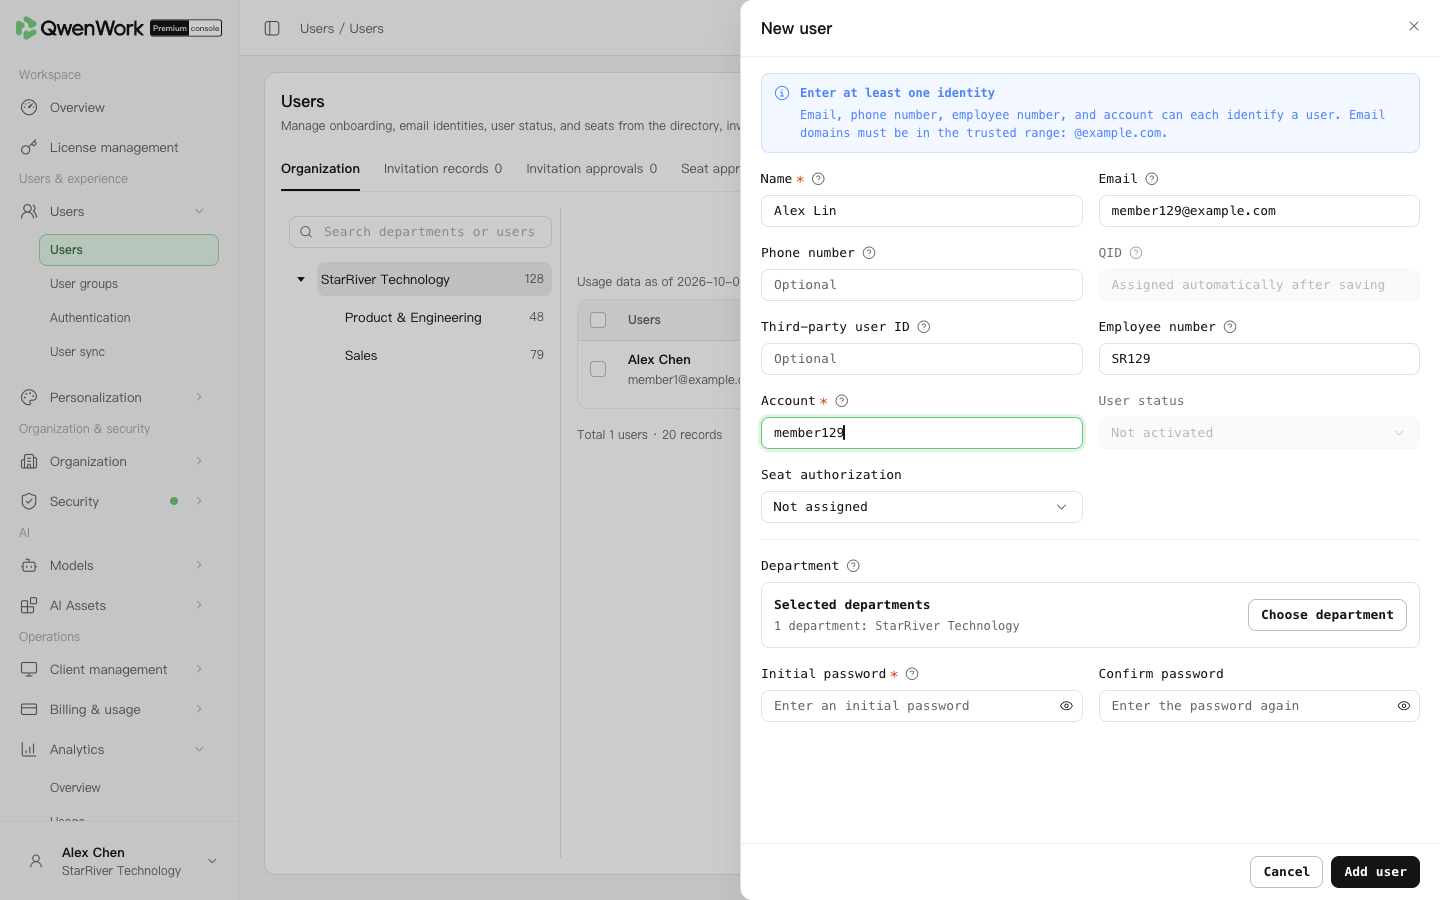
Admin console: enter the new user’s identity information.
### Check unique identifiers {#check-unique-identifiers}
| Field | Uniqueness rule |
| -------------------------------------- | ------------------------------------------------------------------------------------------------------------------------------- |
| Account, email, phone, employee number | Each is unique among users that have not been deleted. Inactive users still occupy these values. |
| External user ID | Unique among users that have not been deleted. Sync or SSO may reuse an ID from deleted history, creating a new record and QID. |
A duplicate value causes the whole operation for that user to fail. In a batch, all related rows using the same non-empty unique value fail.
### Import new users or update users {#import-new-users-or-update-users}
1. Choose **Import users** for new users or **Import updates** for existing users.
2. Download the current template, fill it in, and upload it. Updates identify existing users by **QID**, rather than their name, employee number, or external user ID.
3. When changing departments, provide the complete set to retain. Omitting a department may remove that membership.
4. Review the import result, correct failed rows, and resubmit. An uploaded file does not mean every row succeeded.
Use the department's **More actions** menu to add, edit, or delete departments. Read the impact described in the confirmation before deleting.
## Invite users {#invite-users}
1. Confirm User sync is disabled, choose a department, and click **Invite users**.
2. Choose the default department, enable its invitation, and confirm. Copy the invitation link or download its QR code for the invited users. Check the displayed expiry. Users must verify an identity email in a trusted domain.
3. In **Invitation records**, search by department or initiator, check expiry, and open the details to review application results.
4. In **Invitation approvals**, verify the applicant and invitation source before deciding.
| Decision | Result |
| ------------------------- | --------------------------------------------------------- |
| Approve and assign a seat | Adds the user and assigns a seat; a free seat is required |
| Approve only | Adds the user; assign a seat separately afterward |
| Reject | Rejects the application; enter a reason if requested |
## Assign, reclaim, and approve seats {#assign-reclaim-and-approve-seats}
Find the user in Organization. Assign a seat to an unassigned user or click **Reclaim** for an assigned user. For a batch, select the users and use the batch action. Reclaiming a seat affects access to enterprise services, so check the users first.
Enable seat requests in **Seat approvals** if users without seats should be able to apply from the post-sign-in prompt. Review the reason, account status, and remaining seats before approving and assigning, or rejecting. Status tabs show processed requests.
## Deactivate or delete users {#deactivate-or-delete-users}
The user's **More** menu provides the available account actions. An inactive user cannot sign in. If status is mapped from the enabled sync source, change it at the source.
Deletion is logical: the previous record and history remain, while directly held seats, credentials, and sessions are reclaimed. The user cannot continue signing in and disappears from the list. Account, email, phone, and employee number values are released for reuse.
The list shows users that have not been deleted, without a deleted-user filter or detail entry. While User sync is enabled, deletion is controlled by the source. Disable sync before a manual deletion.
Deletion does not restore the previous QID or profile later. If sync receives the same external user ID again, it creates a new user and QID from the current source data and applies new-user seat rules. Previous history remains. Identity values already held by another current user cause that sync item to fail; correct the source data or mapping and sync again. SSO recreation also requires automatic user creation to be enabled and the returned identity values to be conflict-free. See Users / User sync / User sync overview and Users / Authentication / Authentication overview.
### Set an auxiliary identifier {#set-an-auxiliary-identifier}
Choose and save the auxiliary identification field in **Advanced settings** to change the identifier shown beside names. This setting helps administrators recognize users and does not change sign-in methods.
Phone and employee number uniqueness is checked when saved. If historical duplicates exist, confirm each user by QID and correct the records in the ordinary editor or sync source. Users are not merged automatically.
## Verify access {#verify-access}
Ask the user to sign in through the enterprise entry and confirm an active account and assigned seat. Complete first-sign-in password creation if prompted. If sign-in still fails, record the time and user identifier, then check Audit / User activity.
Return to: Users / Users overview.
# User groups
Source: https://docs.qwenwork.ai/enterprise-ultimate/users/user-groups
> A user group brings together users who need the same policy, such as an AI pilot group.
A user group brings together users who need the same policy, such as an AI pilot group. It can span departments without changing the users' department memberships.
## Create a user group {#create-a-user-group}
1. Open Users → User groups and click **New user group**.
2. Enter a name and description that explain its purpose, such as a contract-review pilot for the legal team.
3. In the membership section, select users or departments, check the selected scope, and save the user group.
4. Check the name and scope in the list. Open **Edit** to verify its membership.
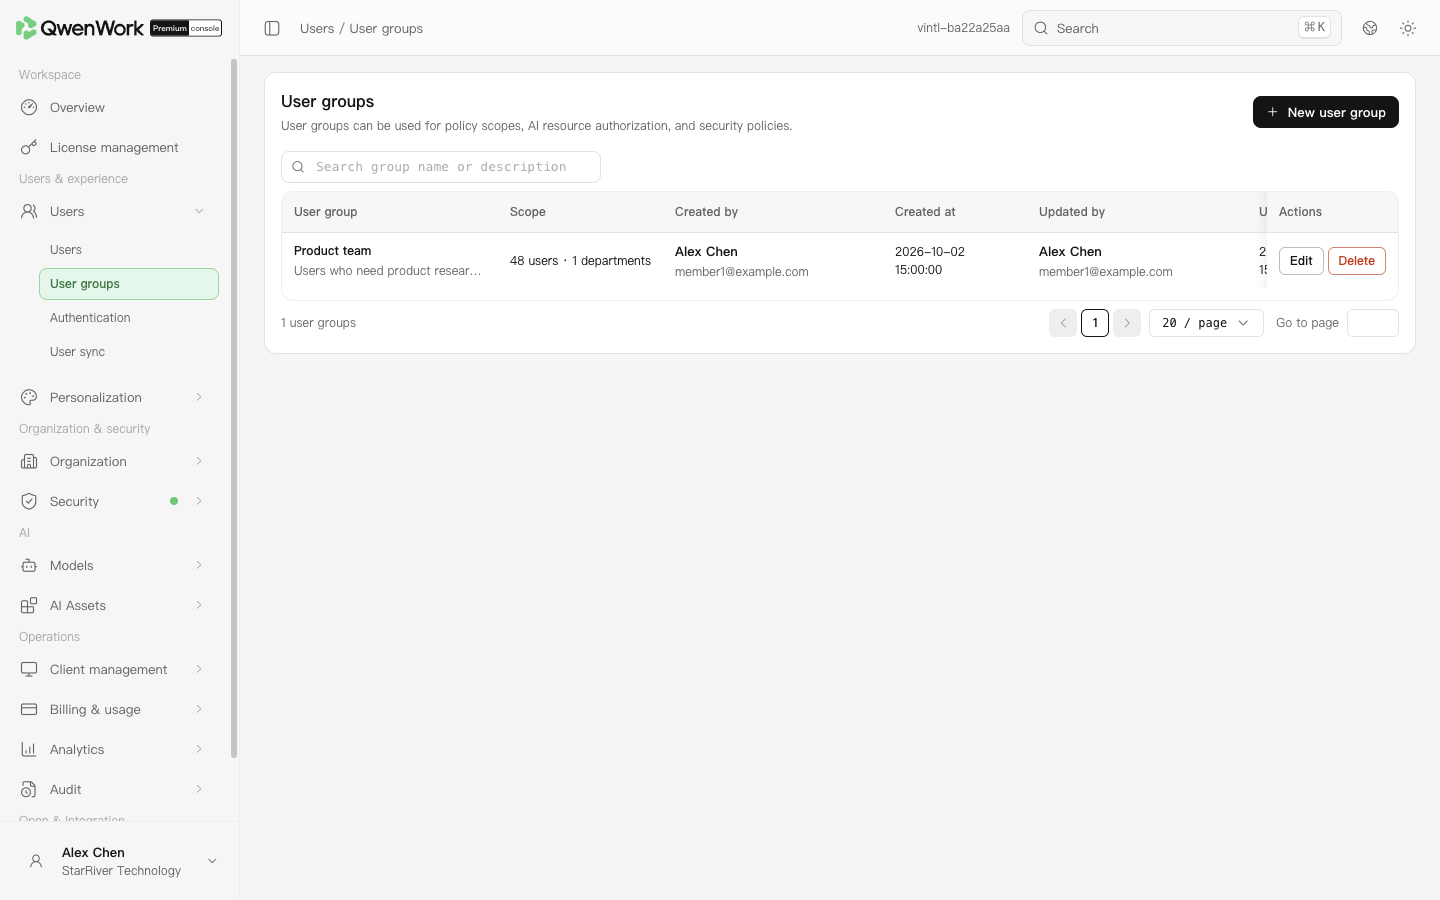
*Admin console: user-group scope and maintenance information.*
## Use a group in a policy {#use-a-group-in-a-policy}
When configuring model, resource-access, quota, or device policies, choose user groups in the scope selector and select the group. After saving, ask a user in the group to check the result. Model and device policies also provide a policy-match check.
## Change membership or delete a group {#change-membership-or-delete-a-group}
Search for the group, open **Edit**, add or remove members, and save. Membership changes may change the policies applied to those users. Recheck representative users afterward.
Before deleting a group, inspect policies that use it. Deleting the group does not delete enterprise users. Recheck policy scopes so users keep the intended configuration and do not unexpectedly fall back to a default policy.
Return to: Users / Users overview.
# Authentication overview
Source: https://docs.qwenwork.ai/enterprise-ultimate/users/authentication
> Authentication configures how enterprise users sign in to QwenWork: account and password, email verification code, or enterprise SSO (single sign-on).
Authentication configures how enterprise users sign in to QwenWork: account and password, email verification code, or enterprise SSO (single sign-on). It also manages trusted email domains, SSO providers, and user mappings. SSO and directory sync are configured separately; enabling SSO does not import the entire directory.
Open Users → Authentication. The tabs are **Sign-in methods**, **Trusted e-mail domains**, and **SSO login**.
## Configure sign-in methods {#configure-sign-in-methods}
1. In Sign-in methods, choose the methods to offer: account and password, email code, or SSO.
2. When enabling **Account + password**, review the confirmation's account check. It covers every user that has not been deleted, including administrators and inactive users. Sign-in uses the account field.
3. Download the Excel of users missing accounts or usable passwords, complete their information, and use Users → **Import updates**. Opening import updates closes the check; the sign-in switch keeps its previous value.
4. Confirm to enable the method. Users with missing information can use it only after their records are completed. Cancel preserves the switch. Keep at least one available sign-in method.
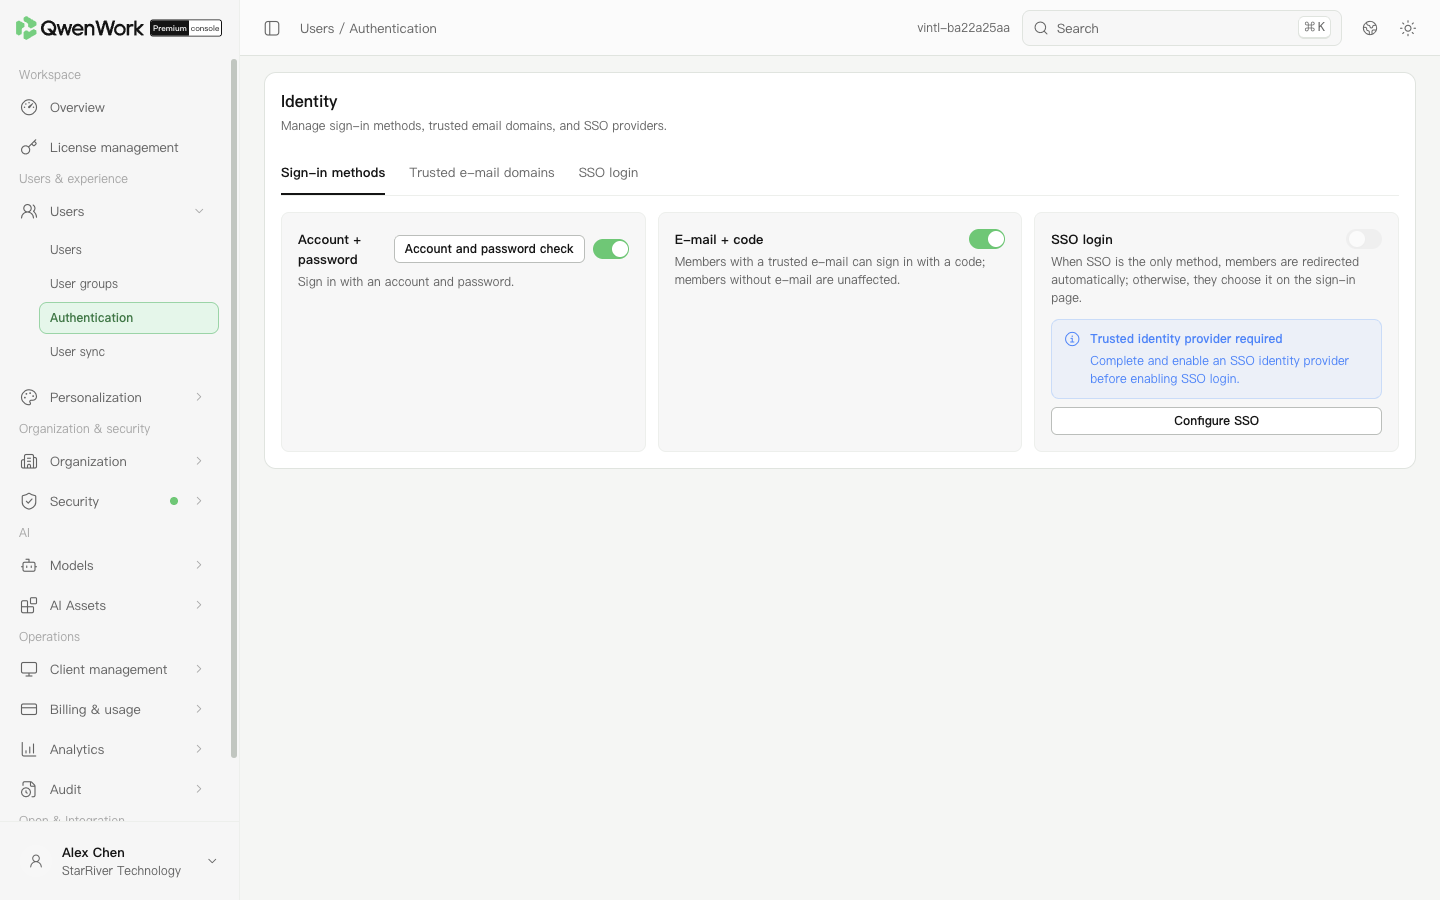
*Admin console: available sign-in methods and their prerequisites.*
Users with a trusted email address can sign in with an email code. SSO requires a complete, enabled provider first. When SSO is the only method, users are redirected to the enterprise identity platform. When other methods are available, users choose on the sign-in page.
## Check accounts {#check-accounts}
Use **Account and password check** at any time to inspect users that have not been deleted, including administrators and inactive users. Download missing-account or missing-password records and open import updates to complete them. The check and export do not change sign-in switches.
## Maintain trusted email domains {#maintain-trusted-email-domains}
1. Open Trusted e-mail domains and add a trusted domain.
2. Enter a domain such as `example.com`, without an email account, `@`, protocol, or URL path.
3. Save and check its domain and status in the list. Use **Edit** to change an entry.
4. Make sure users' email addresses belong to the allowed domains. In the desktop app's Premium sign-in configuration, a verified email domain is used to obtain the enterprise service address.
## Configure enterprise SSO {#configure-enterprise-sso}
The enterprise identity platform verifies the user and returns the result to QwenWork. Each provider has its own app, credentials, and mappings.
To configure mappings:
1. Use **Add mapping** to choose a target field. The new row includes its preset source.
2. Check the source on the left; the QwenWork target is fixed. OAuth2 accepts a UserInfo dot path. SAML2 accepts NameID or an Attribute Name.
3. Keep external user ID and user name, and map at least one of email, phone, employee number, or account. Optional mappings can be removed and added again.
4. Save the configuration. Fixed platforms offer a connection test; generic protocols offer configuration validation. These optional diagnostics are not prerequisites for saving or enabling.
| Identity platform | Article |
| ------------------------------------------- | ----------------------------------------------- |
| DingTalk internal enterprise app | Users / Authentication / DingTalk SSO |
| Feishu custom enterprise app | Users / Authentication / Feishu SSO |
| OAuth2 authorization and UserInfo endpoints | Users / Authentication / OAuth 2.0 SSO |
| OIDC identity platform | Users / Authentication / OIDC SSO |
| Microsoft Entra enterprise app | Users / Authentication / Microsoft Entra ID SSO |
| SAML metadata or assertions | Users / Authentication / SAML 2.0 SSO |
Prepare the app and callback information, save the user mappings, optionally diagnose the configuration, enable the provider, enable SSO sign-in, and test with an ordinary user.
A connection test checks whether the service can obtain the vendor's access token with the credentials. Configuration validation checks the configuration and token-endpoint response. Neither verifies the callback, permissions, user scope, mappings, automatic creation, or complete sign-in. Verify delivery with an ordinary user's actual sign-in. Only one SSO provider can be active at a time; check the provider named in the switch confirmation.
Automatic creation requires successful authentication, no existing external user ID match, and no account, email, phone, or employee-number conflicts. Choose a default department and decide whether to assign a seat. Review **Auto-created user records** afterward.
### How existing users are matched {#how-existing-users-are-matched}
SSO looks up users by external user ID only.
| Situation | Result |
| ------------------------------------------------------------ | ----------------------------------------------------------------------------------------------------------------------------------------- |
| A current user matches and identity fields have no conflicts | Sign-in succeeds; existing profile and sync source remain |
| An identity field identifies another user | Sign-in fails |
| A new user is created | No continuing sync source is assigned; a later sync takeover determines locked fields |
| Only deleted history matches the external user ID | The old QID is not restored. Sign-in fails with automatic creation off; with it on and conflict-free data, a new user and QID are created |
A new account uses the current returned profile, default department, and seat policy. It does not inherit old roles, passwords, seats, or departments. Old history remains.
## First-sign-in password creation {#first-sign-in-password-creation}
A user must create a password after the first authentication when all three conditions hold: account-and-password sign-in is enabled, an issued initial password is still initial, and the user has never completed sign-in. This also applies when the authentication itself uses an email code or SSO.
Sync and SSO user creation do not issue a local initial password automatically. A user without an issued local password cannot use password sign-in. A user who already completed sign-in is not asked to create a password merely because password sign-in is enabled later.
1. Authenticate using an allowed enterprise method.
2. On the password-creation page, enter and confirm a password of 8–1024 characters containing uppercase letters, lowercase letters, and digits. Special characters are optional; spaces are not allowed.
3. Create the password and enter QwenWork.
Leaving the page, entering an invalid password, or entering different passwords does not establish a sign-in session. Check the user's last-sign-in time to confirm completion.
## Investigate sign-in failures {#investigate-sign-in-failures}
Check account status and seats first, then the allowed methods and active provider. For SSO, use its tutorial to check callbacks, certificates, permissions, and mappings. Record the time and user identifier and inspect Audit / User activity.
## Provider tutorials {#provider-tutorials}
- Users / Authentication / DingTalk SSO
- Users / Authentication / Feishu SSO
- Users / Authentication / OAuth 2.0 SSO
- Users / Authentication / OIDC SSO
- Users / Authentication / Microsoft Entra ID SSO
- Users / Authentication / SAML 2.0 SSO
Return to: Users / Users overview.
# DingTalk SSO
Source: https://docs.qwenwork.ai/enterprise-ultimate/users/authentication/dingtalk-sso
> DingTalk SSO lets enterprise users sign in to QwenWork Premium with their DingTalk identity.
DingTalk SSO lets enterprise users sign in to QwenWork Premium with their DingTalk identity. Configure the app credentials in QwenWork, copy its callback URL, and register that URL in the same DingTalk app. Credentials alone do not provide a working return from DingTalk authentication.
## Prepare the app and permissions {#prepare-the-app-and-permissions}
Use a DingTalk internal enterprise app and administrator access to both platforms. Keep credentials, callback settings, permissions, and user scope in the same app.
| Item | Source and purpose |
| --------------------------------------- | ---------------------------------------------------------------------------- |
| Client ID (AppKey) | DingTalk credentials and basic information; identifies the app |
| Client Secret (AppSecret) | The same app's credentials; used to call DingTalk |
| `Contact.User.Read` | Permission management; reads the signed-in user's personal information |
| Directory member information permission | Reads the default `userid` and directory profile |
| Redirect URL | Copy from the QwenWork DingTalk provider; returns authentication to QwenWork |
| App visibility and published version | Allows the intended users to use the app |
Request additional profile permissions for phone, enterprise email, employee number, or enterprise account mappings. Follow the current DingTalk permission labels and publish the changes. Keep the secret in your enterprise credential store.
## Create and authorize the DingTalk app {#create-and-authorize-the-dingtalk-app}
1. Sign in to the DingTalk developer platform and confirm the enterprise.
2. Open App development → Internal enterprise development and create or open the dedicated sign-in app.
3. Obtain its Client ID and Client Secret securely.
4. Enable `Contact.User.Read` and directory member information access. Add the profile permissions required by your mappings.
5. Include the intended users in the app's visible scope and publish the app in version management.
## Save the QwenWork provider {#save-the-qwenwork-provider}
1. Open Users → Authentication → SSO login and configure or edit DingTalk.
2. Enter the app's Client ID and Client Secret. Leaving the secret blank when editing preserves the saved secret.
3. Leave Dedicated domain blank for ordinary DingTalk enterprises. For a dedicated environment, obtain its actual address from the enterprise administrator.
4. Copy the callback URL for registration below.
5. Complete the mappings and automatic-creation settings, then save the configuration.
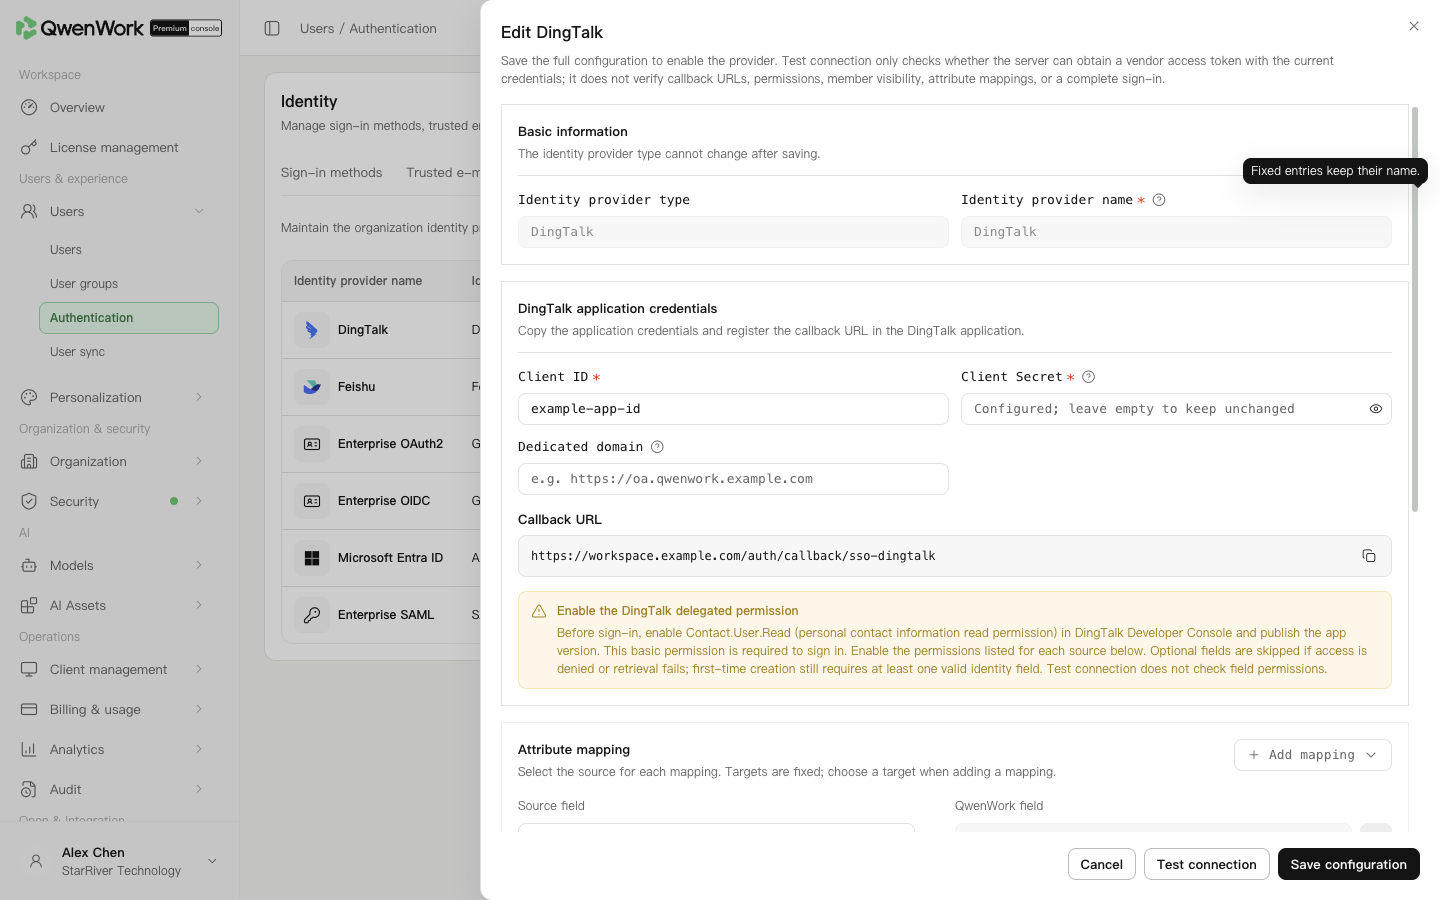
*Admin console: DingTalk credentials, callback URL, and identity mappings.*
## Register the callback in DingTalk {#register-the-callback-in-dingtalk}
1. Return to the same app and open App → Security settings.
2. Find the Redirect URL setting.
3. Paste the complete URL copied from QwenWork and save. Use the callback rather than the app home page or the screenshot's sample value.
4. If DingTalk requires publication after the change, publish in version management before testing sign-in.
The app home page, redirect URL, and outbound server IP are separate settings. If an outbound IP is required, use the actual egress IP of the QwenWork service calling DingTalk.
## Check identity mappings {#check-identity-mappings}
| QwenWork field | New-provider default |
| ---------------- | ---------------------- |
| External user ID | `user.userid` |
| User name | `user.name` |
| Email | `user.directory.email` |
The default email source user.directory.email has a value only when the member’s enterprise mailbox is available in the provider response. Keep external user ID and name. Map at least one of email, phone, employee number, or account; automatic creation also requires at least one non-empty returned value. Select supported source fields and check the returned profile before changing them. The target fields remain fixed.
Use the same DingTalk `userid` for SSO and directory sync. Identity values such as email and account are checked for conflicts and do not merge users.
## Decide whether to create users automatically {#decide-whether-to-create-users-automatically}
Leave automatic creation off when users already come from sync or import. To create users at first sign-in, enable it and choose a default department. Automatic seat assignment is available only with automatic creation enabled.
## Enable and verify sign-in {#enable-and-verify-sign-in}
1. Save a complete configuration.
2. Optionally test the connection to check token retrieval. This does not check callbacks, profile permissions, visibility, returned fields, or complete sign-in.
3. Enable the DingTalk provider. Only one SSO provider can be active.
4. In Sign-in methods, enable SSO login separately.
5. Ask an ordinary user to sign in and check the returned enterprise, identity, departments, and seat.
6. With automatic creation enabled, check that Auto-created user records contains one correct record.
## Troubleshooting {#troubleshooting}
| Symptom | Check |
| ---------------------------------------------- | ----------------------------------------------------------------------------------------------- |
| Invalid callback | Copy the complete URL again and compare its protocol, domain, and path with the saved redirect |
| Authentication succeeds but does not return | Check for an app-home URL entered as the redirect, or unpublished changes |
| Administrator succeeds but ordinary users fail | Check app visibility, publication, and enterprise membership |
| User not found | Compare `user.userid` with the user's external ID and check automatic creation |
| Automatic creation fails | Check the default department and a mapped, non-empty identity value |
| Missing email, phone, or employee number | Check profile permissions and the member profile; token retrieval does not prove profile access |
## Existing users and deleted records {#existing-users-and-deleted-records}
SSO matches current users by external user ID only. A match with no other identity conflicts signs in and keeps the existing profile and sync source. Conflicting account, email, phone, or employee-number values reject sign-in.
If the ID occurs only in deleted history, the old QID is not restored. With automatic creation off, sign-in fails. With it on and conflict-free current data, a new user and QID are created using the returned profile, current default department, and seat policy. Old roles, passwords, seats, and departments are not inherited; history remains.
Return to: Users / Authentication / Authentication overview.
# Feishu SSO
Source: https://docs.qwenwork.ai/enterprise-ultimate/users/authentication/feishu-sso
> Feishu SSO lets enterprise users sign in to QwenWork Premium with their Feishu identity.
Feishu SSO lets enterprise users sign in to QwenWork Premium with their Feishu identity. Enter the app credentials in QwenWork, copy its callback, then configure the redirect, permissions, user availability, and publication in the same Feishu custom enterprise app.
## Prepare the app {#prepare-the-app}
You need administrator access to both platforms.
| Item | Purpose |
| ----------------------------------- | ------------------------------------------------------------------------------------ |
| App ID and App Secret | Identify the app and call Feishu; obtain them from Credentials and basic information |
| `contact:user.employee_id:readonly` | Read the default `user_id` identity |
| `contact:user.email:readonly` | Read email when required by the mapping |
| `contact:user.phone:readonly` | Read phone when required |
| Redirect URL | Copy from the QwenWork provider to return sign-in |
## Authorize the Feishu app {#authorize-the-feishu-app}
1. Open the Feishu developer console and confirm the enterprise.
2. Create or open the dedicated custom enterprise app.
3. Obtain the App ID and App Secret securely.
4. Enable app sign-in permissions. For the default `user_id`, grant access to the user's user ID. Request the email and phone permissions needed by the mappings.
5. Add the intended users to the app's availability scope.
6. Create and publish a version in version management before testing. Recheck publication requirements after permission or availability changes.
If this app also synchronizes the directory, add the permissions described in Users / User sync / Feishu user sync.
## Configure QwenWork {#configure-qwenwork}
1. Open Users → Authentication → SSO login and configure or edit Feishu.
2. Enter the same app's App ID and App Secret. A blank secret on edit preserves the saved value.
3. Leave the private deployment domain blank for ordinary Feishu. Enter the actual private-environment address where applicable.
4. Copy the callback URL.
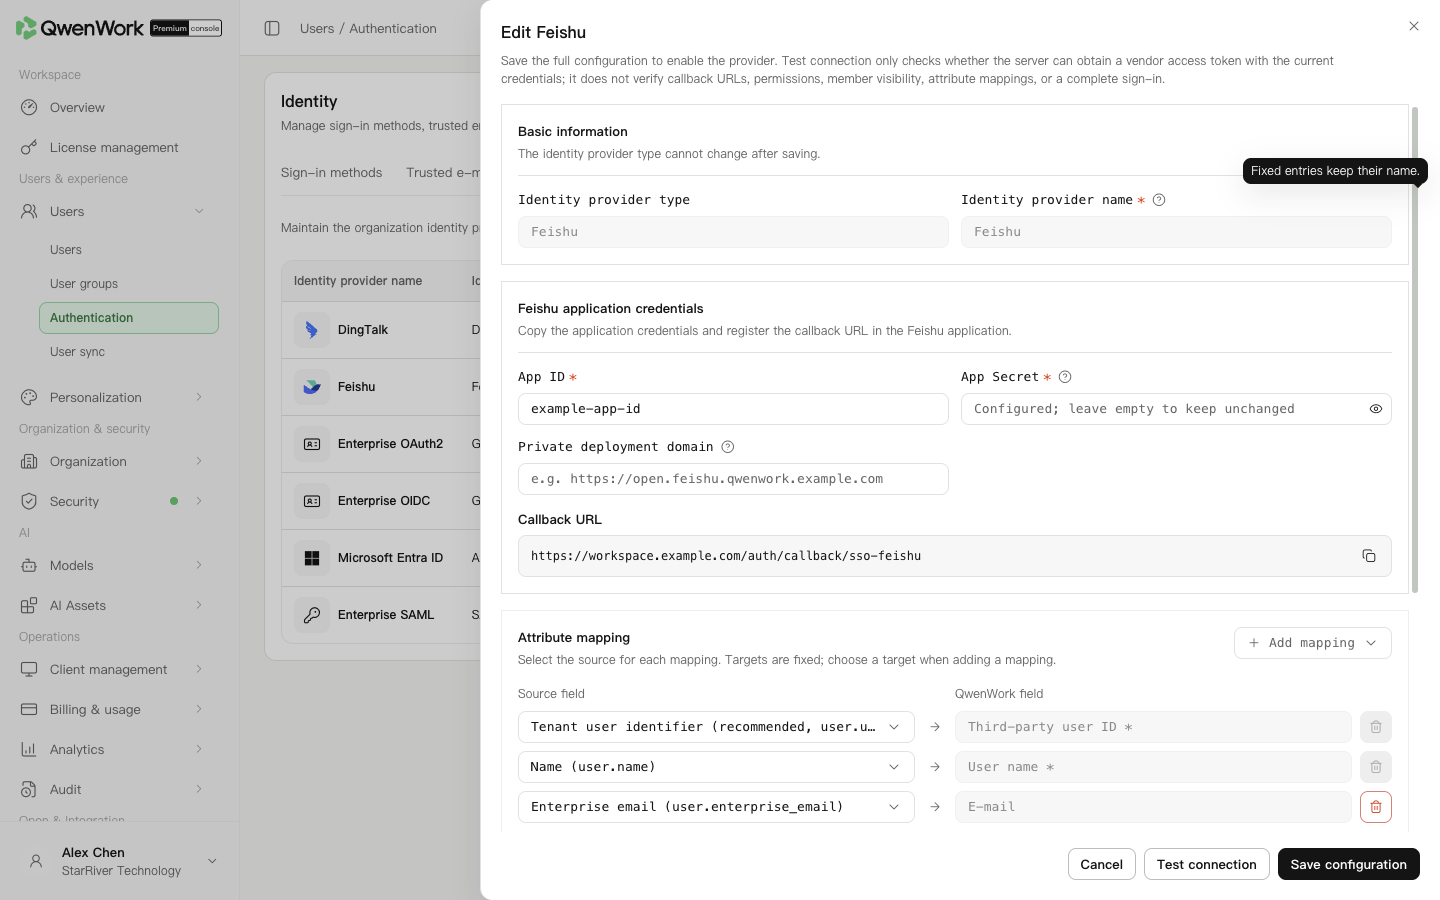
*Admin console: Feishu credentials, callback, and user mappings.*
## Register the redirect {#register-the-redirect}
1. In the same Feishu app, open Development configuration → Security settings.
2. Paste the complete copied callback into Redirect URL, add it, and save.
3. Use the callback from the current environment, rather than a QwenWork home-page URL or screenshot example.
4. Publish a new app version if permissions or user availability changed.
## Check user mappings {#check-user-mappings}
| QwenWork field | New-provider default |
| ---------------- | ----------------------- |
| External user ID | `user.user_id` |
| User name | `user.name` |
| Email | `user.enterprise_email` |
Keep external user ID and name. Map at least one of email, phone, employee number, or account, with at least one non-empty returned value for automatic creation. Sources can be selected from the supported fields; targets are fixed.
Make SSO `user.user_id` and sync `user_id` identify the same user. `user_id`, `open_id`, and `union_id` are different identifiers.
## Choose automatic creation {#choose-automatic-creation}
Keep it off for users already created by sync or import. To create users on first sign-in, enable it and select the default department. Automatic seat assignment requires automatic creation.
## Save, enable, and verify {#save-enable-and-verify}
1. Save the complete provider.
2. Optionally test App ID and App Secret token retrieval. This does not verify redirects, permissions, user scope, profile fields, or complete sign-in.
3. Enable Feishu; only one provider can be active.
4. Enable SSO in Sign-in methods separately.
5. Ask an ordinary user to sign in and check the enterprise, name, departments, and seat.
## Troubleshooting {#troubleshooting}
| Symptom | Check |
| -------------------------------------------- | -------------------------------------------------------------------------------------------------------------------------------------------------------------------------------------------------------------------------------------- |
| Invalid redirect | Compare the complete copied callback with Feishu's saved security setting |
| App creator succeeds but ordinary users fail | Check availability scope, effective permissions, published version, and enterprise membership |
| User not found | Compare `user.user_id` with the external ID and check automatic creation |
| Automatic creation fails | Check the default department and mapped, non-empty identity fields |
| Name exists but email is empty | Check email permission, publication, and the user's email profile |
| Account creation fails after authentication | Open Auto-created user records. Check missing identity fields and that the returned email domain matches a trusted domain. At least one of email, phone, or employee number must be present where that is the configured identity set. |
## Existing users and deleted records {#existing-users-and-deleted-records}
SSO matches current users by external user ID only. A conflict-free match preserves the existing profile and sync source. Account, email, phone, or employee-number conflicts with another user reject sign-in. An unmatched ID follows the automatic-creation setting.
Deleted history does not restore the old QID. With automatic creation off, sign-in fails; with it on and conflict-free returned data, a new user and QID use the current profile, default department, and seat policy. Previous roles, passwords, seats, and departments are not inherited. History remains.
Return to: Users / Authentication / Authentication overview.
# OAuth 2.0 SSO
Source: https://docs.qwenwork.ai/enterprise-ultimate/users/authentication/oauth-sso
> Use OAuth2 when your enterprise identity system provides authorization-code sign-in and a user-information endpoint.
Use OAuth2 when your enterprise identity system provides authorization-code sign-in and a user-information endpoint. Configure the same app's credentials, three endpoints, and user fields in QwenWork, then register the generated callback with the identity system.
## Obtain the identity-system settings {#obtain-the-identity-system-settings}
| Setting | Purpose |
| -------------------------------------- | ------------------------------------------------------ |
| Client ID and Client Secret | Identify and authenticate the app |
| Authorization endpoint | Opens user sign-in and authorization |
| Token endpoint | Exchanges the authorization code for an access token |
| UserInfo endpoint | Reads the authenticated user's profile |
| Scopes, token authentication, and PKCE | Must match the identity app |
| Sanitized UserInfo JSON | Identifies the actual ID, name, email, and other paths |
## Enter credentials and endpoints {#enter-credentials-and-endpoints}
1. Open Users → Authentication → SSO login and click **Add identity provider**.
2. Select **Generic OAuth2 / OIDC**, enter a name, and set the protocol to OAuth2.
3. Enter Client ID, Client Secret, and the required scopes. OAuth2 does not require an `openid` scope.
4. Select token-endpoint authentication: Basic Auth sends app credentials in the header; Form Post sends them in the form. Set PKCE to S256 or disabled as required by the identity platform.
5. Select how the UserInfo request carries its access token, and enter the authorization, token, and UserInfo endpoints.
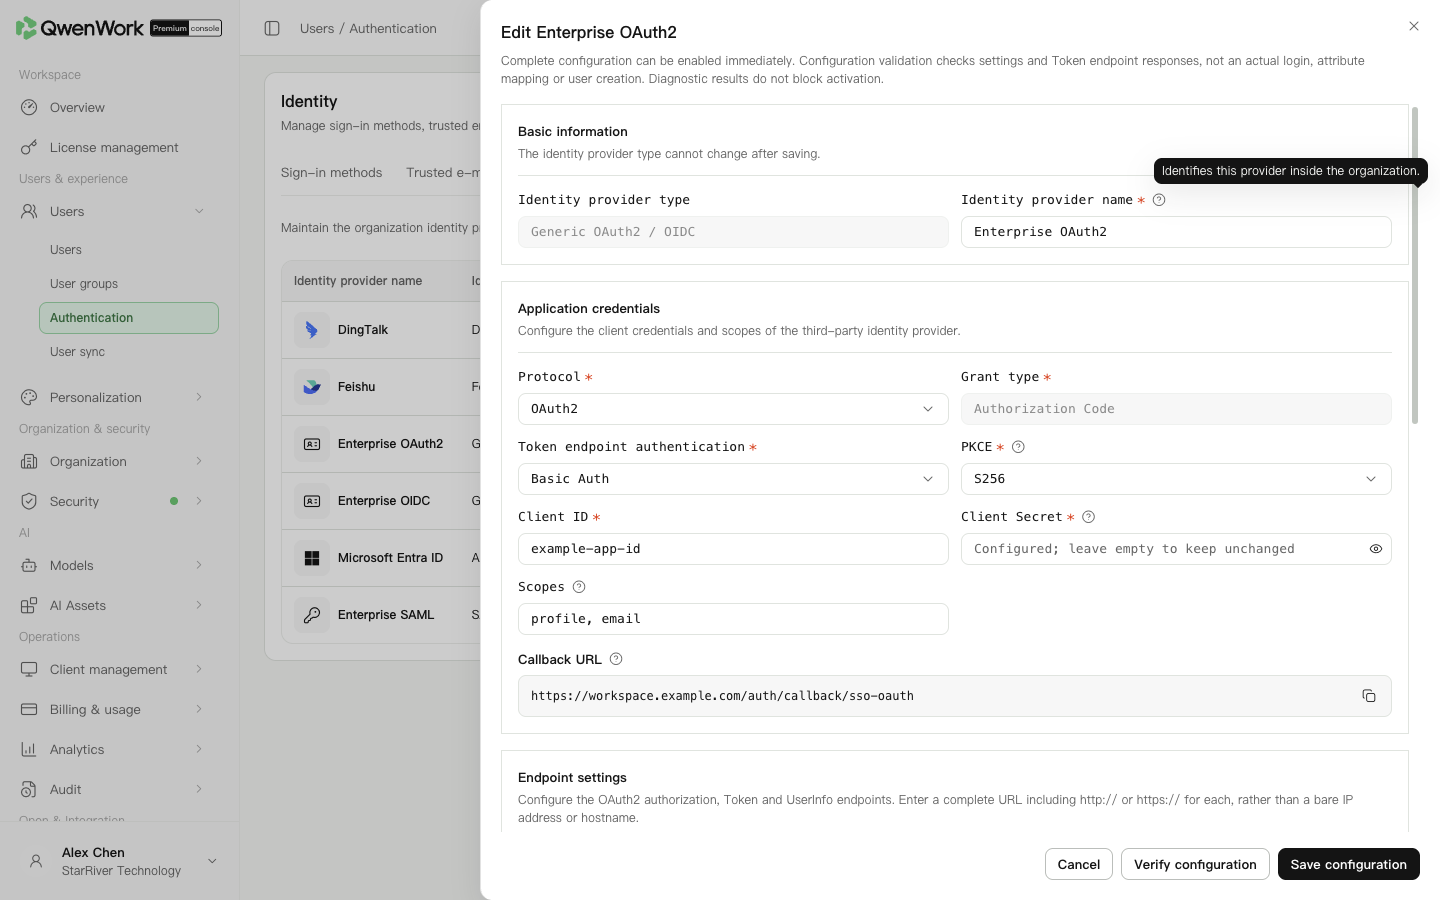
*Admin console: OAuth2 credentials and endpoint settings.*
Token-endpoint authentication carries app credentials. UserInfo token transport carries the access token obtained after sign-in. Configure each independently.
## Map the returned user fields {#map-the-returned-user-fields}
1. Enter source names or dot paths in the mapping section. The input handles the `user.` prefix; do not repeat it.
2. For a response such as `{"profile":{"id":"u123","name":"Alex Chen"},"email":"alex@example.com"}`, use `profile.id`, `profile.name`, and `email`.
3. Choose a stable, unique external user ID, rather than a name that can change or be duplicated.
4. Keep ID and name mappings and at least one of email, phone, employee number, or account. Paths are case-sensitive; array indexes and scripts are unsupported.
5. For first-sign-in account creation, enable automatic creation and select a default department. Enable automatic seat assignment if required.
## Save and register the callback {#save-and-register-the-callback}
1. Save the provider; its callback is generated after creation.
2. Reopen it and copy the complete callback.
3. Register that URL in the same identity app's allowed callbacks and save.
4. Enable the provider, then enable SSO in Sign-in methods. Only one provider can be active.
5. Ask an ordinary user to complete sign-in and verify the enterprise, account association, and returned profile.
Configuration validation diagnoses settings and endpoint responses. It does not verify complete sign-in, callback registration, or field mappings.
## Diagnose the failing stage {#diagnose-the-failing-stage}
| Stage | Check first |
| --------------------------------------- | ------------------------------------------------------------------- |
| Sign-in page cannot open | Authorization endpoint and identity-app status |
| Cannot return after authorization | Complete callback registered in the same app |
| Token exchange fails | Credentials, Basic Auth/Form Post, and PKCE |
| Profile retrieval fails | UserInfo URL, token transport, and scopes |
| Association or automatic creation fails | Unique ID, actual profile values, default department, and conflicts |
## Existing users and deleted records {#existing-users-and-deleted-records}
SSO looks up current users by external user ID only. A conflict-free match signs in and keeps the existing profile and sync source. Conflicts in account, email, phone, or employee number reject sign-in. An unmatched ID follows the automatic-creation setting.
If only deleted history matches, the old QID is not restored. Automatic creation off rejects sign-in; automatic creation on with conflict-free current data creates a new user and QID. The returned profile, default department, and current seat policy apply. Old roles, passwords, seats, and departments are not inherited; history remains.
Return to: Users / Authentication / Authentication overview.
# OIDC SSO
Source: https://docs.qwenwork.ai/enterprise-ultimate/users/authentication/oidc-sso
> OpenID Connect (OIDC) adds an identity token to OAuth 2.0.
OpenID Connect (OIDC) adds an identity token to OAuth 2.0. QwenWork checks its issuer, signature, and validity period, then uses its user identifier to associate the account.
## Prepare an OIDC app {#prepare-an-oidc-app}
Ask the identity administrator for an authorization-code OIDC app, Client ID, Client Secret, discovery address, and signing algorithm. Scopes must include `openid`; add the scopes needed for name, email, and other profiles.
## Create the provider {#create-the-provider}
1. Open Users → Authentication → SSO login and add a provider.
2. Choose **Generic OAuth2 / OIDC**, enter a name, and retain OIDC as the protocol.
3. Enter Client ID, Client Secret, and scopes.
4. Match token-endpoint authentication and PKCE to the identity app.
5. Choose the actual ID-token algorithm: RS256 verifies with signing public keys; HS256 verifies with the Client Secret.
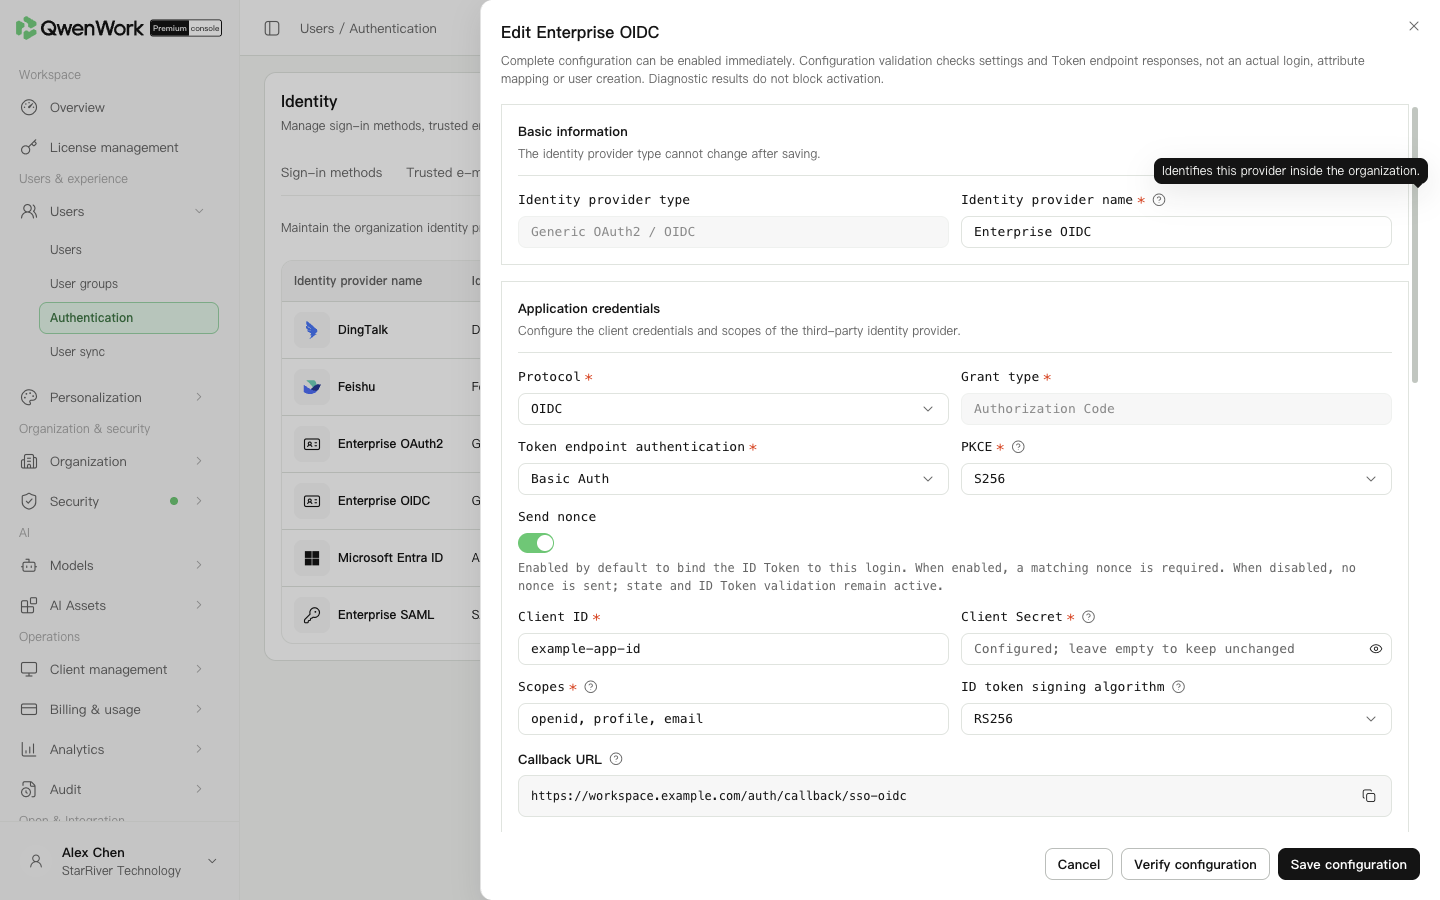
*Admin console: OIDC credentials, algorithm, and discovery settings.*
## Obtain and check the endpoints {#obtain-and-check-the-endpoints}
| Mode | Configuration |
| ------------------- | ------------------------------------------------------------------------------------------------------------ |
| Well-Known endpoint | Enter the supplied discovery-document URL, parse it, and check the returned endpoints |
| Issuer | Enter the platform's published issuer and parse it |
| Manual | Enter issuer, authorization and token endpoints, the algorithm's public-key endpoint, and UserInfo if needed |
The issuer must match the ID token's `iss`, including its path and trailing slash. Obtain actual addresses from the identity administrator.
Check Nonce and clock skew. Nonce links this request to the returned token and must be returned correctly when enabled. Allowed clock skew is 30–300 seconds; keep both systems' clocks synchronized.
## Map users and register the callback {#map-users-and-register-the-callback}
1. Check sources in the mappings. External user ID usually uses `user.sub`; name and email default to `user.name` and `user.email`. Adjust supported sources if required.
2. Keep ID and name and at least one of email, phone, employee number, or account.
3. If creating users automatically, enable it and choose the default department. At least one usable identity value must be returned.
4. Save, reopen the provider, and copy the generated callback. Register it in the identity app and save there.
5. Enable the provider and SSO sign-in. Test with an ordinary user and check the account, name, and profile.
Configuration validation helps diagnose settings and endpoint responses; it does not prove complete sign-in, mappings, or user creation.
## Troubleshooting {#troubleshooting}
| Symptom | Check |
| ----------------------- | ---------------------------------------------------------------------------- |
| Discovery parsing fails | Reachability from the enterprise service and a valid OIDC discovery response |
| Issuer mismatch | Discovery issuer, saved issuer, and token `iss` |
| Signature failure | RS256/HS256, public-key URL and key rotation, or Client Secret |
| Nonce or time failure | Returned nonce, token validity, and system clocks |
| Empty name or email | Scopes, actual claims, and mapped sources |
## Existing users and deleted records {#existing-users-and-deleted-records}
SSO matches current users by external user ID only. Conflict-free matches preserve the current profile and sync source. Conflicts with another user's account, email, phone, or employee number reject sign-in. Unmatched IDs follow automatic creation.
An ID found only in deleted history does not restore its old QID. With automatic creation off, sign-in fails. With it on and conflict-free data, a new user and QID use the current returned profile, default department, and seat policy. Old roles, passwords, seats, and departments are not inherited. History remains.
Return to: Users / Authentication / Authentication overview.
# Microsoft Entra ID SSO
Source: https://docs.qwenwork.ai/enterprise-ultimate/users/authentication/entra-id-sso
> Microsoft Entra ID SSO lets users sign in with an enterprise Microsoft identity.
Microsoft Entra ID SSO lets users sign in with an enterprise Microsoft identity. This guide uses SAML in an Entra enterprise app. The QwenWork provider type is still named **Azure AD**, Entra ID's previous name. This is separate from Entra directory sync using a Client Secret and Microsoft Graph.
## Prepare the enterprise app {#prepare-the-enterprise-app}
You need enterprise-app permissions in Entra and Authentication permissions in QwenWork. Use the tenant for your actual Microsoft global or China-operated service.
1. In the Microsoft Entra admin center, open Entra ID → Enterprise applications.
2. Create an enterprise app for QwenWork or open the existing dedicated app.
3. Choose SAML under Single sign-on.
4. Keep the page open while obtaining QwenWork's service-provider (SP) information below.
## Register QwenWork SP information {#register-qwenwork-sp-information}
1. In Users → Authentication → SSO login, add an **Azure AD** provider.
2. Enter its name, create and continue, then copy Audience URI and Assertion Consumer Service URL from QwenWork SP information.
3. Put them in Entra's Identifier (Entity ID) and Reply URL (Assertion Consumer Service URL), respectively, and save.
4. If Entra requires signed requests, download QwenWork's signing certificate and import it into the request-signature verification settings. The SP signing certificate and IdP signing certificate serve different directions.
## Import Entra metadata {#import-entra-metadata}
1. In the app's SAML certificates section, copy App Federation Metadata URL.
2. Enter it in QwenWork's Metadata URL and parse it.
3. Check the parsed IdP identifier, sign-in URL, and signing certificate against the tenant. For the China service, use its actual metadata addresses.
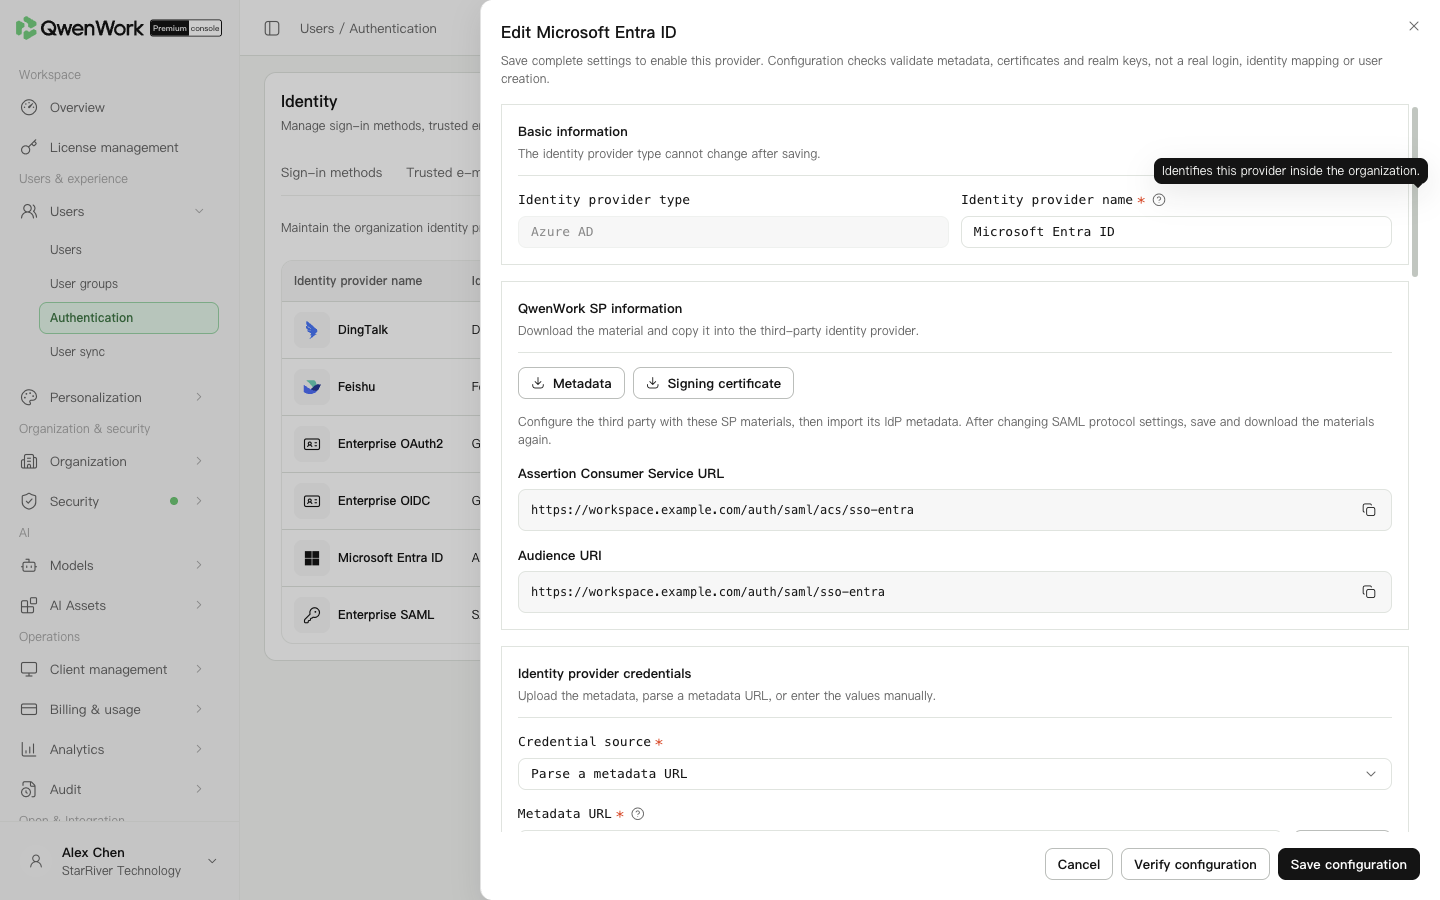
*Admin console: Entra metadata and SAML provider settings.*
## Map claims, assign users, and test {#map-claims-assign-users-and-test}
1. In Entra Attributes and claims, check the unique user ID, name, and email. QwenWork defaults include `objectidentifier`, `name`, and `emailaddress`.
2. Check the external ID, name, and email mappings in QwenWork. Name and email use the name and emailaddress claims by default. Confirm actual values in Entra if the desired display name differs. Add mappings by target; targets remain fixed, and optional rows can be removed and added again.
3. Assign the test user in Entra Users and groups. A correctly configured SAML app still requires user access.
4. Choose whether to create users automatically. If enabled, select the default department and seat option.
5. Save once metadata, SP information, and required mappings are complete.
6. Optionally validate metadata, certificates, and protocol fields. This does not verify Entra's ACS setting, user assignment, returned claims, mappings, creation, or complete sign-in.
7. Enable the provider and then SSO sign-in.
8. Test an ordinary user through the QwenWork enterprise entry. Check identity and enterprise membership, and check Entra sign-in logs for the expected app.
For phone initialization, add a phone mapping and have Entra return its MobilePhone claim. Select the corresponding supported source.
## Rotate certificates and troubleshoot {#rotate-certificates-and-troubleshoot}
| Issue | Action |
| ----------------------------------- | ----------------------------------------------------------- |
| Reply URL mismatch | Compare Entra's saved ACS URL with QwenWork's current value |
| User not assigned | Assign the user and confirm the tenant |
| Metadata parses but signature fails | Check certificate validity, activation, and rotation timing |
| Incorrect name or email | Compare actual SAML claims with mappings |
After rotating an Entra signing certificate, parse metadata again, save, and complete an ordinary user sign-in. Use validation if needed. Plan rotation before expiry.
## Existing users and deleted records {#existing-users-and-deleted-records}
SSO matches current users by external user ID only. A conflict-free match keeps the profile and sync source. Other identity fields conflicting with another user reject sign-in. Unmatched IDs follow automatic creation.
Deleted history does not restore the old QID. With automatic creation off, sign-in fails; with it on and conflict-free current data, a new user and QID use the returned profile, current department, and seat policy. Old roles, passwords, seats, and departments are not inherited; history remains.
## Check signature settings {#check-signature-settings}
QwenWork always verifies IdP signatures. Requiring an Assertion signature means the assertion itself must be signed. With that option off, a valid Response or Assertion signature is accepted; verification remains enabled.
Match request-signature algorithm, NameIDFormat, and response binding to Entra. After changing SP Entity ID or protocol settings, save, download fresh SP metadata, and update Entra's trust.
For department and user sync, configure the separate Microsoft Graph app, tenant, and permissions described in Users / User sync / Microsoft Entra ID user sync.
Return to: Users / Authentication / Authentication overview.
# SAML 2.0 SSO
Source: https://docs.qwenwork.ai/enterprise-ultimate/users/authentication/saml-sso
> SAML 2.0 lets the enterprise identity provider (IdP) authenticate users for QwenWork.
SAML 2.0 lets the enterprise identity provider (IdP) authenticate users for QwenWork. Both sides establish trust: QwenWork provides service-provider (SP) information, and the IdP provides identity metadata. Register the SP information in the identity platform before importing its metadata into QwenWork.
## Register QwenWork with the IdP {#register-qwenwork-with-the-idp}
1. Open Users → Authentication → SSO login, add a **SAML2** provider, and enter a name.
2. Create and continue to generate SP information. Copy Assertion Consumer Service URL, which receives sign-in results, and Audience URI, which identifies the service. Download metadata and the signing certificate if needed.
3. Create a SAML app in the identity platform and register the reply URL and service ID. Import the downloaded metadata where supported.
4. Assign the allowed users and obtain the IdP Metadata URL, metadata file, or manual Entity ID, SSO URL, and signing certificate.
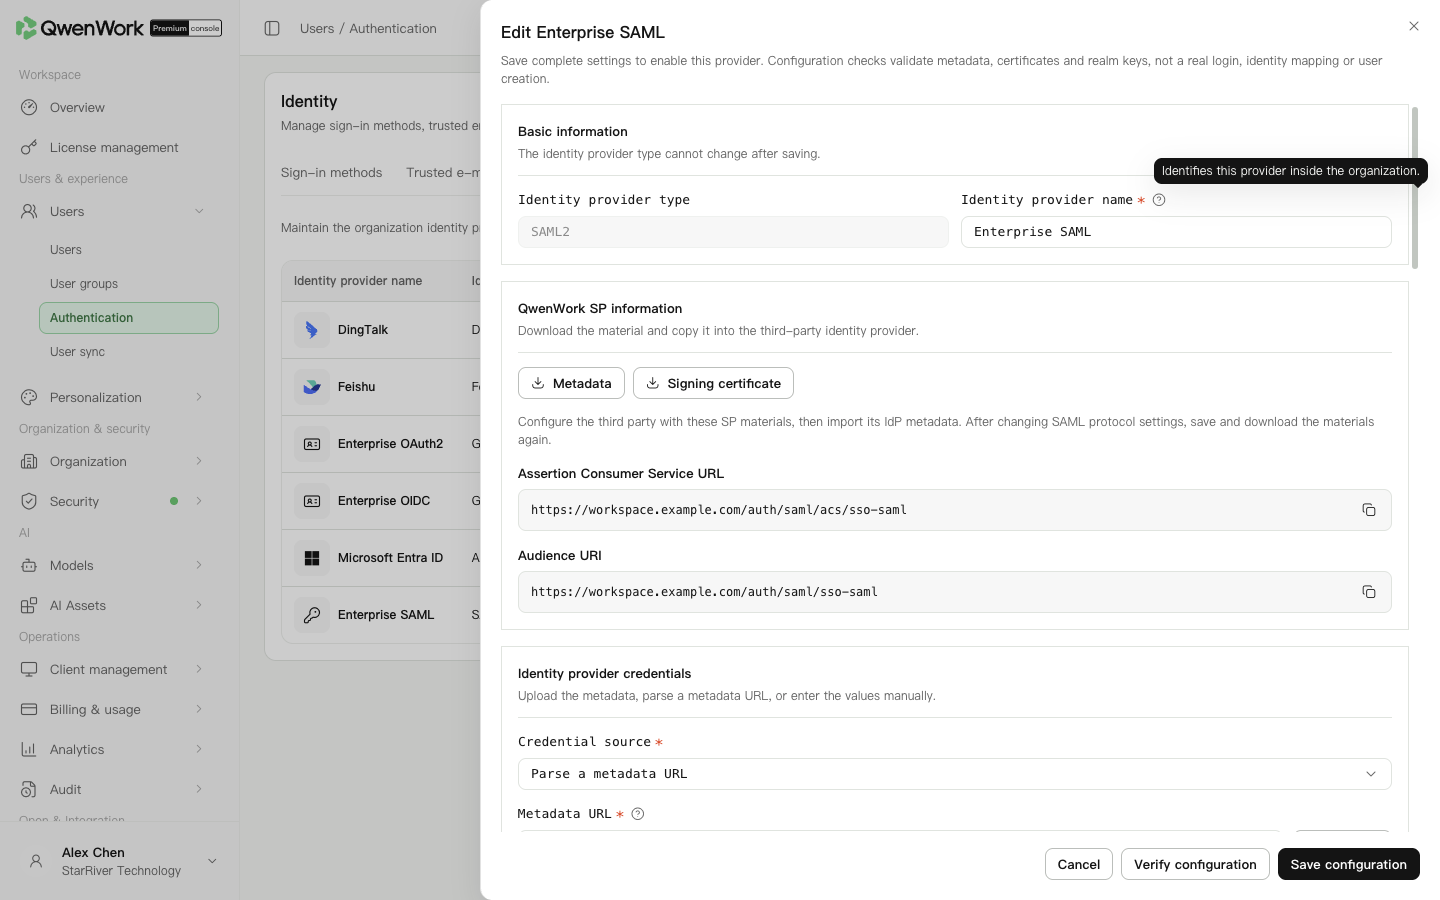
*Admin console: SP information and identity-provider configuration.*
## Import IdP information {#import-idp-information}
Choose a metadata file, Metadata URL, or manual entry under provider credentials. Check the imported IdP identifier, sign-in address, and signing certificate. Request binding controls transport; SAML request signing and its algorithm control how QwenWork signs requests. Match the IdP requirements.
## Set signatures and user attributes {#set-signatures-and-user-attributes}
QwenWork always verifies IdP signatures. With Require Assertion signature enabled, the assertion must carry a valid signature. Otherwise, a valid Response or Assertion signature is accepted.
1. Check NameIDFormat, response binding, signature KeyName, and whether SP metadata is signed.
2. Map external user ID from NameID or the actual returned Attribute Name.
3. Map name and other identity fields using actual attribute names. Plain names, URIs, and OIDs are supported; FriendlyName and XML paths are not.
4. Keep ID and name and at least one of email, phone, employee number, or account. Changing the ID source may change account association; existing users are not migrated or merged automatically.
5. Choose automatic creation, its default department, and optional seat assignment.
Advanced settings include reauthentication, login hints, encrypted assertions, clock skew, and authentication context. Change them when required by the IdP. Supply either AuthnContext ClassRefs or DeclRefs, not both. After SP Entity ID or protocol changes, save, download fresh SP materials, and update the IdP trust configuration.
## Save, enable, and verify {#save-enable-and-verify}
1. Save the configuration and optionally validate metadata and certificates.
2. Enable the provider and SSO sign-in.
3. Sign in with an assigned ordinary user and check the account, name, and identity profile.
For signature failures, check certificate validity and both sides' signature requirements. For association failures, check actual NameID or Attribute values. Configuration validation does not verify actual sign-in or user creation.
## Existing users and deleted records {#existing-users-and-deleted-records}
SSO matches current users by external user ID only. A conflict-free match keeps the existing profile and sync source. Returned account, email, phone, or employee-number values conflicting with another user reject sign-in. Unmatched IDs follow automatic creation.
An ID present only in deleted history does not restore the old QID. Sign-in fails with automatic creation off. With it on and conflict-free data, a new user and QID use the current returned profile, default department, and seat policy. Old roles, passwords, seats, and departments are not inherited; history remains.
Return to: Users / Authentication / Authentication overview.
# User sync overview
Source: https://docs.qwenwork.ai/enterprise-ultimate/users/user-sync
> User sync maintains departments, users, and memberships from an enterprise directory.
User sync maintains departments, users, and memberships from an enterprise directory. It finds users by external user ID and takes ownership of their mapped profiles after a successful write. The source policy governs joiners, department moves, and leavers. Sign-in methods are configured separately in Authentication.
## Choose a source {#choose-a-source}
Open Users → User sync and click **Add data source**.
| Source | Directory integration |
| ------------------ | ------------------------------------------------------------------------ |
| DingTalk | Read enterprise users and departments; see DingTalk user sync |
| Feishu | Read the enterprise organization; see Feishu user sync |
| Windows AD | Read the Windows domain directory; see Windows AD user sync |
| OpenLDAP | Read entries through directory mappings; see OpenLDAP user sync |
| Microsoft Entra ID | Read a tenant with app credentials; see Microsoft Entra ID user sync |
| SCIM | Receive user changes pushed by the identity platform; see SCIM user sync |
## Decide the scope, identity, and leaver policy {#decide-the-scope-identity-and-leaver-policy}
Before configuration, decide which departments and users to include, which stable field identifies each user, and whether leavers are deactivated or deleted.
The source app must be able to read the complete intended hierarchy, including necessary parent departments. An incomplete source scope can hide valid users or break the department hierarchy. For staged onboarding, use the QwenWork specified-department-and-descendants policy while retaining complete source read access. Only one sync source can be active at a time. Check existing identity associations before switching.
Pull-source setup has credentials, field mappings, and sync policy steps. **Test and next** checks the connection. For a new source, success also saves the current draft. DingTalk, Feishu, and Entra test token exchange; AD and OpenLDAP test directory address and binding. The test does not enumerate users or departments or prove directory permissions and field correctness. SCIM instead receives requests at its Base URL.
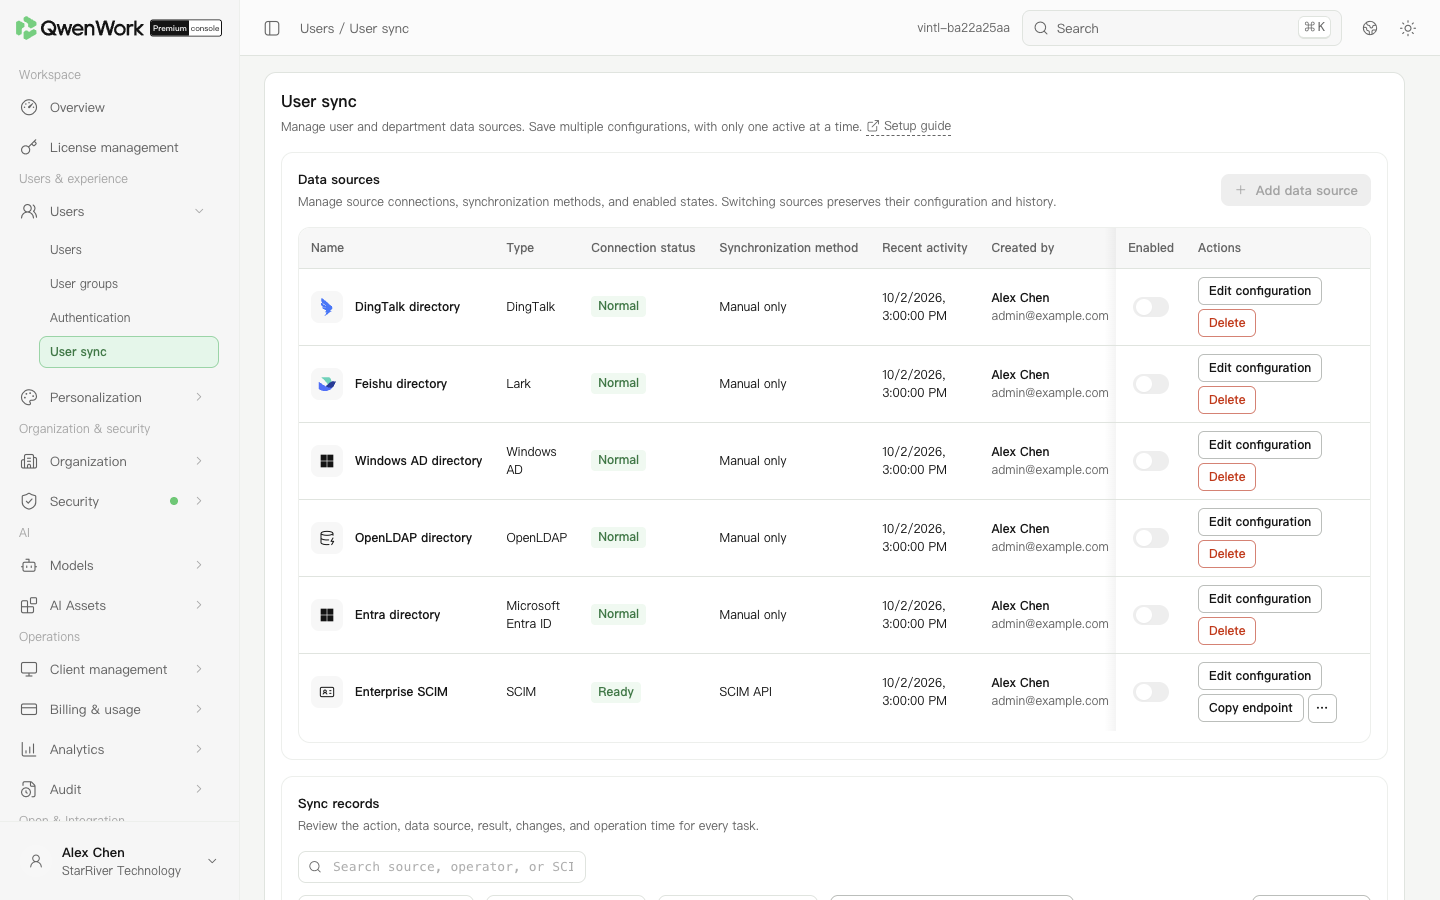
*Admin console: directory sources and synchronization records.*
## Run and verify sync {#run-and-verify-sync}
1. Set the scope. DingTalk, Feishu, and Entra use all or specified departments; AD and OpenLDAP use Base DN and user or department filters. Pull sources support manual runs or one daily run at the selected Beijing time.
2. Save the source and confirm activation.
3. Filter Sync records by source, trigger, result, and date, then open details.
4. Check user, department, membership, and seat changes separately. For partial success, inspect each failed object and correct its cause before running again.
5. In Users, inspect a joiner, a department move, and a leaver to confirm departments, status, and seats.
## Change scope or leaver handling {#change-scope-or-leaver-handling}
Edit the source and recheck mappings and deletion policy. Reducing scope may remove previously synced users from it. A deletion threshold records an alert; sync continues under the configured policy without waiting for manual approval. Review the result.
## Associate existing users {#associate-existing-users}
Sync matches non-empty external user IDs globally. It does not claim existing users by account, email, phone, or employee number, or combine the source ID with the external user ID for matching. Each identity field is unique among users that have not been deleted, including inactive users.
| Situation | Result |
| --------------------------------------------------------- | --------------------------------------------------------------------------------------- |
| External ID matches a current user | Update that QID's mapped fields; successful writing transfers management to this source |
| No ID match and no identity conflict | Create a user after normal validation |
| No ID match but an identity value is occupied | Fail this item; correct the existing user's external ID before retrying |
| ID matches, but an identity field belongs to another user | Fail the item without changing its profile, source, or seat |
For manually added or imported users, set the correct external ID on the existing record first. Preserve the original user instead of creating another record with the same email.
## Understand field ownership {#understand-field-ownership}
These locks apply when a user's management source is the currently enabled source. Other-source users remain editable according to permissions.
| Fields | Console, import-update, and general API rules |
| -------------------------------------------------------------- | ------------------------------------------------------------ |
| Name, email, account, phone, external user ID, employee number | Owned by the source; removing a mapping does not unlock them |
| Departments and status | Locked when mapped; editable after removing those mappings |
While sync is enabled, manual creation, invitations, new-user imports, and deletion are disabled organization-wide. Import updates remains available under these locks.
### Add or change a mapping {#add-or-change-a-mapping}
1. Choose an unused QwenWork target from **Add mapping** in the relevant section.
2. Check its preset source. The target stays fixed; member sources use supported fields, while department mappings usually use presets.
3. Keep required mappings. Optional rows can be removed and added again. Opening an existing configuration does not rewrite saved values.
4. Save, run sync, and compare the target QID and profile values.
A new mapped field is source-managed immediately. Removing department or status mappings restores their editing, without clearing previous values. The six identity fields stay locked. Changing the external-ID mapping may match another user or create a new QID; confirm associations first. Outstanding tasks using an old configuration revision fail and must be rerun.
## Deleted users and source changes {#deleted-users-and-source-changes}
Deletion preserves old history but does not restore the old QID or profile. Account, email, phone, and employee-number values become reusable.
| Pull-source result | Handling |
| -------------------------------------------------- | --------------------------------------------------------------------------------------------- |
| ID matches a current user | Update the existing QID; successful writing transfers ownership to the current source |
| ID matches only deleted history | Create a new user and QID, record a creation, and associate the external ID with the new user |
| Current identity values conflict with another user | Fail this item; correct source data or mappings before retrying |
A new account does not inherit roles, passwords, user groups, administrator permissions, seats, or departments. Seats follow the current new-user policy; departments follow the new sync result.
SSO uses its own automatic-creation switch. SCIM cannot update a deleted User resource; the identity platform must create a new User, which receives a new QID. Neither restores the previous QID.
When switching from source A to B, B can update a current user using the same external ID, retaining its QID and taking ownership. A deleted user is recreated by the long-term source. Deleting and recreating a source assigns a new source ID.
## Handle failed records {#handle-failed-records}
A conflict rejects that user's whole profile, source, and relationship update while independent valid users may succeed. Inspect the failed object and field in Sync records. Upstream read failures, incomplete scope, or same-batch identity conflicts prevent uncertain missing users from being treated as leavers. Correct the source, rerun, and verify the QID and final values in Users.
## Source tutorials {#source-tutorials}
- Users / User sync / DingTalk user sync
- Users / User sync / Feishu user sync
- Users / User sync / Windows AD user sync
- Users / User sync / OpenLDAP user sync
- Users / User sync / Microsoft Entra ID user sync
- Users / User sync / SCIM user sync
Return to: Users / Users overview.
# DingTalk user sync
Source: https://docs.qwenwork.ai/enterprise-ultimate/users/user-sync/dingtalk
> A DingTalk source reads departments and users within the configured scope and creates or updates QwenWork users according to mappings.
A DingTalk source reads departments and users within the configured scope and creates or updates QwenWork users according to mappings. The same source configuration controls later joiners, department moves, and leavers.
## Prepare permissions and credentials {#prepare-permissions-and-credentials}
Ask the DingTalk enterprise-app administrator to grant the following read access.
| Permission or setting | Required data |
| ----------------------------------------------------------- | ---------------------------------------------------------------------------------- |
| Department information read | Department IDs, names, and parents |
| Department member read | Users in each department |
| Member information read | User identity, name, and memberships |
| Enterprise employee phone information | `mobile`, if mapped |
| Email and other personal information | Actual member-detail email fields such as `org_email`, if mapped |
| Member and department-member read | Employee number returned as `job_number`, represented by `jobNumber` in the wizard |
| Directory permission scope, app visibility, and publication | Complete target hierarchy, users, and required parent departments |
Prepare the enterprise name, Corp ID, app name, Client ID (AppKey), Client Secret (AppSecret), granted permissions, full organization scope, and egress IP if required. Obtain a test user's `userid` and expected name, enterprise email, phone, and employee number. Corp ID helps identify the enterprise; the wizard takes Client ID and Client Secret. Add sign-in permissions too if the app also provides SSO.
## Grant DingTalk directory access {#grant-dingtalk-directory-access}
1. Open the internal enterprise app in DingTalk App development.
2. Under Permission management → Directory management, request department information, department member, and member information read permissions.
3. Add enterprise employee phone permission when syncing phones, and email/personal-information permission when syncing emails. With both fields, this is the three basic permissions plus these two profile permissions. Submit the application.
4. For employee numbers, have the directory administrator fill the employee profile, then map `jobNumber`. The basic member-read permissions provide this field.
5. Ensure the permission scope covers the intended users, departments, and parent hierarchy, including when the vendor setting uses a subset of employees.
6. Obtain AppKey and AppSecret from the same app.
7. Check Server egress IP in the app's security settings. It can remain empty if the organization does not require it.
After granting access, sync a test user with completed profile fields. For a missing email, check authorization, the enterprise profile, and `org_email`; for a phone, check its permission, profile, and `mobile`; for an employee number, check the profile, member permission, and `jobNumber`. If all fields or the user are missing, inspect visibility and sync details. A token test does not prove field access. Manual and scheduled sync do not require a DingTalk event-subscription callback.
## Enter credentials {#enter-credentials}
1. Open Users → User sync, add a data source, choose DingTalk, and start setup. For an existing source, edit its configuration.
2. Enter Client ID and Client Secret.
3. Use **Test and next**. New-source success saves the current draft; edits still require the final save. The test exchanges an access token without reading departments or users. An entered new secret replaces the previous credential.
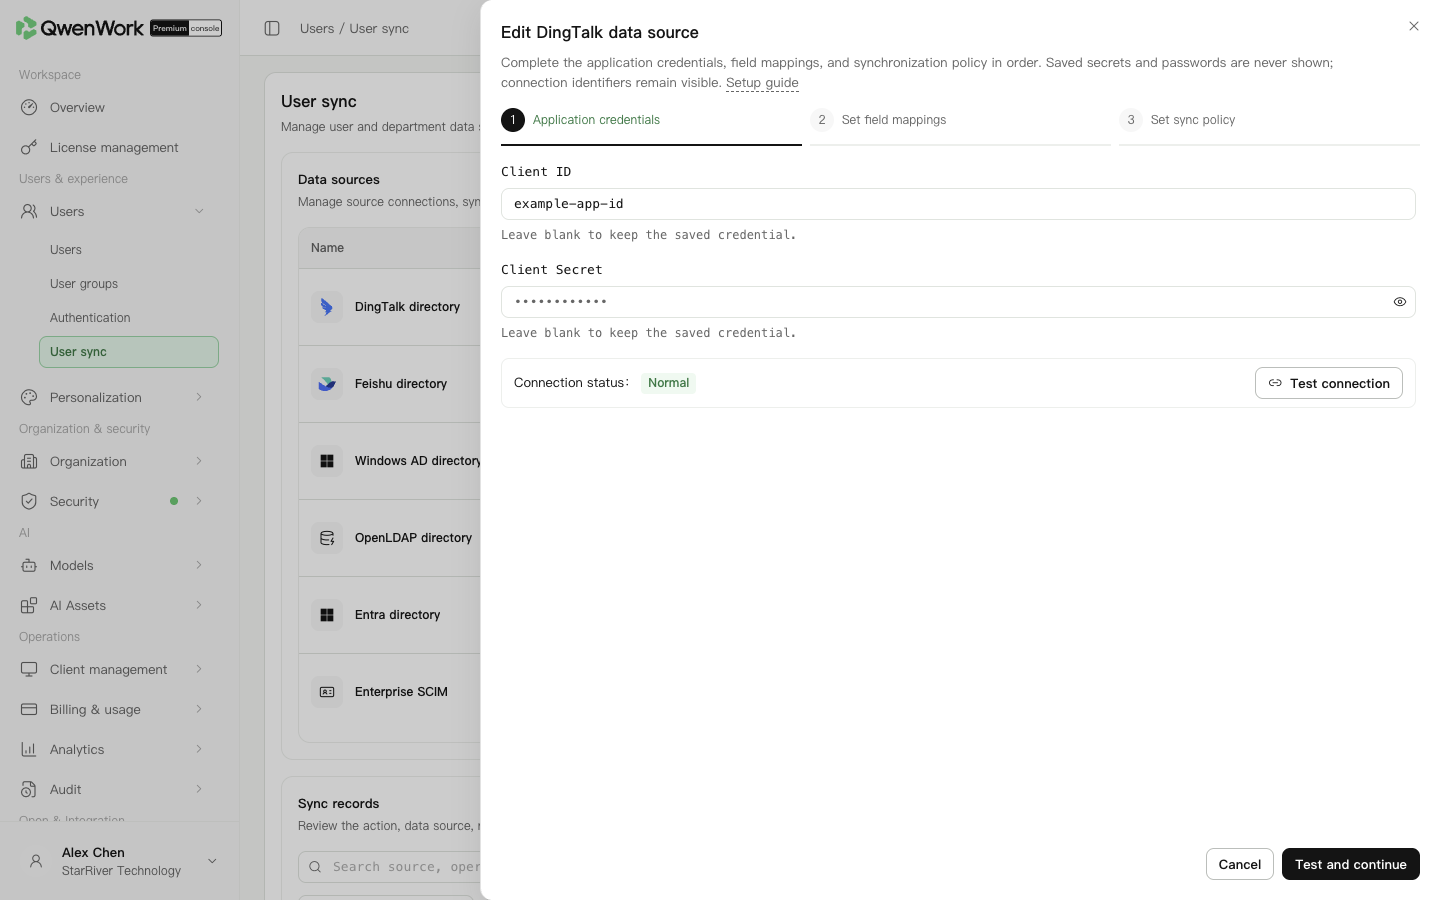
*Admin console: DingTalk source credentials.*
## Check department and user mappings {#check-department-and-user-mappings}
Member sources can use supported DingTalk fields; targets remain fixed. Add optional targets through Add mapping, which supplies their presets. Department mappings generally use the presets.
| Source fields | QwenWork fields |
| ------------------------------------------------------ | ------------------------------------------------ |
| Department `id`, `name`, `parentId` | External department ID, name, external parent ID |
| User `userid`, `name` | External user ID, name |
| email (or org\_email when required), mobile, jobNumber | Email, phone, employee number |
| userid, departmentId, active | Account, external department ID, user status |
New sources use userid for both external user ID and account. Use jobNumber for employee number. Email defaults to email; select org\_email when enterprise email is required and the returned profile provides it. DingTalk SSO user.userid must identify the same user as sync userid. Every user department ID must exist in the department mapping result.
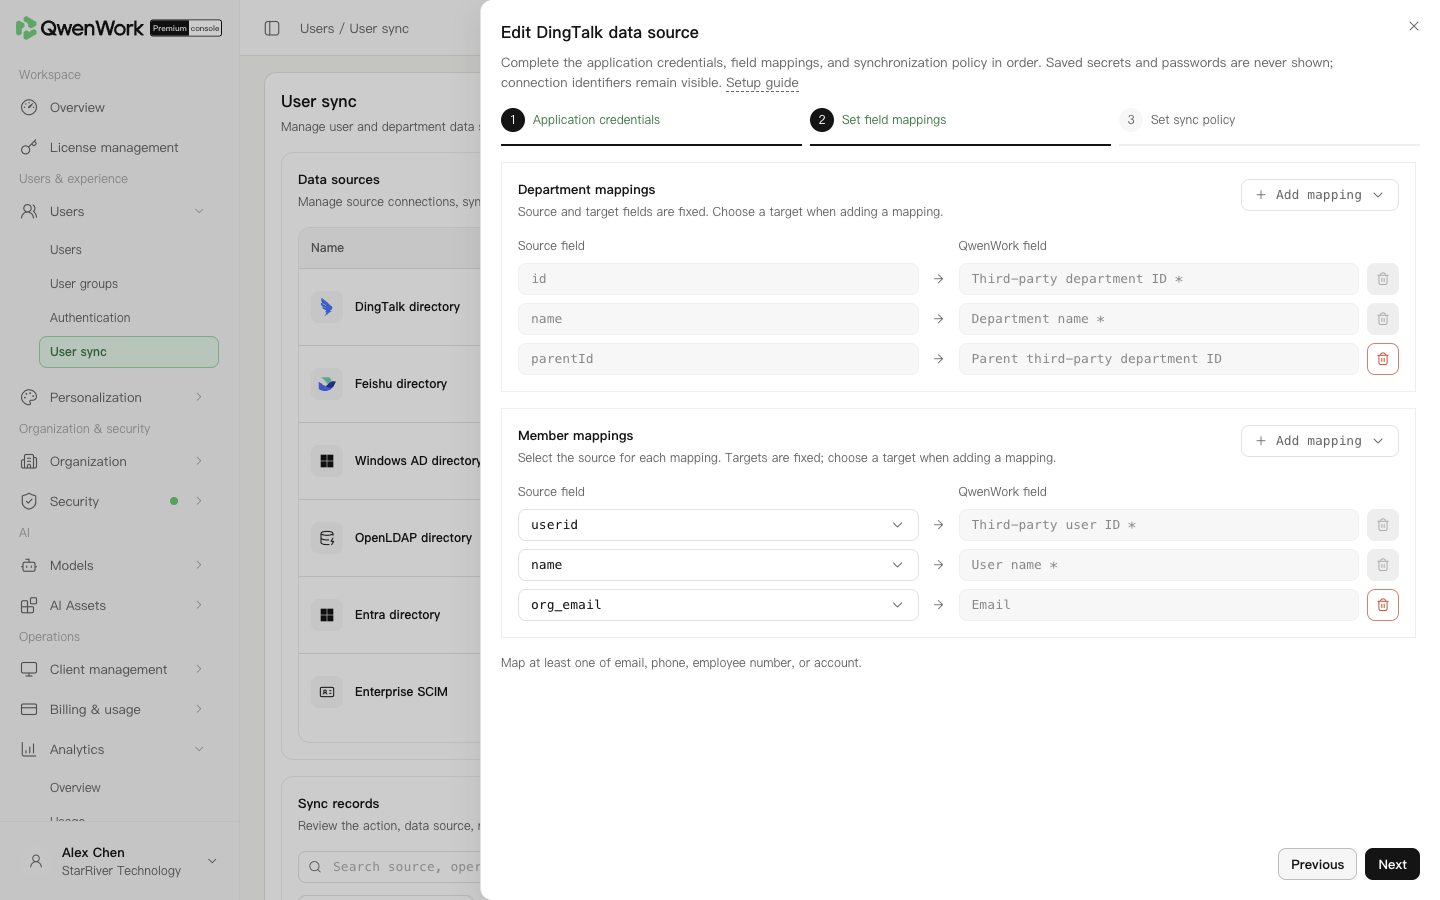
Admin console: check source attributes and their QwenWork targets.
## Set policy and run sync {#set-policy-and-run-sync}
1. Continue to policy and choose all or specified departments. Specified departments become selectable after a full sync has populated them. For initial source-side limits, ensure DingTalk's readable scope includes the complete intended hierarchy; only visible data can be read.
2. Set the new-user default seat option. Keep it off if accounts should be reviewed first.
3. Start with manual sync. For scheduled sync, choose daily and set Beijing time.
4. Choose leaver handling according to retention needs, such as deactivation with seat reclamation.
5. Set the deletion-alert threshold and email and save.
6. Enable DingTalk, checking the previously enabled source before switching. Only one source is active.
7. Run sync and inspect the task details for creations, updates, deactivations, deletions, and seats.
8. Check ordinary users and departments in Users before narrowing scope or enabling daily runs.
## Troubleshooting {#troubleshooting}
| Symptom | Action |
| --------------------------- | --------------------------------------------------------------------------------------------------- |
| Connected but users missing | Compare DingTalk read scope and QwenWork sync scope |
| Empty email | Check actual `org_email` data and profile read access |
| Partial success | Correct the failed objects shown in details and rerun |
| Unexpectedly many leavers | Disable the source, inspect permission or department-scope changes and mappings, then plan recovery |
Deletion alerts record a warning without pausing for approval. Estimate affected users before changing scope or deletion handling.
## Connect existing users {#connect-existing-users}
Before syncing, make the source external user ID agree with the existing QwenWork user. Sync looks up users by that ID only. Account, email, phone, and employee number are checked for conflicts; an unmatched ID with an occupied identity value fails.
A successful update keeps the QID and changes the management source to this source. While it is enabled, the source owns name, email, account, phone, external ID, and employee number. Department and status are locked when mapped.
If a deleted user reappears in a pull directory, a new user and QID are created from the current source data and counted as a creation. The external ID points to the new user; old history remains. Roles, passwords, user groups, administrator permissions, seats, and departments are not inherited. Default seats follow the current source policy.
See Users / User sync / User sync overview for mapping changes, source switching, and recreation rules.
Return to: Users / User sync / User sync overview.
# Feishu user sync
Source: https://docs.qwenwork.ai/enterprise-ultimate/users/user-sync/feishu
> Feishu user sync reads the directory available to a custom enterprise app and writes departments, users, and memberships to QwenWork.
Feishu user sync reads the directory available to a custom enterprise app and writes departments, users, and memberships to QwenWork. Check publication and data-access scope before configuration.
Feishu appears as **Lark** in the international User sync page.
## Request application read permissions {#request-application-read-permissions}
| Permission | Code |
| --------------------------------------------- | -------------------------------------- |
| Directory basic information | `contact:contact.base:readonly` |
| Department basic information | `contact:department.base:readonly` |
| Department organization information | `contact:department.organize:readonly` |
| User basic information | `contact:user.base:readonly` |
| User department information | `contact:user.department:readonly` |
| User email, when mapped | `contact:user.email:readonly` |
| User phone, when mapped | `contact:user.phone:readonly` |
| Employment data for employee number or status | `contact:user.employee:readonly` |
| User ID for default identity mappings | `contact:user.employee_id:readonly` |
Prepare the enterprise and app names, App ID, App Secret, granted permissions, published version, all-user directory data access, app availability, and a test user's `user_id` and profile. If also used for SSO, configure its redirect and sign-in permissions separately.
QwenWork reads from the root department. Directory data permission must include all users, with publication effective. App availability and directory data permissions are different settings.
## Prepare the Feishu app {#prepare-the-feishu-app}
1. Create or open the custom enterprise app in the developer console.
2. Request the five basic directory, department, user, and membership read permissions listed above.
3. Add email, phone, and employment permissions for the mapped fields. The user-ID permission is required because member requests always use user\_id, even if another ID is selected in the mapping.
4. Set directory data access to all users and confirm the intended users are in the app's availability scope.
5. Create and publish a version, then obtain App ID and App Secret securely. Directory writing permissions are not required for this read integration.
## Create the source {#create-the-source}
1. In Users → User sync, add Lark (the Feishu provider) and start setup.
2. Enter App ID and App Secret.
3. Test and continue. A successful new-source test saves the draft; an edited source still needs the final save. Token retrieval does not enumerate the directory or verify permissions and fields.
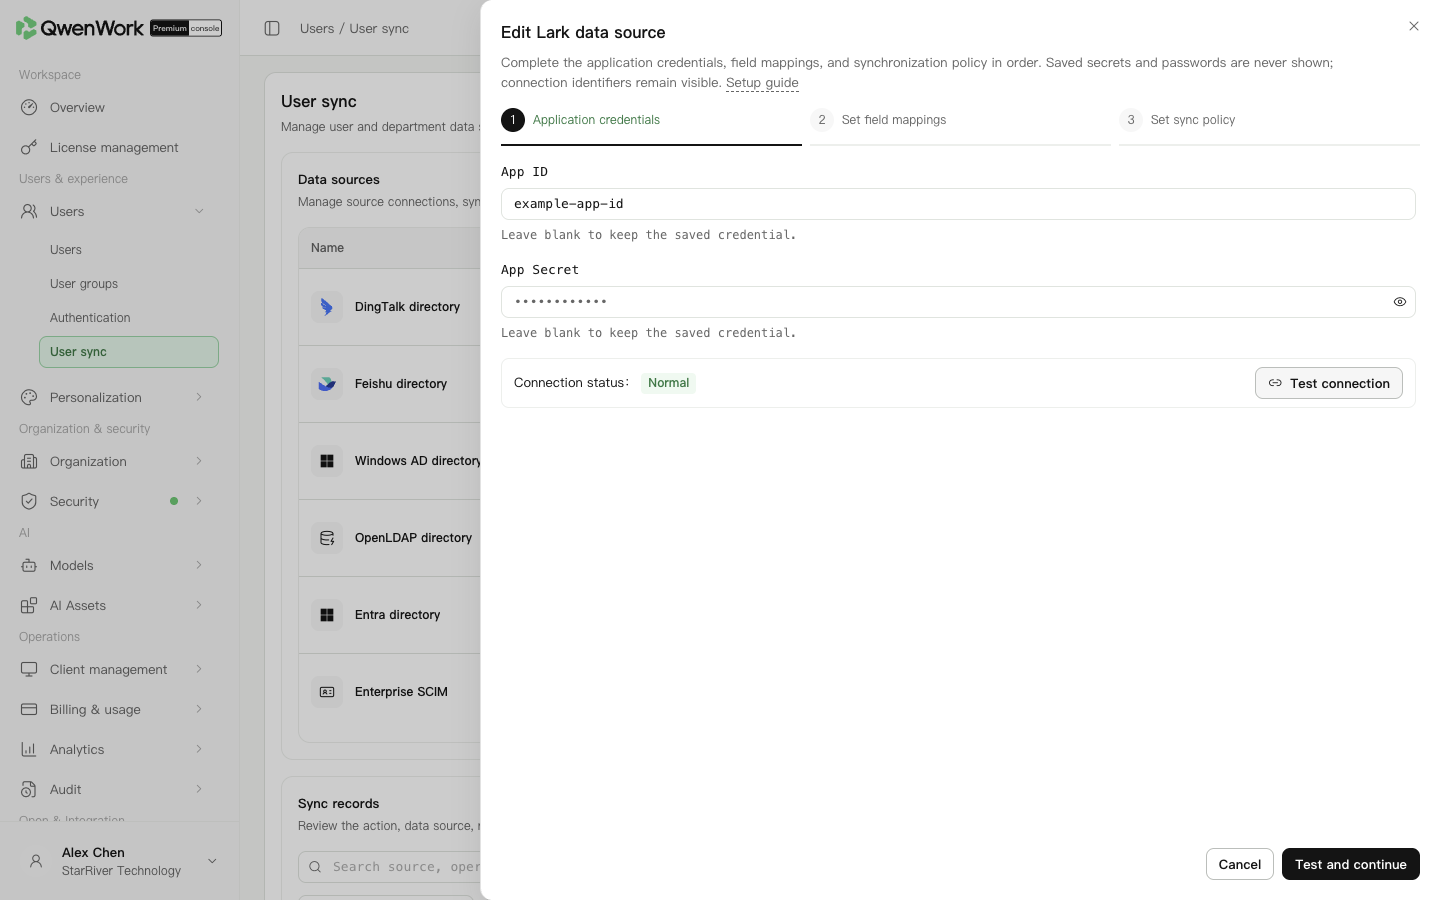
*Admin console: Feishu source credentials.*
## Check IDs and relationships {#check-ids-and-relationships}
Choose supported member sources; the targets remain fixed. Add optional mappings to restore presets after removing a row. Department mappings generally use presets.
| Preset source | Use |
| ------------------------------------------------------- | ----------------------------------------------- |
| `user_id` | External user ID; match the Feishu SSO identity |
| `name`, `email`, `mobile` | Name, email, phone |
| `employee_no`, `open_id` | Employee number, account |
| `department_id` | User's external department ID |
| Department `open_department_id`, `parent_department_id` | Department and parent identifiers |
User department IDs and department-list IDs must use the same type. Feishu exposes several distinct user and department IDs. Email defaults to `email`. Before assuming a user has no email, check read permissions. Continue after checking required mappings.
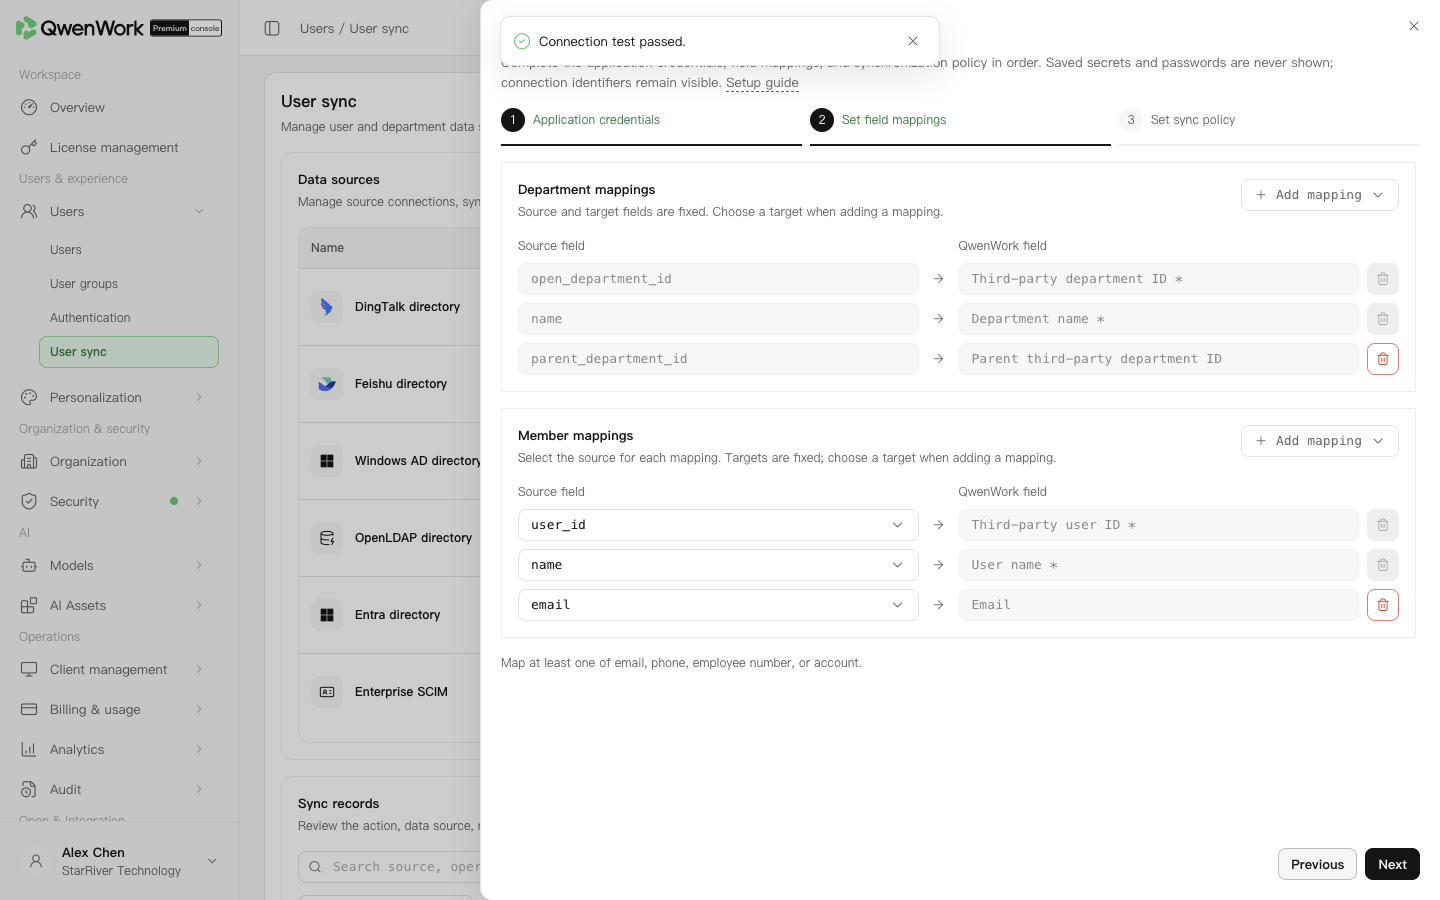
Admin console: check source attributes and their QwenWork targets.
## Run and verify {#run-and-verify}
1. Choose all or specified departments and descendants, and the new-user seat option. The Feishu app still needs all-user directory data access.
2. Start manually; scheduled sync runs daily at the selected Beijing time.
3. Choose deactivation, deactivation with seat reclamation, or deletion with seat reclamation. Set the alert threshold and email and save.
4. Enable the source and run sync.
5. Inspect task details, department hierarchy, user counts, and seats. Check a user belonging to several departments.
6. Change a test user's department in Feishu and sync again; confirm the existing user was updated without a duplicate account.
## Maintain and troubleshoot {#maintain-and-troubleshoot}
- Missing departments: compare directory data scope, app availability, and QwenWork scope.
- Wrong hierarchy: compare actual `department_id` and `open_department_id` values and include parent departments.
- Missing fields after publication: check the published permissions and their data scopes.
- Unexpected leavers: disable the source and inspect permission or profile-field changes before continuing.
Rotate App Secret by editing, retesting, and saving the existing source. Its activation controls directory sync; Feishu sign-in remains a separate SSO configuration.
## Connect existing users {#connect-existing-users}
Before syncing, make the source external user ID agree with the existing QwenWork user. Sync looks up users by that ID only. Account, email, phone, and employee number are checked for conflicts; an unmatched ID with an occupied identity value fails.
A successful update keeps the QID and changes the management source to this source. While it is enabled, the source owns name, email, account, phone, external ID, and employee number. Department and status are locked when mapped.
If a deleted user reappears in a pull directory, a new user and QID are created from the current source data and counted as a creation. The external ID points to the new user; old history remains. Roles, passwords, user groups, administrator permissions, seats, and departments are not inherited. Default seats follow the current source policy.
See Users / User sync / User sync overview for mapping changes, source switching, and recreation rules.
Return to: Users / User sync / User sync overview.
# Windows AD user sync
Source: https://docs.qwenwork.ai/enterprise-ultimate/users/user-sync/windows-ad
> Windows AD sync reads domain users and organization information through LDAP (Lightweight Directory Access Protocol).
Windows AD sync reads domain users and organization information through LDAP (Lightweight Directory Access Protocol). Confirm directory reachability and prepare a service account with read access.
## Prepare the connection {#prepare-the-connection}
| Setting | Example or requirement |
| ---------- | --------------------------------------------------------------------------------- |
| Server URL | `ldaps://ad.example.com:636` |
| Base DN | Search root, such as `OU=Employees,DC=example,DC=com` |
| Bind DN | Service account, such as `CN=qwenwork-sync,OU=Service Accounts,DC=example,DC=com` |
| Password | Password for that service account |
| TLS | Match the directory's encryption and certificate configuration |
A distinguished name (DN) identifies a directory object. Base DN defines the search scope; Bind DN identifies the account used to connect. Prefer LDAPS with a valid certificate, matching hostname, and a chain trusted by the sync service. The account needs read access to users, departments, and parents; domain-administrator rights are unnecessary. Ensure network connectivity from the sync service.
## Connect the directory {#connect-the-directory}
1. In Users → User sync, add Windows AD and start setup.
2. Enter Server URL, Base DN, Bind DN, password, and TLS settings.
3. Optionally test the connection, then use Test and next. Success opens mappings and saves a new-source draft; edits still need the final save. The test checks address, binding, and TLS, without proving user attributes or final sync results.
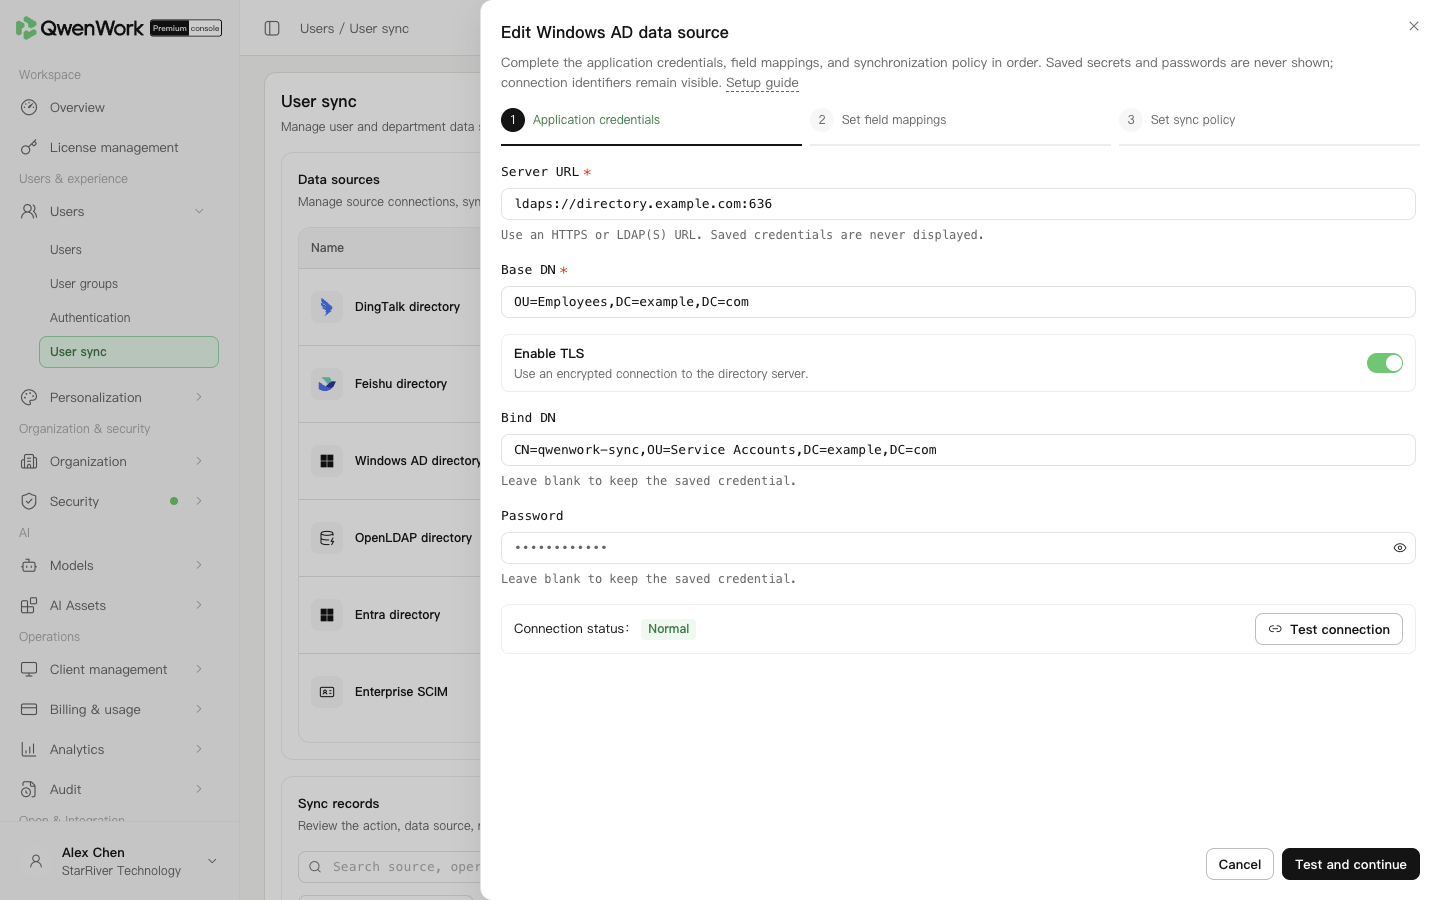
*Admin console: Windows AD connection and search-root settings.*
## Check AD attributes {#check-ad-attributes}
| Preset attribute | QwenWork field |
| ------------------------------------------------ | ------------------------------------------------- |
| User `objectGUID` | Stable external user ID |
| `displayName`, `mail`, `telephoneNumber` | Name, email, phone |
| `employeeID`, `department`, `userAccountControl` | Employee number, department-related field, status |
| Department `objectGUID`, `name` | External department ID and name |
Check actual values on a test user. Membership is built from the nearest parent organizational unit of the user's DN. A department-name string does not generate a hierarchy. Membership is written when department mappings are retained. Check enabled and disabled accounts because `userAccountControl` combines several flags.
Use supported member attributes; targets are fixed and department mappings use presets. Select an account according to the enterprise sign-in convention, rather than treating the displayed objectGUID as a manually entered login name. Add unused targets through Add mapping. Required IDs and names cannot be removed; optional rows can be restored.
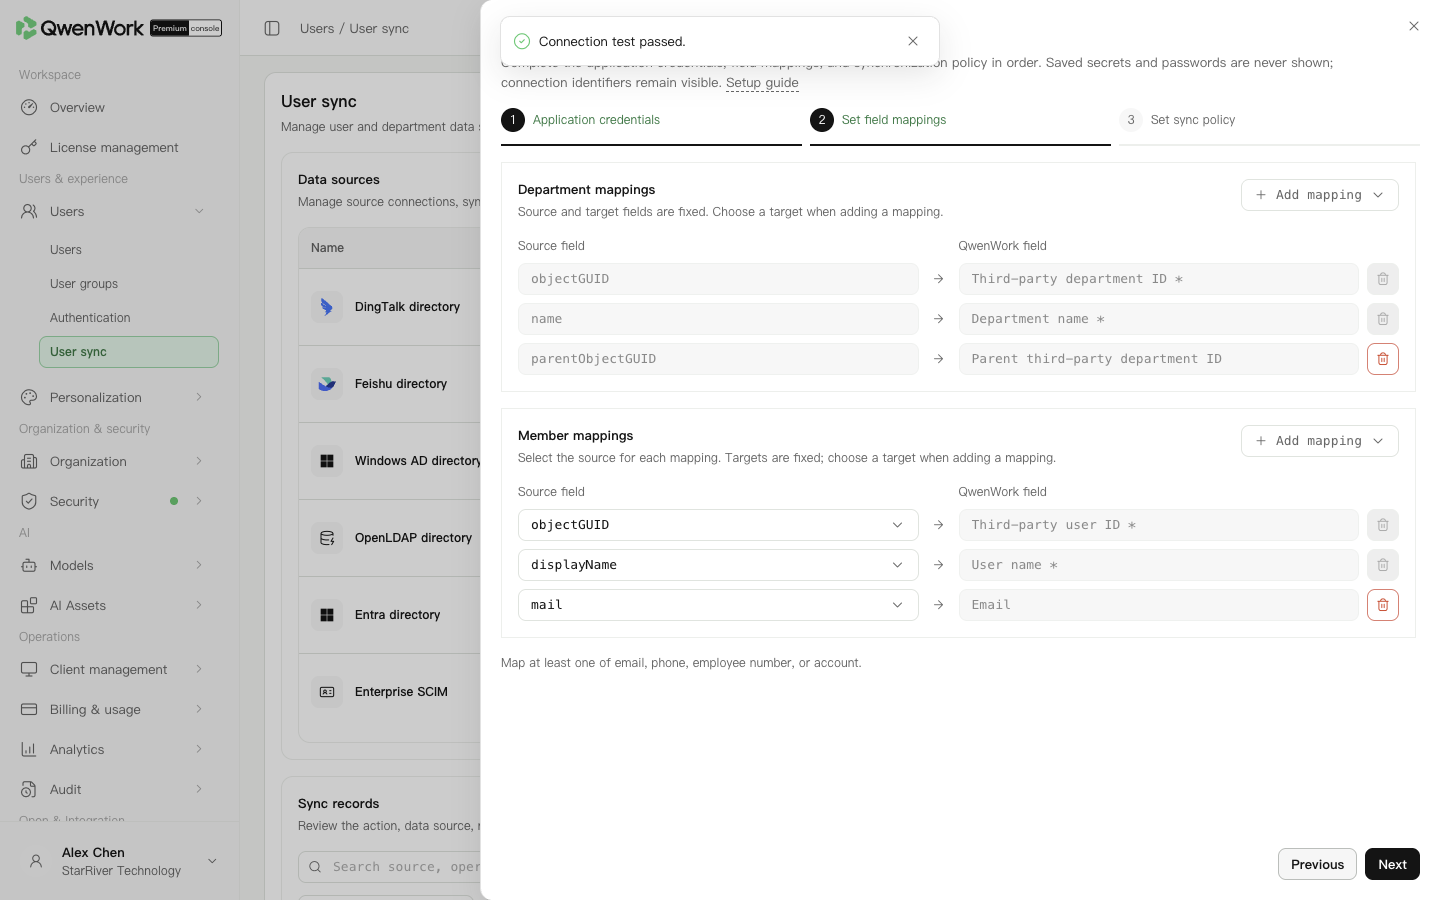
Admin console: check source attributes and their QwenWork targets.
## Verify joiners, moves, and leavers {#verify-joiners-moves-and-leavers}
1. Set user and department filters under Base DN and the new-user seat option.
2. Begin with manual sync and a leaver policy consistent with retention needs. Set deletion alerts.
3. Save, enable Windows AD, and run sync.
4. Check user creation, department creation, and the hierarchy under the search root.
5. Test profile updates, an organizational-unit move, and account disabling. After each run, confirm the original QID and the expected seat handling.
## Troubleshooting {#troubleshooting}
- Timeout: check DNS, routing, firewall, and directory ports.
- Certificate error: check the chain, validity, and Server URL hostname; repair and retest.
- Bind failure: check Bind DN, password, account lock, and expiry.
- No users: check Base DN and read permissions.
- Incorrect deactivation: stop sync, inspect the status attribute and leaver policy, then retry.
After service-account password changes, update and test the same source. Check users excluded by a narrower Base DN or scope before saving that change.
## Connect existing users {#connect-existing-users}
Before syncing, make the source external user ID agree with the existing QwenWork user. Sync looks up users by that ID only. Account, email, phone, and employee number are checked for conflicts; an unmatched ID with an occupied identity value fails.
A successful update keeps the QID and changes the management source to this source. While it is enabled, the source owns name, email, account, phone, external ID, and employee number. Department and status are locked when mapped.
If a deleted user reappears in a pull directory, a new user and QID are created from the current source data and counted as a creation. The external ID points to the new user; old history remains. Roles, passwords, user groups, administrator permissions, seats, and departments are not inherited. Default seats follow the current source policy.
See Users / User sync / User sync overview for mapping changes, source switching, and recreation rules.
Return to: Users / User sync / User sync overview.
# OpenLDAP user sync
Source: https://docs.qwenwork.ai/enterprise-ultimate/users/user-sync/openldap
> OpenLDAP sync reads enterprise users and organization information and writes mapped fields to QwenWork.
OpenLDAP sync reads enterprise users and organization information and writes mapped fields to QwenWork. Check your directory's object structure, stable identifiers, memberships, and status attributes. The sync service must reach the server; for an internal directory, have the network administrator verify connectivity from the enterprise deployment first.
## Confirm the directory structure {#confirm-the-directory-structure}
Obtain sanitized user and department entries from the directory administrator.
| Setting | Example or check |
| ---------------- | ---------------------------------------------------------------------- |
| Server URL | `ldaps://ldap.example.com:636`, reachable by the sync service |
| Base DN | `ou=people,dc=example,dc=com`; include all required branches |
| Bind DN | `cn=qwenwork-sync,ou=services,dc=example,dc=com`, with read permission |
| Password and TLS | Valid account, encryption, and certificates |
If departments are outside the user branch, check that the search root covers both. Connection success does not prove the complete directory can be read.
## Create the source {#create-the-source}
1. In Users → User sync, add OpenLDAP and start setup.
2. Enter Server URL, Base DN, Bind DN, password, and TLS.
3. Optionally test, then use Test and next. New-source success saves a draft; an edit still requires the final save. The test checks address, binding, and TLS, rather than mapped attributes or final results.
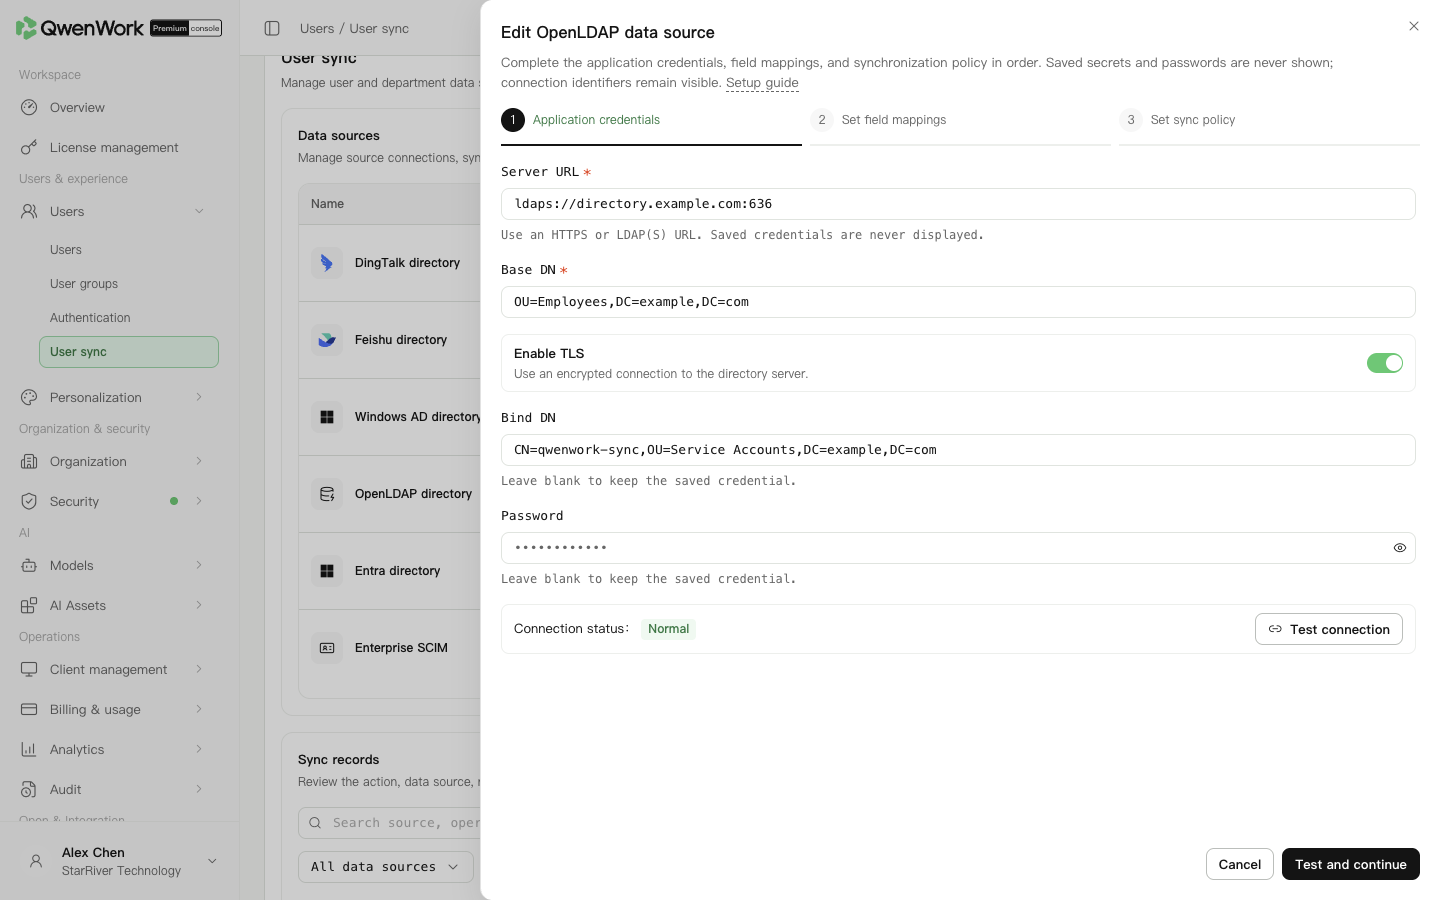
*Admin console: OpenLDAP connection settings.*
## Check schema and mappings {#check-schema-and-mappings}
Schema defines the attributes and structure allowed for directory objects. Use supported member attributes and preset department mappings.
| Attribute | Purpose |
| ---------------------------- | ----------------------------------------------- |
| `entryUUID` | External user ID, stable through rename or move |
| `cn`, `mail`, `mobile` | Name, email, phone |
| `employeeNumber` | Employee number |
| `departmentNumber` | Department-related value |
| `accountStatus` | Status; confirm the attribute actually exists |
| Department `entryUUID`, `ou` | External department ID and name |
Membership uses the nearest parent organizational unit of the user's DN. A matching `departmentNumber` string alone does not create a department. Retain department mappings to write memberships. Confirm the actual status values when selecting an alternative supported attribute.
Add optional QwenWork targets through Add mapping to obtain presets. Targets remain fixed, already used targets are absent from the menu, and required rows cannot be removed.
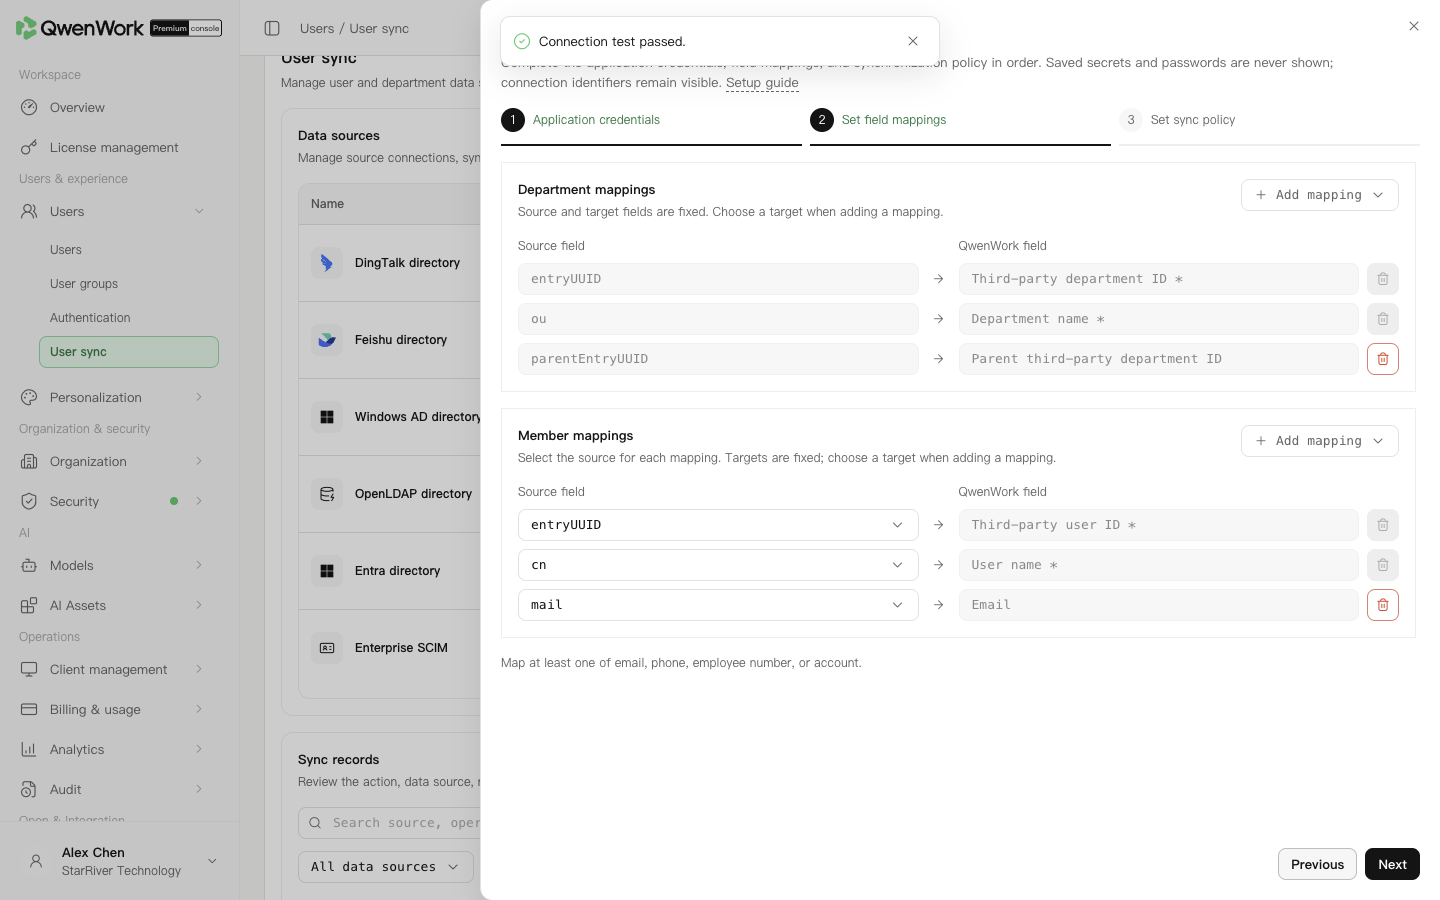
Admin console: check source attributes and their QwenWork targets.
## Configure sync and leaver handling {#configure-sync-and-leaver-handling}
1. Continue to policy and set user and department filters for the actual schema. `(objectClass=person)` selects person objects and is only an example.
2. Set the new-user seat option. Start manually; daily scheduled sync uses Beijing time.
3. Select deactivation to retain records, or confirm retention requirements before choosing deletion.
4. Set the alert threshold and email, save, and enable the source.
5. Run sync and inspect successful and failed objects.
## Verify and troubleshoot {#verify-and-troubleshoot}
Compare a test user's name, email, employee number, departments, and status. Rename or move its directory entry, sync, and confirm the existing user was updated. Test deactivation and seat effects.
For an unexpected count drop, check Base DN, read permissions, and schema changes. Fix missing attributes in the directory or mappings rather than creating repeated replacement sources. For connection failures, check address, certificates, Bind DN, and password. Retest new credentials before resuming.
## Connect existing users {#connect-existing-users}
Before syncing, make the source external user ID agree with the existing QwenWork user. Sync looks up users by that ID only. Account, email, phone, and employee number are checked for conflicts; an unmatched ID with an occupied identity value fails.
A successful update keeps the QID and changes the management source to this source. While it is enabled, the source owns name, email, account, phone, external ID, and employee number. Department and status are locked when mapped.
If a deleted user reappears in a pull directory, a new user and QID are created from the current source data and counted as a creation. The external ID points to the new user; old history remains. Roles, passwords, user groups, administrator permissions, seats, and departments are not inherited. Default seats follow the current source policy.
See Users / User sync / User sync overview for mapping changes, source switching, and recreation rules.
Return to: Users / User sync / User sync overview.
# Microsoft Entra ID user sync
Source: https://docs.qwenwork.ai/enterprise-ultimate/users/user-sync/entra-id
> Entra directory sync reads users and organization relationships with Tenant ID, Client ID, and Client Secret.
Entra directory sync reads users and organization relationships with Tenant ID, Client ID, and Client Secret. The SAML Metadata URL used for Entra sign-in cannot configure this directory connection.
## Register a directory-reading app {#register-a-directory-reading-app}
1. Open the Microsoft Entra admin center and select the intended tenant.
2. In Entra ID → App registrations, create or open the dedicated app.
3. Copy Directory (tenant) ID and Application (client) ID from Overview.
4. In Certificates and secrets, create a client secret, record its expiry, and securely save the generated **Value**. Secret ID is an identifier and cannot replace the value.
5. Add Microsoft Graph application permissions and obtain administrator consent. Request `User.Read.All` for profiles and `AdministrativeUnit.Read.All` for administrative units and members. Hidden memberships may require `Member.Read.Hidden`.
6. Verify consent is granted. A permission merely listed in the app is not yet effective. Read access is sufficient; directory-write permissions are unnecessary.
## Configure QwenWork {#configure-qwenwork}
1. In Users → User sync, add Microsoft Entra ID and start setup.
2. Enter Tenant ID, Client ID, and Client Secret from the same tenant and app.
3. Test and continue. Success saves a new-source draft; edits still need the final save. Token exchange does not read directory objects or prove permissions and field correctness.
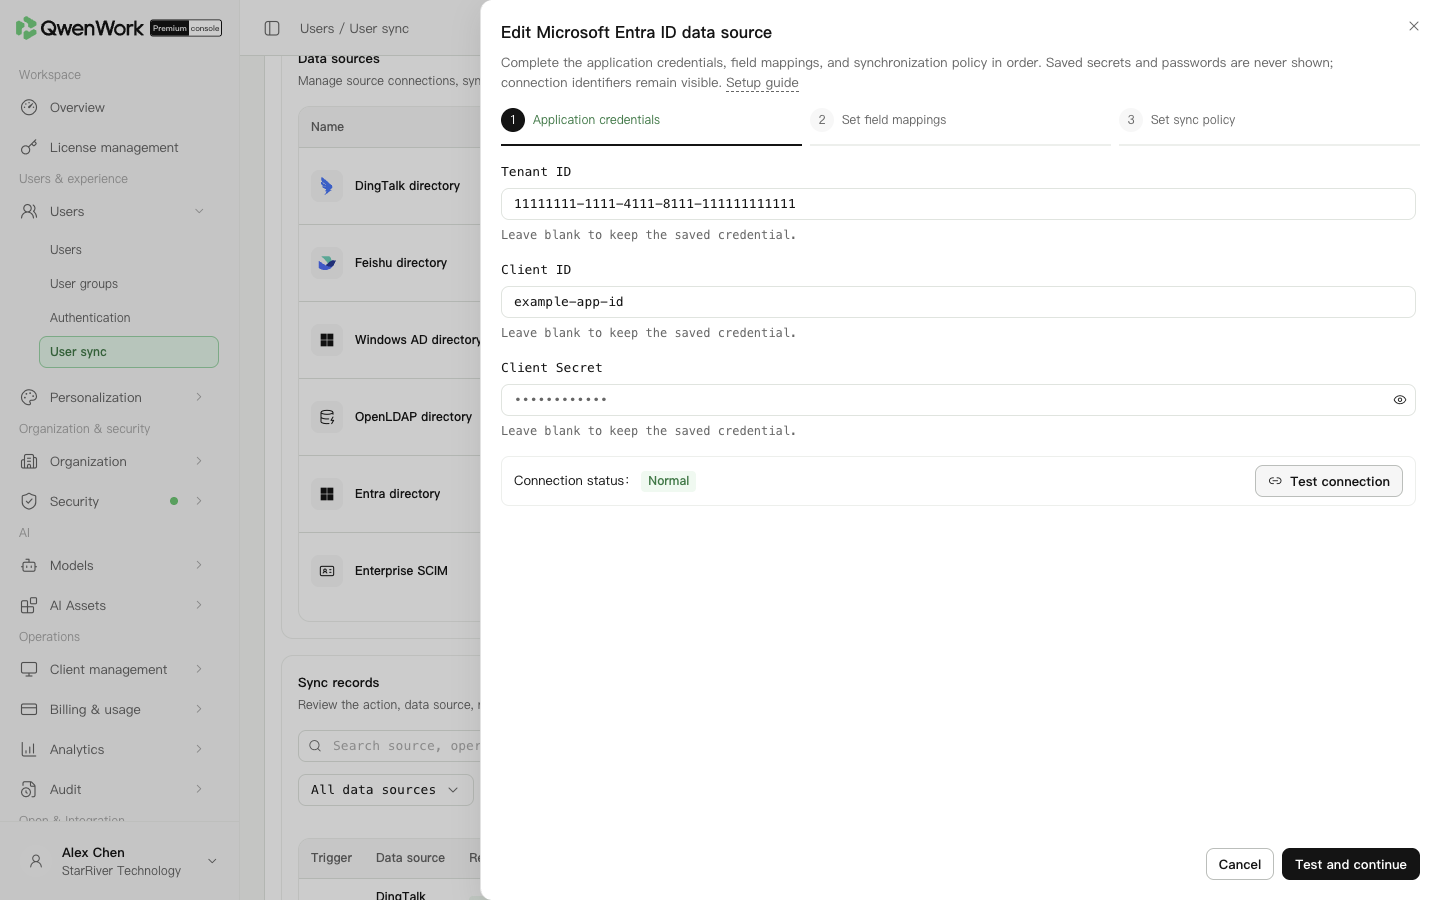
*Admin console: Entra tenant and app credentials for directory reading.*
## Check directory fields {#check-directory-fields}
Member sources use supported attributes and fixed targets. Add unused optional targets to obtain Entra presets. Department sources and targets are fixed.
| Entra field | QwenWork field |
| ------------------------------------ | ----------------------------- |
| User `id` | External user ID |
| `displayName` | Name |
| `mail`, `mobilePhone`, `employeeId` | Email, phone, employee number |
| `accountEnabled` | Status |
| Administrative units and their users | Departments and memberships |
A user's `mail` can be empty or differ from `userPrincipalName`; inspect the profile before treating a sign-in name as an email. Administrative units are represented as flat departments. User department text and ordinary groups do not generate a department hierarchy. Retain department mappings to write memberships.
## Enable and verify {#enable-and-verify}
1. Complete mappings, select organization scope, and set the new-user seat option.
2. Start manually and configure leaver handling, deletion alerts, and email.
3. Save, enable the source, and run sync.
4. Inspect task results and failures, then verify email, department, and status in Users.
5. Change a test profile and rerun to confirm the original record is updated. Test disabling an account and seat reclamation.
6. After verification, optionally switch to a daily Beijing-time schedule.
## Rotate secrets and troubleshoot {#rotate-secrets-and-troubleshoot}
| Symptom | Check |
| -------------------------------------- | ---------------------------------------------------------------------------------------------- |
| Token retrieval fails | Tenant and client IDs, secret expiry, and Value versus Secret ID |
| Token works but directory access fails | Microsoft Graph application permissions and administrator consent |
| Empty email | Actual `mail` and selected mapping |
| Unexpected departments | Administrative-unit membership; department text and ordinary groups are not imported as a tree |
Create a new secret before expiry, update the source, test, and save. After confirming it works, revoke the old secret under your enterprise process.
## Connect existing users {#connect-existing-users}
Before syncing, make the source external user ID agree with the existing QwenWork user. Sync looks up users by that ID only. Account, email, phone, and employee number are checked for conflicts; an unmatched ID with an occupied identity value fails.
A successful update keeps the QID and changes the management source to this source. While it is enabled, the source owns name, email, account, phone, external ID, and employee number. Department and status are locked when mapped.
If a deleted user reappears in a pull directory, a new user and QID are created from the current source data and counted as a creation. The external ID points to the new user; old history remains. Roles, passwords, user groups, administrator permissions, seats, and departments are not inherited. Default seats follow the current source policy.
See Users / User sync / User sync overview for mapping changes, source switching, and recreation rules.
## Administrative units and cloud environment {#administrative-units-and-cloud-environment}
Choose all or specified administrative units. Before choosing a subset, make sure units and target users have been read; check memberships in Users after sync. This integration uses Microsoft global-service endpoints. For another cloud, confirm the deployed integration supports it before using tenant credentials.
Return to: Users / User sync / User sync overview.
# SCIM user sync
Source: https://docs.qwenwork.ai/enterprise-ultimate/users/user-sync/scim
> SCIM (System for Cross-domain Identity Management) lets an identity platform push users and groups to QwenWork.
SCIM (System for Cross-domain Identity Management) lets an identity platform push users and groups to QwenWork. QwenWork provides a Base URL and Bearer Token and applies the configured account lifecycle policy to incoming requests.
## Create the SCIM source {#create-the-scim-source}
1. In Users → User sync, add SCIM and start setup.
2. Enter the source name and SCIM Client. The first identifies the configuration; the second identifies the caller in history.
3. Create a token and securely copy its complete value, which appears once. A token must be created before the first save.
4. Set the lifecycle policy below. If no source is active, save and enable. Otherwise save, then switch activation from the list.
5. Reopen the saved source, copy its generated SCIM Base URL, and configure the identity platform with that URL and full token. Test the push connection.
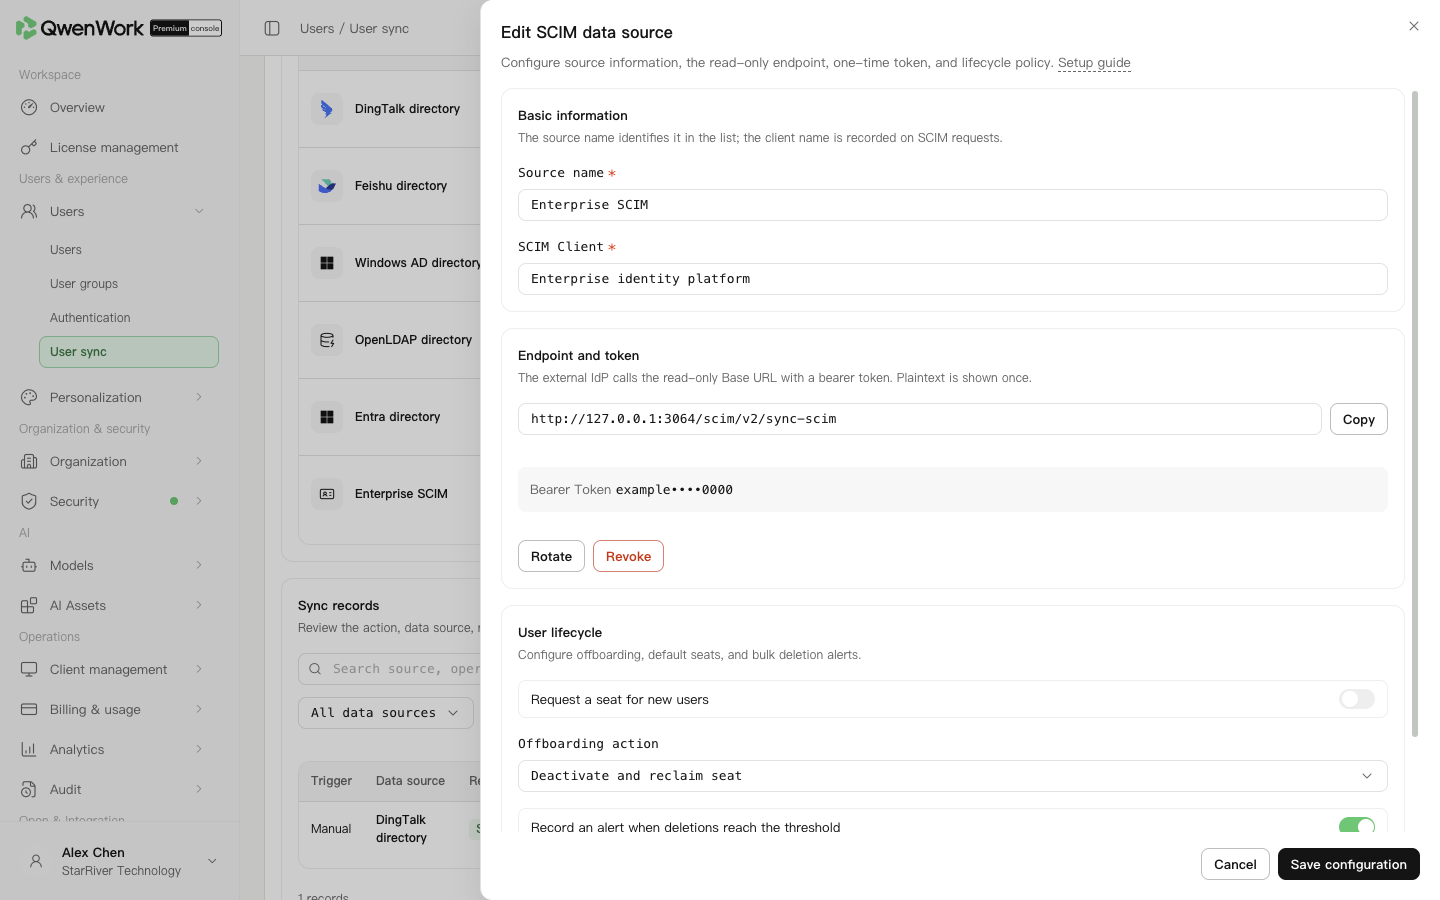
*Admin console: SCIM push address, token management, and lifecycle policy.*
A masked token cannot replace the complete one-time value.
## Set the account lifecycle {#set-the-account-lifecycle}
- New-user seat option: choose whether creation attempts a seat assignment, then inspect the actual result.
- Leaver handling: deactivate only, deactivate and reclaim seats, or delete and reclaim seats.
- Deletion alerts: set a count threshold and email to investigate unexpected bulk changes.
For a new source without another active source, use Save and enable. For an edit, save and check activation in the list. Only one source can be active; switching retains prior configurations and history.
## Configure the identity platform {#configure-the-identity-platform}
1. Open its QwenWork provisioning or SCIM app settings.
2. Enter the copied Base URL and full Bearer Token and run the platform's connection test.
3. Map a non-empty, globally unique `externalId` as external identity, `userName` as account, `displayName` as name, `emails` as email, and `active` as enabled status.
4. For Groups, map their members using the user resource IDs returned by SCIM. Names and external IDs are not QwenWork resource IDs.
5. Assign a test user and test group, then run on-demand provisioning or push.
Read ServiceProviderConfig, Schemas, and ResourceTypes to confirm supported fields and updates. The service supports Users, Groups, pagination, PATCH, Filter, and ETag.
## Verify four changes {#verify-four-changes}
| Test | Check in QwenWork |
| --------------------------- | ------------------------------------------------------ |
| Create a user | One record with correct name, account, email, and seat |
| Update name or email | Same user and resource ID |
| Add or remove group members | Department memberships follow the request |
| Set `active` to `false` | Status and seats follow the leaver policy |
After each request, filter Sync records by source or SCIM Client, open details, and inspect users, departments, relationships, seats, and errors. Verify final state in Users.
## Troubleshoot and rotate tokens {#troubleshoot-and-rotate-tokens}
| Symptom | Check |
| ---------------------- | -------------------------------------------------------------------------- |
| 401 or invalid token | Bearer prefix, complete value, and revocation |
| Request rejected | Active source and correct source-specific Base URL |
| Duplicate users | Stable externalId, resource lookup, and update-versus-create logic |
| ETag conflict | Read the latest resource and ETag before updating |
| Field validation error | Schemas, error response, required fields, types, and multi-value structure |
Rotating an existing token invalidates the old value immediately. Arrange the change, copy the new token, update the identity platform, and test. Revoking a token invalidates that token; stopping the whole integration also requires disabling the source.
## Connect existing users and deleted resources {#connect-existing-users-and-deleted-resources}
Match existing users by external user ID only. Account, email, phone, and employee number are checked for conflicts. If the external ID does not match but an identity value is occupied, creation fails. A successful update retains the QID and changes the management source.
While that source is active, name, email, account, phone, external ID, and employee number are source-owned; department and status are locked when mapped.
A deleted SCIM User cannot be updated or restored. The identity platform must send a new `POST /Users`. Success assigns a new QID, without inheriting the old profile, roles, password, groups, administrator permissions, seats, or departments. Identity conflicts with current users reject creation; correct the source data first.
See Users / User sync / User sync overview for mapping and source-change rules.
Return to: Users / User sync / User sync overview.
# Personalization overview
Source: https://docs.qwenwork.ai/enterprise-ultimate/personalization
> Personalization controls the recommendations, navigation, login background, and guidance members see in QwenWork.
Personalization controls the recommendations, navigation, login background, and guidance members see in QwenWork. Prepare the text and images, then edit the relevant page. On pages with **Save and publish**, click that button to apply your changes.
## Choose a feature {#choose-a-feature}
| Feature | What you can do |
| -------------------- | -------------------------------------------------------------------------------------------- |
| Home recommendations | Edit welcome messages, recommended prompts, and visibility in New task home |
| Navigation & Menus | Arrange groups, custom links, and display order |
| Login page | Configure the enterprise login background |
| Input placeholder | Set hints for the normal and AI responding states in New task home |
| Credits | Configure the message and action button shown when a member uses up their personal allowance |
Return to: Admin console feature overview
# Home recommendations
Source: https://docs.qwenwork.ai/enterprise-ultimate/personalization/new-task-home
> Home recommendations show common tasks to help members get started.
Home recommendations show common tasks to help members get started. Each item has two texts: the **Display prompt** is the short suggestion members see; the **Input prompt** is the complete task inserted when they select it.
Open **Personalization → New task home → Home recommendations**.
## Edit a recommended prompt {#edit-a-recommended-prompt}
1. Find an item using search or the category filter, then click **Edit** on its row.
2. Select a category. The category determines the icon shown in the client.
3. Enter a short Display prompt, such as “Summarize meeting notes”.
4. Enter the full Input prompt, such as “Extract decisions, owners, and deadlines from these meeting notes”.
5. Click **Save**, wait for the success message, then check both texts in the list.
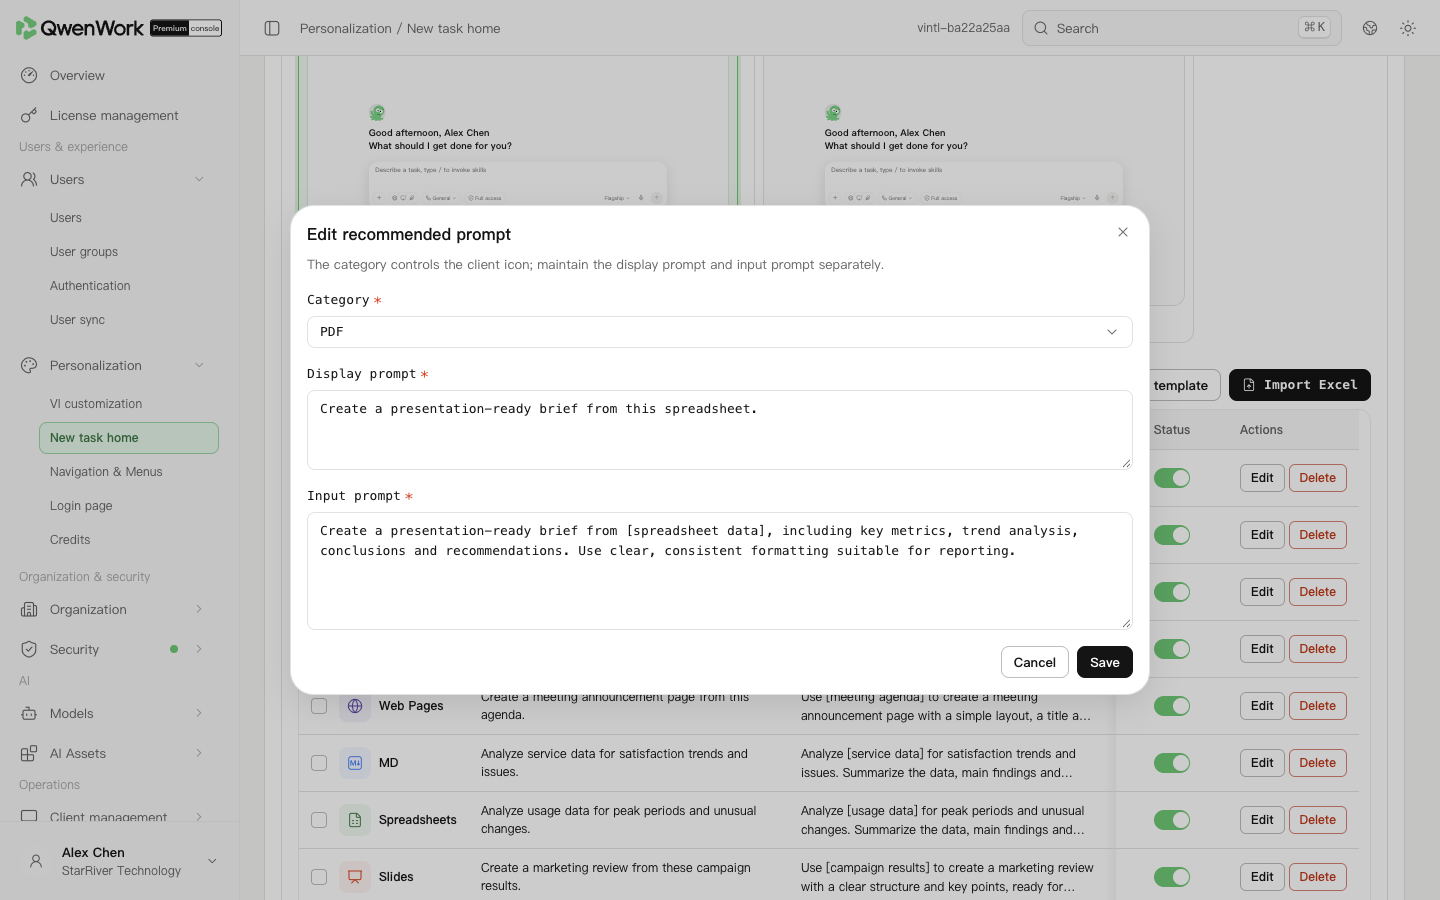
*Admin console: enter the display text and the full task separately.*
## Import recommendations in bulk {#import-recommendations-in-bulk}
1. Click **Download template** and fill in the category, Display prompt, and Input prompt columns.
2. Click **Import Excel** and select the completed file.
3. Check the import preview and errors. Correct invalid rows before submitting. Imported items are added to the existing recommendations.
4. Search the list to verify the new items and their enabled states.
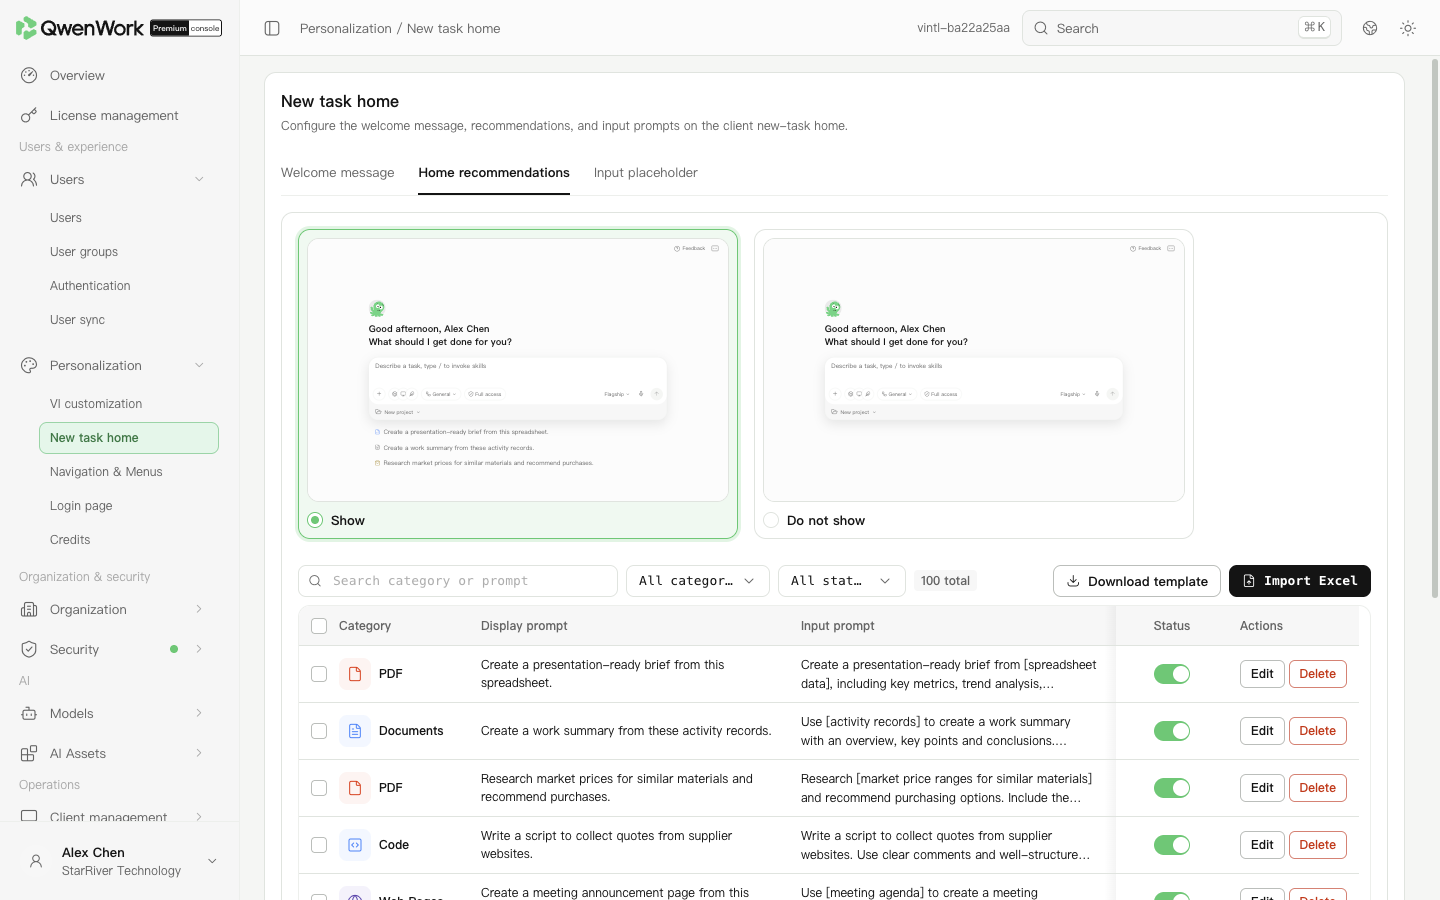
*Admin console: search, edit, enable, or disable prompts, and import them from Excel.*
## Control visibility {#control-visibility}
Turn off an item's enabled switch when it should be hidden. To remove it, use **Delete** and read the confirmation. You can select multiple items for bulk actions.
To hide the entire default recommendation area, select **Do not show** at the top of the page, confirm, then click **Save and publish** when it appears. Changing the selection without publishing does not apply it to the client.
## Set the home welcome message {#set-the-home-welcome-message}
1. Switch to **Welcome message** on the same page.
2. Select a language and enter separate text for working inside a project and outside a project. Each language supports up to two lines and 160 characters.
3. Use the insert buttons to add the member's name or a greeting. The project scenario also supports the project name.
4. Switch the preview scenario to check both messages, then click **Save and publish**.
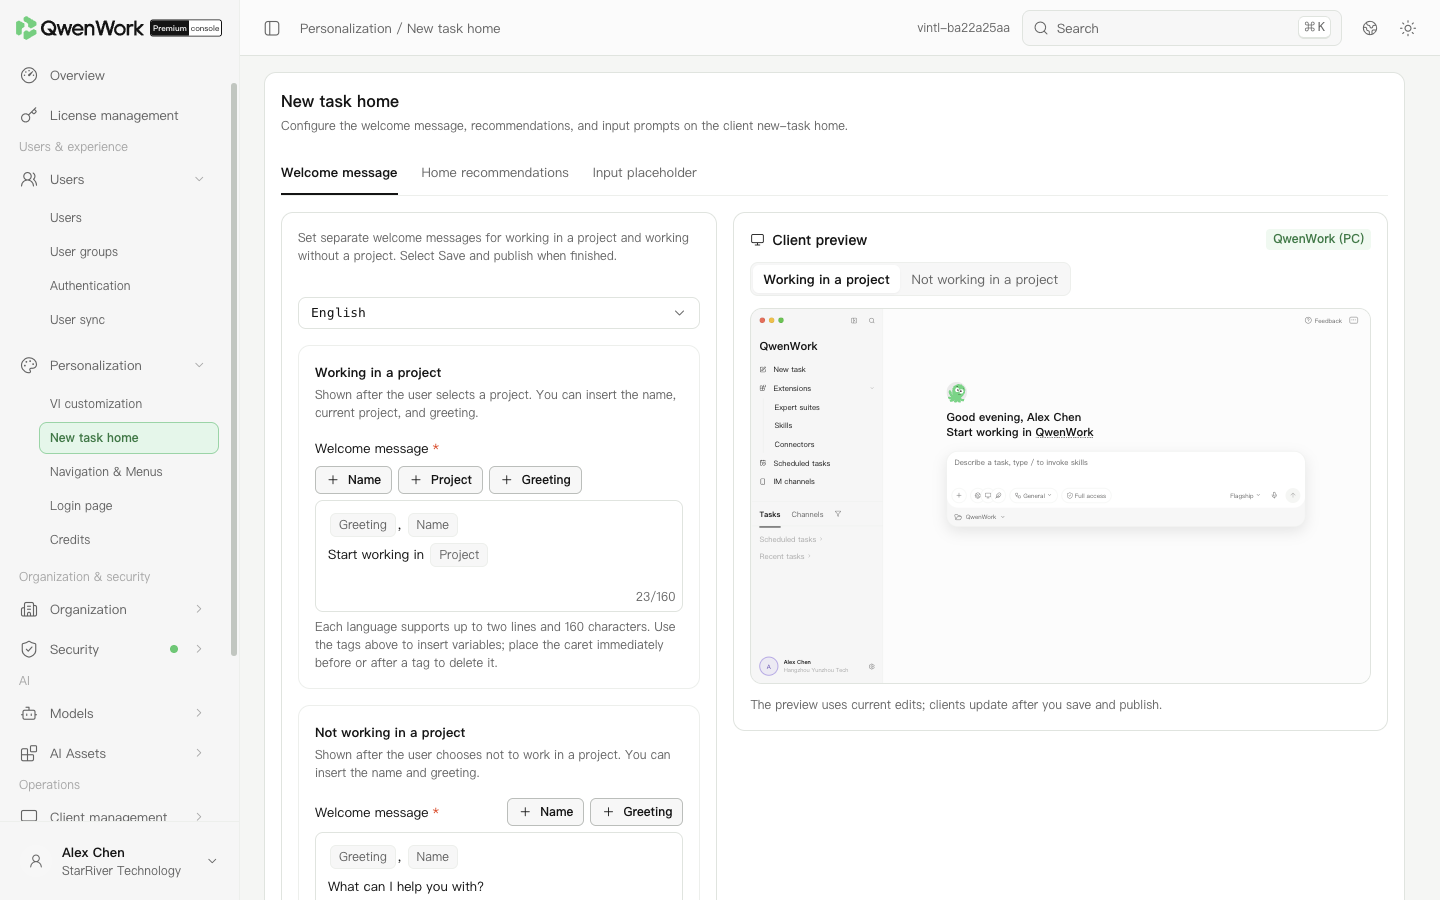
*Client preview in the admin console: check the message with and without a project.*
Return to: Personalization overview
# Navigation
Source: https://docs.qwenwork.ai/enterprise-ultimate/personalization/navigation
> Navigation configuration arranges the entries in the client's left sidebar.
Navigation configuration arranges the entries in the client's left sidebar. Add groups and custom links, adjust their order, and check the structure in the preview.
The built-in navigation includes New task, Extensions (Expert suites, Skills, and Connectors), Scheduled tasks, and IM channels. You can continue maintaining saved custom links, groups, and enabled states.
## Add a group and a link {#add-a-group-and-a-link}
1. Open **Users & experience → Personalization → Navigation & Menus**.
2. Click **Add group** and enter a descriptive name, such as “Enterprise services”.
3. Click **Add custom link**. Enter a name of up to 10 characters, a web address, and an icon. Choose to open it within QwenWork or in a new browser tab. The saved link initially appears at the root.
4. Move the link into the appropriate group, use the drag handle to adjust its order, and check the hierarchy in the preview.
5. Click **Save and publish**. After the success message, reopen the page to confirm the links and order were saved.
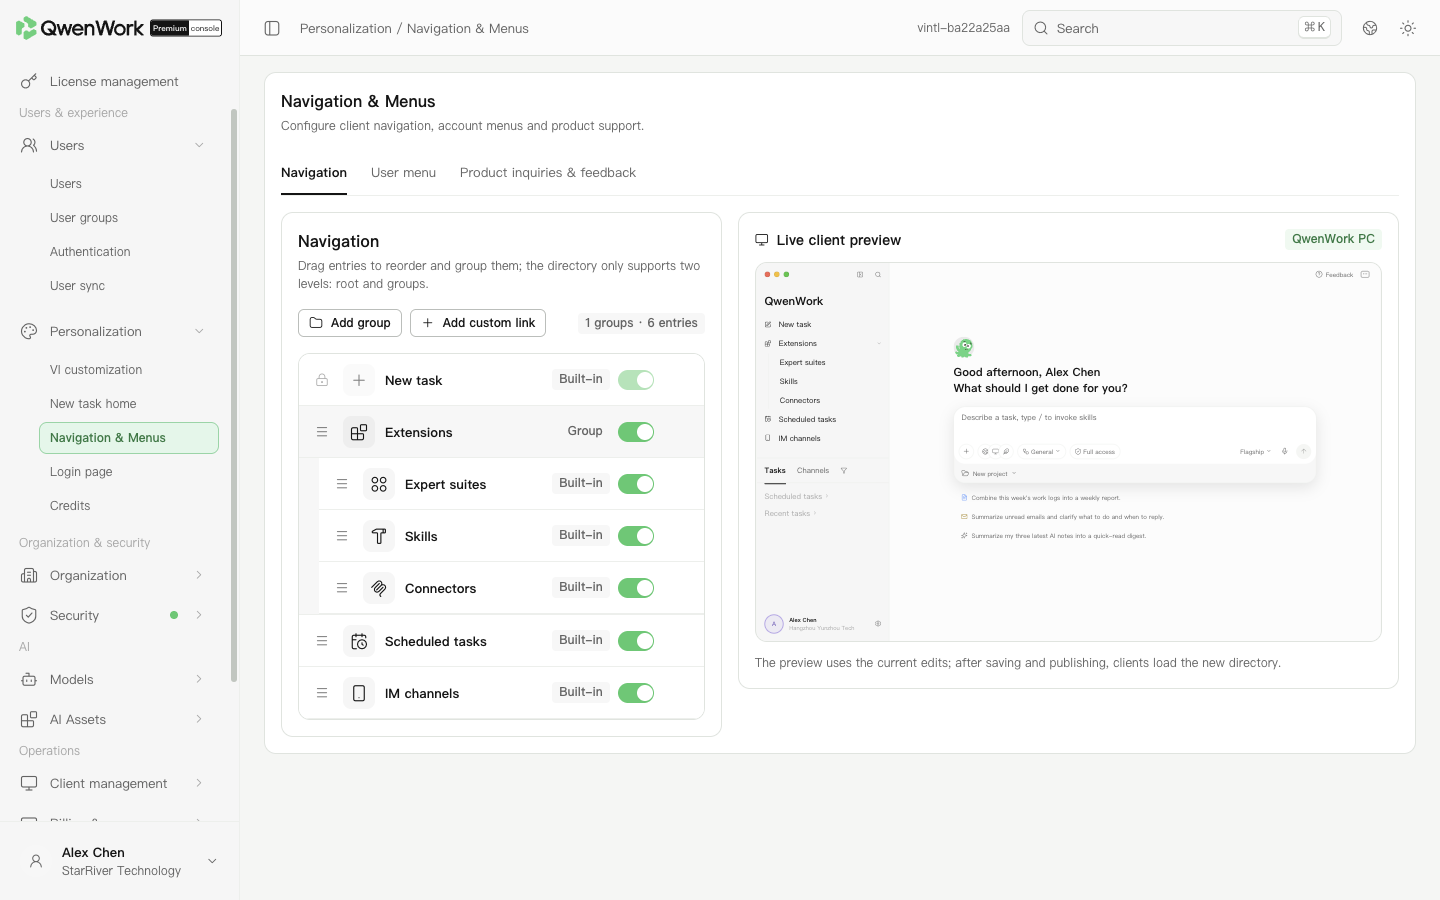
*Admin console: arrange entries and check the client navigation preview.*
## Adjust existing entries {#adjust-existing-entries}
Use an entry's switch to control visibility. Use its **More** menu to edit the name, icon, or address where allowed. Navigation supports at most two levels. **New task** is fixed and cannot be hidden, moved, or given another icon like a custom link.
Deleting a group moves its entries to the root. Use names members recognize, such as “Expense claims”, instead of internal system codes.
## Configure an embedded web plugin {#configure-an-embedded-web-plugin}
Select the option to open within QwenWork, then expand **Advanced configuration**.
| Field | Requirements |
| --------------------- | ---------------------------------------------------------------------------------------------------------------------------------- |
| Environment variables | A JSON object with up to 20 entries. Values may be strings, numbers, or booleans. Leave blank to pass none. |
| Route identifier | 1–32 lowercase letters, digits, or hyphens. It must be unique in the directory. The reserved name `knowledge-base` cannot be used. |
| Direct link | Generated from the route identifier; copy it for users who need to open this page. |
| Plugin package | A ZIP of up to 50 MB containing `web/index.html`. If it contains `native/`, it must also contain `native/index.js`. |
1. Click **Download template**, prepare the files, then click **Upload ZIP**.
2. Check the filename. Download the uploaded package to inspect it, or remove it to return to using the web address.
3. A plugin package takes precedence over the address; an address is not required while a package is present. Save the link, then click **Save and publish**.
4. Reopen the link configuration to verify its route, variables, and file. Plugin advanced settings are not used when the link opens in a new browser tab.
## Check that links open {#check-that-links-open}
After saving, open each added or changed link in the client. Verify the address, sign-in method, network access, and permissions. The console preview checks the layout; actual access must be checked in the client.
Return to: Personalization overview
# Login page
Source: https://docs.qwenwork.ai/enterprise-ultimate/personalization/login-page
> Configure a background image for the enterprise login page.
Configure a background image for the enterprise login page. Preview your prepared image in the console before publishing it.
## Upload an enterprise login background {#upload-an-enterprise-login-background}
1. Open **Users & experience → Personalization → Login page** and enable enterprise login page configuration.
2. Upload a JPG or PNG in the background image area. The file must be no larger than 5 MB; both width and height must be at least 720 pixels; 1920 × 1080 is recommended.
3. Check the login preview. Make sure important content is not cropped and the sign-in area remains readable.
4. Click **Save and publish**, then reopen the page to verify the current image.
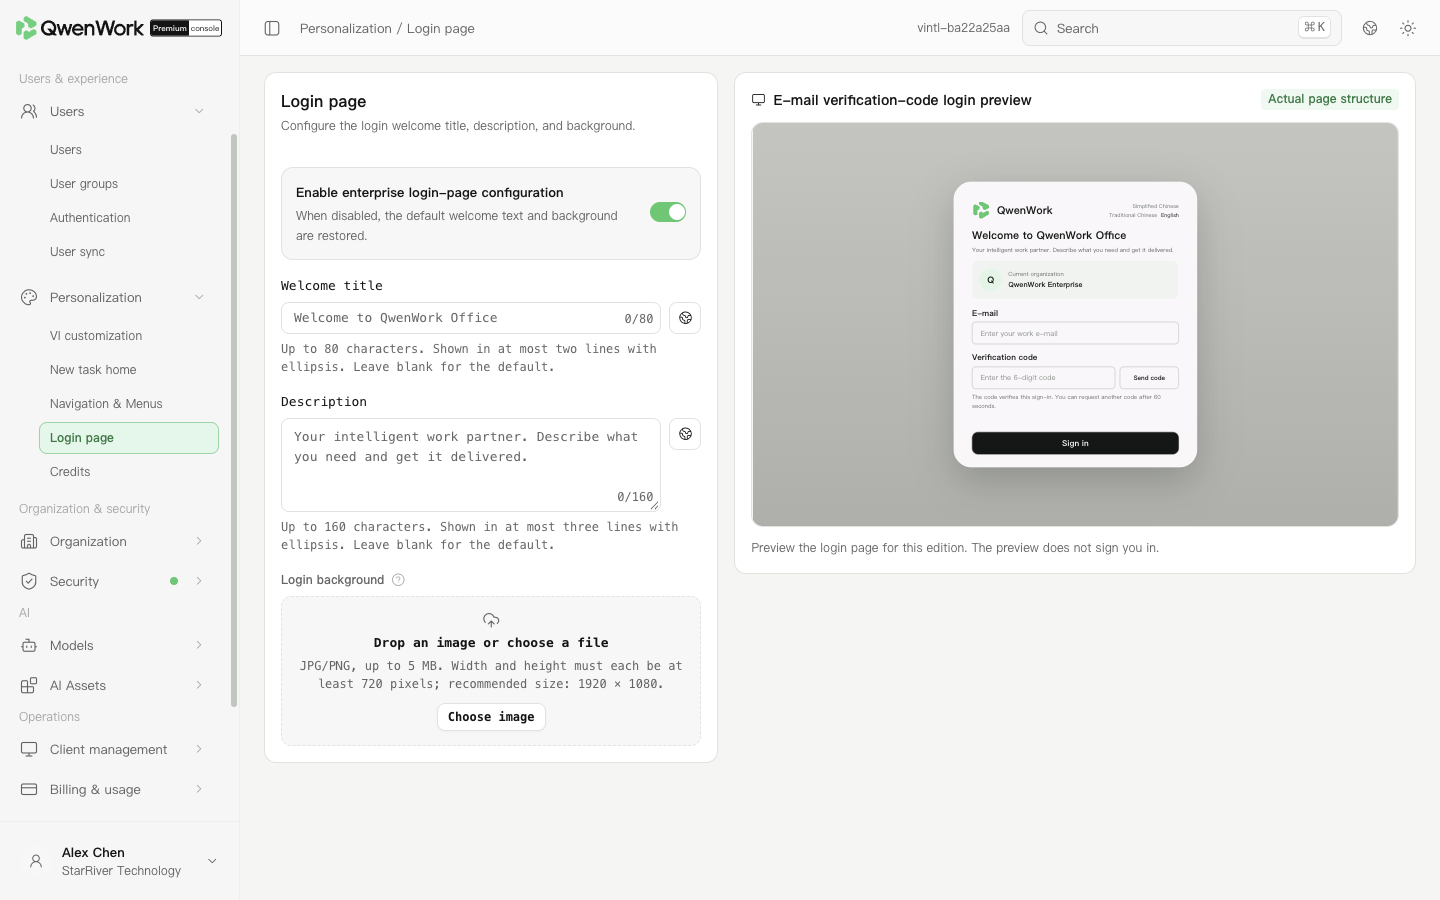
*Admin console: upload a background and check the login preview.*
## Replace or disable the background {#replace-or-disable-the-background}
Upload a replacement and publish it, then check it at different window widths. When disabling enterprise login configuration, save as instructed on the page; the client uses the corresponding default login presentation.
## Verify the login entry {#verify-the-login-entry}
Confirm the enterprise access address in **Organization info**, then open the enterprise login page to check its background. Available sign-in methods are controlled by Authentication. Uploading a background does not enable SSO or password sign-in.
Return to: Personalization overview
# Input placeholder
Source: https://docs.qwenwork.ai/enterprise-ultimate/personalization/input-placeholder
> Input placeholders are the hints members see before entering text.
Input placeholders are the hints members see before entering text. Set separate hints for the normal state and the AI replying state so members understand what they can do.
## Edit the hints for both states {#edit-the-hints-for-both-states}
1. Open **Personalization → New task home → Input placeholder**.
2. Enter the normal-state hint, such as “Describe a task, or type / to use a skill”.
3. Enter the hint shown while AI is responding. Each hint supports up to 128 characters.
4. Switch between the normal and AI replying states in the preview and check that both hints are clear.
5. Click **Save and publish** when it appears after editing. Reopen the page after success to verify the saved values.
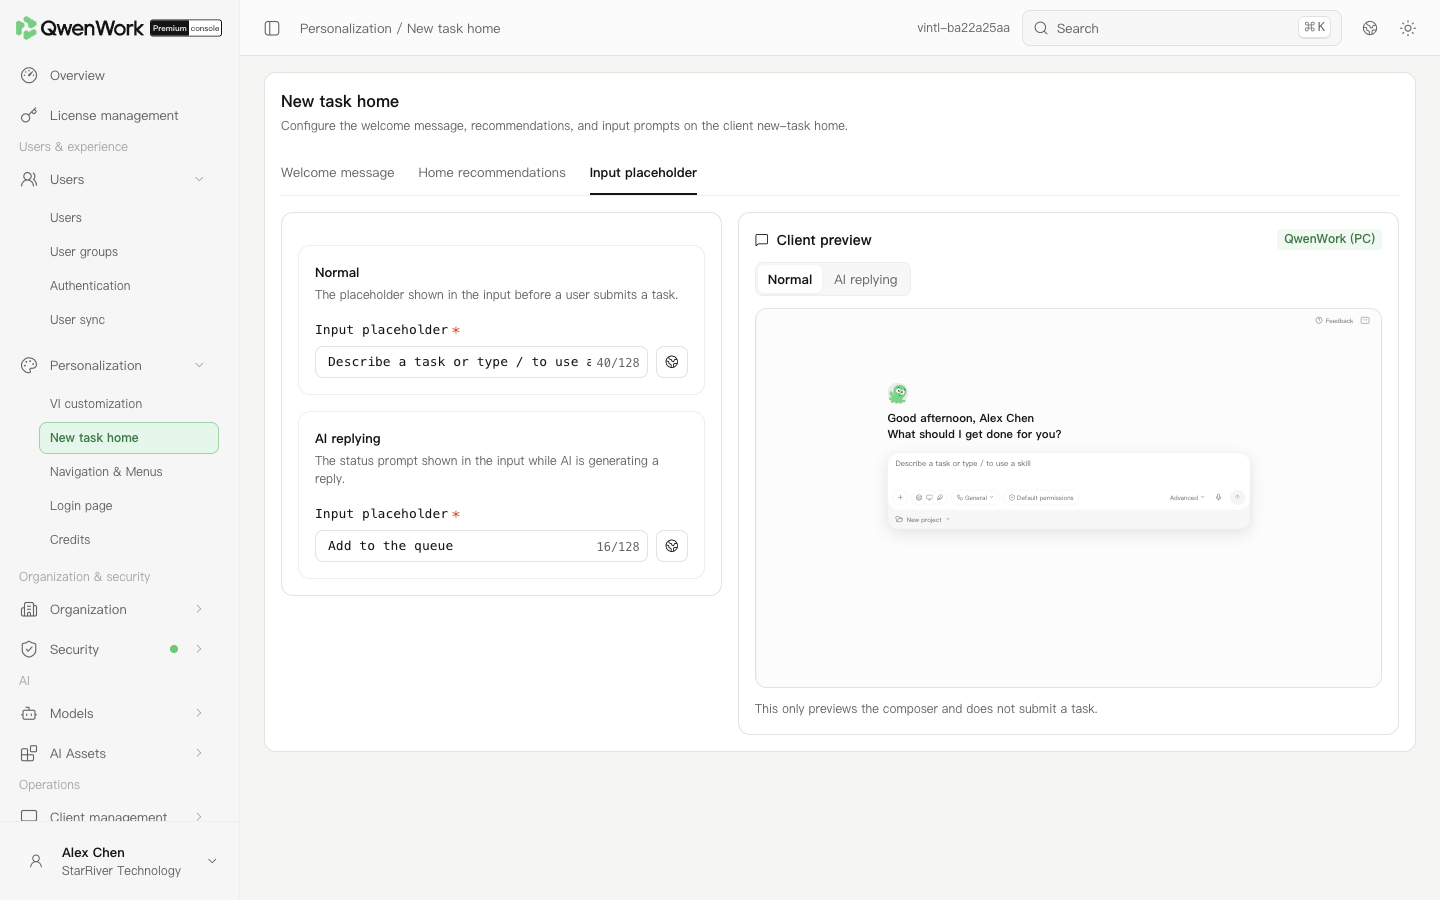
Client preview in the admin console: check normal and AI replying hints.
Return to: Personalization overview
# Credits
Source: https://docs.qwenwork.ai/enterprise-ultimate/personalization/credit-alerts
> This page sets the message members see after using up their personal credit allowance for the current period.
This page sets the message members see after using up their personal credit allowance for the current period. Use it to explain whom to contact or where to request an adjustment. Editing the message does not change personal limits or the enterprise balance.
## Set the insufficient credits message {#set-the-insufficient-credits-message}
1. Open **Personalization → Credits → Insufficient-points prompt**.
2. Enter a title of up to 30 characters, such as “Credit allowance used up”.
3. Enter a description of up to 120 characters. Explain the next action, such as contacting the enterprise administrator to adjust the allowance.
4. To provide a link, enable the action button and enter its label and destination. The label supports up to 20 characters. Use an address members can actually access.
5. Check the title, description, and button in the live preview, then click **Save and publish** when it appears.
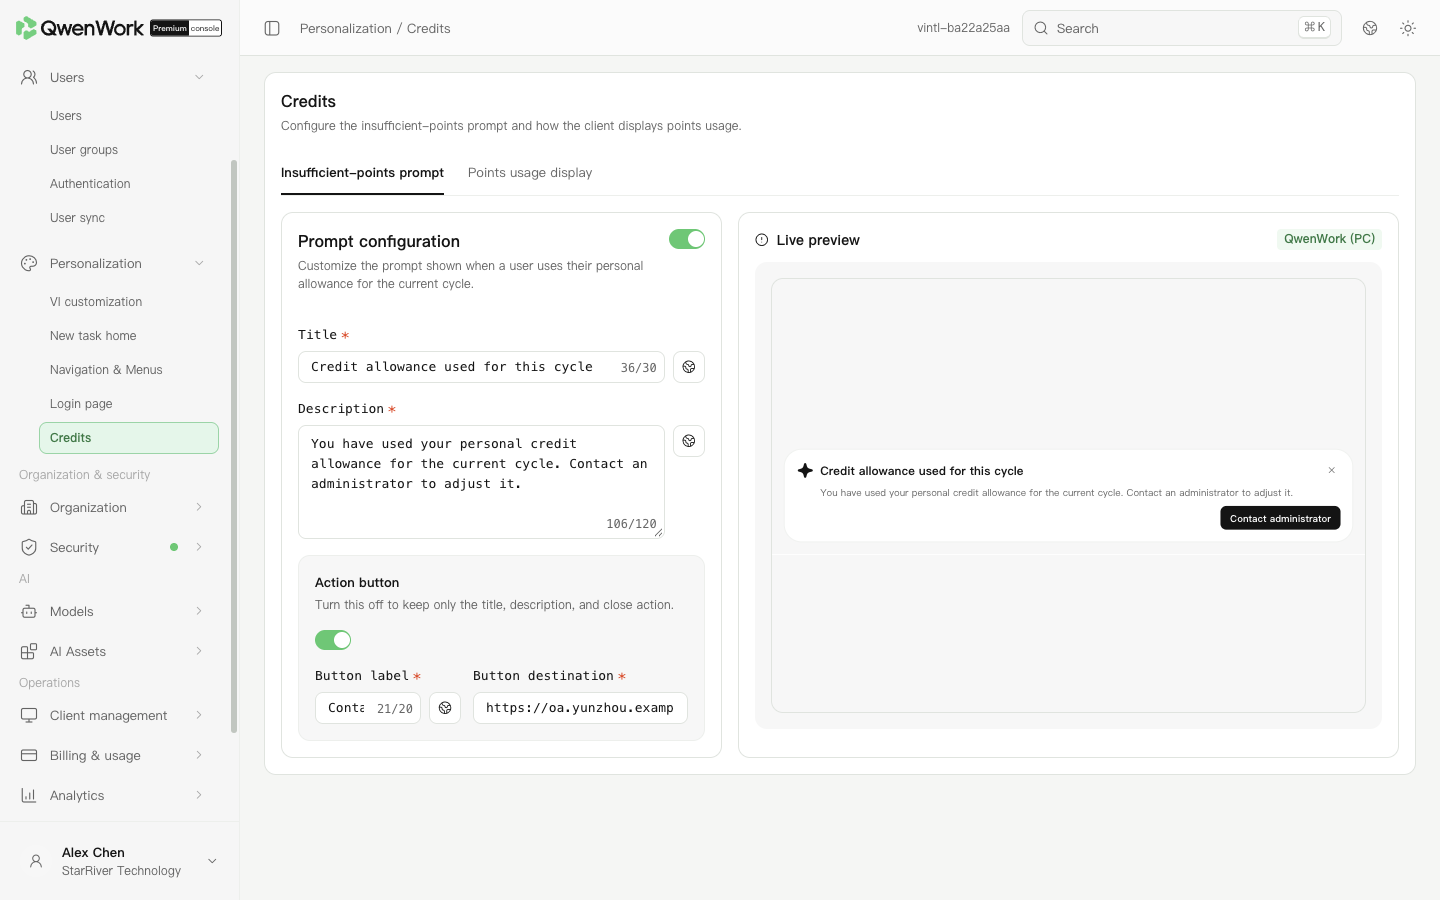
*Admin console: the message and action button shown when a member's personal allowance is exhausted.*
When the action button is off, the message retains the title, description, and close action. To adjust allowances, open **Billing & usage → Limits**.
Return to: Personalization overview
# Organization overview
Source: https://docs.qwenwork.ai/enterprise-ultimate/organization
> Organization management maintains basic organization information and administrator roles.
Organization management maintains basic organization information and administrator roles. Organization info provides the enterprise identifier and access addresses. Admin roles determine who can enter the console and which features they can manage.
## Choose a feature {#choose-a-feature}
| Feature | What you can do |
| ----------------- | -------------------------------------------------------------------------------- |
| Organization info | View enterprise identifiers and access addresses, and edit the organization name |
| Admin roles | Create roles, select administrators, and assign feature permissions |
Return to: Admin console feature overview
# Organization info
Source: https://docs.qwenwork.ai/enterprise-ultimate/organization/org-profile
> Use Organization info to confirm the current enterprise, copy access addresses, and edit the organization name.
Use Organization info to confirm the current enterprise, copy access addresses, and edit the organization name. Before sending a sign-in address to a colleague, verify that this is the correct enterprise.
## View and copy enterprise information {#view-and-copy-enterprise-information}
1. Open **Organization → Profile**.
2. Check the organization name and ID. The ID is the fixed identifier of the enterprise; use the adjacent copy button.
3. Give administrators the **Admin console login URL**. Use the **Client service URL** when configuring client services. Copy the field appropriate to the purpose.
4. The enterprise email domain shows the currently configured domain. To maintain it, open **Users → Authentication → Trusted email domains**.
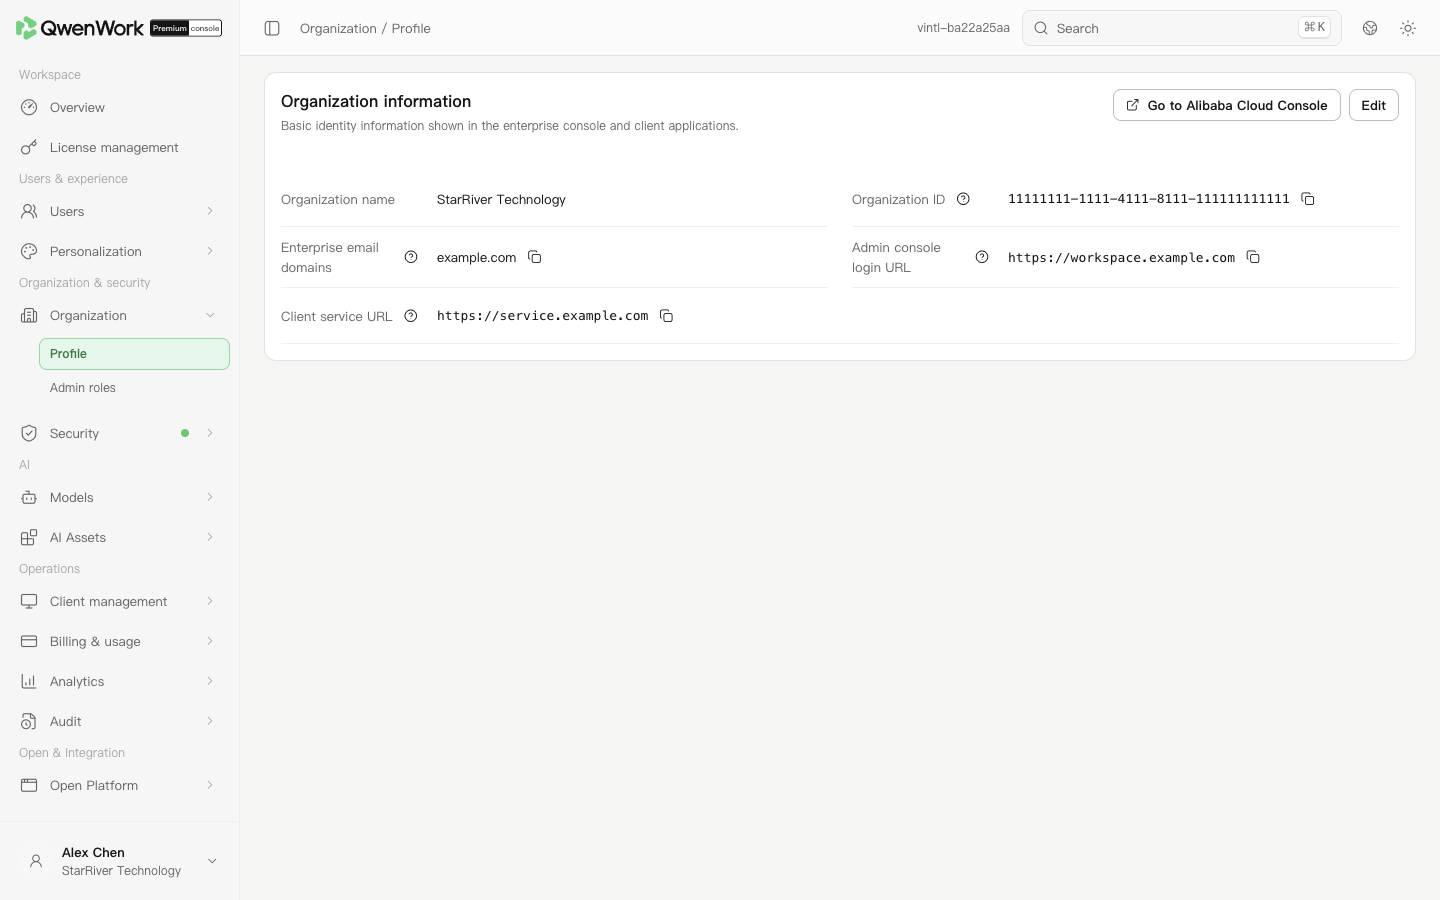
*Admin console: the organization name, enterprise email domains, and two access addresses.*
## Edit the organization name {#edit-the-organization-name}
1. Click **Edit**.
2. Enter a name of 1–255 characters.
3. Save and check the new name. This edit does not change the organization ID or access addresses.
Return to: Organization overview
# Admin roles
Source: https://docs.qwenwork.ai/enterprise-ultimate/organization/admin-roles
> Admin roles determine who can enter the console and which features they can manage.
Admin roles determine who can enter the console and which features they can manage. Decide what work to delegate, then assign the relevant permissions. Ordinary user seats and model availability are managed separately.
## Create an admin role {#create-an-admin-role}
1. Open **Organization & security → Organization → Admin roles**, then click **New admin role**.
2. Enter a name and description, such as “User operations” and “Maintains members and seats”.
3. Click **Add users** in the role's user area, then search for and select existing enterprise members.
4. Switch to management permissions and select the required pages. Selecting a page grants access to all of its capabilities. An unselected page is unavailable through the sidebar, search, and direct links.
5. Check the role's state and save. Verify its name, users, and enabled state in the list.
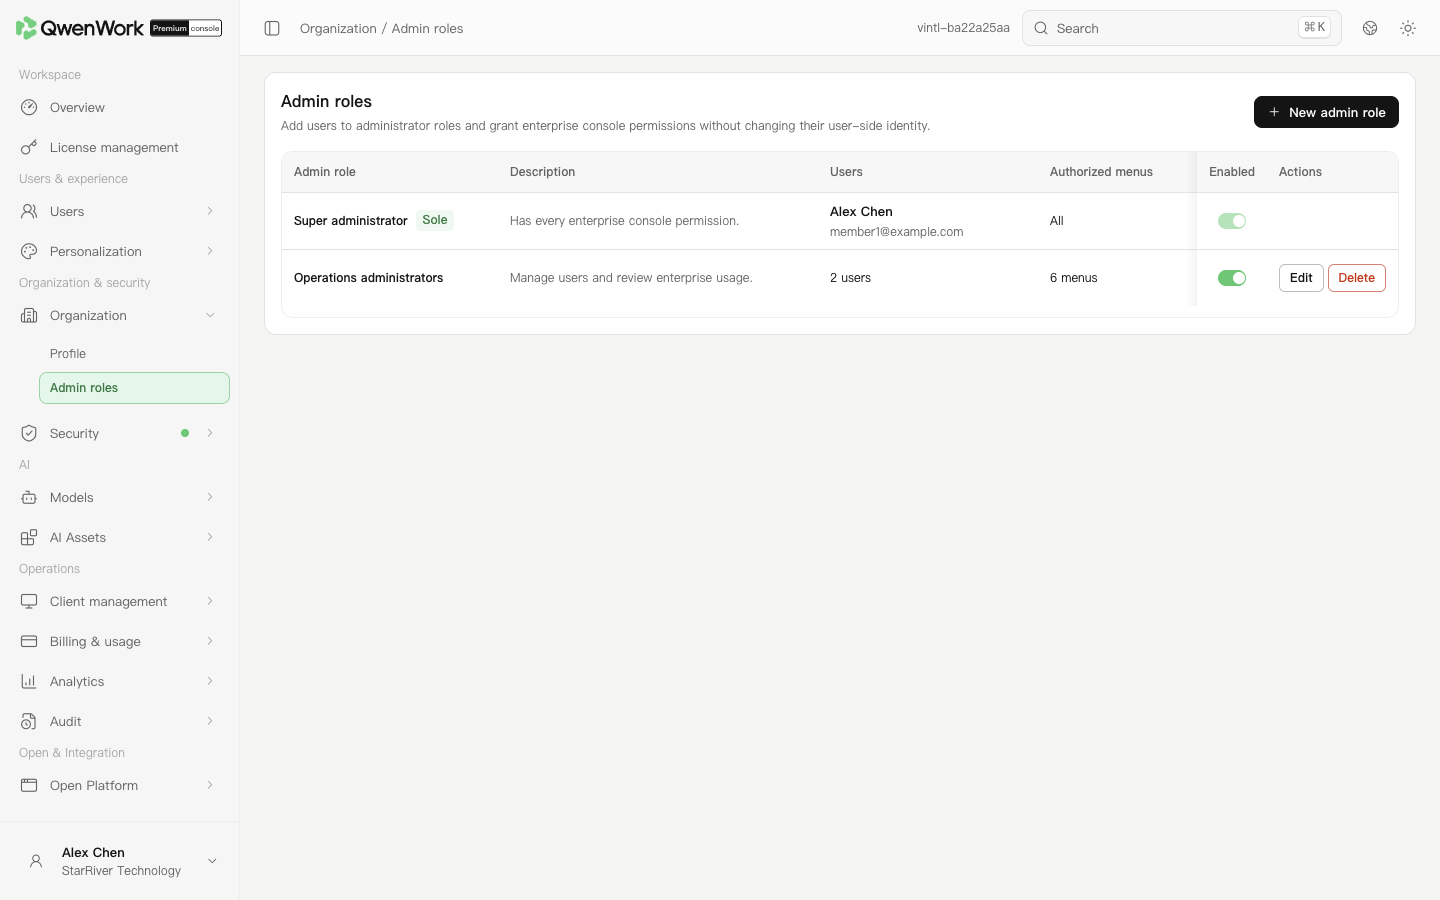
*Admin console: maintain role users and page permissions.*
## Check the permissions {#check-the-permissions}
Ask a role member to reenter the console and verify that they can open the required menus and perform the delegated work. Also check a page they should not access through the menu, search, and a direct link. Roles grant permissions by page; a page cannot be split into read-only and editable permissions. Open Platform application API permissions are configured separately.
If a member has several roles, check them together. Removing a permission from one role may leave it granted by another.
## Adjust or revoke access {#adjust-or-revoke-access}
Open the role, change its users or permissions, and save. Disable the role to pause the assigned work, or follow the deletion prompt when it is no longer needed. Removing console access does not delete the person's ordinary user account or reclaim their seat.
## Transfer the super administrator {#transfer-the-super-administrator}
There is one super administrator. The recipient receives all management permissions after transfer. The original administrator's remaining console access depends on their other roles.
1. Click **Transfer** at the super administrator entry and choose a recipient whose account is active.
2. Check the recipient, enter the confirmation text requested by the dialog, and click **Continue**.
3. Read the sign-out and reauthentication message, then continue and sign out.
4. Reauthenticate using **the current super administrator's own account**. The transfer is executed after this authentication succeeds. Do not sign in as the recipient at this step.
5. Check the result, then have the recipient sign in to verify their permissions.
Cancelling sign-in, failing authentication, using another account, or exceeding 10 minutes prevents the transfer. A successful transfer can be transferred back only by the new super administrator initiating another transfer.
Return to: Organization overview
# Security overview
Source: https://docs.qwenwork.ai/enterprise-ultimate/security
> Security settings configure enterprise access and usage rules.
Security settings configure enterprise access and usage rules. Trusted Networks maintains allowed source addresses. Trusted Devices manages sign-in terminals. Automation connects enterprise event handlers. Sensitive Words checks specified keywords. IM Channels controls available messaging channels. Configure each feature separately.
## Choose a feature {#choose-a-feature}
| Feature | What you can do |
| ---------------- | ----------------------------------------------------------------------------- |
| Trusted Networks | Maintain enterprise IP addresses and network ranges |
| Trusted Devices | Register devices, configure sign-in verification, and force users to sign out |
| Automation | Configure event callbacks and implement an HTTP handler |
| Sensitive Words | Maintain word lists and test matching |
| IM Channels | Enable or disable messaging channels |
Return to: Admin console feature overview
# Trusted Networks
Source: https://docs.qwenwork.ai/enterprise-ultimate/security/trusted-network
> Trusted Networks restricts the public source addresses that can access enterprise services.
Trusted Networks restricts the public source addresses that can access enterprise services. Usually these are the egress IP addresses of an office network or enterprise VPN. A computer's private LAN address is not its public egress address. Confirm the actual addresses with your network administrator first.
## Set allowed addresses {#set-allowed-addresses}
1. In a VPC deployment, open **Security → Networks**. This menu is unavailable in a K8S deployment.
2. Enter one IPv4 address, IPv6 address, or CIDR range per line in the public IP and network list, up to 100 entries. For example, `192.0.2.0/24` illustrates a network range; it is a documentation example.
3. Check that the list includes the egress address of your current network, then click **Save**.
4. Read the confirmation and submit. Reopen the page after success to verify the saved list.
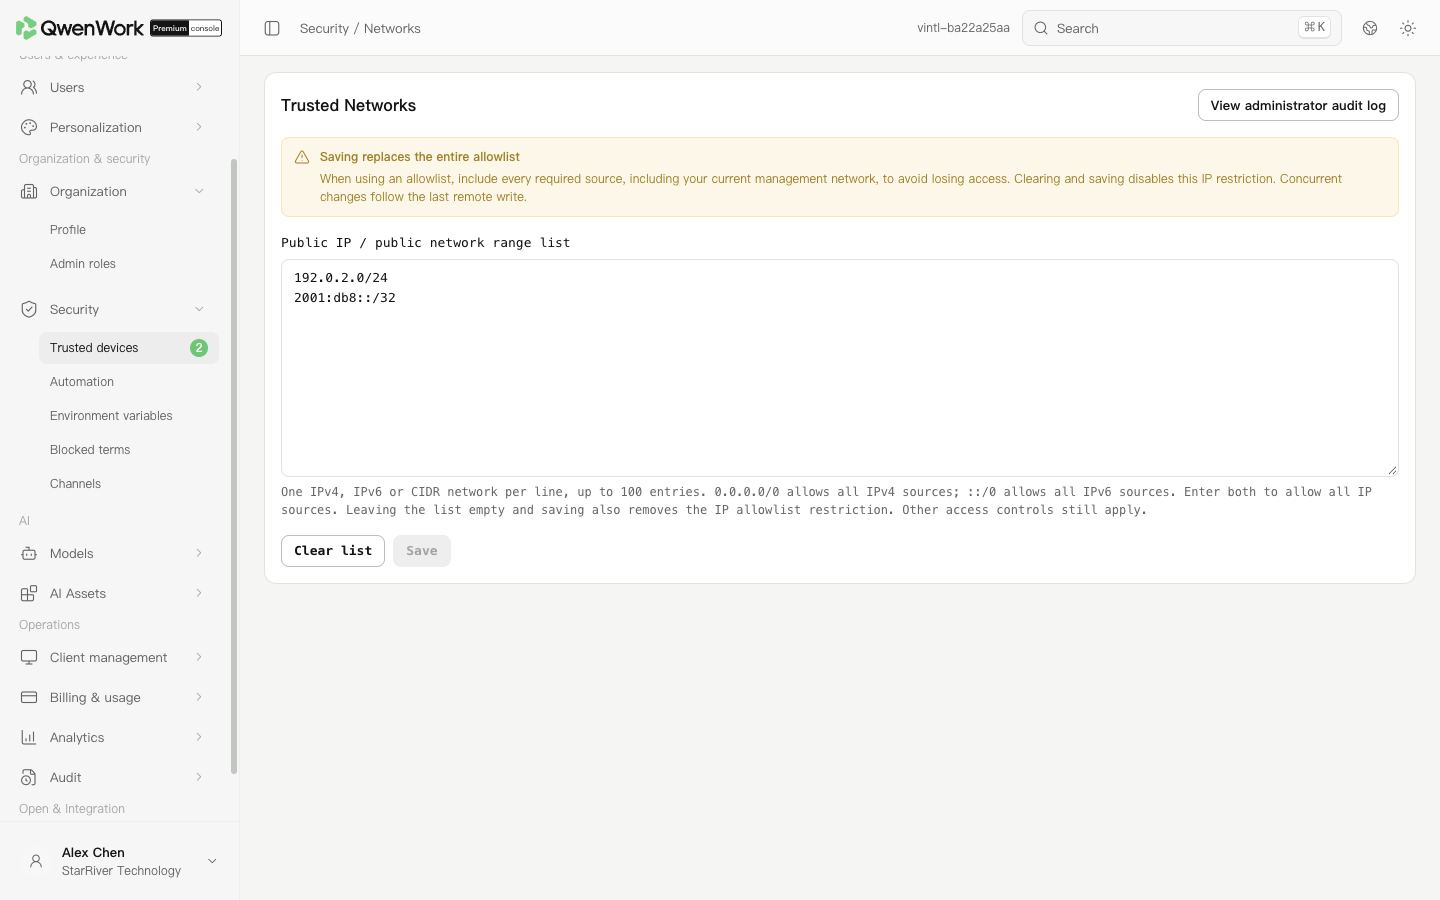
*Admin console: enter one public address or network range per line.*
## Remove the source restriction {#remove-the-source-restriction}
Click **Clear list**, then **Save** and confirm. An empty saved list removes this allowlist's source restriction. Clearing the input without saving does not apply the change.
`0.0.0.0/0` allows all IPv4 sources, but does not allow all IPv6 sources. To remove the entire restriction, clear the list.
## If saving fails {#if-saving-fails}
Follow the error message to check addresses, network prefixes, duplicates, and entry count. Saving replaces the entire list. Retain every egress address that still needs access so you do not exclude yourself or colleagues.
Return to: Security overview
# Trusted Devices
Source: https://docs.qwenwork.ai/enterprise-ultimate/security/trusted-devices
> Trusted Devices registers terminals for individual users and uses policies to determine who must verify their device.
Trusted Devices registers terminals for individual users and uses policies to determine who must verify their device. Register devices first, choose the user scope, then enable verification.
## Register devices {#register-devices}
1. Open **Organization & security → Security → Trusted Devices** and select the Trusted devices tab.
2. Click Single add. Select an existing user, enter a device name, and provide its SN or MAC address. SN means serial number; MAC identifies a network interface. Provide at least one device identifier.
3. Enter the operating system, model, and login username as needed, then click **Save**.
4. Search for the user or identifier and confirm the device is trusted.
For bulk registration, click Batch add, download the page template, fill in its columns, and upload it. Check both successful and failed rows. Do not identify a device by its name alone.
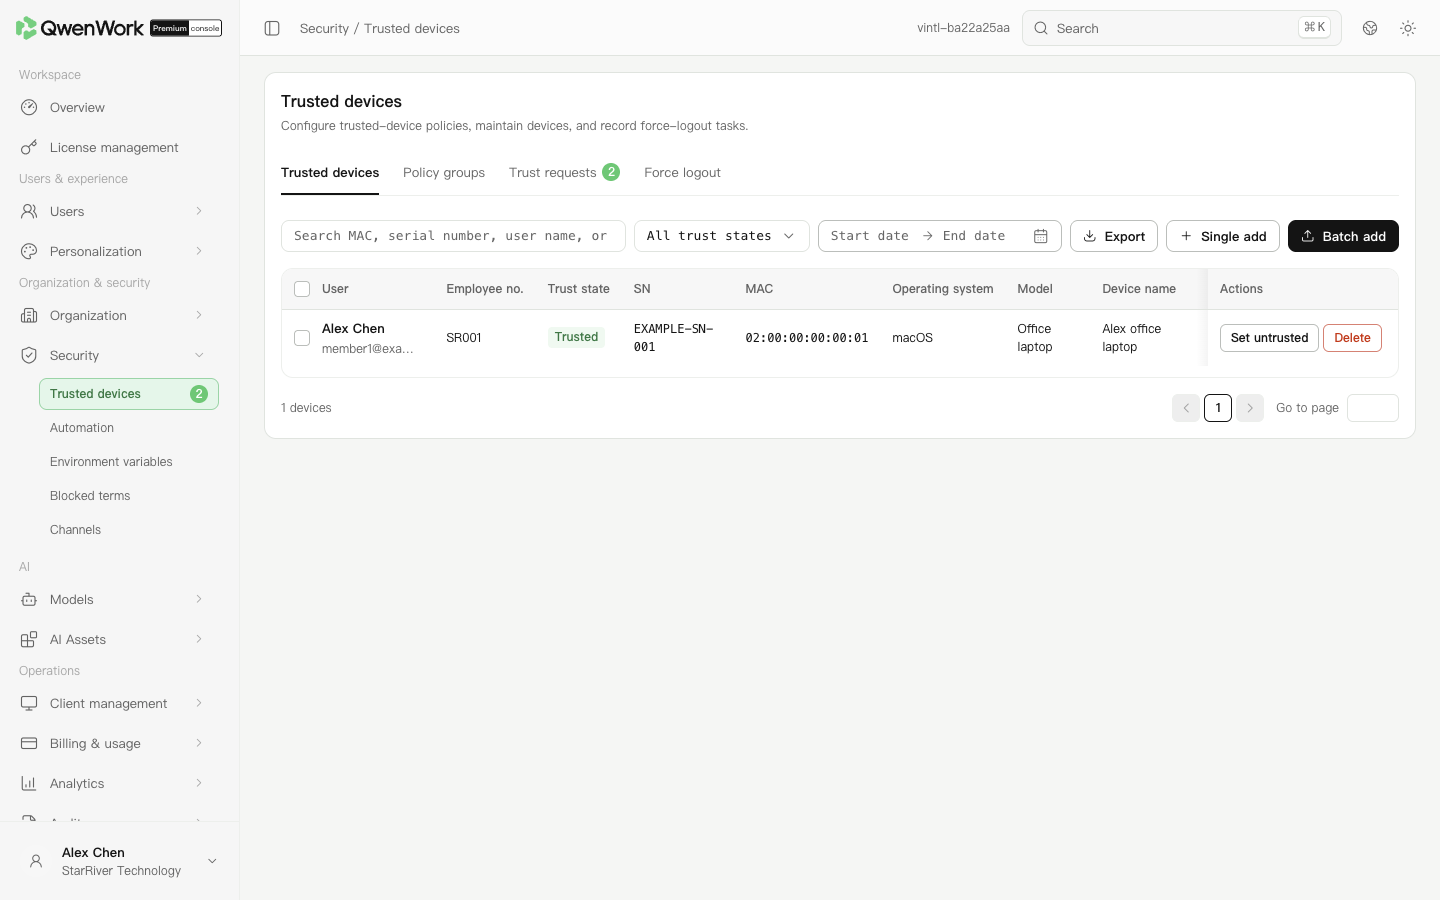
*Admin console: register devices and verify their users and identifiers.*
## Enable verification for selected members {#enable-verification-for-selected-members}
1. Switch to **Policy groups** and add a policy group.
2. Enter its name, description, and priority, then select users, departments, or user groups. Lower priority numbers match first; priorities must be unique.
3. Enable trusted device verification and configure the first-device exemption. With the exemption enabled, a member's first sign-in device can be added automatically to the trusted list.
4. Select the affected client types and user scope, then save.
5. Use match verification to select a member and check the matched policy and effective rules. If several policies match, the highest-priority policy applies. The default applies when no other policy matches.
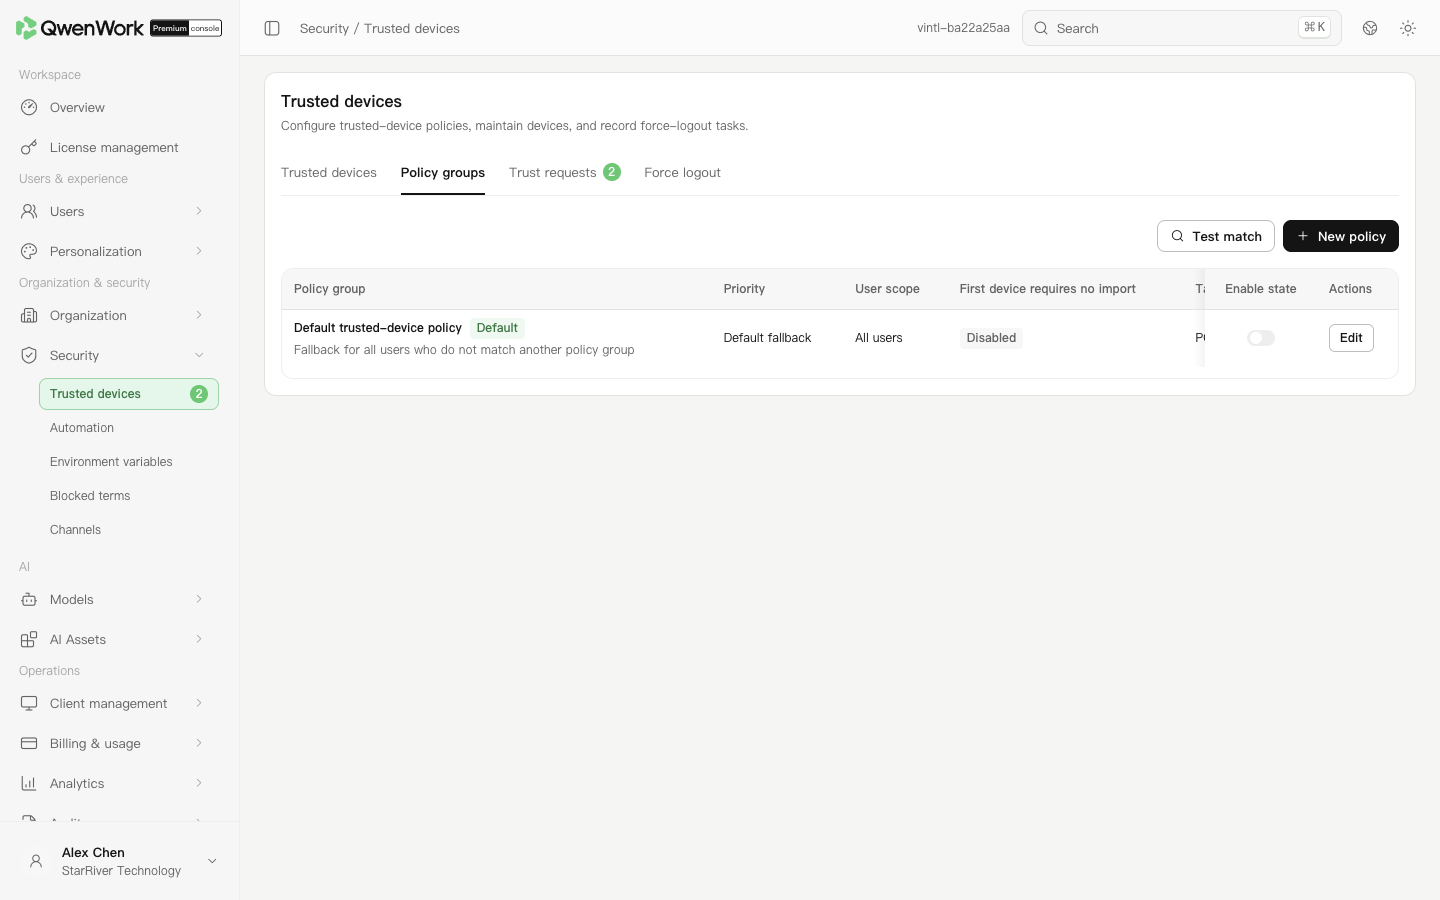
*Admin console: check policy scope and priority.*
## Mark a device as untrusted {#mark-a-device-as-untrusted}
Search the device list, confirm the member and identifier, then mark it untrusted. Use the corresponding trusted-state action to restore it. Before deleting a registration, check affected members. Whether sign-in is restricted also depends on their matched device policy.
## Force users to sign out {#force-users-to-sign-out}
1. Open the **Force logout** tab and create a sign-out task.
2. Enter the reason, select the scope, client types, and execution time, then confirm and submit.
3. Edit or cancel a pending task in the list. After execution, open its details to inspect results for each user.
Forced sign-out logs the selected members out of the client. Their next sign-in is checked against current account and device rules. To maintain a restriction, also check account status or device policies.
Return to: Security overview
# Automation
Source: https://docs.qwenwork.ai/enterprise-ultimate/security/hooks-rules
> Hooks call an enterprise HTTP service when a specified client or Agent event occurs.
Hooks call an enterprise HTTP service when a specified client or Agent event occurs. Administrators select the event, add the prepared rules and control whether they are enabled. For example, a hook can notify your business system when a session starts.
Open **Security → Automation** in the admin console. The page is headed **Hooks Rules**.
Each event supports one policy group. To call several services for the same event, ask your developer to include the rules in one configuration array. Enabled groups apply to everyone by default.
## Add an event and rules {#add-an-event-and-rules}
1. Click **New Policy Group**. Enter a **Policy Group Name** and **Description** that explain its purpose.
2. Select a **Trigger event**. An event that already has a group cannot be added again. To change its rules, return to the list and click **Edit** for that group.
3. Paste the array supplied by your developer into **JSON Configuration**. Click **Format** to arrange the text. The page reports an error if the configuration is not a valid JSON array.
4. Set **Enable the Hook policy group after saving** according to whether the configuration is ready to use, then click **Save Policy Group**.
5. Check the event, configuration summary and enabled status in the list.
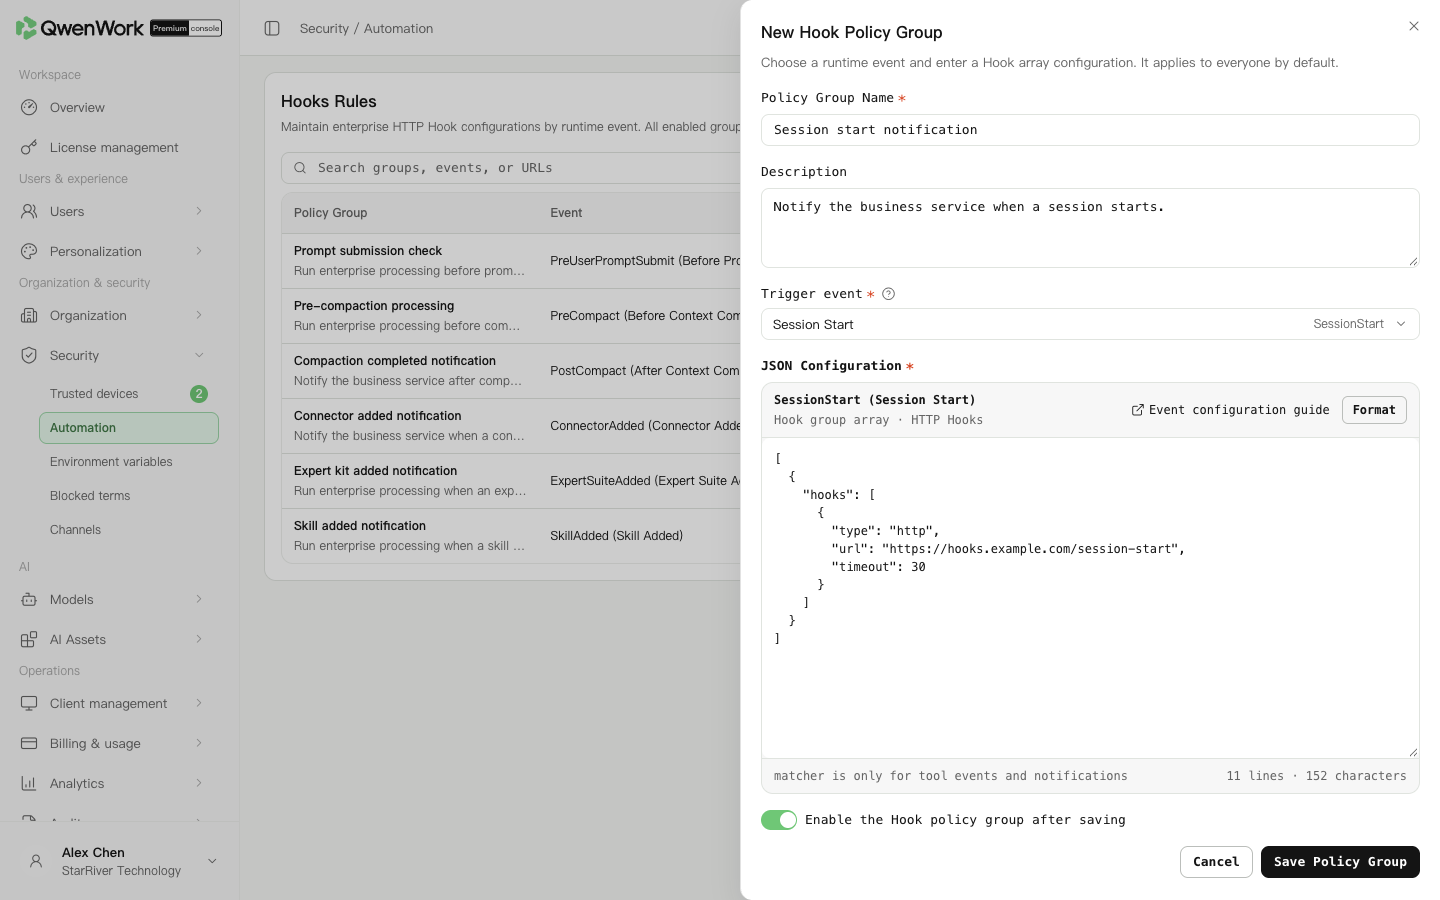
*Admin console: select a trigger event and enter the prepared rules in a new policy group.*
## Choose the trigger event {#choose-the-trigger-event}
Select the event that matches your business operation:
- SessionStart: a session starts.
- PreUserPromptSubmit: before the user submits a prompt.
- UserPromptSubmit: the user submits a prompt.
- PreToolUse: before a tool runs.
- PostToolUse: after a tool runs.
- Stop: the Agent stops responding.
- PreCompact: before context compaction.
- PostCompact: after context compaction.
- ConnectorAdded: a connector is added.
- ExpertSuiteAdded: an expert suite is added.
- SkillAdded: a skill is added.
- Notification: a notification occurs.
## Edit, enable, disable or delete a group {#edit-enable-disable-or-delete-a-group}
- To change a group, click **Edit**, update its name, description or configuration, then save and check the list.
- To pause a group, turn off its enabled switch. Turn it on again when you want to resume using it.
- To remove a group, click **Delete**, check the group name and confirm. Its configuration will no longer be distributed.
- To find a group, search its name or configuration, or filter by event and status.
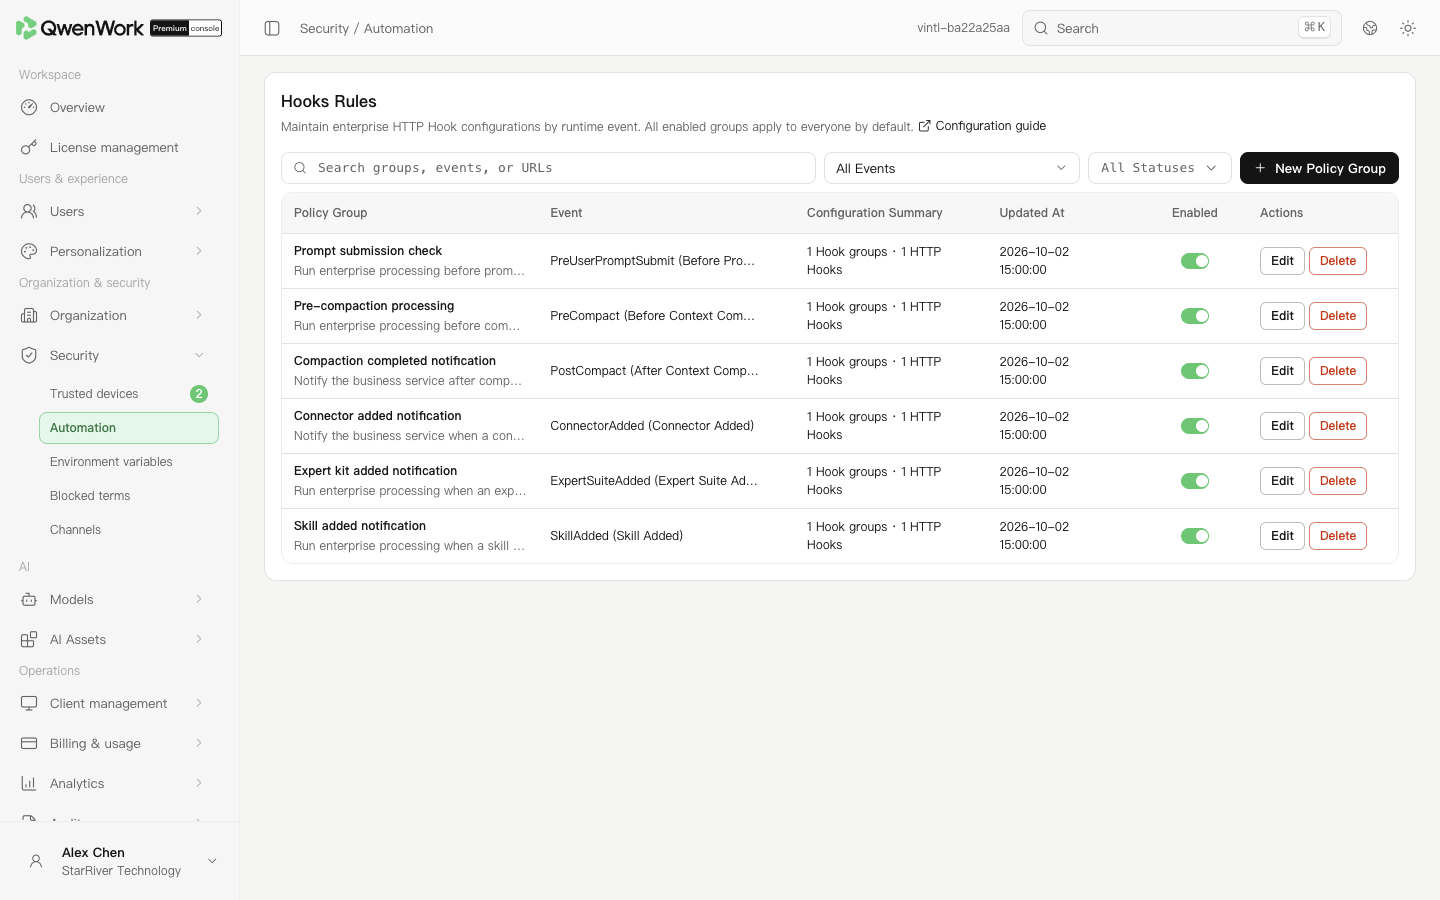
*Admin console: manage groups by event and check their configuration summaries and enabled status.*
## Who writes the rules? {#who-writes-the-rules}
Your enterprise developers prepare the rule content. For the configuration format, HTTP calling conventions, and event requests and responses, see the [Hooks integration guide](https://qwenwork.cn/docs/developer/enterprise/guide-hooks).
Configurations are stored as plain text. Check your enterprise requirements before including sensitive headers or tokens. A successful save confirms that the configuration was stored. To verify that the business service receives requests, trigger the corresponding operation in the client and check the service's call records.
# Sensitive Words
Source: https://docs.qwenwork.ai/enterprise-ultimate/security/sensitive-words
> Sensitive word lists check text for specified keywords.
Sensitive word lists check text for specified keywords. Enabled lists apply to all users and block matching content. Use them for clearly defined terms that must not be submitted or used.
## Create and enable a list {#create-and-enable-a-list}
1. Open **Organization & security → Security → Blocked terms** and add a word list.
2. Enter a recognizable name and the terms required by the input area.
3. Check duplicates, blank lines, and excessive length, then save.
4. Verify the term count and enabled state in the list. Enable the list when it should take effect.
Each enterprise supports up to 20 lists, with up to 1,000 terms per list and 50 characters per term. Terms are matched as keywords, not executed as regular expressions.
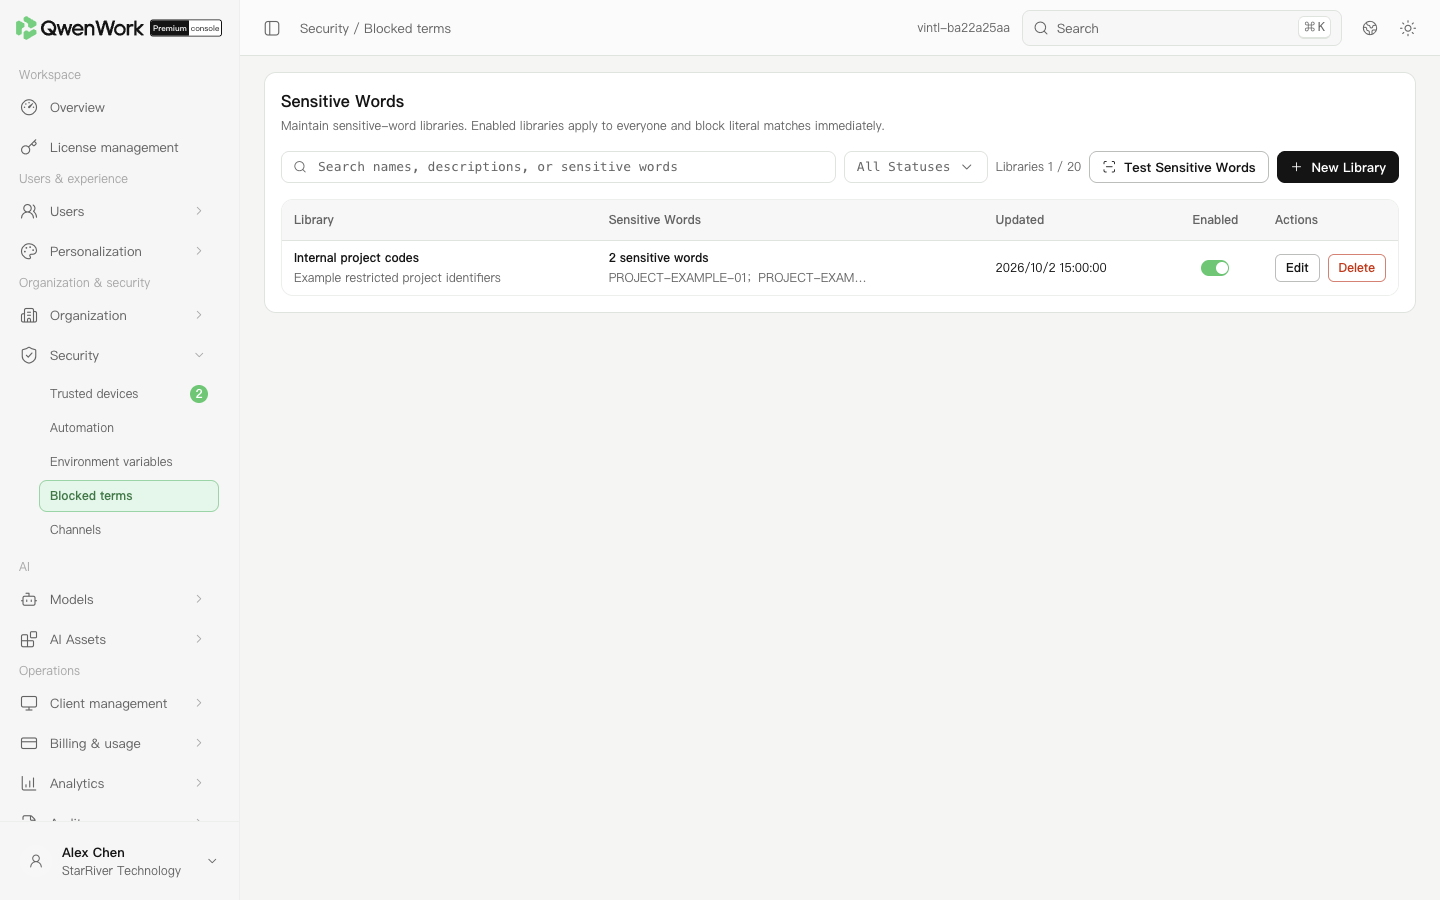
*Admin console: maintain word lists and their enabled states.*
## Test for false positives {#test-for-false-positives}
1. Open the sensitive word test, enter text containing a target term, and run the check.
2. Inspect the matching lists and terms and confirm the result is expected.
3. Test permitted business text too, checking whether common words contain a short blocked term.
4. If legitimate text is blocked, edit short or overly broad terms, save, and test again.
## Edit or disable a list {#edit-or-disable-a-list}
Search for a list name or term, then edit it. Disable a list temporarily, or follow its deletion prompt when it is no longer needed. Run the same test afterward to confirm that list no longer participates in matching.
Return to: Security overview
# IM Channels
Source: https://docs.qwenwork.ai/enterprise-ultimate/security/im-channels
> IM (instant messaging) channels control which messaging services enterprise members can use.
IM (instant messaging) channels control which messaging services enterprise members can use.
## Enable or disable a channel {#enable-or-disable-a-channel}
1. Open **Organization & security → Security → Channels**.
2. Find DingTalk, Feishu, WeChat, WeCom, or Lark.
3. Change the channel's switch. The switch cannot be used again while submitting. If saving fails, the previous state is retained and you can retry.
4. Check the availability, enabled switch, and update time in the list. All five channels appear directly without pagination.
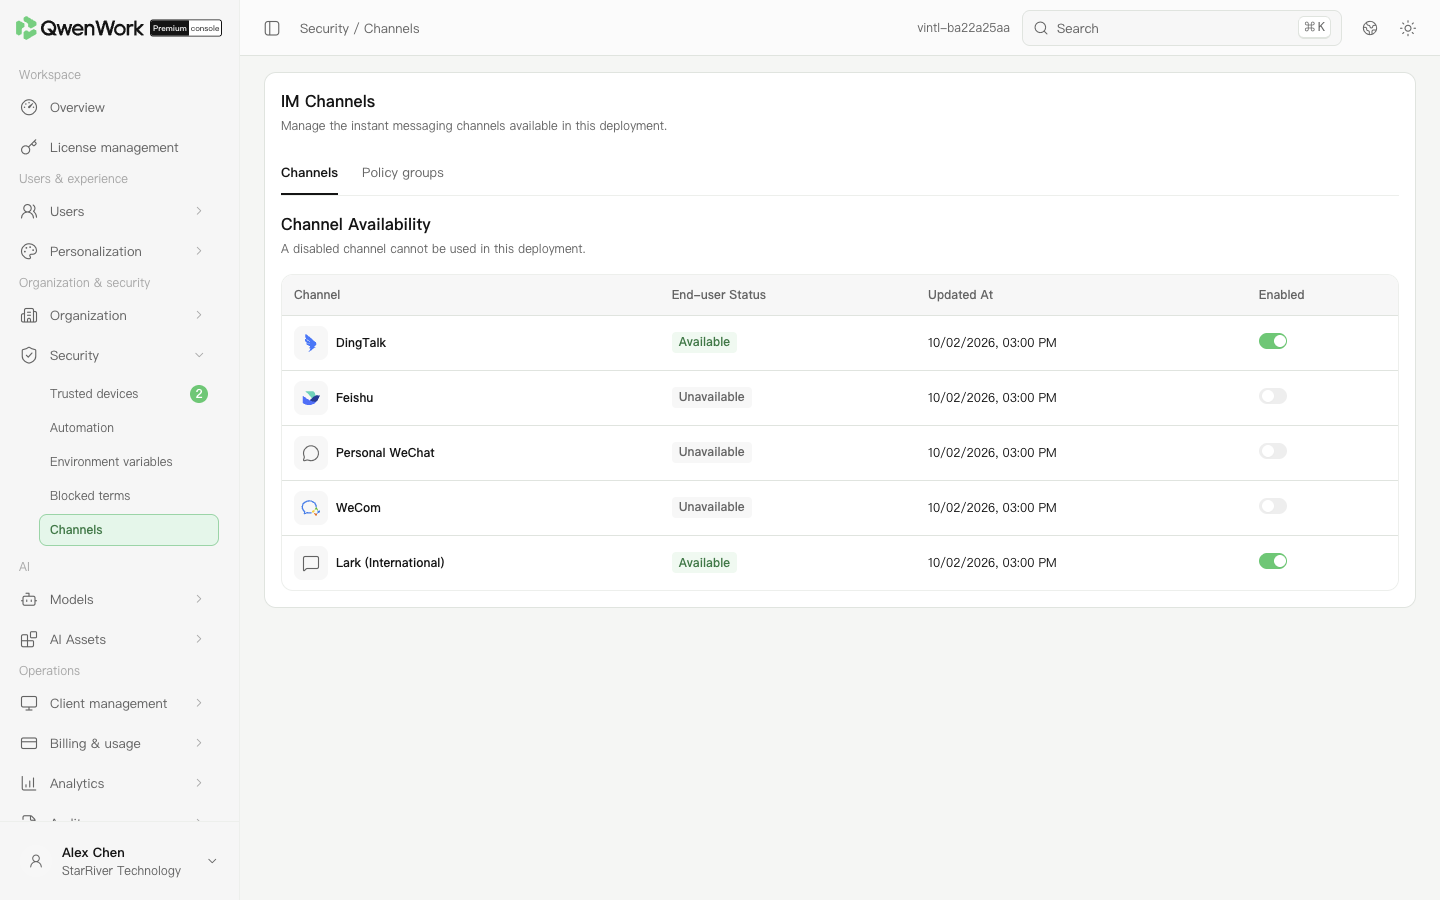
*Admin console: check each channel's availability and enabled state.*
Return to: Security overview
# Models overview
Source: https://docs.qwenwork.ai/enterprise-ultimate/models
> Model management maintains enterprise models and controls which models members can use.
Model management maintains enterprise models and controls which models members can use. Catalog manages model information and connections. Model policies allow or block primary models for users, departments, or user groups. A working connection does not give every member permission to use a model.
Only enterprises with BYOK (bring your own key) enabled can add custom models. Otherwise, Catalog provides official models without the custom-model add capability. Check QwenWork credits separately from external model charges; external usage and costs are recorded by the model provider.
## Choose a feature {#choose-a-feature}
| Feature | What you can do |
| -------------- | -------------------------------------------------------------------------- |
| Catalog | Maintain primary, custom, and specialized models |
| Model policies | Configure allowlists and blocklists and verify a member's available models |
Return to: Admin console feature overview
# Model catalog
Source: https://docs.qwenwork.ai/enterprise-ultimate/models/model-catalog
> Model Catalog maintains models offered by the enterprise.
Model Catalog maintains models offered by the enterprise. Primary models are selected for everyday work. Specialized models serve vision, speech, and multimedia tasks. After configuring a connection, check whether model policies allow the intended members to use it.
Only enterprises with BYOK (bring your own key) enabled can add custom models. Otherwise, Catalog provides official models without the custom-model add capability. Check QwenWork credits separately from external model charges; external usage and costs are recorded by the model provider.
## View and configure primary models {#view-and-configure-primary-models}
1. Open **AI → Models → Catalog** and select **Main models**.
2. Find a model and check its source, maximum context size, description, and enabled state. Official primary models are provided by the platform; some state actions cannot be changed.
3. Open **Configure** and edit the display name, description, and context limit where permitted.
4. Save, check the list, then verify the name and description in the client.
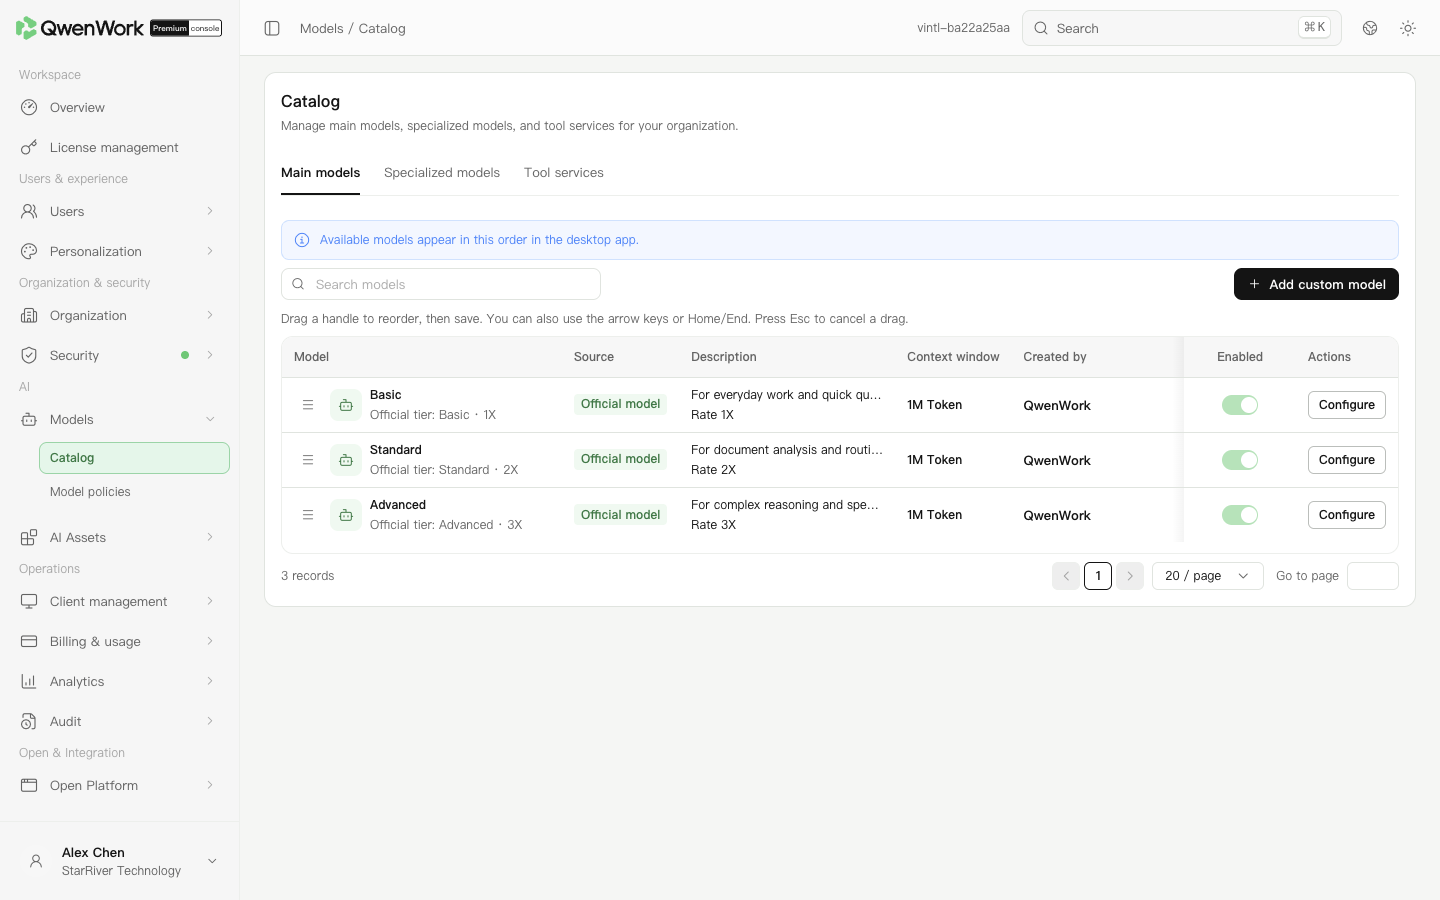
*Admin console: check model sources, context limits, and enabled states.*
## Add a custom primary model {#add-a-custom-primary-model}
Prerequisites: enterprise BYOK is enabled and the current administrator has model management permission.
Obtain the complete endpoint, API Key, model key, and supported capabilities from the provider. The API Key is the calling credential. The server-side model key identifies the model in requests and is different from its display name.
1. In **Main models**, click **Add custom model**.
2. Enter the **Full endpoint** that directly accepts Chat Completions requests, such as `https://api.example.com/v1/chat/completions`. A website home page or base URL may not work.
3. Enter the API Key, enterprise display name, and server-side model key. Select a context limit supported by the service.
4. Configure reasoning, vision, and other capabilities to match the model. Do not enable capabilities the provider does not support merely to show an entry.
5. If passing third-party user IDs to the model, first confirm that the enterprise needs to transmit that identifier.
6. Click **Test and save**. Correct connection or credential errors and retest. After success, check the enabled state and access policies.
Private HTTP(S) endpoints, IP addresses, and custom ports may be entered as provided by the service, but the calling network must be able to reach them. A newly saved custom model starts disabled; enable it manually in the list.
An enabled custom model permits display-information changes only. Disable it before changing its endpoint, API Key, upstream model name, or retesting its connection.
When changing the endpoint:
- Changing the scheme, host, or port requires reentering the API Key.
- Changing only the path under the same scheme, host, and port may retain the stored credential.
Do not submit the displayed mask as an actual key.
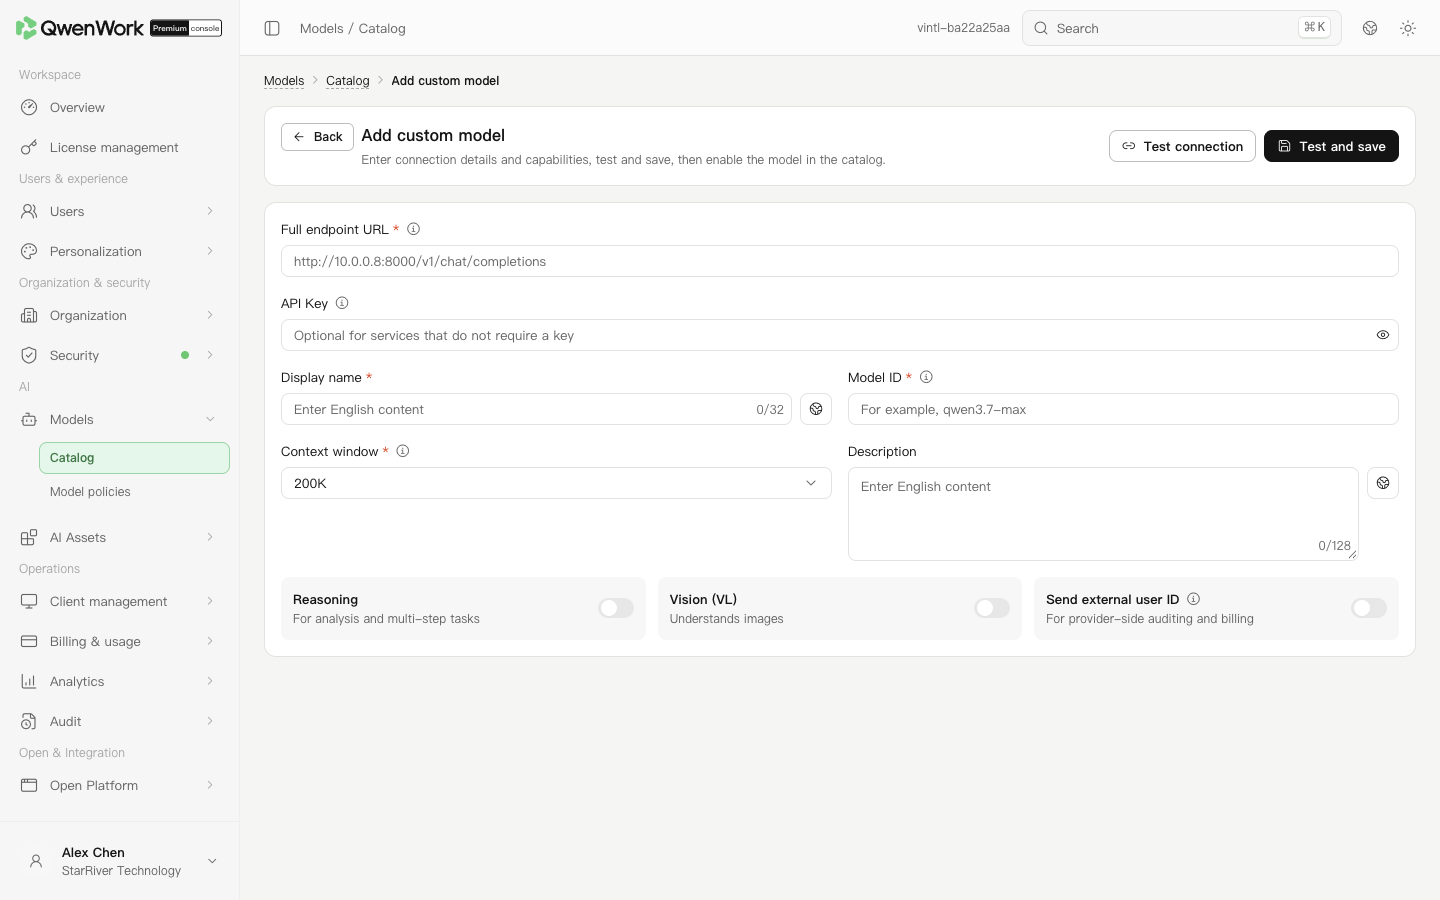
*Admin console: distinguish the endpoint, display name, and server-side model key.*
## Configure specialized models {#configure-specialized-models}
1. Switch to **Specialized models** and select vision, speech input, speech polishing, image generation, video generation, or music generation.
2. Check the current official or enterprise model. Enterprises with BYOK enabled can add custom specialized models using the group's add action, required fields, and test.
3. After switching the effective model, run a relevant task. For vision, upload an image; a plain-text question does not test vision capability.
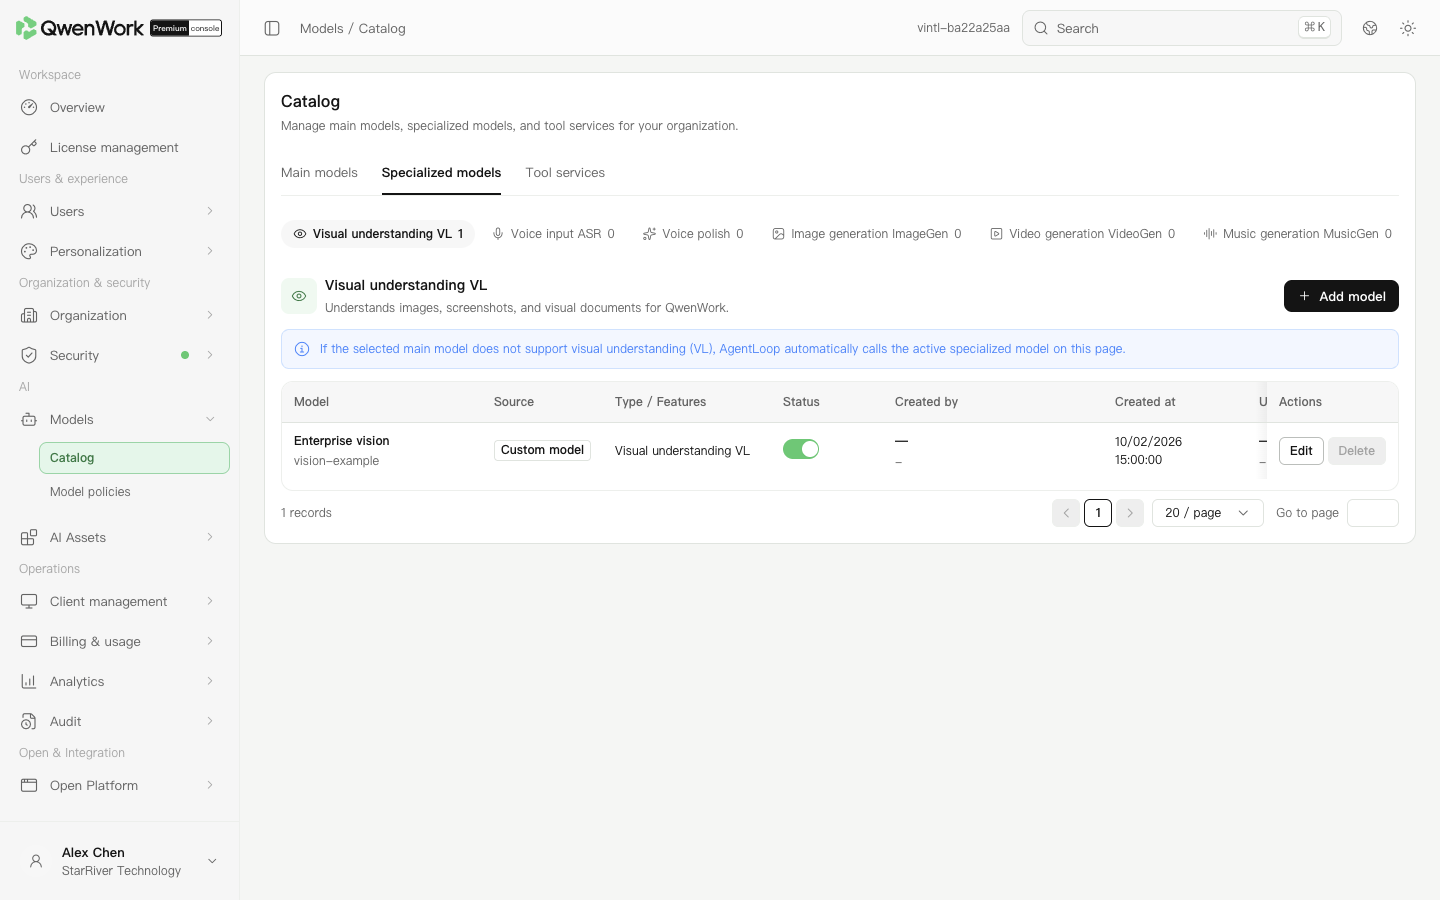
*Admin console: configure the model for each specialized capability.*
## Update credentials or remove a model {#update-credentials-or-remove-a-model}
After changing credentials, retest, save, and check an actual call. Deleting a custom primary model also removes its references from policies. Verify that affected members have another usable model. For a specialized model currently in use or restricted from deletion, switch to an available replacement as the page instructs.
## If a model is missing in the client {#if-a-model-is-missing-in-the-client}
Check that the model is enabled, the member's matching policies allow it, and no blocklist excludes it. A successful connection test covers that configuration test, not every member's access.
Return to: Models overview
# Model policies
Source: https://docs.qwenwork.ai/enterprise-ultimate/models/model-policy-groups
> Model policies control primary-model availability for users, departments, and user groups.
Model policies control primary-model availability for users, departments, and user groups. Allowlists grant access and blocklists deny access. A blocklist takes precedence when both match the same member.
BYOK (bring your own key) is available according to the capabilities enabled for your enterprise. Credits and limits in this guide refer to QwenWork credits. Check external model usage and charges on the model provider’s platform.
## Create an allow or block policy {#create-an-allow-or-block-policy}
1. Open **AI → Models → Model policies** and add a policy group.
2. Enter its name and choose allowlist or blocklist.
3. Select all users or specified users, departments, or groups, then check the selected scope.
4. Select primary models. **All models** includes models added in the future. Select specific models when only reviewed models should be available.
5. Check client targets and the impact message, save, and verify that the policy is enabled.
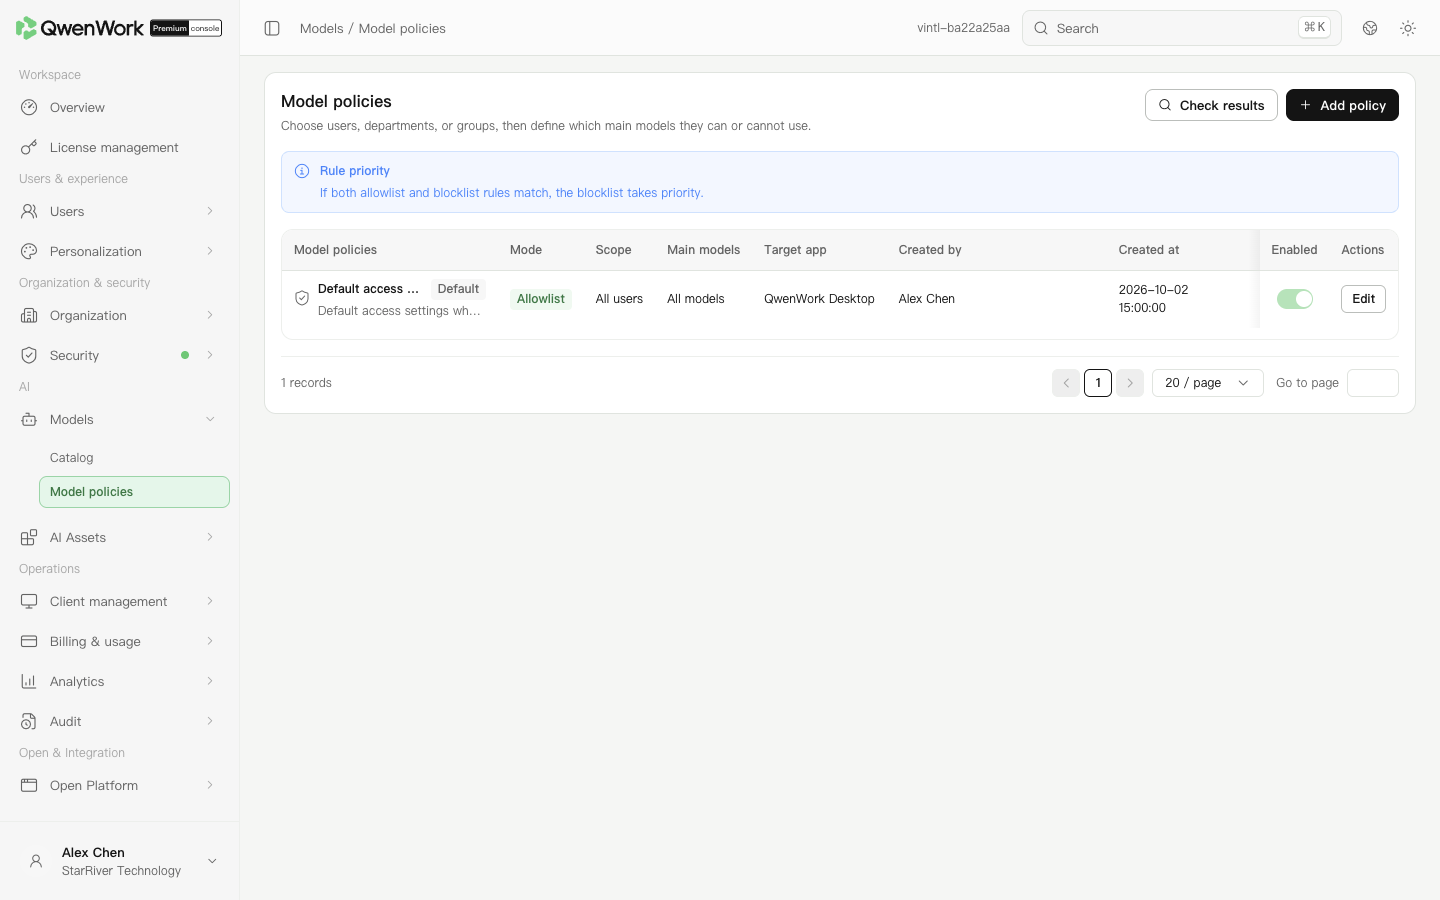
*Admin console: select a user scope and model scope.*
## Adjust the default policy {#adjust-the-default-policy}
The default allow policy is always enabled and cannot be deleted. You can edit its permitted model set. Before adding a pilot allowlist, also check the default policy so it does not continue exposing the same model to other members.
## Verify a member's available models {#verify-a-members-available-models}
1. Open match verification and choose a member.
2. Inspect matched policies and the final rules, then open those policies to check their selected models.
3. Verify a member outside the intended scope to check that access has not expanded.
4. Have the test member open the client's model selector and check available options.
Disabling or deleting a policy causes availability to be evaluated against the remaining enabled policies. The model remains in Catalog; remove it there when needed.
Return to: Models overview
# AI Assets overview
Source: https://docs.qwenwork.ai/enterprise-ultimate/ai-assets
> AI Assets centrally maintains enterprise Skills, Connectors, and Expert suites, including market sources, enterprise resources, and user access.
AI Assets centrally maintains enterprise Skills, Connectors, and Expert suites, including market sources, enterprise resources, and user access. Permissions for members to upload or add resources themselves are set separately in market management.
The international console currently displays Skills and Connectors in its AI Assets menu. Expert suites requires the feature to be enabled for your deployment; follow its guide only when it is available in your console.
## Choose a feature {#choose-a-feature}
| Feature | What you can do |
| ------------- | --------------------------------------------------------------------------------------- |
| Skills | Upload skills, review publication requests, and assign access |
| Connectors | Connect enterprise systems and manage credentials and access rules |
| Expert suites | Publish a set of work capabilities and configure automatic installation where available |
Return to: Admin console feature overview
# Skills
Source: https://docs.qwenwork.ai/enterprise-ultimate/ai-assets/skills
> Skills package instructions and materials for a type of work.
Skills package instructions and materials for a type of work. Administrators can offer official skills, maintain a dedicated enterprise market, or connect an existing private market.
## Choose a skill market {#choose-a-skill-market}
1. Open **AI → AI Assets → Skills** and select market management.
2. Enable the official or enterprise market as needed and read the confirmation.
3. After enabling the enterprise market, open its configuration. A dedicated market is maintained in this console; a private market uses an existing enterprise market address and allowed origin.
4. Enter a full page URL for the private market address. Its allowed origin contains the scheme, domain, and necessary port, such as `https://market.example.com`. Save, then verify loading and sign-in in the client.
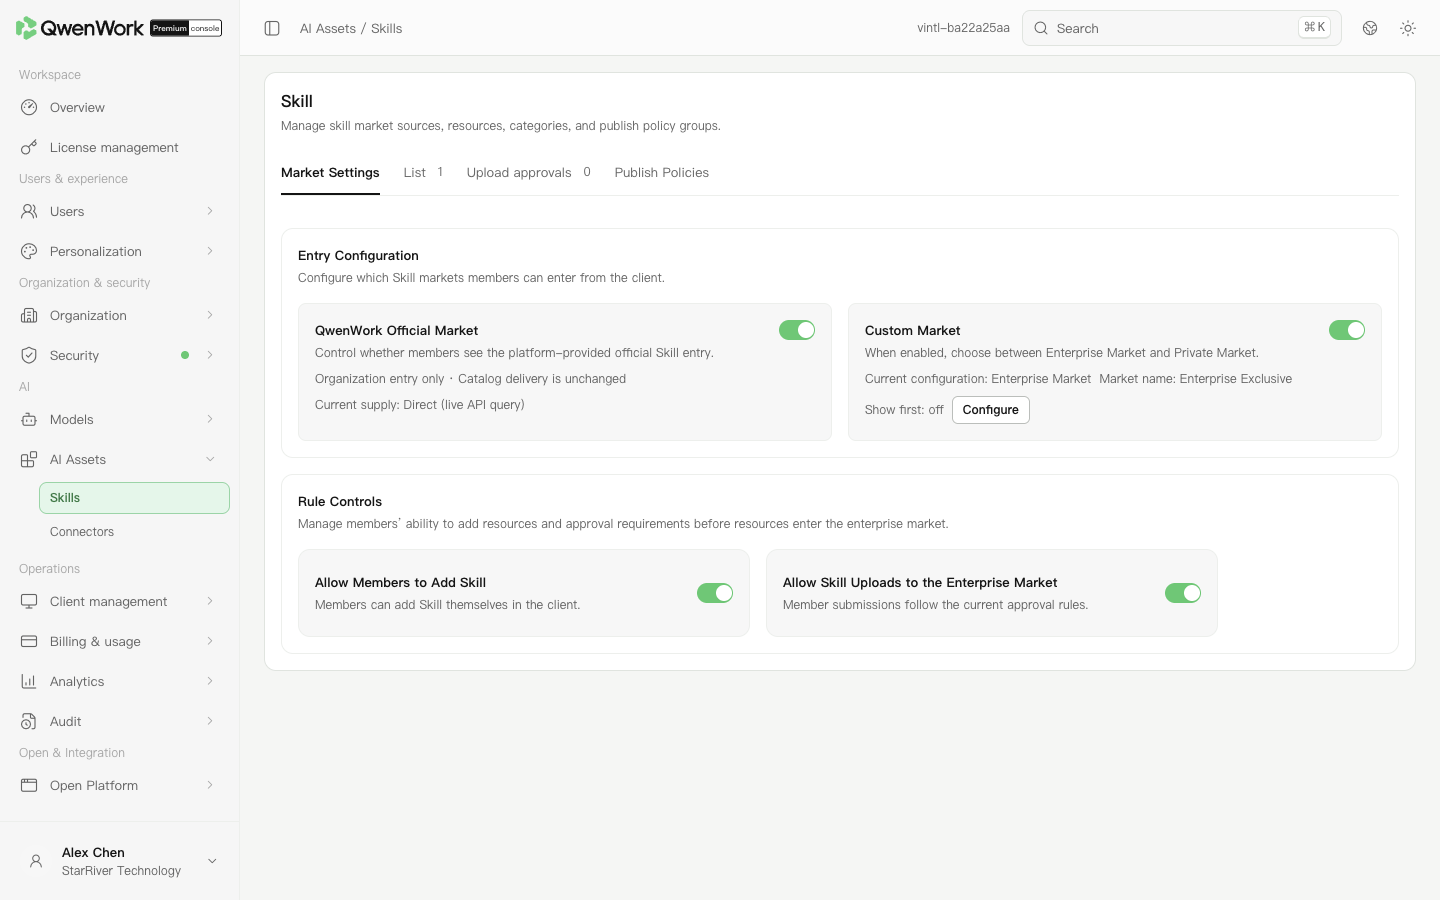
*Admin console: select market sources and member upload permissions.*
## Add a skill to the dedicated market {#add-a-skill-to-the-dedicated-market}
1. With the dedicated market enabled, open the list. Create categories using category management if needed.
2. Add a skill and enter its name, unique identifier, version, category, and description. The name is shown to members; the identifier distinguishes resources.
3. Optionally attach an icon and a ZIP package. Icons must be square PNG, JPEG, or WebP files of up to 2 MB. A skill ZIP is limited to 10 MB. Both attachments are optional.
4. Click **Save and publish**, then verify the resource, category, and enabled state in the list.
5. Configure publication policies for the intended members, then have a member verify installation and use in the client.
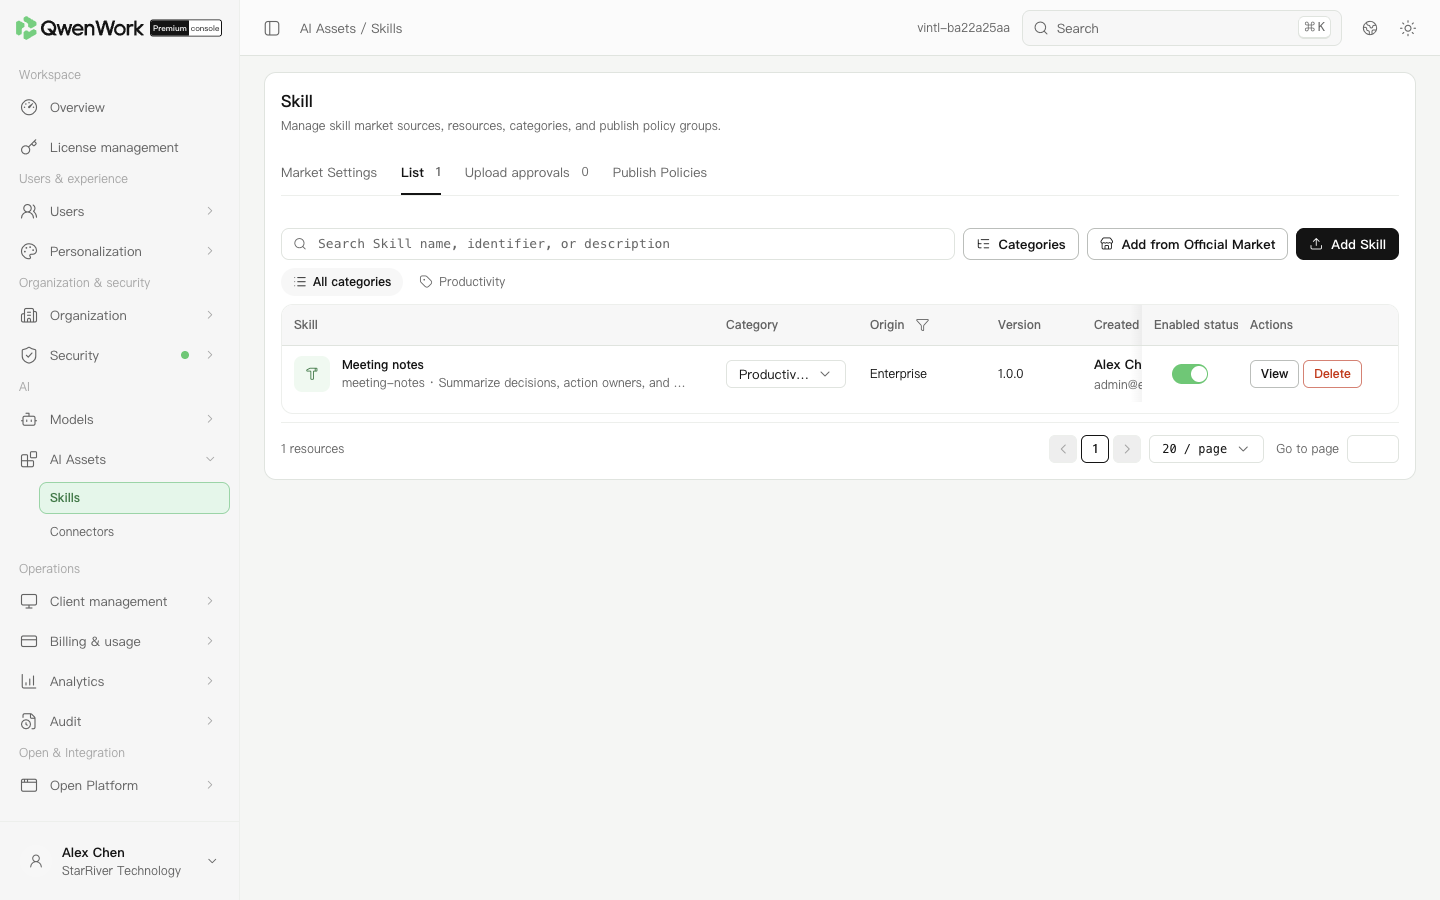
*Admin console: maintain skill resources and their categories.*
To reuse an official resource, use the add-from-official-market action.
## Review member submissions {#review-member-submissions}
In market management, configure permission to add skills themselves separately from permission to upload skills to the dedicated market. Allowing client uploads does not automatically publish them in the enterprise market.
In upload approvals, open pending submissions and inspect their contents. Approve a usable submission, choose its dedicated-market category, and submit. Reject unsuitable content with a reason that helps the member revise it.
## Control member access {#control-member-access}
1. Open publication policies and add a policy group.
2. Enter its name, mode, user scope, skill scope, and client targets.
3. Allowlists permit visibility; blocklists deny it and take precedence. Selecting all resources includes future additions.
4. For automatic installation, use an allowlist with specific resources before enabling the option. All resources and automatic installation cannot be enabled together; blocklists do not support automatic installation.
5. Save, enable, and ask a target member to check client visibility.
The default allow policy cannot be disabled or deleted, but its resource set can be edited. Check it when limiting a resource to a pilot group.
## Update or unpublish {#update-or-unpublish}
Edit categories or enabled states in the list. Before deletion, check policy references. Deleting a resource clears related references; deleting a policy retains the resource. After changes, ask a target member to check visibility, installation, and a representative task.
Return to: AI Assets overview
# Connectors
Source: https://docs.qwenwork.ai/enterprise-ultimate/ai-assets/connectors
> Connectors let QwenWork access enterprise systems or external services.
Connectors let QwenWork access enterprise systems or external services. Administrators maintain enterprise connectors, credentials, and access scopes, and can restrict connectors members add themselves.
## Enable connector markets {#enable-connector-markets}
Open **AI Assets → Connectors → Market management** to configure the official and enterprise markets.
1. Enable the enterprise market, open its configuration, and choose a dedicated or private market.
2. A dedicated market is maintained here; a private market uses an existing enterprise market page.
3. Enter its full page URL and allowed origin. The address includes the page path; the origin contains its scheme, domain, and necessary port, such as `https://market.example.com`.
4. Save, check the mode, and verify client access.
Permission for members to add connectors themselves is configured separately.
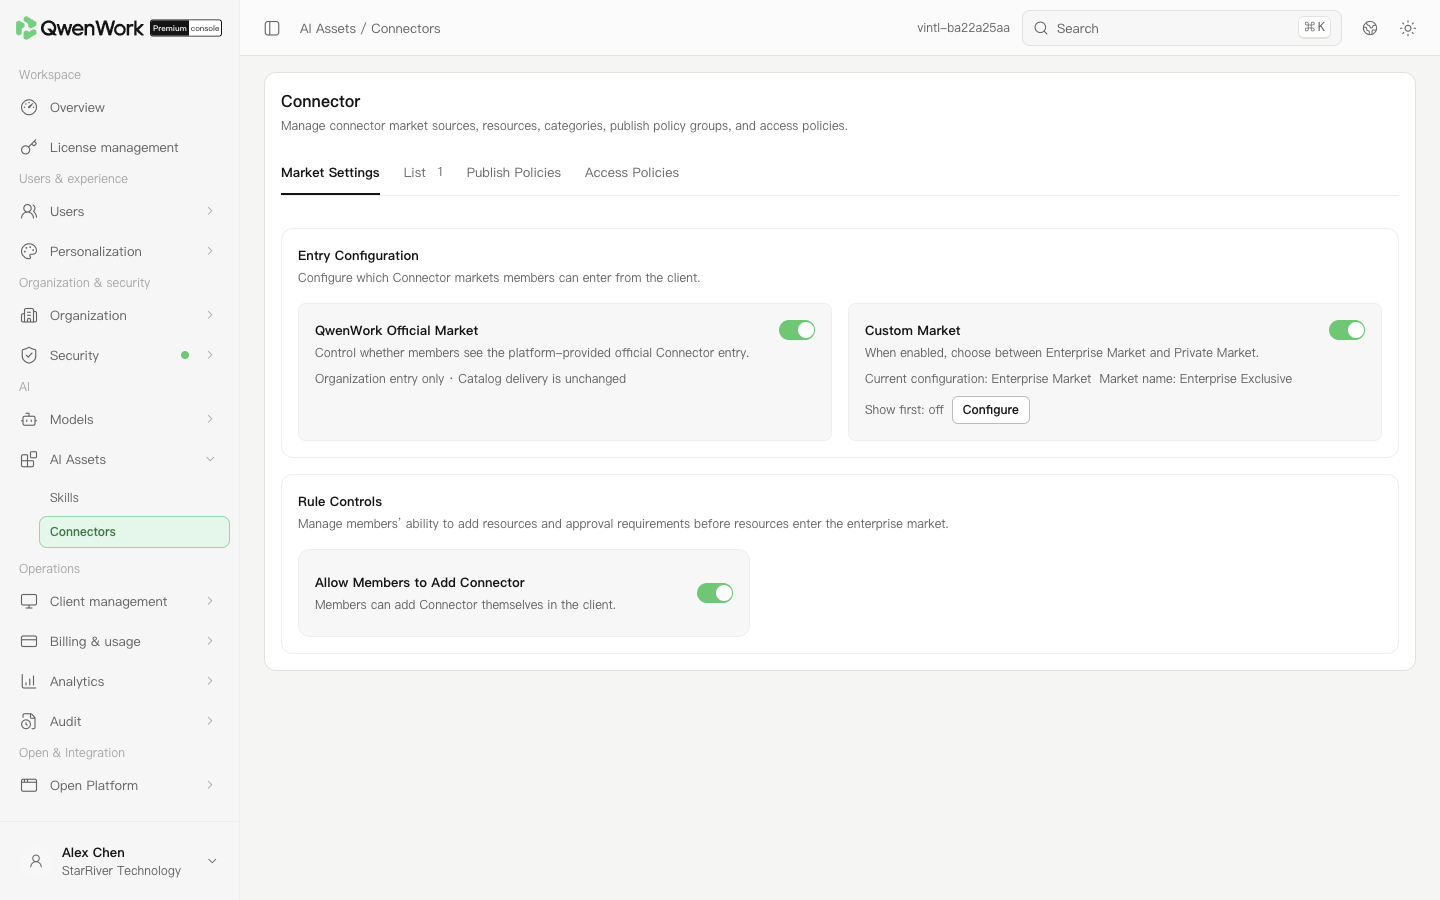
*Admin console: configure connector market sources.*
## Create an enterprise connector {#create-an-enterprise-connector}
1. With the dedicated market enabled, open the list and add a connector. Alternatively, add an existing resource from the official market.
2. In basic information, enter its name, unique identifier, category, and description. Explain which business system it accesses.
3. In authentication and credentials, select no authentication, MCP OAuth 2.1 (DCR), or API Key supplied by the user, according to the service.
4. For API Key authentication, define only the header name and value prefix here. Members enter their own keys in the client. Preserve required spaces in the prefix.
5. In connection protocol, enter the provider's full HTTP service address and validate the configuration.
6. Save and verify the resource and enabled state. Configure publication policies, then have a target member verify an actual connection.
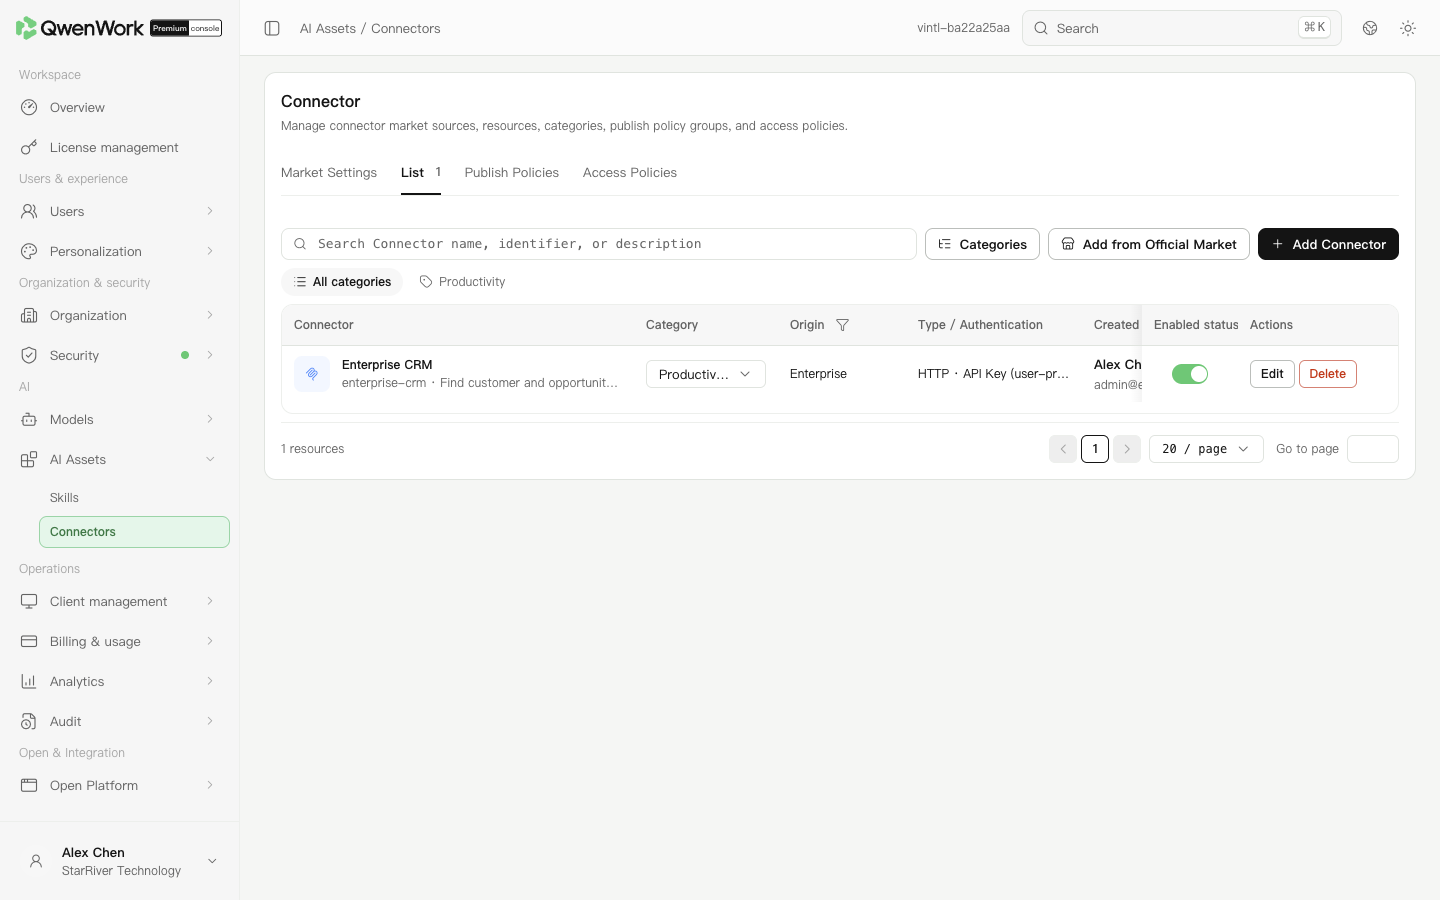
*Admin console: maintain enterprise connector resources.*
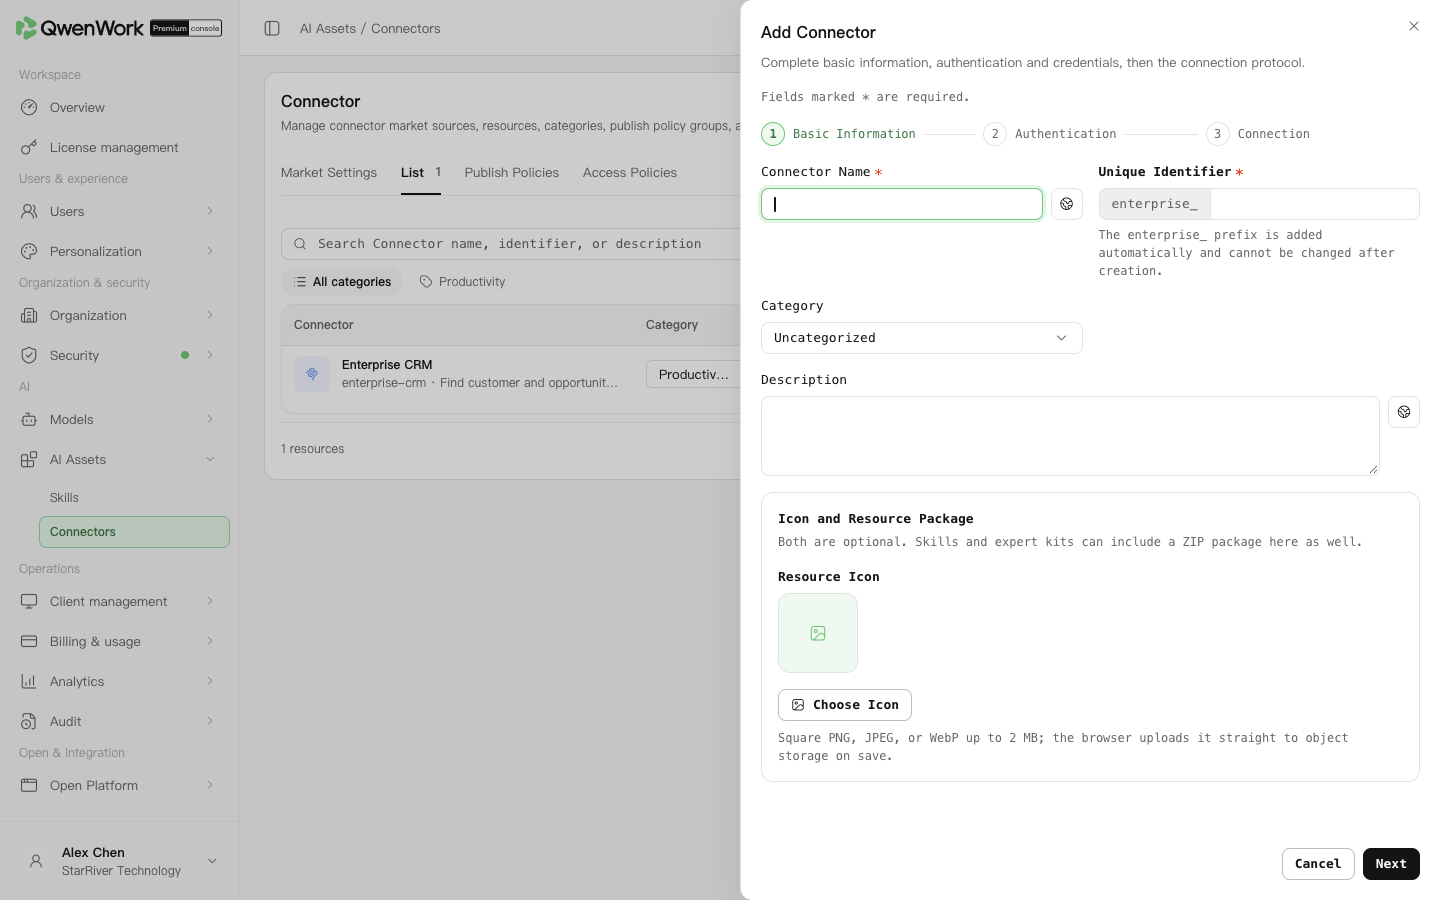
*Admin console: enter basic information, authentication, and the service endpoint.*
MCP is a protocol for connecting tool services. An ordinary web page is not a substitute for an MCP endpoint. Saving a configuration does not grant access to external-system data.
## Set enterprise connector access {#set-enterprise-connector-access}
1. Add a publication policy group.
2. Choose allowlist or blocklist, user scope, connector scope, and client targets.
3. For automatic installation, choose specific resources in an allowlist first. All resources cannot be combined with automatic installation.
4. Save and enable. Have members inside and outside the scope check visibility, then verify installation and actual calls.
Blocklists take precedence. The default policy is always enabled, but its allowed resource scope can be edited. Connector visibility does not grant external-system data permissions; check those separately.
## Restrict connectors members add themselves {#restrict-connectors-members-add-themselves}
Open access policies and select a mode. These rules affect **only connectors members add themselves**. Connectors installed from the dedicated enterprise market are excluded.
| Mode | Effect on member-added connectors |
| -------------- | ------------------------------------------ |
| Allow all | Direct access is allowed |
| Evaluate rules | At least one enabled allow rule must match |
| Deny all | Access is denied |
Click the mode's save action to apply it. For rule evaluation:
1. Add a rule and enter its name and description.
2. Choose the matching target. Use the service address or connector identifier for remote endpoints or resource identifiers; choose the internal launch-command option for command-based connectors.
3. Enter a regular expression and select users, departments, or groups.
4. Save, enable, and use match testing with a target member and connector information.
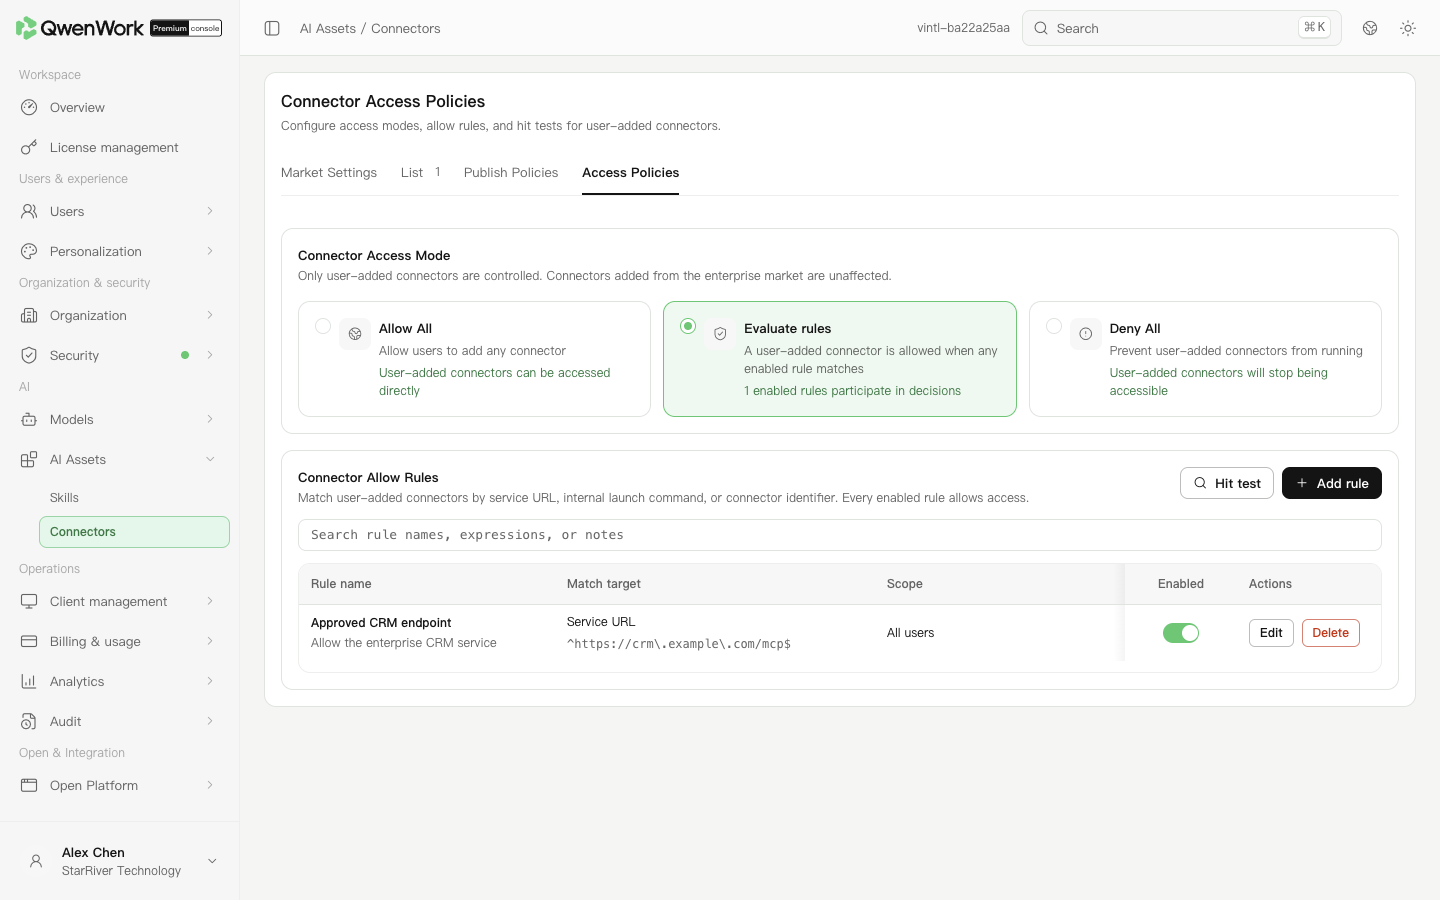
*Admin console: set the mode and rules for member-added connectors.*
For example, `^https://crm\.example\.com/mcp$` allows only that full address. Escape periods; `^` and `$` require a full match. Test both the allowed address and similar domains that should be denied.
## Update credentials and troubleshoot {#update-credentials-and-troubleshoot}
For user-supplied API Keys, members maintain keys in the client. The console does not receive or store their key values. Members replace expired keys; after changing header or authentication settings, ask them to check their connections again.
| Symptom | Check first |
| ----------------------------- | --------------------------------------------------------- |
| 401 or 403 | Credentials and external-system permissions |
| OAuth failure | Whether authorization must be renewed |
| Connector missing | Market switches, resource state, and publication policies |
| Member-added connector denied | Access mode, enabled rules, and user scope |
Return to: AI Assets overview
# Expert suites
Source: https://docs.qwenwork.ai/enterprise-ultimate/ai-assets/expert-kits
> Expert suites combine capabilities and configuration for a particular kind of work.
Expert suites combine capabilities and configuration for a particular kind of work. Administrators maintain market sources, resource review, and member access.
**Availability:** Expert suites is not displayed in the current international console's AI Assets menu. Use the steps below only when Expert suites is enabled for your deployment and available in your console.
## Configure suite markets {#configure-suite-markets}
1. Open **AI Assets → Expert suites → Market management** where available.
2. Enable the official and enterprise markets as needed.
3. Configure the enterprise market as dedicated or private. Dedicated suites are maintained here; private markets require a full page URL and allowed origin.
4. Save and check client access. Private-market content comes from the enterprise's own system. The console list and upload approvals require dedicated-market mode.
## Upload and organize enterprise suites {#upload-and-organize-enterprise-suites}
1. In an enabled dedicated market, open the list and add a suite.
2. Enter its name, unique identifier, version, category, and description. Explain the work it supports.
3. Optionally attach an icon and ZIP. Icons must be square PNG, JPEG, or WebP files of up to 2 MB; suite ZIPs are limited to 50 MB.
4. Place packaged skills under `skills//SKILL.md`. Filenames are case-sensitive.
5. Save and publish, check the version and enabled state, then configure publication policies.
The icon and package are optional. Existing official suites can be added from the official market.
## Review member submissions {#review-member-submissions}
Configure permission to add suites themselves separately from permission to upload suites to the dedicated market. Review submitted contents in upload approvals. Choose a category when approving, or provide specific revision guidance when rejecting.
Check that intended members can use the suite's referenced services and resources. Publishing it does not grant external business-system permissions.
## Publish to a team {#publish-to-a-team}
1. Add a publication policy group.
2. Choose allowlist or blocklist, member scope, suite scope, and client targets.
3. For automatic installation, use an allowlist with specific resources. All resources cannot be combined with automatic installation; blocklists do not support it.
4. Save, enable, and have members inside and outside the team check client visibility.
5. Have a target member run a representative task and verify dependent resources.
Blocklists take precedence. The default allow policy is always enabled, but its resource scope can be edited. Check affected teams before disabling a suite. After deletion, verify that related policy references have been removed.
Return to: AI Assets overview
# Billing & usage overview
Source: https://docs.qwenwork.ai/enterprise-ultimate/subscription
> The subscription determines purchased services and seats.
The subscription determines purchased services and seats. Limits determine each member's credit allowance for a measurement period. Increasing a personal limit does not increase the enterprise's shared allowance.
BYOK (bring your own key) is available according to the capabilities enabled for your enterprise. Credits and limits in this guide refer to QwenWork credits. Check external model usage and charges on the model provider’s platform.
## Choose a feature {#choose-a-feature}
| Feature | What you can do |
| -------------------- | ------------------------------------------------------------- |
| Limits | Set each user's allowance per period |
| Plan | Check subscription status, validity, and seats |
| Orders | Open Billing and Cost Management in a new tab to find orders |
| Invoices & contracts | Open Billing and Cost Management to manage purchase documents |
Return to: Admin console feature overview
# Limits
Source: https://docs.qwenwork.ai/enterprise-ultimate/subscription/quota
> Limits sets the credits each member may consume in a measurement period.
Limits sets the credits each member may consume in a measurement period. All members still use the enterprise's shared credits. Increasing a personal limit does not add purchased enterprise credits.
## Choose the appropriate setting {#choose-the-appropriate-setting}
| Need | Setting |
| ----------------------------------------------------------------- | ----------------------------- |
| Give most members the same allowance | Edit the default limit policy |
| Give a department, group, or set of members a different allowance | Add a limit policy group |
| Adjust one member temporarily or permanently | Individual user limit |
The effective order is **individual user limit → matched enabled policy → default policy**. Limits are not added together. Among custom policies, a lower priority number takes precedence.
## Set the default limit {#set-the-default-limit}
1. Open **Billing & usage → Limits** and select policy groups.
2. Edit the default policy.
3. Enter the allowance per user and save. It must be an integer from **500 to 1,000,000**.
4. The default always remains enabled and cannot be deleted. It applies when no other valid limit matches.
## Set a limit for a department or group {#set-a-limit-for-a-department-or-group}
1. Add a policy group with a recognizable name and description, such as “Engineering allowance”.
2. Set its priority and select users, departments, or user groups.
3. Enter the allowance per user, such as 5,000. This is each member's limit, not a shared department total.
4. Save and verify the policy is enabled.
5. Use match verification to check the effective allowance and source for a target member.
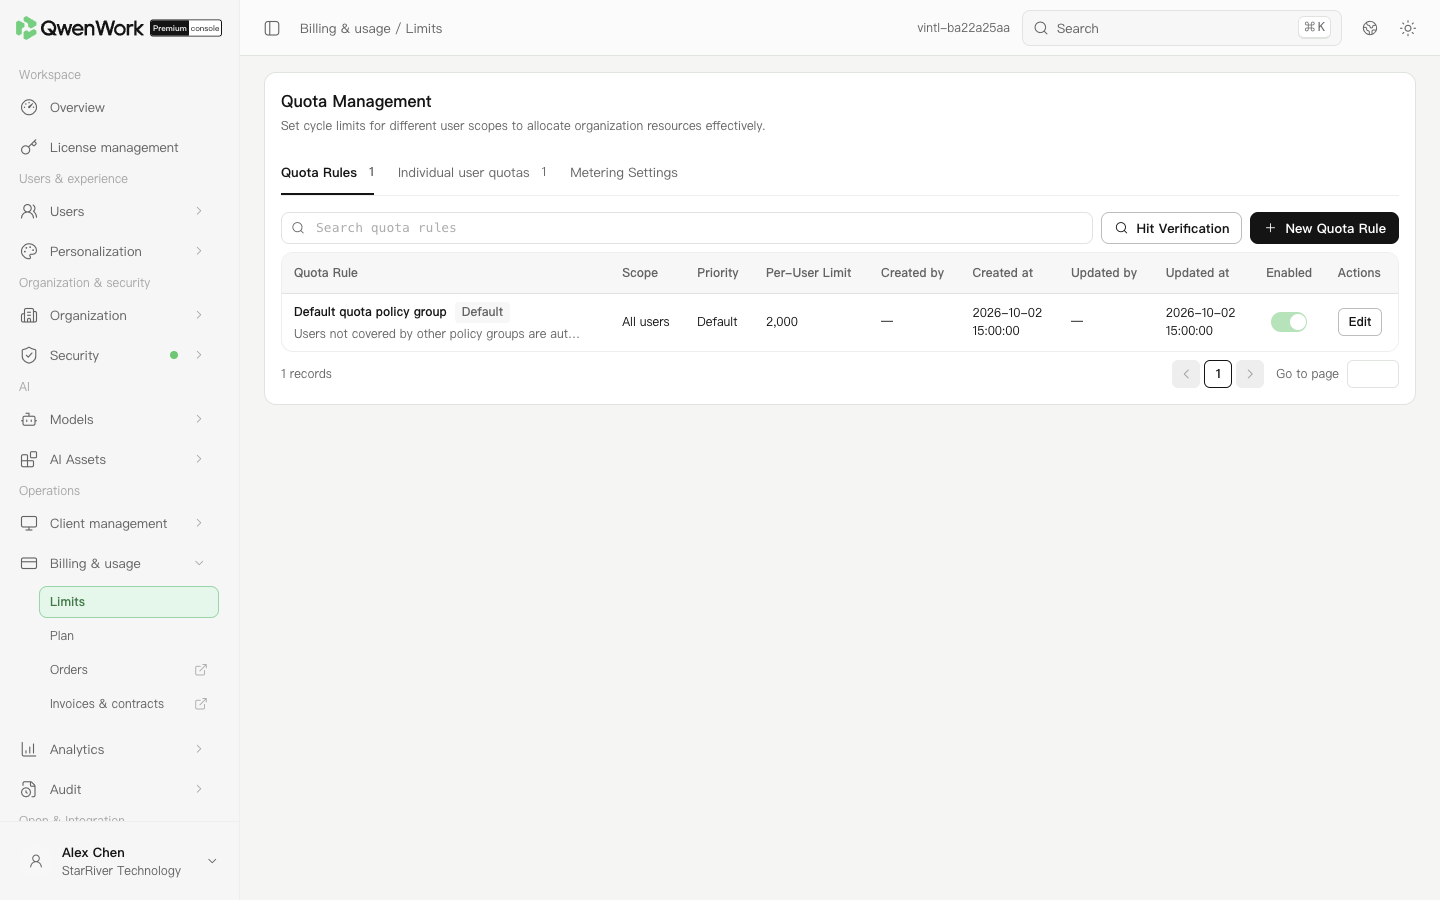
*Admin console: maintain default and custom policies; each value is per user.*
## Adjust an individual member {#adjust-an-individual-member}
1. Switch to individual user limits and add one.
2. Search for the member and check their name and email to avoid selecting a namesake.
3. Enter an integer from 500 to 1,000,000.
4. Choose permanent or current-period validity. The dialog shows the current period's expiry. A permanent limit continues until changed or removed.
5. Save and check the value and validity in the list.
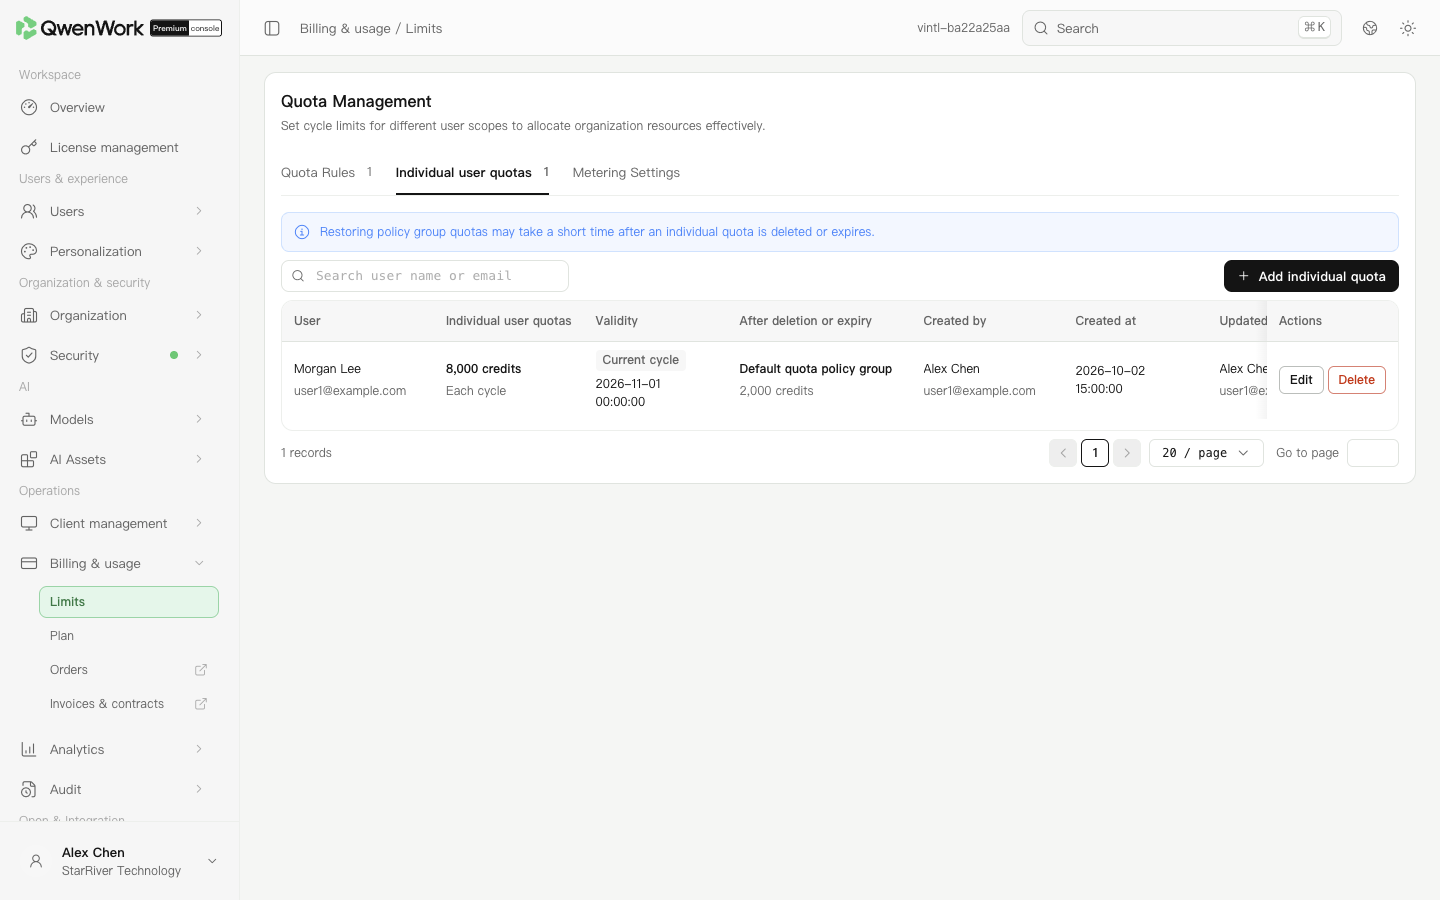
*Admin console: verify an individual allowance and its validity.*
After removal or expiry, the policy-group allowance resumes, possibly with a short delay. Check the current and fallback limits shown by the dialog before changing it.
## Check usage and periods {#check-usage-and-periods}
Open **Analytics → Usage** to check period usage and use **Source** to verify the limit. Lowering a limit does not remove past usage. If enterprise shared credits are exhausted, a remaining personal allowance does not resolve the enterprise balance.
Measurement settings show the period and next reset. Last-30-day statistics and an individual measurement period use different date ranges; check their start and end dates before comparing them.
Return to: Billing & usage overview
# Plan
Source: https://docs.qwenwork.ai/enterprise-ultimate/subscription/subscription-management
> Plan shows the current enterprise package, validity, and seat count.
Plan shows the current enterprise package, validity, and seat count. Check it when a new member cannot be licensed or when renewal is needed.
## Check the subscription and seats {#check-the-subscription-and-seats}
1. Open **Operations → Billing & usage → Plan**.
2. Check the package, status, subscription period, and remaining time.
3. Review purchased, assigned, and remaining seats. Before licensing members in bulk, make sure enough seats remain.
4. To check a specific member's license, open Users and search for them.
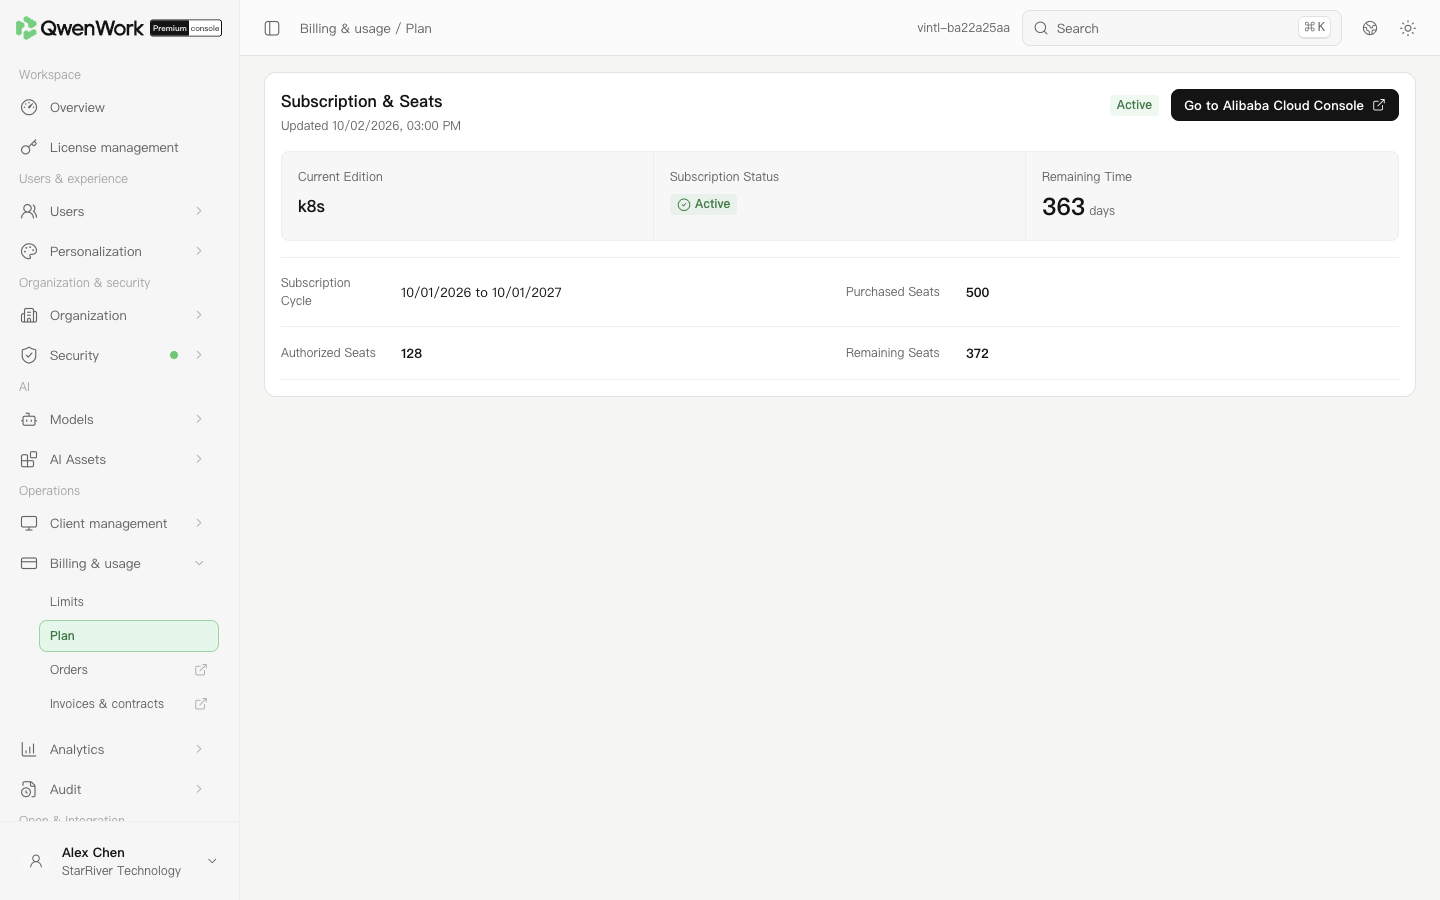
*Admin console: check subscription validity and seat usage.*
For a purchase, use the Alibaba Cloud console entry shown on the page. Available purchase actions depend on the deployment and account.
Return to: Billing & usage overview
# Orders
Source: https://docs.qwenwork.ai/enterprise-ultimate/subscription/orders
> Orders opens the Alibaba Cloud Billing and Cost Management order list for purchase records.
Orders opens the Alibaba Cloud Billing and Cost Management order list for purchase records.
1. Expand **Billing & usage** in the console.
2. Click **Orders** to open the international Alibaba Cloud order list in a new tab.
3. If sign-in is needed, use the relevant purchasing account. Query orders and take further actions using the Alibaba Cloud page.
[Open Alibaba Cloud orders](https://billing-cost.console.alibabacloud.com/order/list)
The QwenWork console does not have a separate internal order-list page.
Return to: Billing & usage overview
# Invoices & contracts
Source: https://docs.qwenwork.ai/enterprise-ultimate/subscription/invoices-contracts
> Invoices & contracts links to Alibaba Cloud Billing and Cost Management for purchase-related documents.
Invoices & contracts links to Alibaba Cloud Billing and Cost Management for purchase-related documents. The menu initially opens its invoice page.
1. Expand **Billing & usage** in the console.
2. Click **Invoices & contracts** to open the international Alibaba Cloud console in a new tab.
3. Sign in with the relevant purchasing account and follow that page's available actions.
[Open Alibaba Cloud invoices](https://billing-cost.console.alibabacloud.com/invoice/home/intl/record)
QwenWork provides the link. Available actions and required materials are determined by the Alibaba Cloud page.
Return to: Billing & usage overview
# Analytics overview
Source: https://docs.qwenwork.ai/enterprise-ultimate/analytics
> Analytics shows enterprise credit consumption and member usage.
Analytics shows enterprise credit consumption and member usage. Overview shows enterprise totals and trends. Usage provides user and department details with export. Use the same date range when reviewing or comparing data.
BYOK (bring your own key) is available according to the capabilities enabled for your enterprise. Credits and limits in this guide refer to QwenWork credits. Check external model usage and charges on the model provider’s platform.
## Choose a feature {#choose-a-feature}
| Feature | What you can do |
| -------- | -------------------------------------------------------------- |
| Overview | Check credits consumed, active members, and consumption trends |
| Usage | Query and export usage by user or department |
Return to: Admin console feature overview
# Analytics dashboard
Source: https://docs.qwenwork.ai/enterprise-ultimate/analytics/dashboard
> The analytics overview shows enterprise credit consumption and activity.
The analytics overview shows enterprise credit consumption and activity. Select a date range before interpreting totals, daily averages, and trends; do not compare different periods as though they were the same.
BYOK (bring your own key) is available according to the capabilities enabled for your enterprise. Credits and limits in this guide refer to QwenWork credits. Check external model usage and charges on the model provider’s platform.
## Check enterprise usage trends {#check-enterprise-usage-trends}
1. Open **Operations → Analytics → Overview**.
2. Select a period in the filters and note its start, end, and data update time.
3. Check total credits consumed, daily average consumption, remaining current-period credits, and active members.
4. Find dates with a clear rise or fall in the consumption trend, then open Usage to identify members contributing to it.
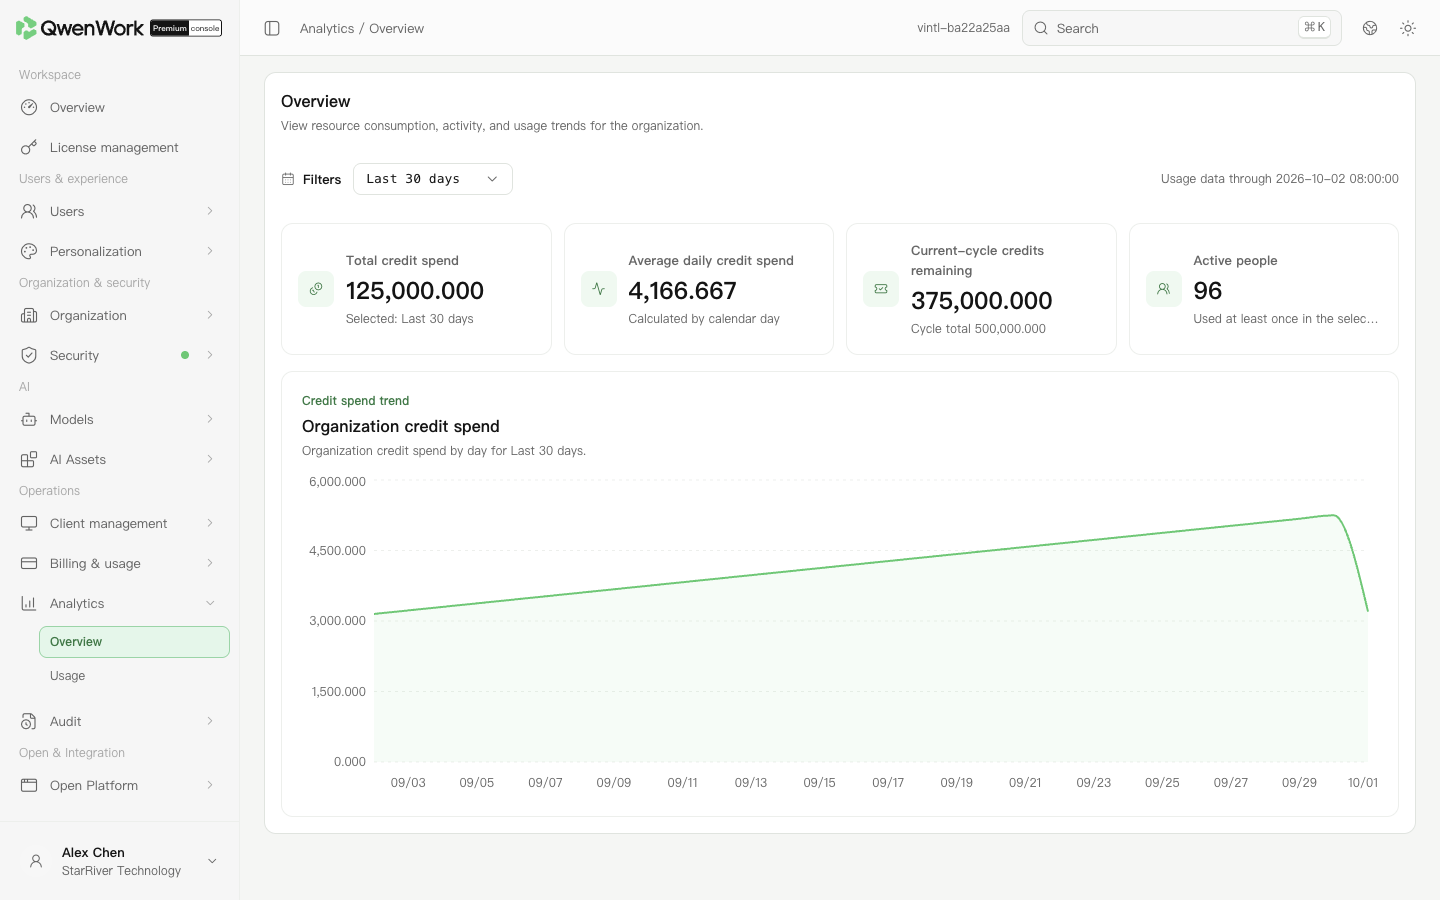
*Admin console: check totals and trends for the selected period.*
## Interpret the metrics {#interpret-the-metrics}
| Metric | Meaning |
| -------------------------------- | ---------------------------------------------------------------------------------------------- |
| Total credits consumed | Consumption in the selected range, not all historical enterprise consumption |
| Daily average | Calculated across calendar days in the range, including days without usage |
| Remaining current-period credits | The enterprise's current-period allowance, not a separate allocation to each member |
| Active members | Members who used the service at least once in the selected period; not the licensed-seat count |
Statistics are retained for 180 days. The data update time helps determine whether recent usage is included.
## If usage rises suddenly {#if-usage-rises-suddenly}
Check that the period has not changed. In Usage, sort the user tab by period usage to locate the increase. Where authorized, use AI activity to investigate related conversation turns.
Return to: Analytics overview
# Usage
Source: https://docs.qwenwork.ai/enterprise-ultimate/analytics/usage
> Usage shows credits consumed by users or departments.
Usage shows credits consumed by users or departments. Use it to verify allowance sources, identify heavy usage, and export reports.
BYOK (bring your own key) is available according to the capabilities enabled for your enterprise. Credits and limits in this guide refer to QwenWork credits. Check external model usage and charges on the model provider’s platform.
## Query a member {#query-a-member}
1. Open **Operations → Analytics → Usage** and select a period.
2. On the user tab, search by name, email, or employee number. Filter by department where needed.
3. Check **Recent usage**, selected-period usage, and used or available allowance in the measurement period. Click **Source** to inspect the policy behind the limit.
4. Open the member's details for usage and trends. To adjust the limit, use that row's user-limit action and check whether it is permanent or current-period only.
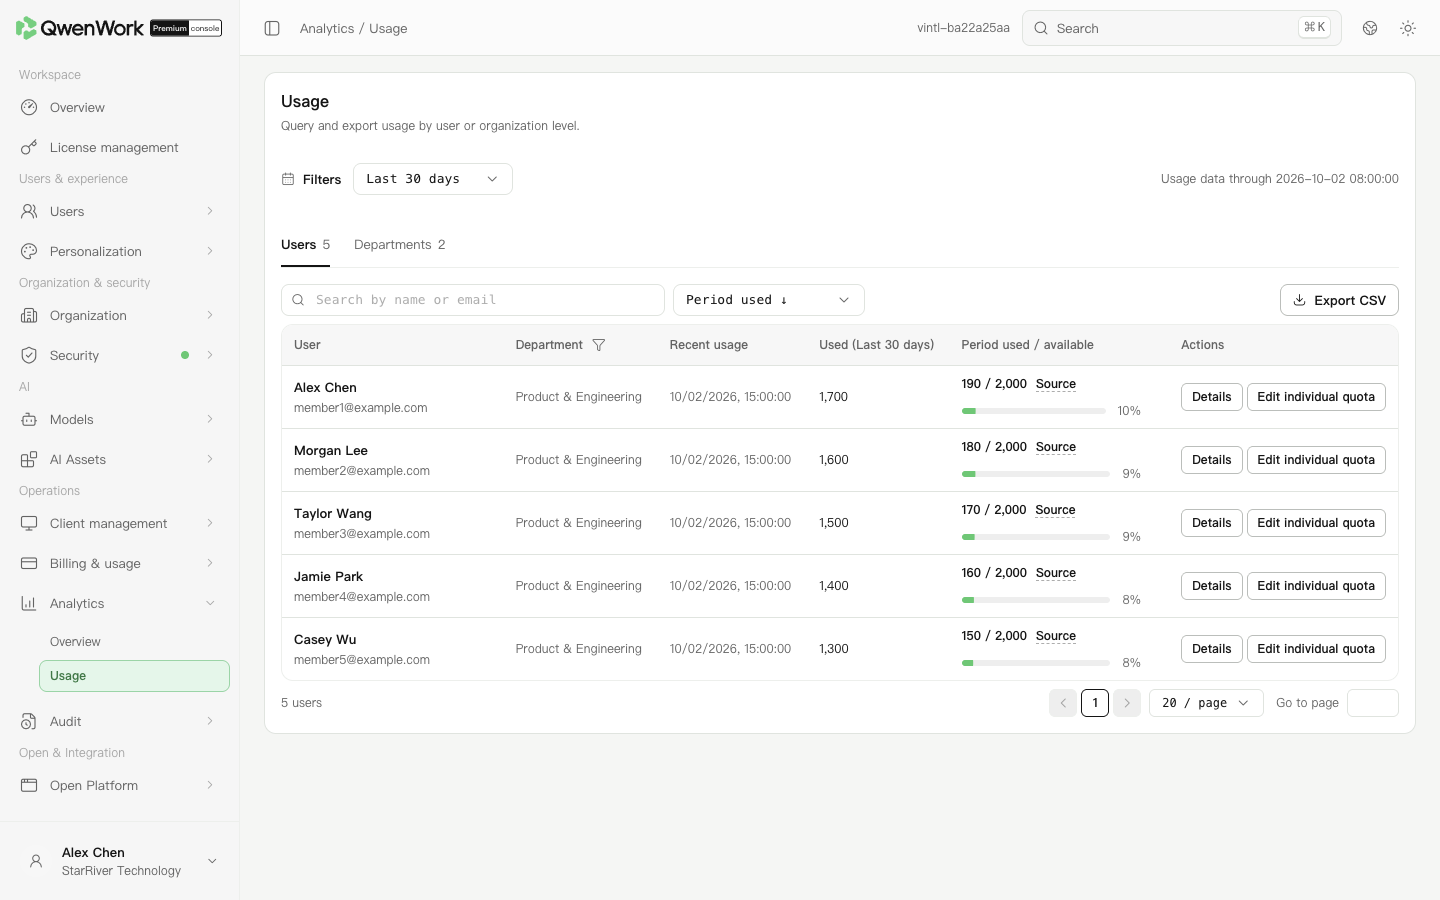
*Admin console: compare usage and inspect allowance sources.*
## Query departments and export {#query-departments-and-export}
Switch to departments and open department names with child entries to drill down. Use the breadcrumb to return to a parent. Searching a department name searches across the enterprise.
Set the period, search, and filters before clicking **Export CSV**. Spot-check members, date range, and values in the file, and include the data update time in the report. Statistics are retained for 180 days; changing filters cannot recover records beyond retention.
## If allowance and usage differ {#if-allowance-and-usage-differ}
Check the member's matching limit policies, the enterprise shared allowance, and update time. Policy changes do not rewrite past usage. After lowering a limit, historical usage may exceed it.
The recent usage time alone does not explain credit consumption. Use consumption data and related logs to check task activity.
Return to: Analytics overview
# Audit overview
Source: https://docs.qwenwork.ai/enterprise-ultimate/audit-logs
> Audit helps investigate console configuration changes, member actions, and AI processing.
Audit helps investigate console configuration changes, member actions, and AI processing. Admin activity records management operations. User activity records key client events. AI activity shows results and resource calls by conversation turn. Choose the relevant log, then search by user, time, or object.
## Query and retention ranges {#query-and-retention-ranges}
| Log | Range |
| -------------- | ------------------------------------------------------------------------------------------------------------------------------------------------ |
| Admin activity | Queries cover the last 180 days, with at most 7 calendar days per query. This query window does not mean older history is automatically deleted. |
| User activity | Retained for 90 days in VPC and 180 days in K8S. Each query covers at most 7 calendar days; the default is the last 7 days. |
| AI activity | Retained for 90 days. Each query covers at most 7 calendar days; the default is the last 7 days. Records are available within one hour of usage. |
Export uses the successful query's current conditions. Check the dates and filters in the list before exporting the same range.
## Choose a feature {#choose-a-feature}
| Feature | What you can do |
| -------------- | -------------------------------------------------------- |
| Admin activity | Find who changed a console setting |
| User activity | Investigate sign-in and client events |
| AI activity | Check resource calls and results for a conversation turn |
## Review user feedback {#review-user-feedback}
User feedback is actively submitted by members and is viewed separately from automatically generated logs.
1. Open **Audit → User feedback** and filter by status.
2. Open details to read the description, submission time, user information, and screenshots.
3. Download the reported-information ZIP when a diagnostic package is present. An entry without a diagnostic package cannot provide that download.
4. If the page offers reporting to the official support service, read its confirmation and submit only when the enterprise permits sharing the included business content.
5. Check the reporting, reported, or failed status. Retry as instructed after a failure. For bulk reporting, select entries and use the bulk action.
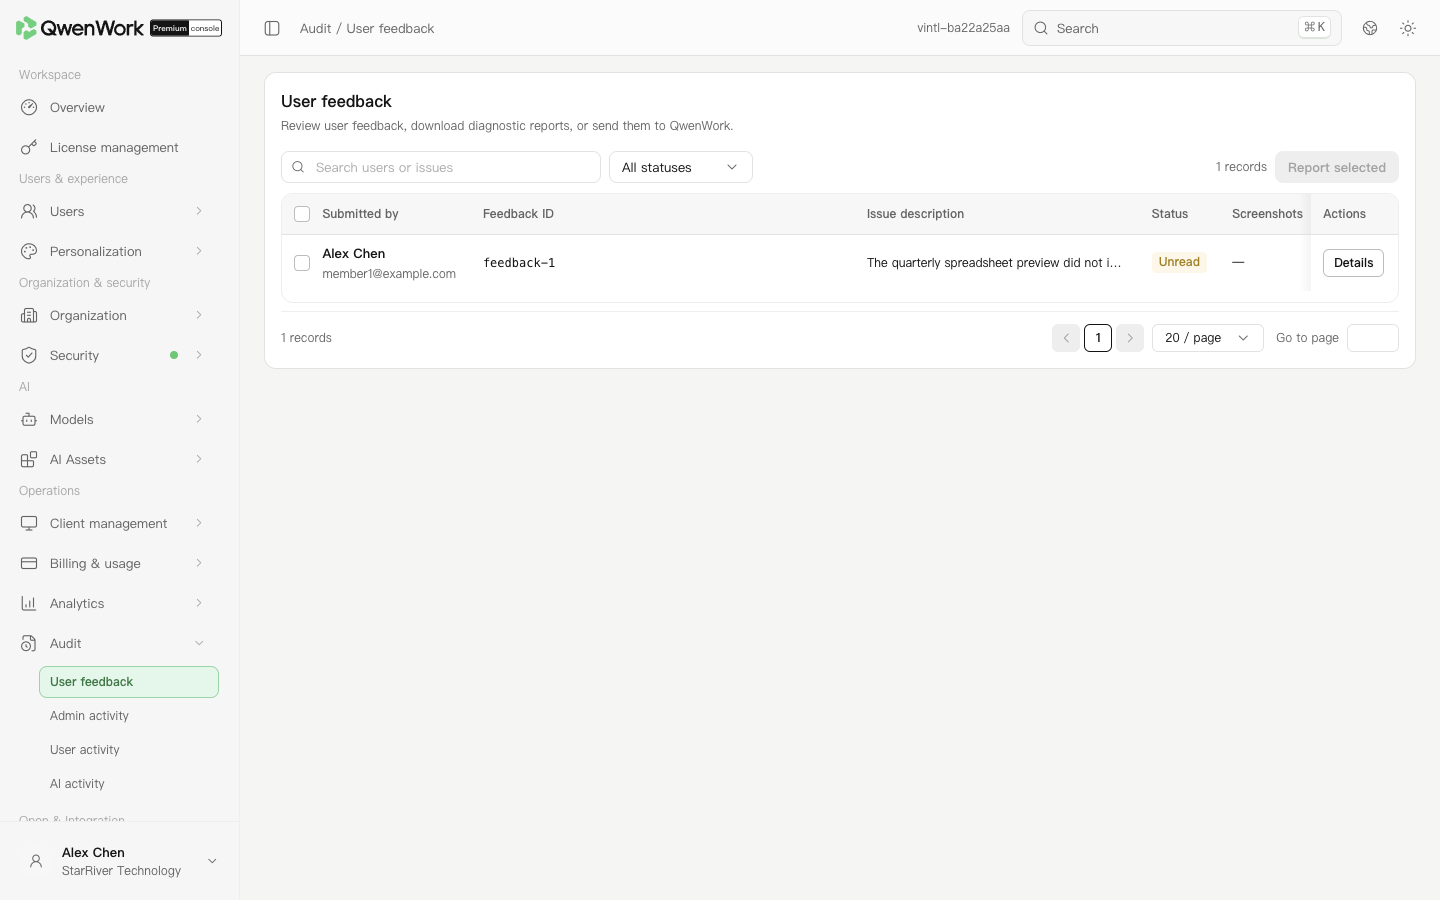
*Admin console: review member submissions and open their details.*
A report may contain the description, screenshots, user identifiers, task and client environment, execution steps, and request or response data. Downloading for local investigation and reporting to official support are separate actions.
Return to: Admin console feature overview
# Admin activity
Source: https://docs.qwenwork.ai/enterprise-ultimate/audit-logs/admin-logs
> Admin activity records the object, action, and final result of console management operations.
Admin activity records the object, action, and final result of console management operations. Viewing a page does not create a management-change record. Queries cover up to the last **180 days**. This window does not mean older data is deleted on day 181.
## Find a configuration change {#find-a-configuration-change}
1. Open **Operations → Audit → Admin activity**.
2. Choose the period containing the operation. Use today, yesterday, last 3 days, last 7 days, this week, or a custom range. Each query covers at most 7 calendar days; the default is **last 7 days**.
3. Search by operator, object, action, or IP. Use the result filter when investigating failures.
4. Open the target record's details and check its time, object, and result.
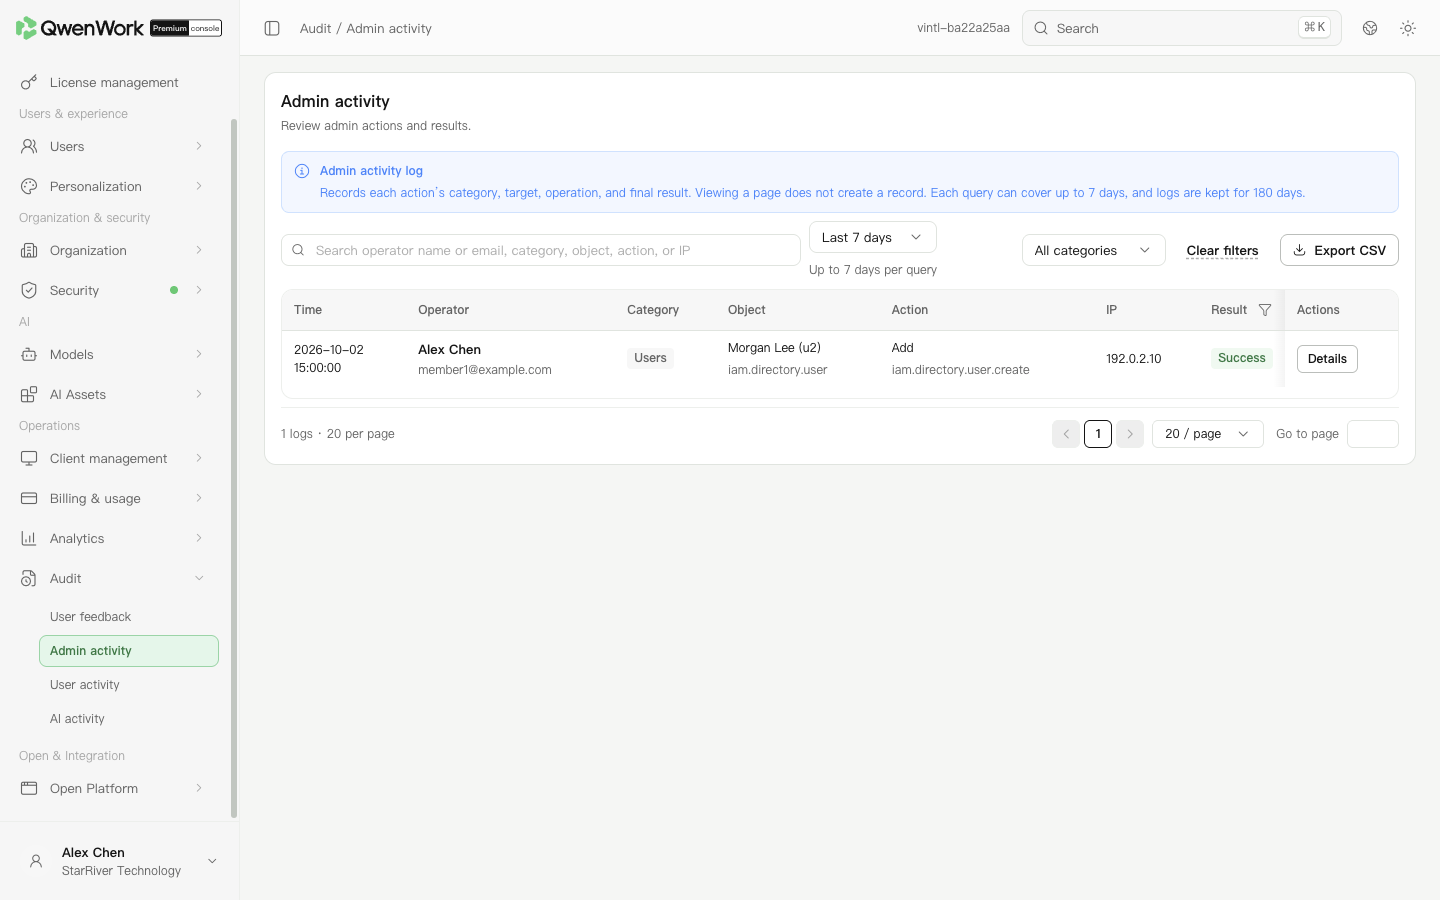
*Admin console: locate an operation using its period, operator, and result.*
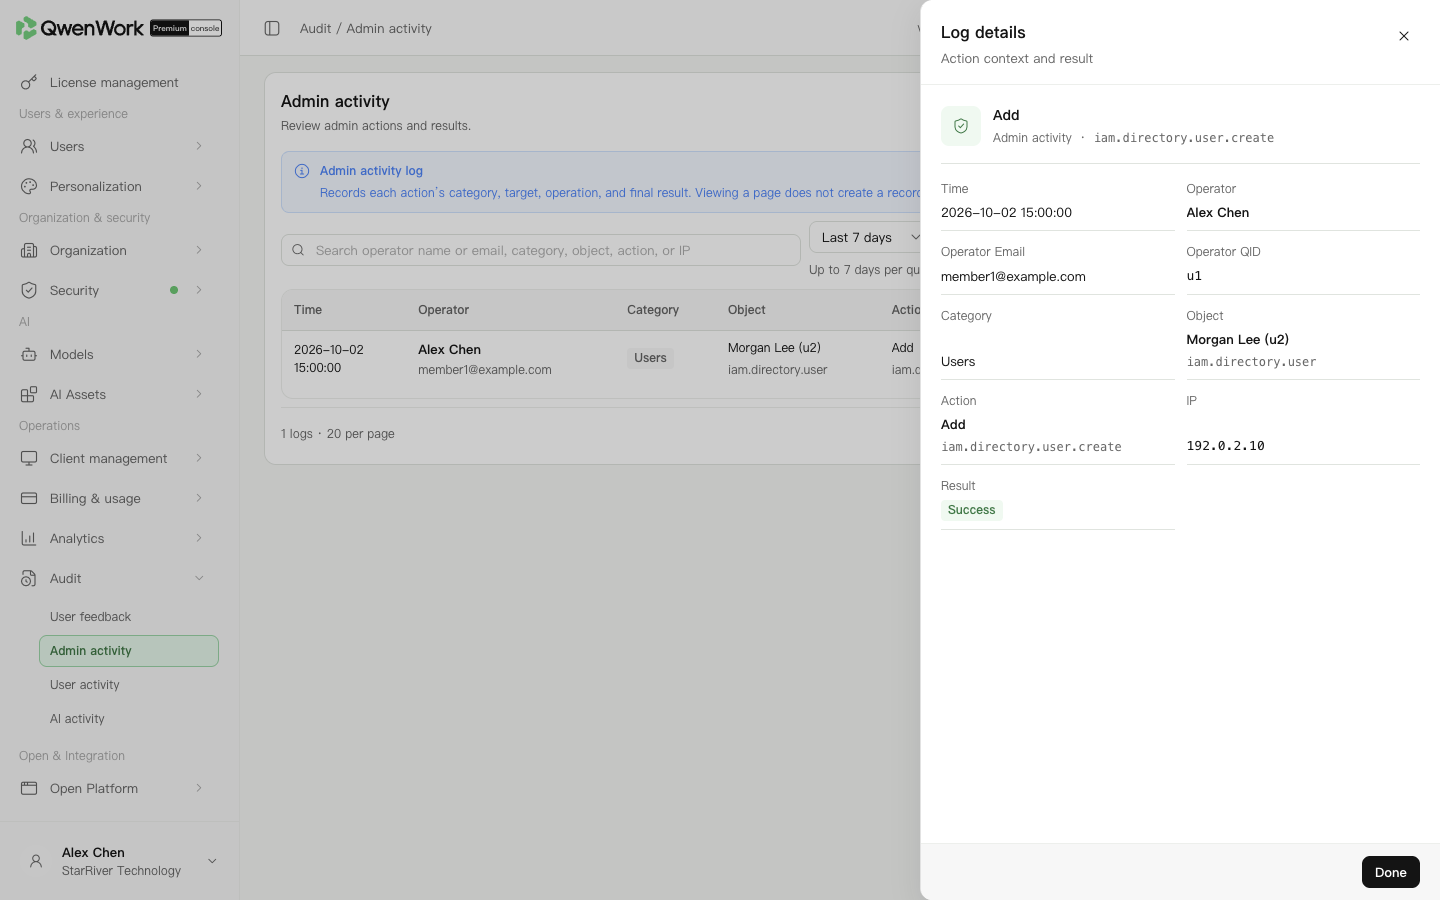
*Admin console: inspect the operation and final result.*
## Verify that a change completed {#verify-that-a-change-completed}
Read actions together. “Connection test succeeded” and “Configuration saved” are different records. After confirming the intended action succeeded, check the current value on its configuration page; later operations may have changed it again.
To share investigation data, retain the filters and export CSV. The export uses the period, search, category, and result filters. For credential changes, provide identifiers and status without plaintext secrets.
## If a record is missing {#if-a-record-is-missing}
Clear search and result filters, then select the relevant dates in a query window of up to 7 calendar days. Confirm the operation occurred in this enterprise and within the 180-day query window. Viewing data alone does not produce a management-change record. For client events, use User activity or AI activity.
Return to: Audit overview
# User activity
Source: https://docs.qwenwork.ai/enterprise-ultimate/audit-logs/user-logs
> User activity records key client operations for troubleshooting sign-in, authorization, and usage.
User activity records key client operations for troubleshooting sign-in, authorization, and usage. Records are retained for **90 days in VPC** and **180 days in K8S**.
## Find a member's operation {#find-a-members-operation}
1. Open **Operations → Audit → User activity**.
2. Set start and end dates covering the reported time. The default is the last 7 calendar days. A custom query spans up to 7 calendar days and must stay between the earliest allowed date and today.
3. Search by name, email, event description, `event_type`, `session_id`, or IP.
4. Check results and open details. Filter failures where needed.
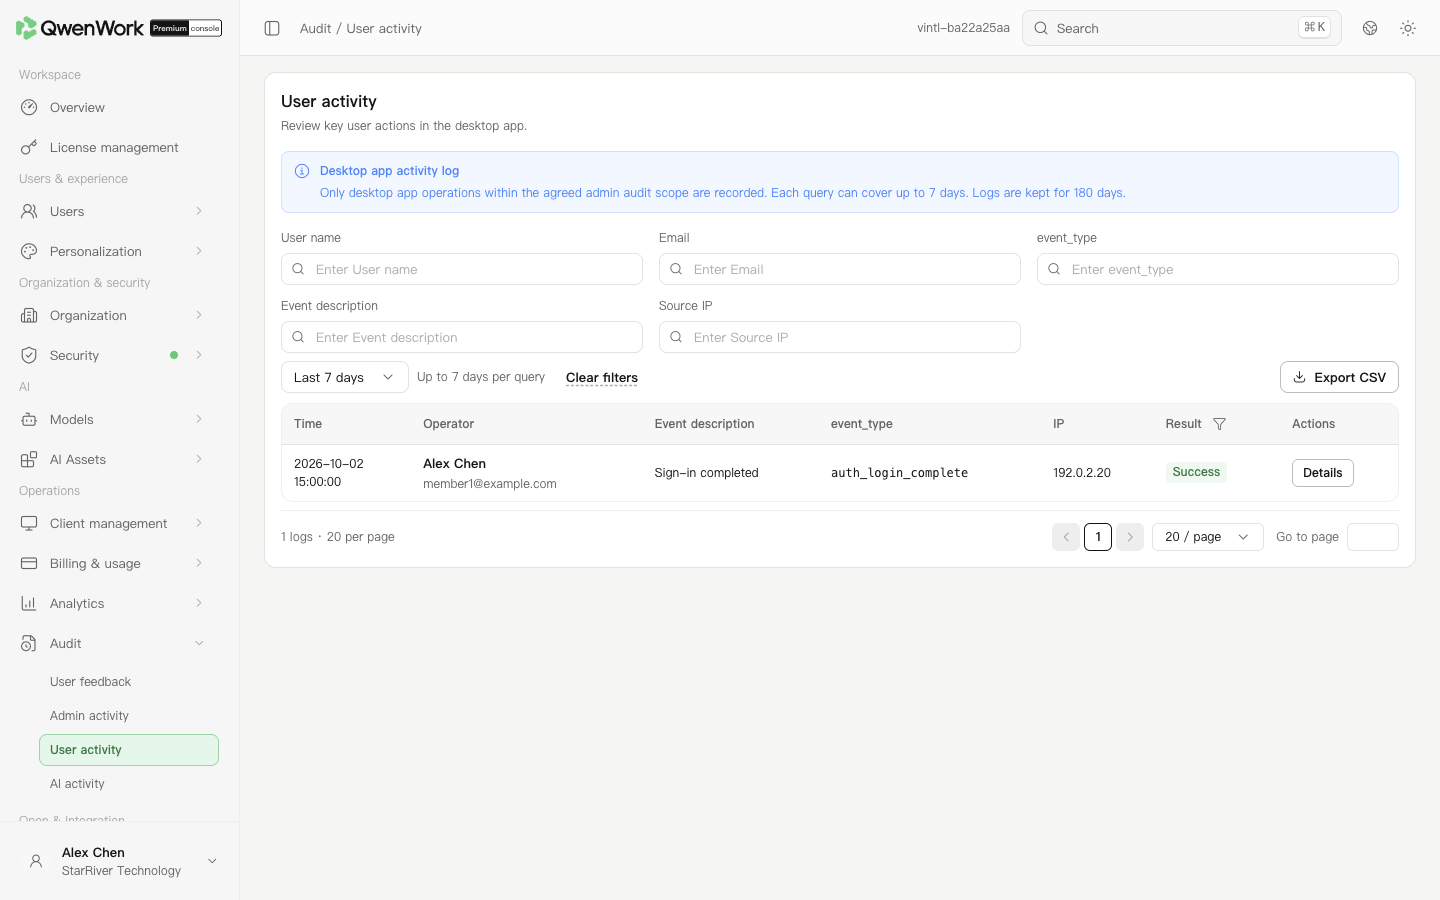
*Admin console: query client events for a date range.*
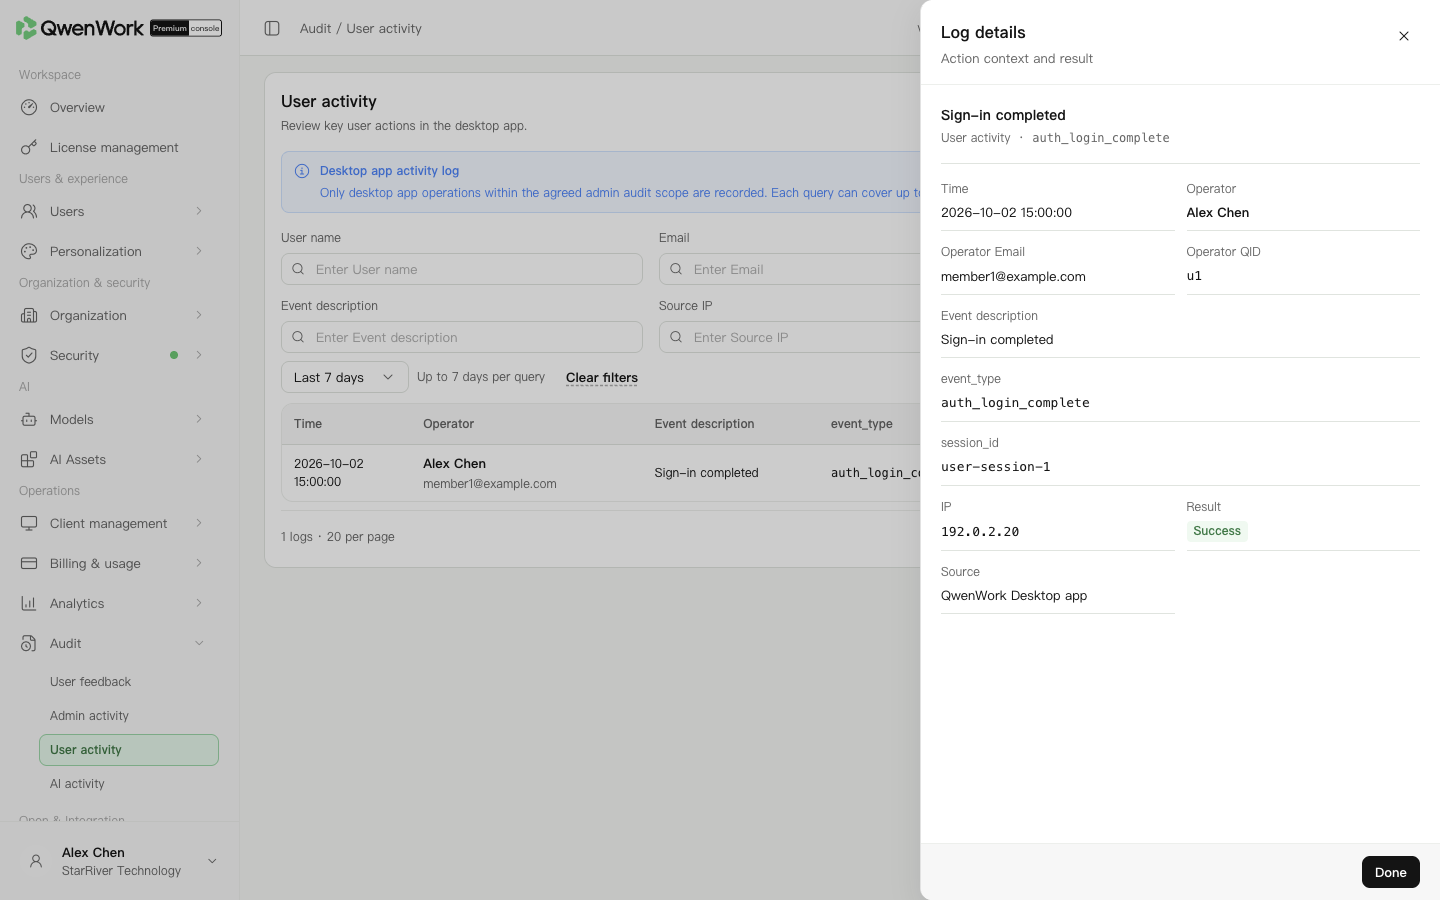
*Admin console: inspect event identifiers and results.*
## Investigate sign-in {#investigate-sign-in}
Ask for the time and sign-in method. Find authentication events and check for a completed sign-in event. Identity-provider authorization and entering a workspace may be different stages. Members eligible for first-time password creation must also complete that step.
For a member who cannot sign in, check account status, seat assignment, Authentication, and Trusted devices. Logs record events; they do not automatically explain every policy decision.
## Export and recheck {#export-and-recheck}
After the filtered list loads successfully, click **Export CSV**. Export uses that successful query's dates and filters. Spot-check dates and users. For missing records, clear filters and check the deployment-specific retention boundary and the selected query window. To inspect skills or connectors used within a task, use AI activity.
Return to: Audit overview
# AI activity
Source: https://docs.qwenwork.ai/enterprise-ultimate/audit-logs/ai-logs
> AI activity shows processing results and resource calls by conversation turn.
AI activity shows processing results and resource calls by conversation turn. Each row is one turn, not one tool call; a turn may contain several resource calls. Available resources depend on the deployment, including skills and connectors, and Expert suites where supported.
## Find a conversation turn {#find-a-conversation-turn}
1. Open **Operations → Audit → AI activity**.
2. Use today, yesterday, last 3 days, last 7 days, this week, or a custom range of at most 7 calendar days. The default is **last 7 days**.
3. Search by user, email, conversation title, Turn ID, or Session ID.
4. Filter by department and result, then open the target row's details.
5. Compare the time, user, processing result, and resources used.
Turn ID identifies one turn. Session ID links multiple turns within the same conversation. Keep complete identifiers when troubleshooting instead of relying on similar titles.
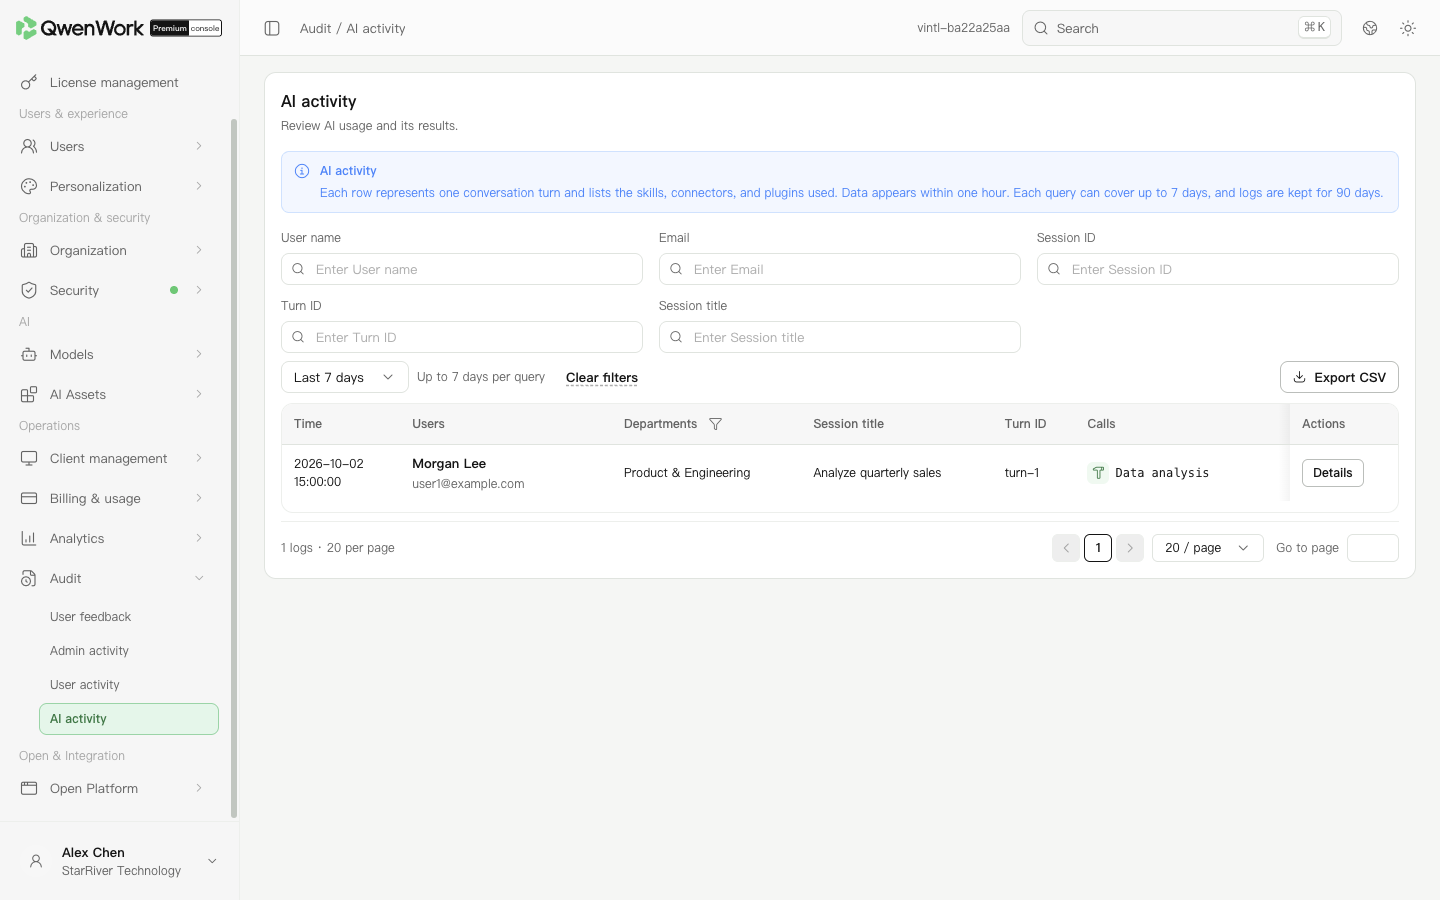
*Admin console: each row represents a conversation turn.*
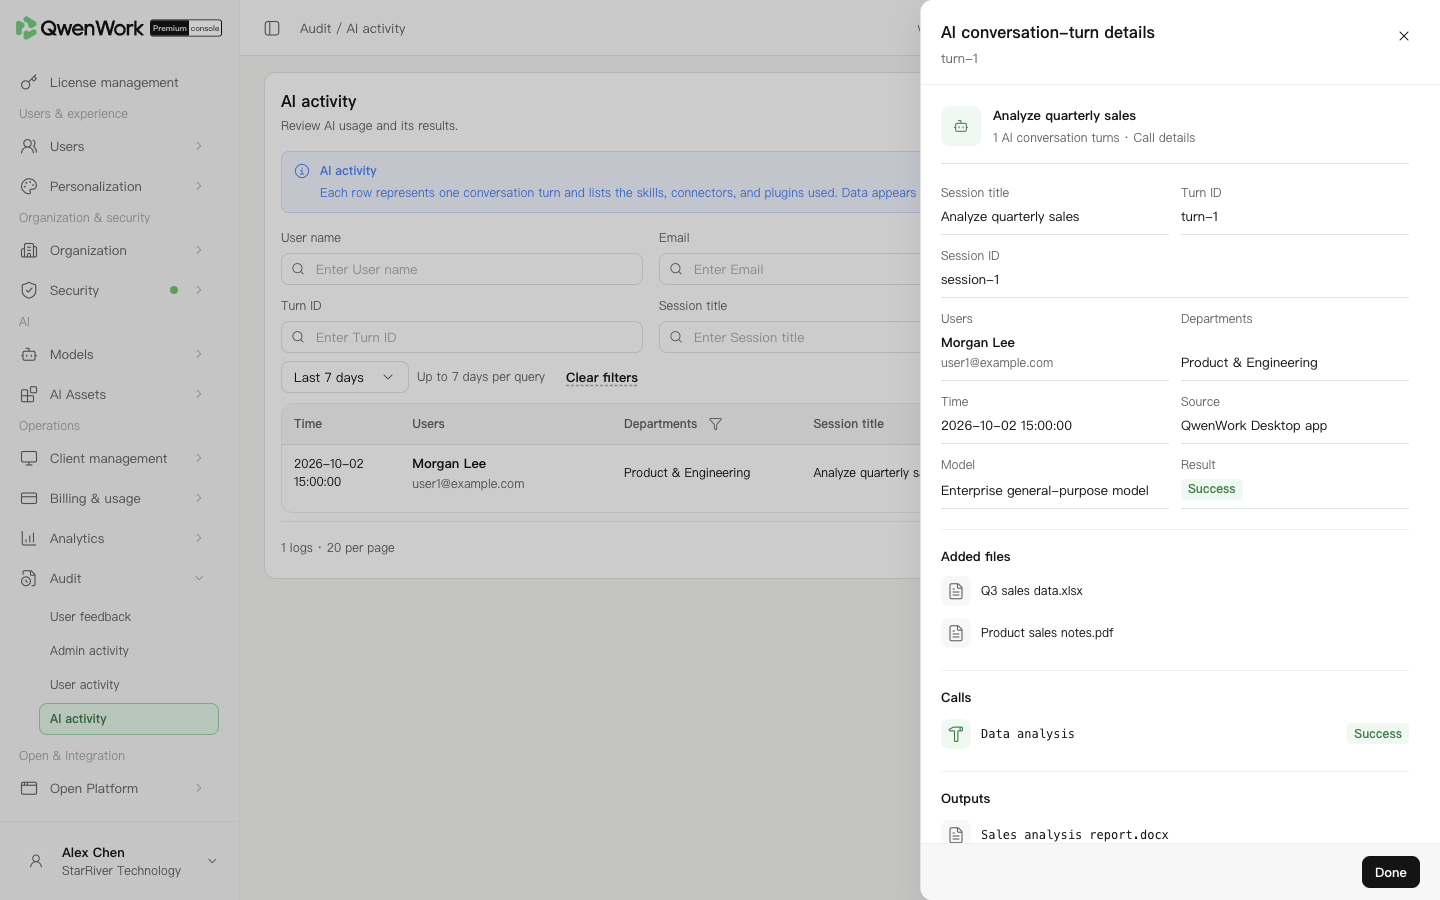
*Admin console: inspect the turn's resource calls and result.*
## Understand update times and retention {#understand-update-times-and-retention}
AI records are available within one hour after usage and retained for **90 days**. Records beyond retention cannot be queried or exported. A missing record immediately after a task does not prove the task did not run; check the data time and revisit the same session.
## Investigate failed resource calls {#investigate-failed-resource-calls}
Check the turn's resources and results, then inspect the corresponding skill, connector, or available suite's state, access scope, and credentials. Verify external authorization errors in the external system too.
Before exporting, set the period and filters and confirm the list loaded successfully. Export CSV uses that successful query's conditions. Verify recipients are permitted to see the business content before sharing investigation material.
Return to: Audit overview
# Open Platform overview
Source: https://docs.qwenwork.ai/enterprise-ultimate/open-platform
> Open Platform lets enterprise services access QwenWork management APIs.
Open Platform lets enterprise services access QwenWork management APIs. Administrators create applications, issue API Keys, and configure API permissions in App authorizations. Developers implement calls using Developer docs. Credentials identify the caller; permissions determine allowed operations.
## Choose a feature {#choose-a-feature}
| Feature | What you can do |
| ------------------ | --------------------------------------------------------------- |
| App authorizations | Maintain enterprise applications, API Keys, and API permissions |
| Developer docs | Find APIs and make an initial call |
Return to: Admin console feature overview
# App authorizations
Source: https://docs.qwenwork.ai/enterprise-ultimate/open-platform/app-authorization
> App authorizations lets enterprise services call QwenWork management APIs.
App authorizations lets enterprise services call QwenWork management APIs. An application's API Key identifies the caller, while its permission configuration determines accessible APIs. Creating a key does not grant all permissions.
## Create an enterprise application {#create-an-enterprise-application}
1. Open **Open & Integration → Open Platform → App authorizations** and click **Create app**.
2. Enter a name and purpose, such as “HR directory integration”, select API permissions, and create it. A key named Default is generated. Its full value is shown only once; save it before closing the dialog.
3. Open the application's name or view action and check basic information.
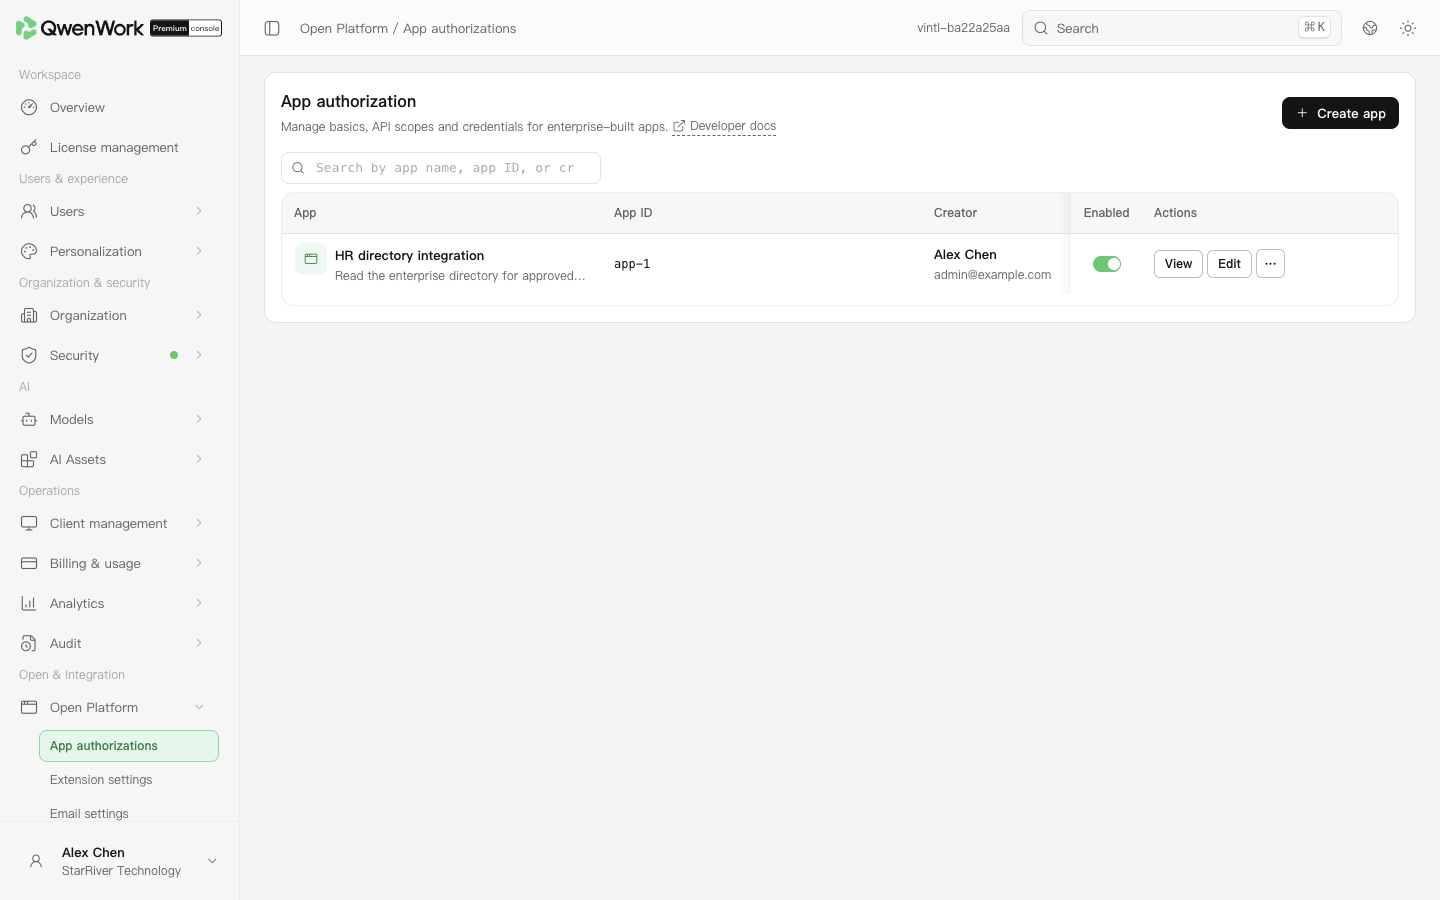
*Admin console: maintain applications and their enabled states.*
## Configure API permissions {#configure-api-permissions}
1. Open the application's permission configuration and edit it.
2. Select the required scope and check read and write permissions individually.
3. Save, reopen, and verify the actual granted set.
4. Give the developer the required API and permission names and check request requirements in Developer docs.
## Create and use an API Key {#create-and-use-an-api-key}
1. Open application credentials and create an API Key.
2. Enter the key name, expiry, and other requested fields, then confirm.
3. The full key is shown once. Immediately store it in the enterprise's secret-management system. The list mask cannot recover it.
4. Inject it into the calling service and follow the API documentation using `Authorization: Bearer `.
5. Confirm the application is enabled and call an authorized read-only API. Check its response.
## Rotate, disable, or delete {#rotate-disable-or-delete}
For rotation, create a new key, update the service, verify a successful call, then disable the old key. If a leak is suspected, promptly disable the affected key and inspect recent usage and call logs.
Disable the application to pause the integration. Before deletion, disable it and confirm callers have stopped using it; deletion is unavailable while enabled. Disabling an application or key interrupts dependent services.
## Handle calling errors {#handle-calling-errors}
- **401:** Check the key, request header, and application state.
- **403:** Check API permissions and target data scope.
Follow the API's documented error response for further handling. Identify the missing permission rather than granting all permissions.
Return to: Open Platform overview
# Developer docs
Source: https://docs.qwenwork.ai/enterprise-ultimate/open-platform/developer-docs
> Developer docs groups APIs by managed object and describes parameters, responses, and required permissions.
Developer docs groups APIs by managed object and describes parameters, responses, and required permissions. Administrators can use it to determine application permissions and perform a read-only test.
For VPC deployments, Developer docs is separately deployed within the enterprise's VPC, uses an enterprise-specific domain such as `xxx.vpc.qwenwork.cn`, and is accessible without sign-in. Use the actual documentation address provided by your deployment; the international console opens its corresponding Developer docs entry.
## Find an API {#find-an-api}
1. Open **Open & Integration → Open Platform → Developer docs**.
2. Browse categories or search for an object and action, such as users, departments, query, or create.
3. Check the method, path, and permissions first, then review parameters and response examples.
4. Compare the required permissions with the application's configuration in App authorizations.
## Make the first call {#make-the-first-call}
1. Create and enable an enterprise application and grant the needed read-only permissions.
2. Generate an API Key and store it in the calling service's environment.
3. Use the enterprise's actual service address. Follow the API example for `Authorization: Bearer `, query parameters, and request body.
4. Send the query and verify the HTTP status and returned data belong to the intended enterprise.
After confirming identity and permissions, implement write operations according to each API's documentation.
## If a call behaves unexpectedly {#if-a-call-behaves-unexpectedly}
Record the request time, path, status, and error response. Remove the Authorization header and other secrets before sharing diagnostic material. Correct parameters according to their field requirements and check permission errors in App authorizations. Evaluate success from the response and target data, not merely from having sent the request.
Return to: Open Platform overview
# Update a model policy
Source: https://docs.qwenwork.ai/developer/models/model-policy-groups/manage/update-model-policies
> Update a model policy. PATCH /api/openapi/v1/model-policies/{policyId}, scope admin.v1.model-policies.manage.
- **Scope**: admin.v1.model-policies.manage
- **Permission**: Manage model policies (model-policies)
- **Permission type**: Manage
- **Endpoint**: **PATCH**/api/openapi/v1/model-policies/\{policyId}
## Authentication and request headers {#authentication-and-request-headers}
Call with an application API key. This endpoint checks only the scope above; read, manage and execute permissions do not imply one another.
| Name | Location | Type | Required | Description | Example |
| ------------- | -------- | ------ | -------- | ------------------------------------------------------------------------ | ---------------- |
| Authorization | header | string | Yes | Application API key, passed as a Bearer token. | Bearer qwk |
| X-Request-Id | header | string | No | Optional request tracing identifier; generated by the server if omitted. | req-20260831-001 |
## Request parameters {#request-parameters}
| Name | Location | Type | Required | Description | Example |
| ------------- | -------- | ------------------ | -------- | ------------------------------- | ----------------------------------------------------------------------- |
| policyId | path | string · uuid | Required | Policy group ID | "uuid" |
| description | body | string | No | Description | "string" |
| displayorder | body | integer · int64 | No | Display order | 0 |
| mode | body | string | Required | Policy mode | "allowlist" |
| name | body | string | Required | Policy name | "string" |
| resourceids | body | array | null | Required | Main model scope (resource IDs) | "string" |
| resourcescope | body | string | Required | Main model scope | "all" |
| status | body | string | No | Enabled | "enabled" |
| subjectscope | body | string | Required | Scope | "allusers" |
| subjects | body | array | null | Required | Select scope | \{"includedescendants":false,"subjectid":"string","subjecttype":"user"} |
| surfaces | body | array | null | Required | Target app | "string" |
| validfrom | body | string · date-time | No | Effective from | "2026-08-27T10:00:00Z" |
| validto | body | string · date-time | No | Effective until | "2026-08-27T10:00:00Z" |
## Request example {#request-example}
```bash
curl --request PATCH \
--url 'https://example.invalid/api/openapi/v1/model-policies/' \
--header 'Authorization: Bearer ' \
--header 'Content-Type: application/json' \
--data '{
"description": "",
"display_order": 0,
"mode": "allowlist",
"name": "",
"resource_ids": [
""
],
"resource_scope": "all",
"status": "enabled",
"subject_scope": "all_users",
"subjects": [
{
"include_descendants": false,
"subject_id": "",
"subject_type": "user"
}
],
"surfaces": [
""
],
"valid_from": "2026-08-27T10:00:00Z",
"valid_to": "2026-08-27T10:00:00Z"
}'
```
## Responses {#responses}
| Name | Type | Required | Description | Example |
| ------------- | ------------------ | -------- | ---------------------------------------- | ---------------------- |
| createdat | string · date-time | Yes | Created at | "2026-08-27T10:00:00Z" |
| default | boolean | Yes | Whether this is the default policy group | false |
| description | string | Yes | Description | "string" |
| id | string | Yes | Policy group ID | "string" |
| mode | string | Yes | Policy mode | "string" |
| name | string | Yes | Policy name | "string" |
| policytype | string | Yes | Policy type | "string" |
| resourcecount | integer · int64 | Yes | Resource count | 0 |
| resourcescope | string | Yes | Main model scope | "string" |
| status | string | Yes | Enabled | "string" |
| subjectcount | integer · int64 | Yes | Subject count | 0 |
| subjectcounts | object | Yes | Subject counts by type | \{} |
| subjectscope | string | Yes | Scope | "string" |
| surfaces | array | null | Yes | Target app | "string" |
| updatedat | string · date-time | Yes | Updated at | "2026-08-27T10:00:00Z" |
```json
{
"created_at": "2026-08-27T10:00:00Z",
"default": false,
"description": "",
"id": "",
"mode": "",
"name": "",
"policy_type": "",
"resource_count": 0,
"resource_scope": "",
"status": "",
"subject_count": 0,
"subject_counts": {},
"subject_scope": "",
"surfaces": [
""
],
"updated_at": "2026-08-27T10:00:00Z"
}
```
### default Flat business error {#default-flat-business-error}
| Name | Type | Required | Description | Example |
| ------------------ | ------------------- | -------- | ------------------------------------ | ----------------------------------------------------------- |
| code | string | No | Stable business error code | "string" |
| detail | string | Yes | Human-readable error description | "string" |
| details | OpenapiErrorDetails | No | Error details | \{"field":"string","reason":"string","suggestion":"string"} |
| details.field | string | No | Request field that failed validation | "string" |
| details.reason | string | No | Stable validation failure reason | "string" |
| details.suggestion | string | No | Suggested normalized value | "string" |
| error | string | Yes | Stable HTTP error type | "string" |
```json
{
"code": "",
"detail": "",
"details": {
"field": "",
"reason": "",
"suggestion": ""
},
"error": ""
}
```
# Delete a model policy
Source: https://docs.qwenwork.ai/developer/models/model-policy-groups/manage/delete-model-policies
> Delete a model policy. DELETE /api/openapi/v1/model-policies/{policyId}, scope admin.v1.model-policies.manage.
- **Scope**: admin.v1.model-policies.manage
- **Permission**: Manage model policies (model-policies)
- **Permission type**: Manage
- **Endpoint**: **DELETE**/api/openapi/v1/model-policies/\{policyId}
## Authentication and request headers {#authentication-and-request-headers}
Call with an application API key. This endpoint checks only the scope above; read, manage and execute permissions do not imply one another.
| Name | Location | Type | Required | Description | Example |
| ------------- | -------- | ------ | -------- | ------------------------------------------------------------------------ | ------------------ |
| Authorization | header | string | Yes | Application API key, passed as a Bearer token. | Bearer qwk\_\*\*\* |
| X-Request-Id | header | string | No | Optional request tracing identifier; generated by the server if omitted. | req-20260831-001 |
## Request parameters {#request-parameters}
| Name | Location | Type | Required | Description | Example |
| -------- | -------- | ------------- | -------- | --------------- | --------- |
| policyId | path | string · uuid | Required | Policy group ID | "\" |
## Request example {#request-example}
```bash
curl --request DELETE \
--url 'https://example.invalid/api/openapi/v1/model-policies/' \
--header 'Authorization: Bearer '
```
## Responses {#responses}
### 204 No Content {#204-no-content}
### default Flat business error {#default-flat-business-error}
| Name | Type | Required | Description | Example |
| ------------------ | ------------------- | -------- | ------------------------------------ | -------------------------------------------------------------------- |
| code | string | No | Stable business error code | "\" |
| detail | string | Yes | Human-readable error description | "\" |
| details | OpenapiErrorDetails | No | Error details | \{"field":"\","reason":"\","suggestion":"\"} |
| details.field | string | No | Request field that failed validation | "\" |
| details.reason | string | No | Stable validation failure reason | "\" |
| details.suggestion | string | No | Suggested normalized value | "\" |
| error | string | Yes | Stable HTTP error type | "\" |
```json
{
"code": "",
"detail": "",
"details": {
"field": "",
"reason": "",
"suggestion": ""
},
"error": ""
}
```
# Create a model policy
Source: https://docs.qwenwork.ai/developer/models/model-policy-groups/manage/create-model-policies
> Create a model policy. POST /api/openapi/v1/model-policies, scope admin.v1.model-policies.manage.
- **Scope**: admin.v1.model-policies.manage
- **Permission**: Manage model policies (model-policies)
- **Permission type**: Manage
- **Endpoint**: **POST**/api/openapi/v1/model-policies
## Authentication and request headers {#authentication-and-request-headers}
Call with an application API key. This endpoint checks only the scope above; read, manage and execute permissions do not imply one another.
| Name | Location | Type | Required | Description | Example |
| ------------- | -------- | ------ | -------- | ------------------------------------------------------------------------ | ------------------ |
| Authorization | header | string | Yes | Application API key, passed as a Bearer token. | Bearer qwk\_\*\*\* |
| X-Request-Id | header | string | No | Optional request tracing identifier; generated by the server if omitted. | req-20260831-001 |
## Request parameters {#request-parameters}
| Name | Location | Type | Required | Description | Example |
| --------------- | -------- | ------------------ | -------- | ----------------------------------------------------- | ----------------------------------------------------------------------------------- |
| Idempotency-Key | header | string | Required | Idempotency key used to prevent duplicate submissions | "\" |
| description | body | string | No | Description | "\" |
| display\_order | body | integer · int64 | No | Display order | 0 |
| mode | body | string | Required | Policy mode | "allowlist" |
| name | body | string | Required | Policy name | "\" |
| resource\_ids | body | array | null | Required | Main model scope (resource IDs) | \["\"] |
| resource\_scope | body | string | Required | Main model scope | "all" |
| status | body | string | No | Enabled | "enabled" |
| subject\_scope | body | string | Required | Scope | "all\_users" |
| subjects | body | array | null | Required | Select scope | \[\{"include\_descendants":false,"subject\_id":"\","subject\_type":"user"}] |
| surfaces | body | array | null | Required | Target app | \["\"] |
| valid\_from | body | string · date-time | No | Effective from | "2026-08-27T10:00:00Z" |
| valid\_to | body | string · date-time | No | Effective until | "2026-08-27T10:00:00Z" |
## Request example {#request-example}
```bash
curl --request POST \
--url 'https://example.invalid/api/openapi/v1/model-policies' \
--header 'Authorization: Bearer ' \
--header 'Idempotency-Key: ' \
--header 'Content-Type: application/json' \
--data '{
"description": "",
"display_order": 0,
"mode": "allowlist",
"name": "",
"resource_ids": [
""
],
"resource_scope": "all",
"status": "enabled",
"subject_scope": "all_users",
"subjects": [
{
"include_descendants": false,
"subject_id": "",
"subject_type": "user"
}
],
"surfaces": [
""
],
"valid_from": "2026-08-27T10:00:00Z",
"valid_to": "2026-08-27T10:00:00Z"
}'
```
## Responses {#responses}
### 201 Created {#201-created}
| Name | Type | Required | Description | Example |
| --------------- | ------------------ | -------- | ---------------------------------------- | ---------------------- |
| created\_at | string · date-time | Yes | Created at | "2026-08-27T10:00:00Z" |
| default | boolean | Yes | Whether this is the default policy group | false |
| description | string | Yes | Description | "\" |
| id | string | Yes | Policy group ID | "\" |
| mode | string | Yes | Policy mode | "\" |
| name | string | Yes | Policy name | "\" |
| policy\_type | string | Yes | Policy type | "\" |
| resource\_count | integer · int64 | Yes | Resource count | 0 |
| resource\_scope | string | Yes | Main model scope | "\" |
| status | string | Yes | Enabled | "\" |
| subject\_count | integer · int64 | Yes | Subject count | 0 |
| subject\_counts | object | Yes | Subject counts by type | \{} |
| subject\_scope | string | Yes | Scope | "\" |
| surfaces | array | null | Yes | Target app | \["\"] |
| updated\_at | string · date-time | Yes | Updated at | "2026-08-27T10:00:00Z" |
```json
{
"created_at": "2026-08-27T10:00:00Z",
"default": false,
"description": "",
"id": "",
"mode": "",
"name": "",
"policy_type": "",
"resource_count": 0,
"resource_scope": "",
"status": "",
"subject_count": 0,
"subject_counts": {},
"subject_scope": "",
"surfaces": [
""
],
"updated_at": "2026-08-27T10:00:00Z"
}
```
### default Flat business error {#default-flat-business-error}
| Name | Type | Required | Description | Example |
| ------------------ | ------------------- | -------- | ------------------------------------ | -------------------------------------------------------------------- |
| code | string | No | Stable business error code | "\" |
| detail | string | Yes | Human-readable error description | "\" |
| details | OpenapiErrorDetails | No | Error details | \{"field":"\","reason":"\","suggestion":"\"} |
| details.field | string | No | Request field that failed validation | "\" |
| details.reason | string | No | Stable validation failure reason | "\" |
| details.suggestion | string | No | Suggested normalized value | "\" |
| error | string | Yes | Stable HTTP error type | "\" |
```json
{
"code": "",
"detail": "",
"details": {
"field": "",
"reason": "",
"suggestion": ""
},
"error": ""
}
```
# List model policies
Source: https://docs.qwenwork.ai/developer/models/model-policy-groups/read/list-model-policies
> List model policies. GET /api/openapi/v1/model-policies, scope admin.v1.model-policies.read.
- **Scope**: admin.v1.model-policies.read
- **Permission**: Read model policies (model-policies)
- **Permission type**: Read
- **Endpoint**: **GET**/api/openapi/v1/model-policies
## Authentication and request headers {#authentication-and-request-headers}
Call with an application API key. This endpoint checks only the scope above; read, manage and execute permissions do not imply one another.
| Name | Location | Type | Required | Description | Example |
| ------------- | -------- | ------ | -------- | ------------------------------------------------------------------------ | ------------------ |
| Authorization | header | string | Yes | Application API key, passed as a Bearer token. | Bearer qwk\_\*\*\* |
| X-Request-Id | header | string | No | Optional request tracing identifier; generated by the server if omitted. | req-20260831-001 |
## Request parameters {#request-parameters}
| Name | Location | Type | Required | Description | Example |
| ---------- | -------- | --------------- | -------- | -------------- | ----------- |
| keyword | query | string | No | Search keyword | "\" |
| page | query | integer · int64 | No | Page number | 1 |
| page\_size | query | integer · int64 | No | Page size | 20 |
## Request example {#request-example}
```bash
curl --request GET \
--url 'https://example.invalid/api/openapi/v1/model-policies?keyword=&page=1&page_size=20' \
--header 'Authorization: Bearer '
```
## Responses {#responses}
### 200 OK {#200-ok}
| Name | Type | Required | Description | Example |
| ------------ | --------------- | -------- | ----------- | ---------------------------------------------------------------------------------------------------------------------------------------------------------------------------------------------------------------------------------------------------------------------------------------------------------------------------------------------------------------------------------- |
| items | array | null | Yes | Records | \[\{"created\_at":"2026-08-27T10:00:00Z","default":false,"description":"\","id":"\","mode":"\","name":"\","policy\_type":"\","resource\_count":0,"resource\_scope":"\","status":"\","subject\_count":0,"subject\_counts":\{},"subject\_scope":"\","surfaces":\["\"],"updated\_at":"2026-08-27T10:00:00Z"}] |
| page | integer · int64 | Yes | Page number | 0 |
| page\_size | integer · int64 | Yes | Page size | 0 |
| total\_items | integer · int64 | Yes | Total count | 0 |
| total\_pages | integer · int64 | Yes | Total pages | 0 |
```json
{
"items": [
{
"created_at": "2026-08-27T10:00:00Z",
"default": false,
"description": "",
"id": "",
"mode": "",
"name": "",
"policy_type": "",
"resource_count": 0,
"resource_scope": "",
"status": "",
"subject_count": 0,
"subject_counts": {},
"subject_scope": "",
"surfaces": [
""
],
"updated_at": "2026-08-27T10:00:00Z"
}
],
"page": 0,
"page_size": 0,
"total_items": 0,
"total_pages": 0
}
```
### default Flat business error {#default-flat-business-error}
| Name | Type | Required | Description | Example |
| ------------------ | ------------------- | -------- | ------------------------------------ | -------------------------------------------------------------------- |
| code | string | No | Stable business error code | "\" |
| detail | string | Yes | Human-readable error description | "\" |
| details | OpenapiErrorDetails | No | Error details | \{"field":"\","reason":"\","suggestion":"\"} |
| details.field | string | No | Request field that failed validation | "\" |
| details.reason | string | No | Stable validation failure reason | "\" |
| details.suggestion | string | No | Suggested normalized value | "\" |
| error | string | Yes | Stable HTTP error type | "\" |
```json
{
"code": "",
"detail": "",
"details": {
"field": "",
"reason": "",
"suggestion": ""
},
"error": ""
}
```
# List OpenAPI applications
Source: https://docs.qwenwork.ai/developer/open-platform/app-authorization/read/list-apps
> List OpenAPI applications. GET /api/openapi/v1/open-platform/apps, scope admin.v1.apps.read.
- **Scope**: admin.v1.apps.read
- **Permission**: Read applications (apps)
- **Permission type**: Read
- **Endpoint**: **GET**/api/openapi/v1/open-platform/apps
## Authentication and request headers {#authentication-and-request-headers}
Call with an application API key. This endpoint checks only the scope above; read, manage and execute permissions do not imply one another.
| Name | Location | Type | Required | Description | Example |
| ------------- | -------- | ------ | -------- | ------------------------------------------------------------------------ | ------------------ |
| Authorization | header | string | Yes | Application API key, passed as a Bearer token. | Bearer qwk\_\*\*\* |
| X-Request-Id | header | string | No | Optional request tracing identifier; generated by the server if omitted. | req-20260831-001 |
## Request parameters {#request-parameters}
This endpoint has no additional request parameters.
## Request example {#request-example}
```bash
curl --request GET \
--url 'https://example.invalid/api/openapi/v1/open-platform/apps' \
--header 'Authorization: Bearer '
```
## Responses {#responses}
### 200 OK {#200-ok}
| Name | Type | Required | Description | Example |
| ----- | ------------ | -------- | ----------- | ---------------------------------------------------------------------------------------------------------------------------------------------------------------------------------------------------------------------------------------------------------------------------------------------- |
| items | array | null | Yes | Records | \[\{"api\_scopes":\["\"],"created\_at":"2026-08-27T10:00:00Z","created\_by\_name":"\","description":"\","id":"\","modified\_at":"2026-08-27T10:00:00Z","modified\_by\_name":"\","name":"\","status":"\","subject\_scope":"\"}] |
```json
{
"items": [
{
"api_scopes": [
""
],
"created_at": "2026-08-27T10:00:00Z",
"created_by_name": "",
"description": "",
"id": "",
"modified_at": "2026-08-27T10:00:00Z",
"modified_by_name": "",
"name": "",
"status": "",
"subject_scope": ""
}
]
}
```
### default Flat business error {#default-flat-business-error}
| Name | Type | Required | Description | Example |
| ------------------ | ------------------- | -------- | ------------------------------------ | -------------------------------------------------------------------- |
| code | string | No | Stable business error code | "\" |
| detail | string | Yes | Human-readable error description | "\" |
| details | OpenapiErrorDetails | No | Error details | \{"field":"\","reason":"\","suggestion":"\"} |
| details.field | string | No | Request field that failed validation | "\" |
| details.reason | string | No | Stable validation failure reason | "\" |
| details.suggestion | string | No | Suggested normalized value | "\" |
| error | string | Yes | Stable HTTP error type | "\" |
```json
{
"code": "",
"detail": "",
"details": {
"field": "",
"reason": "",
"suggestion": ""
},
"error": ""
}
```
# Send test email
Source: https://docs.qwenwork.ai/developer/open-platform/mail/test/send-test-mail
> Send test email. POST /api/openapi/v1/mail-tests, scope admin.v1.mail-tests.execute.
- **Scope**: admin.v1.mail-tests.execute
- **Permission**: Test enterprise mail (mail-tests)
- **Permission type**: Execute
- **Endpoint**: **POST**/api/openapi/v1/mail-tests
## Authentication and request headers {#authentication-and-request-headers}
Call with an application API key. This endpoint checks only the scope above; read, manage and execute permissions do not imply one another.
| Name | Location | Type | Required | Description | Example |
| ------------- | -------- | ------ | -------- | ------------------------------------------------------------------------ | ------------------ |
| Authorization | header | string | Yes | Application API key, passed as a Bearer token. | Bearer qwk\_\*\*\* |
| X-Request-Id | header | string | No | Optional request tracing identifier; generated by the server if omitted. | req-20260831-001 |
## Request parameters {#request-parameters}
| Name | Location | Type | Required | Description | Example |
| ----------------- | -------- | --------------- | -------- | --------------------------------------------------------------------------------------------------------------- | ------------------------------------------------------- |
| Idempotency-Key | header | string | Required | Idempotency key used to prevent duplicate submissions | "\" |
| server\_version | body | integer · int64 | Required | Version returned by GET /mail-servers/current; the saved configuration must still match. | 1 |
| template\_id | body | string | No | An existing ID from GET /mail-templates. Omit together with template\_version to use the fixed test message. | "qw\_vpc\_EMAIL\_VERIFICATION\_CODE" |
| template\_version | body | integer · int64 | No | Required when template\_id is supplied. Use the saved template version; zero is valid for the default template. | 0 |
| to\_email | body | string · email | Required | One test recipient; accepted means SMTP acceptance, not inbox delivery. | "[developer@example.com](mailto:developer@example.com)" |
## Request example {#request-example}
```bash
curl --request POST \
--url 'https://dev-develop.dev-vpc.qwenwork.cn/api/openapi/v1/mail-tests' \
--header 'Authorization: Bearer ' \
--header 'Idempotency-Key: ' \
--header 'Content-Type: application/json' \
--data '{
"server_version": 1,
"template_id": "qw_vpc_EMAIL_VERIFICATION_CODE",
"template_version": 0,
"to_email": "developer@example.com"
}'
```
## Responses {#responses}
200 Accepted by SMTP; inbox delivery is not guaranteed.
| Name | Type | Required | Description | Example |
| --------------- | ------------------ | -------- | --------------------------------- | ---------------------- |
| at | string · date-time | Yes | Test time | "2026-08-27T10:00:00Z" |
| code | string | Yes | Error code | "\" |
| server\_version | integer · int64 | Yes | Mail server configuration version | 0 |
| status | string | Yes | Test status | "unknown" |
| template\_id | string | No | Template ID | "\" |
```json
{
"at": "2026-09-14T10:00:00Z",
"code": "",
"server_version": 1,
"status": "accepted",
"template_id": "qw_vpc_EMAIL_VERIFICATION_CODE"
}
```
502 SMTP failed or acceptance is unknown; inspect details and do not automatically resend.
| Name | Type | Required | Description | Example |
| ----------------------- | --------------------------- | -------- | --------------------------------- | ------------------------------------------------------------------------------------------------------------------- |
| code | string | Yes | Error code | "\" |
| detail | string | Yes | Error description | "\" |
| details | OpenapifacadeMailTestResult | Yes | Test result details | \{"at":"2026-08-27T10:00:00Z","code":"\","server\_version":0,"status":"unknown","template\_id":"\"} |
| details.at | string · date-time | Yes | Test time | "2026-08-27T10:00:00Z" |
| details.code | string | Yes | Error code | "\" |
| details.server\_version | integer · int64 | Yes | Mail server configuration version | 0 |
| details.status | string | Yes | Test status | "unknown" |
| details.template\_id | string | No | Template ID | "\" |
| error | string | Yes | Error type | "\" |
```json
{
"code": "mail_test_submission_failed",
"detail": "SMTP test was not confirmed as accepted; do not automatically resend.",
"details": {
"at": "2026-09-14T10:00:00Z",
"code": "acceptance_unknown",
"server_version": 1,
"status": "unknown",
"template_id": "qw_vpc_EMAIL_VERIFICATION_CODE"
},
"error": "BadGateway"
}
```
### default Flat business error {#default-flat-business-error}
| Name | Type | Required | Description | Example |
| ------------------ | ------------------- | -------- | ------------------------------------ | -------------------------------------------------------------------- |
| code | string | No | Stable business error code | "\" |
| detail | string | Yes | Human-readable error description | "\" |
| details | OpenapiErrorDetails | No | Test result details | \{"field":"\","reason":"\","suggestion":"\"} |
| details.field | string | No | Request field that failed validation | "\" |
| details.reason | string | No | Stable validation failure reason | "\" |
| details.suggestion | string | No | Suggested normalized value | "\" |
| error | string | Yes | Stable HTTP error type | "\" |
```json
{
"code": "",
"detail": "",
"details": {
"field": "",
"reason": "",
"suggestion": ""
},
"error": ""
}
```
# Save mail template
Source: https://docs.qwenwork.ai/developer/open-platform/mail/manage/save-mail-template
> Save mail template. PUT /api/openapi/v1/mail-templates/{template_id}, scope admin.v1.mail-settings.manage.
- **Scope**: admin.v1.mail-settings.manage
- **Permission**: Manage enterprise mail (mail-settings)
- **Permission type**: Manage
- **Endpoint**: **PUT**/api/openapi/v1/mail-templates/\{template\_id}
## Authentication and request headers {#authentication-and-request-headers}
Call with an application API key. This endpoint checks only the scope above; read, manage and execute permissions do not imply one another.
| Name | Location | Type | Required | Description | Example |
| ------------- | -------- | ------ | -------- | ------------------------------------------------------------------------ | ------------------ |
| Authorization | header | string | Yes | Application API key, passed as a Bearer token. | Bearer qwk\_\*\*\* |
| X-Request-Id | header | string | No | Optional request tracing identifier; generated by the server if omitted. | req-20260831-001 |
## Request parameters {#request-parameters}
| Name | Location | Type | Required | Description | Example |
| ------------ | -------- | --------------- | -------- | ----------------------------------------- | ----------- |
| template\_id | path | string | Required | Template ID | "\" |
| html | body | string | Required | HTML body | "\" |
| subject | body | string | Required | Email subject | "\" |
| text | body | string | Required | Plain text body | "\" |
| version | body | integer · int64 | Required | Version used for concurrent update checks | 0 |
## Request example {#request-example}
```bash
curl --request PUT \
--url 'https://dev-develop.dev-vpc.qwenwork.cn/api/openapi/v1/mail-templates/' \
--header 'Authorization: Bearer ' \
--header 'Content-Type: application/json' \
--data '{
"html": "",
"subject": "",
"text": "",
"version": 0
}'
```
## Responses {#responses}
### 200 OK {#200-ok}
| Name | Type | Required | Description | Example |
| ---------------------- | ------------------------ | -------- | --------------------------------------------- | ----------------------------------------------------------------------------------------------------------------------------------------------------------------------------------------------------------- |
| customized | boolean | Yes | Whether the template is customized | false |
| default | OpenapifacadeMailContent | Yes | Default template | \{"html":"\","subject":"\","text":"\"} |
| default.html | string | Yes | HTML body | "\" |
| default.subject | string | Yes | Email subject | "\" |
| default.text | string | Yes | Plain text body | "\" |
| id | string | Yes | Mail template ID | "\" |
| source | OpenapifacadeMailContent | Yes | Current template | \{"html":"\","subject":"\","text":"\"} |
| source.html | string | Yes | HTML body | "\" |
| source.subject | string | Yes | Email subject | "\" |
| source.text | string | Yes | Plain text body | "\" |
| updated\_at | string · date-time | No | Updated at | "2026-08-27T10:00:00Z" |
| using\_legacy\_default | boolean | Yes | Whether the legacy default template is in use | false |
| variable\_definitions | array | null | Yes | Template variable definitions | \[\{"code":"\","display\_name":"\","example":"\","max":0,"max\_length":0,"min":0,"pattern":"\","purpose":"\","rendered":false,"required":false,"type":"\"}] |
| version | integer · int64 | Yes | Version used for concurrent update checks | 0 |
```json
{
"customized": false,
"default": {
"html": "",
"subject": "",
"text": ""
},
"id": "",
"source": {
"html": "",
"subject": "",
"text": ""
},
"updated_at": "2026-08-27T10:00:00Z",
"using_legacy_default": false,
"variable_definitions": [
{
"code": "",
"display_name": "",
"example": "",
"max": 0,
"max_length": 0,
"min": 0,
"pattern": "",
"purpose": "",
"rendered": false,
"required": false,
"type": ""
}
],
"version": 0
}
```
### default Flat business error {#default-flat-business-error}
| Name | Type | Required | Description | Example |
| ------------------ | ------------------- | -------- | ------------------------------------ | -------------------------------------------------------------------- |
| code | string | No | Stable business error code | "\" |
| detail | string | Yes | Human-readable error description | "\" |
| details | OpenapiErrorDetails | No | Test result details | \{"field":"\","reason":"\","suggestion":"\"} |
| details.field | string | No | Request field that failed validation | "\" |
| details.reason | string | No | Stable validation failure reason | "\" |
| details.suggestion | string | No | Suggested normalized value | "\" |
| error | string | Yes | Stable HTTP error type | "\" |
```json
{
"code": "",
"detail": "",
"details": {
"field": "",
"reason": "",
"suggestion": ""
},
"error": ""
}
```
# Enable or disable enterprise SMTP
Source: https://docs.qwenwork.ai/developer/open-platform/mail/manage/update-mail-server-activation
> Enable or disable enterprise SMTP. PUT /api/openapi/v1/mail-servers/current/activation, scope admin.v1.mail-settings.manage.
- **Scope**:admin.v1.mail-settings.manage
- **Permission**:Manage enterprise mail(mail-settings)
- **Permission type**:Manage
- **Endpoint**:**PUT**/api/openapi/v1/mail-servers/current/activation
Changes only the enabled state of the saved SMTP configuration. Disabling preserves the settings and password, requires no server fields, and does not require readable credentials. Enabling requires a complete, valid saved configuration and, when authentication is enabled, a readable saved password. No test email is sent.
## Authentication and request headers {#authentication-and-request-headers}
Use an application API key. Manage permission does not imply read or test-send permission.
| Name | Location | Type | Required | Description |
| ------------- | -------- | ------ | -------- | -------------------------- |
| Authorization | header | string | Yes | Bearer \ |
| X-Request-Id | header | string | No | Request tracing identifier |
## Request parameters {#request-parameters}
| Name | Location | Type | Required | Description |
| ------- | -------- | ------- | -------- | ---------------------------------------------------------------------------------------------------------------- |
| enabled | body | boolean | Yes | true enables SMTP; false disables it without other configuration fields |
| version | body | integer | Yes | Current configuration version from the read endpoint; non-negative. After saving, use the newly returned version |
## Request example {#request-example}
```bash
curl --request PUT \
--url 'https://dev-develop.dev-vpc.qwenwork.cn/api/openapi/v1/mail-servers/current/activation' \
--header 'Authorization: Bearer ' \
--header 'Content-Type: application/json' \
--data '{"enabled":false,"version":2}'
```
## Response {#response}
### 200 OK {#200-ok}
| Name | Type | Required | Description | Example |
| -------------------------- | --------------------------- | -------- | ------------------------------------------------------------------- | ------------------------------------------------------------------------------------------------------------------- |
| auth\_enabled | boolean | Yes | Server requires authentication | false |
| ca\_pem | string | Yes | Custom CA certificate (optional) | "\" |
| enabled | boolean | Yes | Whether custom SMTP is enabled | false |
| central\_available | boolean | Yes | Whether the deployment provides the system mail service | true |
| delivery\_available | boolean | Yes | Whether custom SMTP or the system service is available for delivery | true |
| configured | boolean | Yes | Whether configuration is present | false |
| from\_address | string | Yes | Sender email | "\" |
| from\_name | string | Yes | Display name | "\" |
| host | string | Yes | SMTP host | "\" |
| last\_test | OpenapifacadeMailTestResult | No | Last test result | \{"at":"2026-08-27T10:00:00Z","code":"\","server\_version":0,"status":"unknown","template\_id":"\"} |
| last\_test.at | string · date-time | Yes | Test time | "2026-08-27T10:00:00Z" |
| last\_test.code | string | Yes | Error code | "\" |
| last\_test.server\_version | integer · int64 | Yes | Mail server configuration version | 0 |
| last\_test.status | string | Yes | Test status | "unknown" |
| last\_test.template\_id | string | No | Template ID | "\" |
| password\_configured | boolean | Yes | Whether a password is configured | false |
| port | integer · int64 | Yes | Port | 0 |
| provider | string | Yes | Mail delivery provider | "central" |
| tls\_mode | string | Yes | Encryption mode | "tls" |
| updated\_at | string · date-time | No | Updated at | "2026-08-27T10:00:00Z" |
| username | string | Yes | Authentication account | "\" |
| version | integer · int64 | Yes | Version used for concurrent update checks | 0 |
```json
{
"auth_enabled": false,
"enabled": false,
"central_available": true,
"delivery_available": true,
"ca_pem": "